Introduction
This manual provides comprehensive instructions for the setup, operation, maintenance, and troubleshooting of your Astarama HY300 Portable Projector. Please read this manual carefully before using the product to ensure proper functionality and to extend the lifespan of your device.
Product Overview
The Astarama HY300 is a compact and versatile portable projector designed for various entertainment and presentation needs. It features an integrated Android 11.0 operating system, dual-band WiFi 6, and Bluetooth 5.0 connectivity, offering seamless streaming and screen mirroring capabilities.

Figure 1: Astarama HY300 Portable Projector in use, showcasing its ability to project content from various streaming services and media.
Key features include:
- Portable Design: Compact size (10.08 x 10.35 cm) and lightweight (500 grams) for easy transport.
- Advanced Connectivity: Equipped with dual-band 2.4/5G WiFi 6 and Bluetooth 5.0 for high-speed wireless connections and screen mirroring.
- Flexible Projection: Features a 180-degree rotation stand, allowing projection from floor to ceiling. Supports up to a 130-inch screen display.
- Smart Correction: Manual focus and automatic keystone correction ensure a perfectly aligned image every time.
- High-Quality Display: Native 1280x720 resolution, 10000:1 dynamic contrast ratio, and support for 4K video playback.
- Integrated Audio: Built-in 3W*1 HiFi speakers for an immersive audio experience.
- Multiple Ports: Easily connect to DVDs, smartphones, tablets, HDMI-enabled devices, and external speakers.
Setup Guide
1. Unboxing and Initial Inspection
Carefully remove all components from the packaging. Verify that all items listed in the packing list are present and undamaged. If any items are missing or damaged, contact customer support immediately.
2. Power Connection
- Connect the power adapter to the projector's power input port.
- Plug the power adapter into a suitable electrical outlet.
- The projector will power on or enter standby mode.
3. Positioning the Projector
Place the projector on a stable, flat surface. For optimal viewing, ensure the projection surface (wall or screen) is clean and smooth. The HY300's 180-degree rotation stand allows for flexible placement, including ceiling projection.
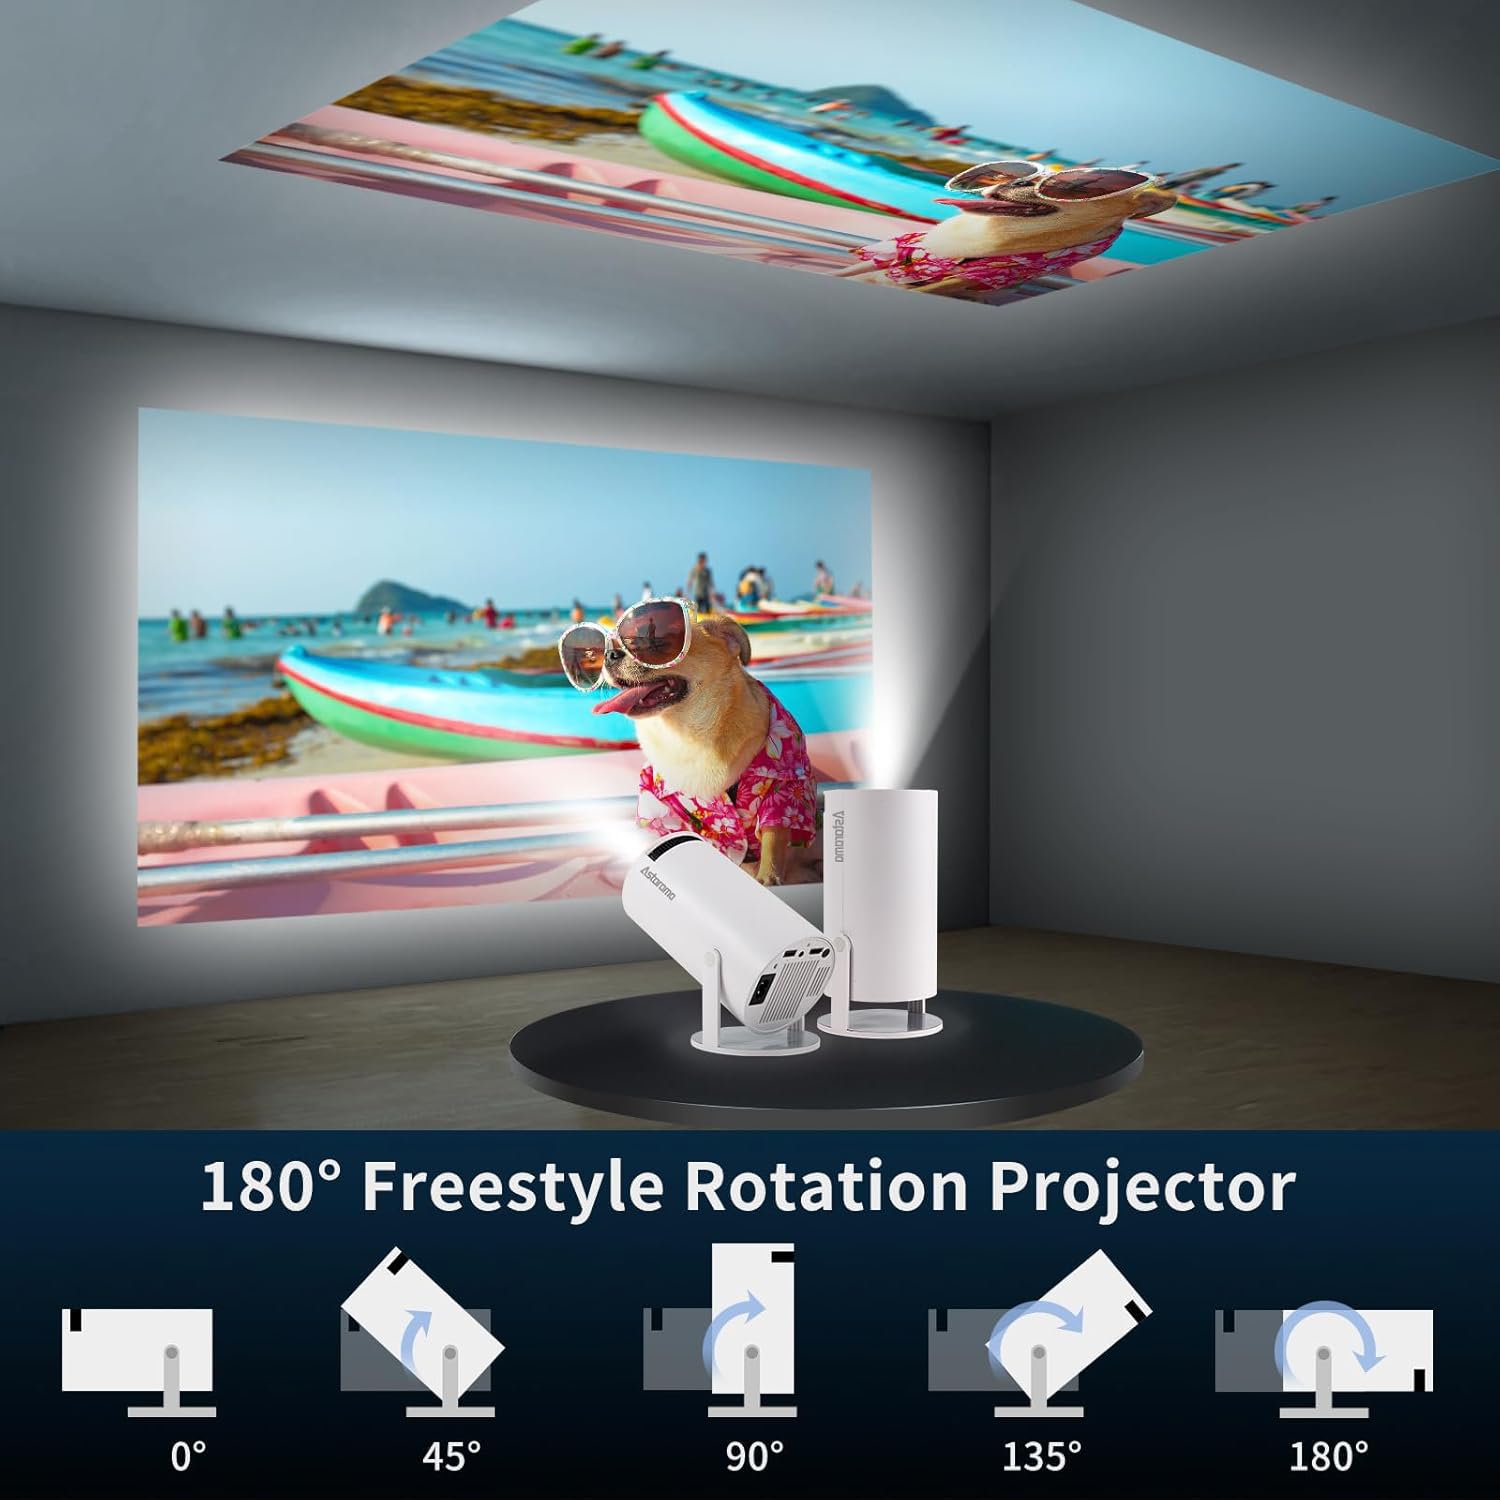
Figure 2: The projector's 180-degree rotation capability, enabling projection onto various surfaces including ceilings.
4. Adjusting Projection Size and Focus
The optimal projection distance for a 130-inch screen is approximately 1.68 meters. Adjust the distance between the projector and the screen to achieve your desired image size. Use the manual focus ring on the projector to sharpen the image. The automatic keystone correction feature will adjust the image shape for a rectangular display.

Figure 3: Illustration of projection distances and corresponding screen sizes (40", 80", 130").

Figure 4: The automatic keystone correction feature ensures a perfectly square image even when the projector is placed at an angle.
Operating Instructions
1. Initial Boot-up and Android System
Upon first power-on, the projector will boot into the integrated Android 11.0 operating system. Follow the on-screen prompts to complete the initial setup, including language selection and network configuration.
2. Network Connection (WiFi)
To access online content and features, connect the projector to a WiFi network:
- Navigate to the "Settings" menu on the Android interface.
- Select "Network & Internet" or "WiFi".
- Choose your desired 2.4G or 5G WiFi network from the list.
- Enter the password if prompted and connect.
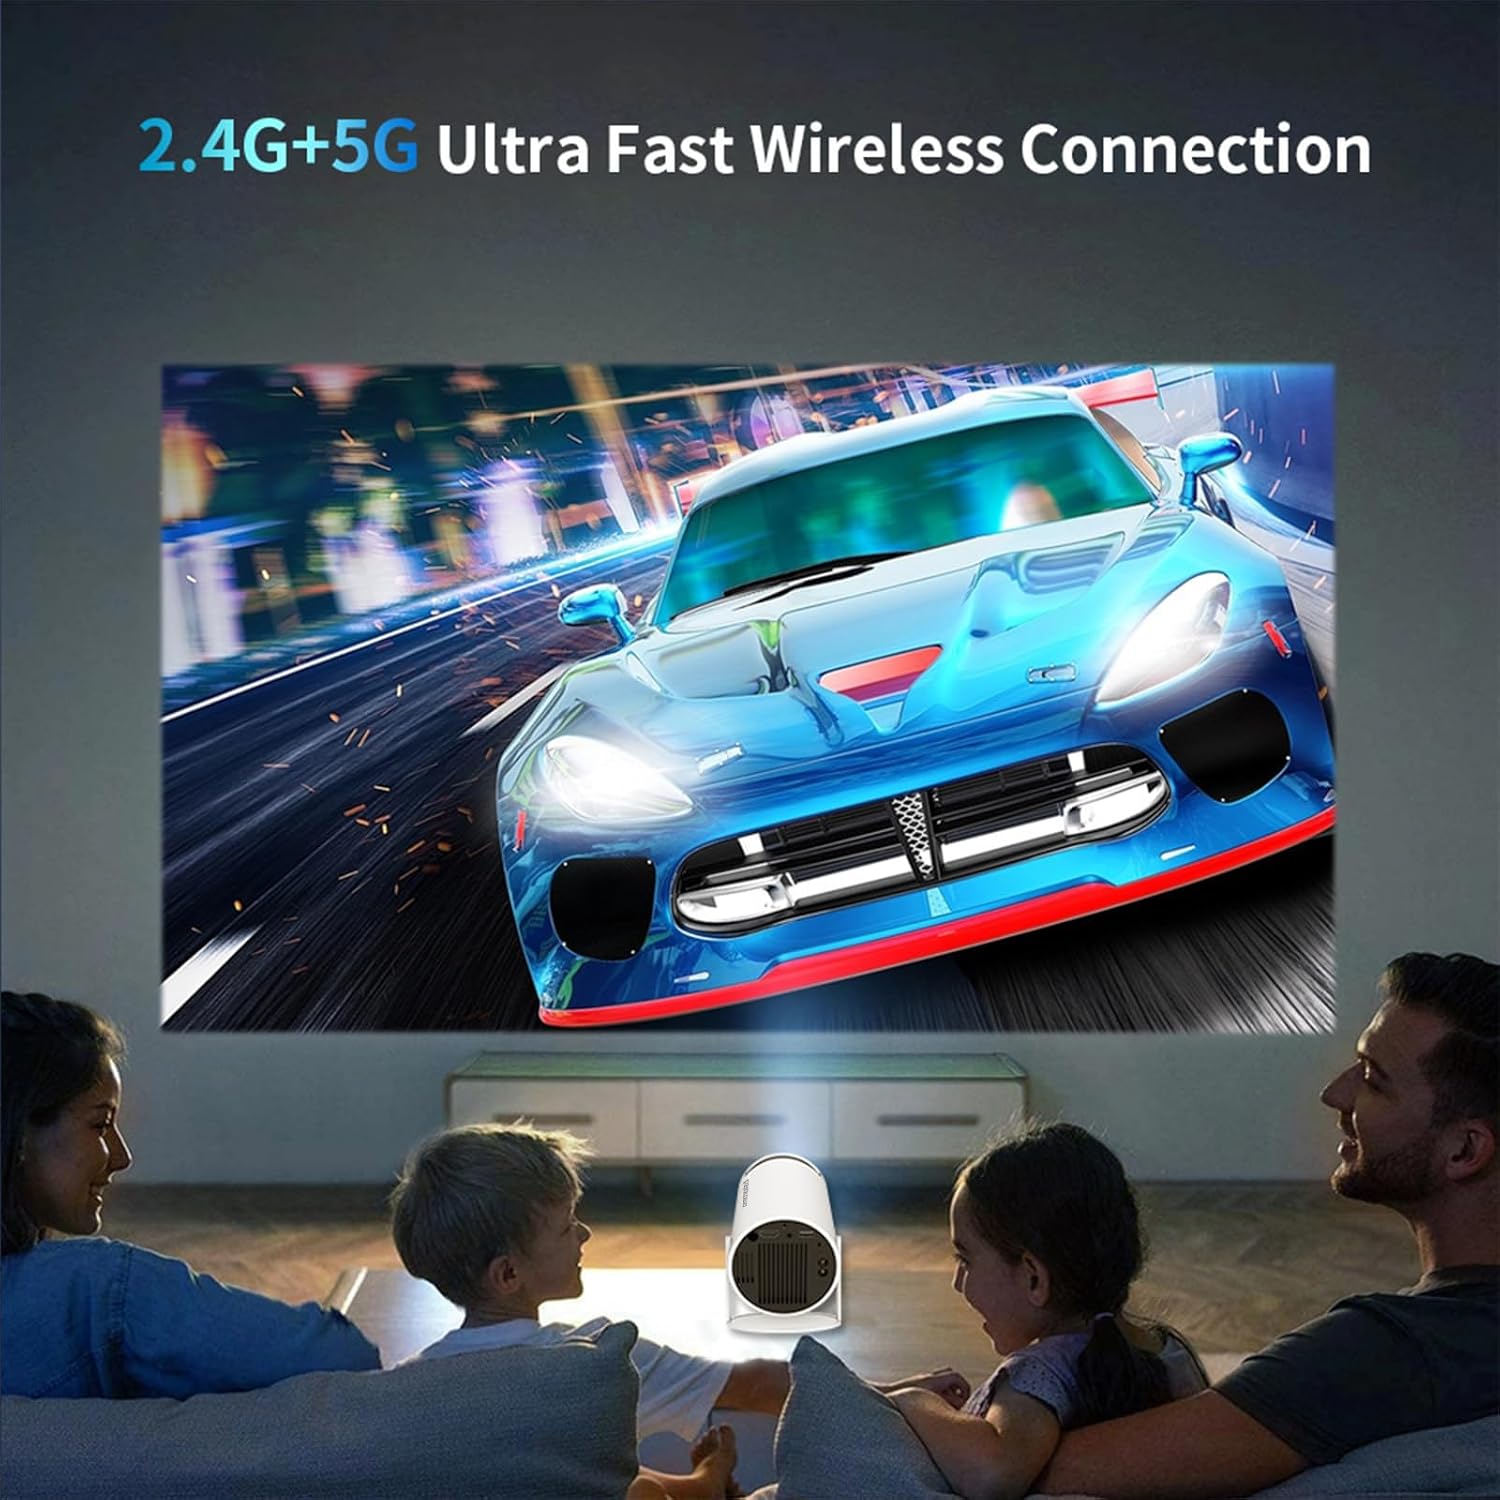
Figure 5: The projector's dual-band WiFi ensures a stable and fast connection for streaming content.
3. Bluetooth Connectivity
To connect external Bluetooth devices (e.g., speakers, headphones):
- Go to "Settings" and select "Connected Devices" or "Bluetooth".
- Enable Bluetooth and search for available devices.
- Select your device from the list to pair.
4. Screen Mirroring
The HY300 supports wireless screen mirroring from smartphones, tablets, and laptops:
- Ensure your device and the projector are connected to the same WiFi network.
- On the projector, open the screen mirroring application (e.g., AirPlay, Miracast, or a dedicated app).
- On your smartphone/tablet/laptop, activate the screen mirroring function (e.g., "Screen Mirroring", "Smart View", "Cast").
- Select the HY300 from the list of available devices.

Figure 6: Seamless screen mirroring from various devices to the projector via WiFi.
5. Connecting External Devices (HDMI, USB)
Use the available ports to connect external devices:
- HDMI Port: Connect DVD players, gaming consoles, laptops, or other HDMI-enabled devices. Select the HDMI input source from the projector's menu.
- USB Port: Insert USB drives to play media files directly. The Android system will allow you to browse and play content.
Maintenance
1. Cleaning the Lens
Gently wipe the projector lens with a soft, lint-free cloth specifically designed for optical surfaces. Do not use abrasive cleaners or excessive force, as this can scratch the lens.
2. Cleaning the Exterior
Use a soft, dry cloth to clean the exterior of the projector. For stubborn marks, a slightly damp cloth can be used, but ensure no moisture enters the device.
3. Ventilation
Ensure the projector's ventilation openings are clear and unobstructed to prevent overheating. Do not place the projector on soft surfaces that may block airflow.
4. Storage
When not in use for extended periods, store the projector in a cool, dry place, away from direct sunlight and extreme temperatures. It is recommended to use the original packaging or a protective case.
Troubleshooting
| Problem | Possible Cause | Solution |
|---|---|---|
| No image projected | Power cable disconnected; Projector off; Incorrect input source selected. | Check power connection; Press power button; Select correct HDMI/USB input. |
| Image is blurry | Lens out of focus; Projector too close/far from screen. | Adjust manual focus ring; Adjust projection distance. |
| Image is skewed/trapezoidal | Projector not perpendicular to screen. | The projector has automatic keystone correction. Ensure it is enabled in settings. Reposition the projector if necessary. |
| No sound | Volume too low; Muted; External speakers not connected properly; Incorrect audio output selected. | Increase volume; Unmute; Check external speaker connections; Select internal speakers or correct Bluetooth device. |
| WiFi connection unstable | Interference; Router too far; Incorrect password. | Move projector closer to router; Reduce interference; Re-enter WiFi password. Ensure you are using the correct 2.4G or 5G band. |
Specifications
| Feature | Detail |
|---|---|
| Brand | Astarama |
| Model | HY300 |
| Color | White |
| Product Type | Portable Projector |
| Operating System | Android 11.0 |
| Connectivity | WiFi 6 (2.4G/5G Dual Band), Bluetooth 5.0, HDMI, USB |
| Display Resolution | Native 1280 x 720 (Supports 4K video playback) |
| Dynamic Contrast Ratio | 10000:1 |
| Projection Size | Up to 130 inches |
| Keystone Correction | Automatic Digital Keystone Correction |
| Focus | Manual Focus |
| Rotation | 180-degree Freestyle Rotation |
| Noise Level | Below 25dB |
| Dimensions (L x W) | 10.1 cm x 10.1 cm (approx.) |
| Weight | 500 grams (approx.) |
| Internal Storage | 1GB RAM + 8GB ROM |
| Audio | Built-in 3W*1 HiFi Speaker |
Warranty Information
The Astarama HY300 Portable Projector comes with a one-year quality warranty from the date of purchase. This warranty covers manufacturing defects and malfunctions under normal use. It does not cover damage caused by misuse, accidents, unauthorized modifications, or natural disasters.
Please retain your proof of purchase for warranty claims. For detailed warranty terms and conditions, refer to the warranty card included with your product or contact customer support.
Customer Support
If you encounter any issues or have questions regarding your Astarama HY300 Portable Projector that are not addressed in this manual, please contact our customer support team. For the most up-to-date contact information, please visit the official Astarama website or refer to the contact details provided with your product packaging.
When contacting support, please have your product model (HY300) and purchase details ready to assist us in providing efficient service.


