1. Introduction
Thank you for choosing the GOYOJO TD50002 Digital Lab Balance. This precision instrument is designed for accurate weighing in laboratory and industrial settings, offering a readability of 0.01g and a maximum capacity of 200g. This manual provides essential information for the proper setup, operation, and maintenance of your balance to ensure reliable performance and longevity.
2. Safety Information
- Always operate the balance on a stable, level surface free from vibrations.
- Avoid placing the balance near strong electromagnetic fields, heat sources, or direct sunlight.
- Do not overload the balance beyond its maximum capacity of 200g.
- Keep the balance clean and dry. Avoid spilling liquids on the unit.
- Use only the specified power adapter.
- Do not attempt to disassemble or repair the balance yourself. Contact qualified service personnel.
3. Package Contents
Please check the package contents upon receipt. If any items are missing or damaged, contact your supplier immediately.
- GOYOJO TD50002 Digital Lab Balance Unit
- Stainless Steel Weighing Pan (170x170 mm)
- Power Adapter
- Instruction Manual
4. Product Overview
4.1 Components
Familiarize yourself with the main components of your digital lab balance:
- Weighing Pan: Stainless steel platform for placing samples.
- LCD Display: Backlit screen showing weight, mode, and other information.
- Control Buttons: PCS (Piece Counting), CAL (Calibration), TARE (Zero/Tare).
- Leveling Feet: Adjustable feet to ensure the balance is perfectly level.
- Power Input: Connector for the power adapter.
- RS232C Interface: Port for connecting to a computer or printer.
- Power Switch: On/Off switch located at the rear.
4.2 Product Views
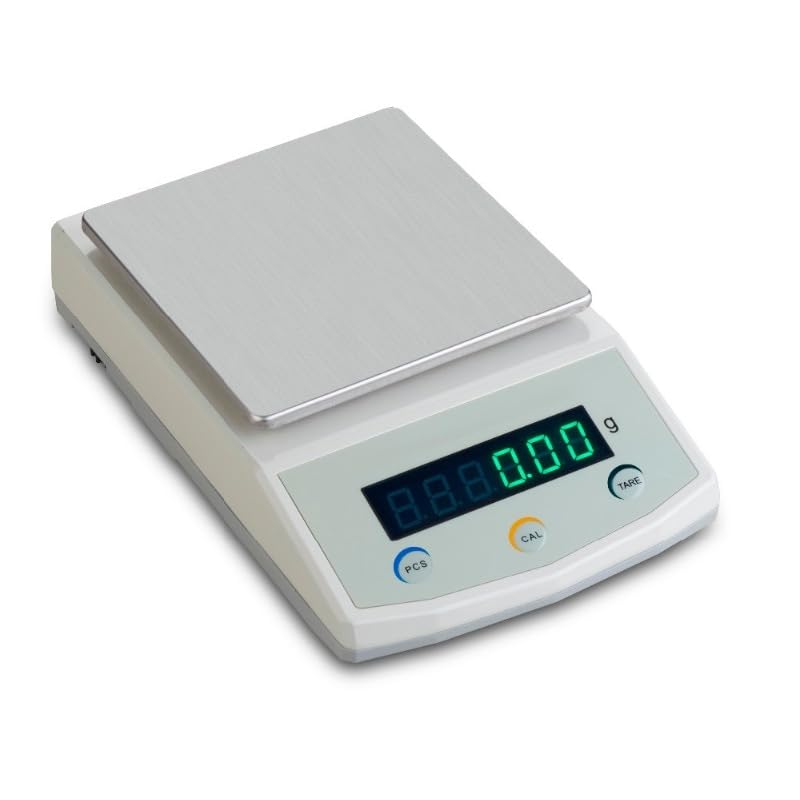
Figure 1: Front view of the GOYOJO TD50002 Digital Lab Balance, showing the stainless steel weighing pan, backlit LCD display, and control buttons (PCS, CAL, TARE).
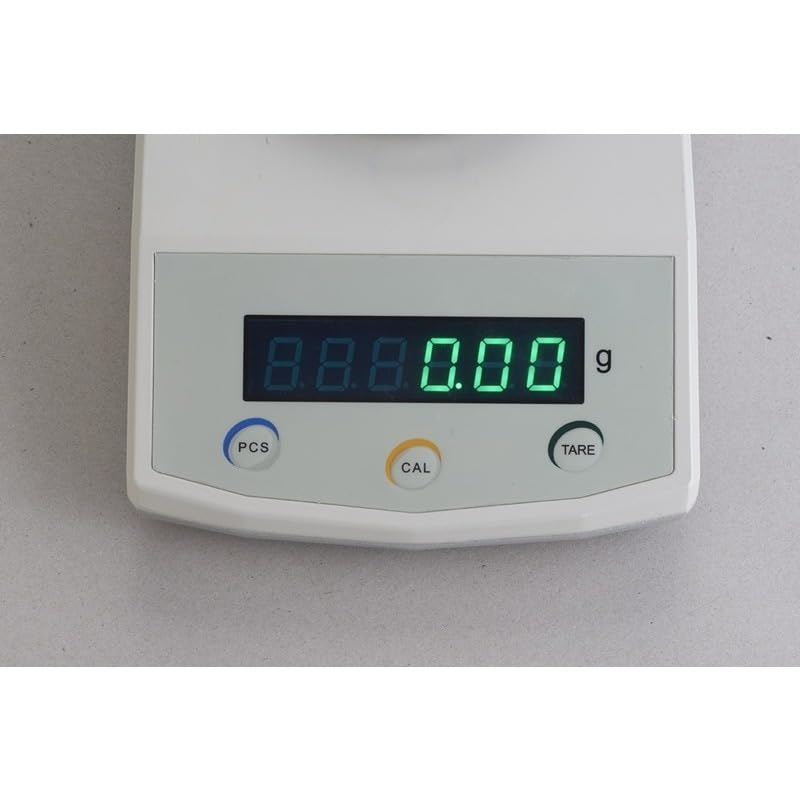
Figure 2: Close-up view of the balance's backlit LCD display and the three primary control buttons: PCS (Piece Counting), CAL (Calibration), and TARE (Zero/Tare).
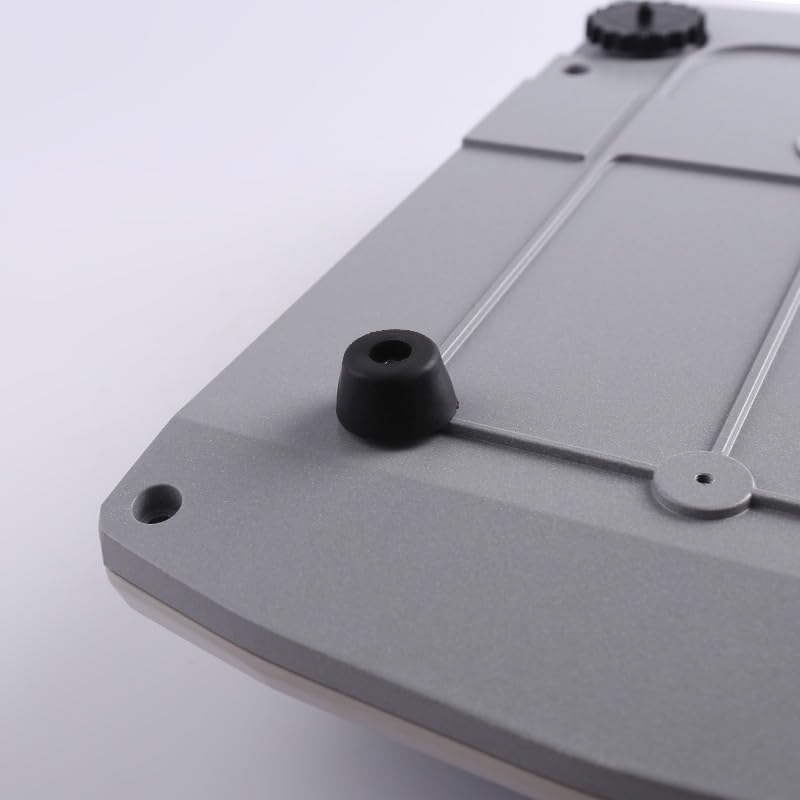
Figure 3: Bottom view of the balance, highlighting one of the non-slip rubber feet designed for stability.
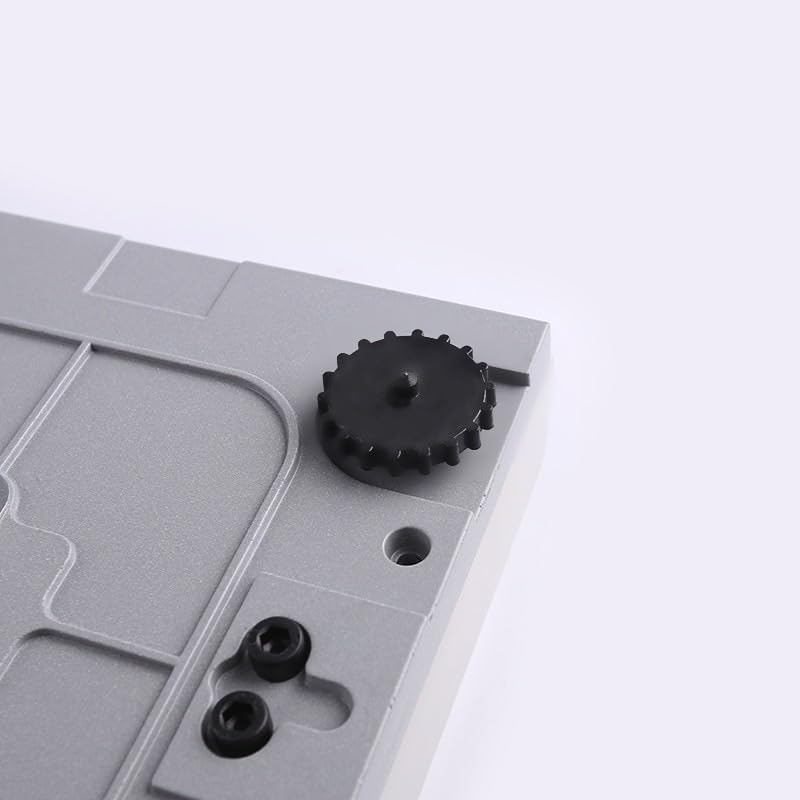
Figure 4: Bottom view of the balance, showing an adjustable leveling foot used to ensure the balance is perfectly horizontal for accurate measurements.
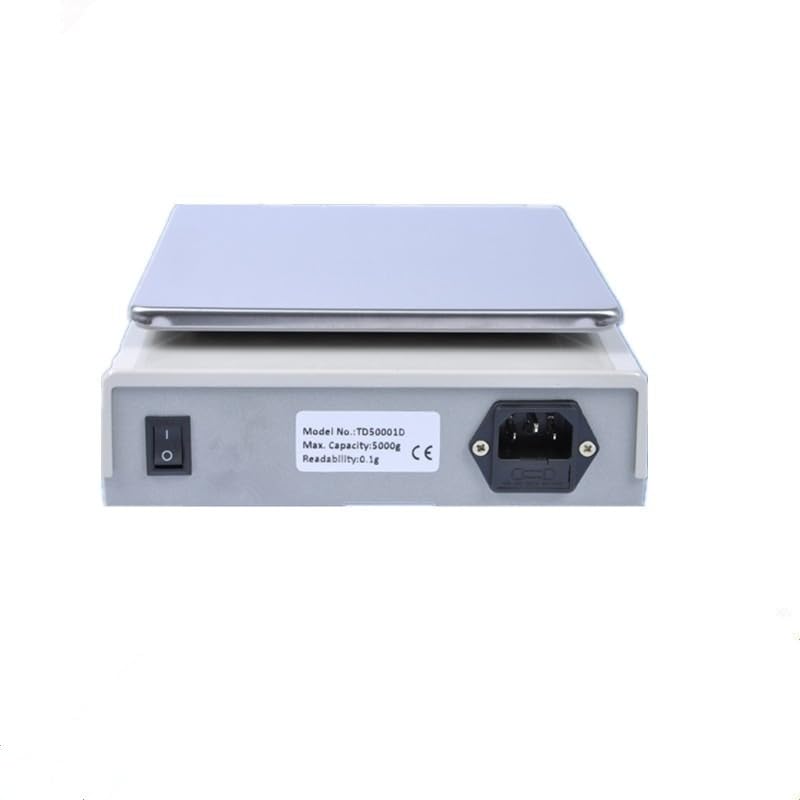
Figure 5: Rear view of the balance, displaying the power switch, power input port, and the RS232C interface for data connectivity.
5. Setup
5.1 Unpacking
Carefully remove the balance and all accessories from the packaging. Retain the packaging for future transport or storage.
5.2 Placement
Place the balance on a firm, level, and stable surface. Ensure the location is free from drafts, vibrations, direct sunlight, and rapid temperature changes. These factors can significantly affect weighing accuracy.
5.3 Leveling
Adjust the leveling feet located at the bottom of the balance until the bubble in the spirit level (if present, typically near the display) is centered. This ensures the weighing pan is perfectly horizontal, which is crucial for accurate measurements.
5.4 Power Connection
Connect the provided power adapter to the power input port on the rear of the balance, then plug the adapter into a suitable power outlet.
6. Operation
6.1 Turning On/Off
- To Turn On: Flip the power switch on the rear of the balance to the 'ON' position. The display will light up and perform a self-test before showing '0.00g'.
- To Turn Off: Flip the power switch on the rear of the balance to the 'OFF' position.
6.2 Basic Weighing
- Ensure the balance displays '0.00g'. If not, press the TARE button.
- Carefully place the item to be weighed onto the center of the stainless steel weighing pan.
- Wait for the reading on the LCD display to stabilize. The stable weight will be shown.
- Remove the item from the pan.
6.3 Tare Function
The Tare function allows you to weigh items in a container by subtracting the container's weight.
- Place an empty container on the weighing pan. The display will show its weight.
- Press the TARE button. The display will reset to '0.00g'.
- Add the items to be weighed into the container. The display will show only the net weight of the items.
6.4 Piece Counting Function (PCS)
This function allows you to count a large number of identical items based on a sample quantity.
- Place an empty container on the pan and press TARE to zero the display.
- Place a known sample quantity of items (e.g., 10, 20, 50, 100 pieces) into the container.
- Press the PCS button. The display will prompt you to select the sample quantity (e.g., 'P-10', 'P-20').
- Use the TARE button to cycle through the sample quantity options.
- Once the desired sample quantity is displayed, press PCS again to confirm. The balance will now display the count of the sample.
- Remove the sample and add the bulk quantity of items. The display will show the total count.
6.5 Calibration (CAL)
Regular calibration ensures the accuracy of your balance. Use certified calibration weights for this procedure.
- Ensure the weighing pan is empty and the balance is stable.
- Press and hold the CAL button until 'CAL' appears on the display.
- The display will then show the required calibration weight (e.g., '200g').
- Carefully place the specified calibration weight onto the center of the weighing pan.
- Wait for the balance to automatically calibrate. Once complete, the display will show 'PASS' or return to normal weighing mode ('0.00g').
- Remove the calibration weight.
6.6 RS232C Interface
The RS232C port allows for data communication with external devices such as computers or printers. Connect a compatible RS232C cable (not included) from the balance to your device. Refer to your device's manual for specific software or driver requirements for data acquisition.
7. Maintenance
7.1 Cleaning
To maintain accuracy and prolong the life of your balance:
- Wipe the balance exterior with a soft, damp cloth.
- For stubborn stains, use a mild detergent. Avoid abrasive cleaners, solvents, or harsh chemicals.
- Ensure no liquids enter the balance housing or display area.
- The stainless steel pan can be removed for cleaning.
7.2 Storage
When not in use for extended periods, store the balance in a clean, dry, and stable environment, away from extreme temperatures and humidity. Keep the original packaging for safe storage or transport.
8. Troubleshooting
If you encounter issues with your balance, refer to the table below for common problems and solutions.
| Problem | Possible Cause | Solution |
|---|---|---|
| Balance does not turn on | No power, faulty adapter, power switch off | Check power connection, ensure adapter is working, turn power switch ON. |
| Inaccurate readings / Fluctuating display | Unstable surface, drafts, vibrations, not level, needs calibration | Place on stable surface, avoid drafts, level the balance, perform calibration. |
| Display shows 'Err' or 'O.L.' | Overload, internal error | Remove excess weight immediately. If error persists, restart the balance. |
| Cannot zero the display | Weight on pan, balance not stable | Ensure pan is empty, wait for stability, press TARE. |
| PCS function not working correctly | Incorrect sample quantity set, items not uniform | Ensure correct sample quantity is selected, use uniform items for counting. |
9. Specifications
| Feature | Specification |
|---|---|
| Model | TD50002 |
| Capacity | 200g |
| Readability | 0.01g |
| Weighing Pan Size | 170 x 170 mm (Stainless Steel) |
| Display | Large Backlit LCD |
| Interface | RS232C |
| Housing Material | Aluminum Alloy |
| Product Dimensions | 9.1 x 7.1 x 2.4 inches |
| Weighing Modes | Weighing, Counting, Weighing Below Balance |
10. Warranty and Support
The GOYOJO TD50002 Digital Lab Balance is covered by a standard manufacturer's warranty against defects in materials and workmanship. Please retain your proof of purchase for warranty claims.
For technical support, service, or warranty inquiries, please contact your local dealer or the GOYOJO customer service department. Contact information can typically be found on the product packaging or the official GOYOJO website.


