Introduction
Thank you for purchasing the FULEN SP01 Galaxy Projector. This device is designed to transform your space with stunning aurora and star projections, creating a relaxing or enchanting atmosphere. This manual provides essential information for the safe and efficient operation of your projector. Please read it thoroughly before use and retain it for future reference.
Safety Information
- This product is intended for indoor use only.
- Do not expose the projector to water, moisture, or extreme temperatures.
- Avoid direct eye exposure to the laser beam.
- Keep the device away from heat sources and open flames.
- Do not attempt to disassemble or modify the projector. This will void the warranty.
- Use only the provided USB cable and a compatible power adapter (5V/2A recommended).
- Ensure the projector is placed on a stable, flat surface to prevent accidental falls.
Package Contents
Please check the package for the following items:
- FULEN SP01 Galaxy Projector
- Remote Control
- USB Power Cable
- User Manual

Image: The FULEN SP01 Galaxy Projector in rose color, its remote control, and product packaging.
Product Overview
The FULEN SP01 Galaxy Projector features a unique astronaut design with a magnetic head for adjustable projection angles. It includes intuitive controls for various light effects.
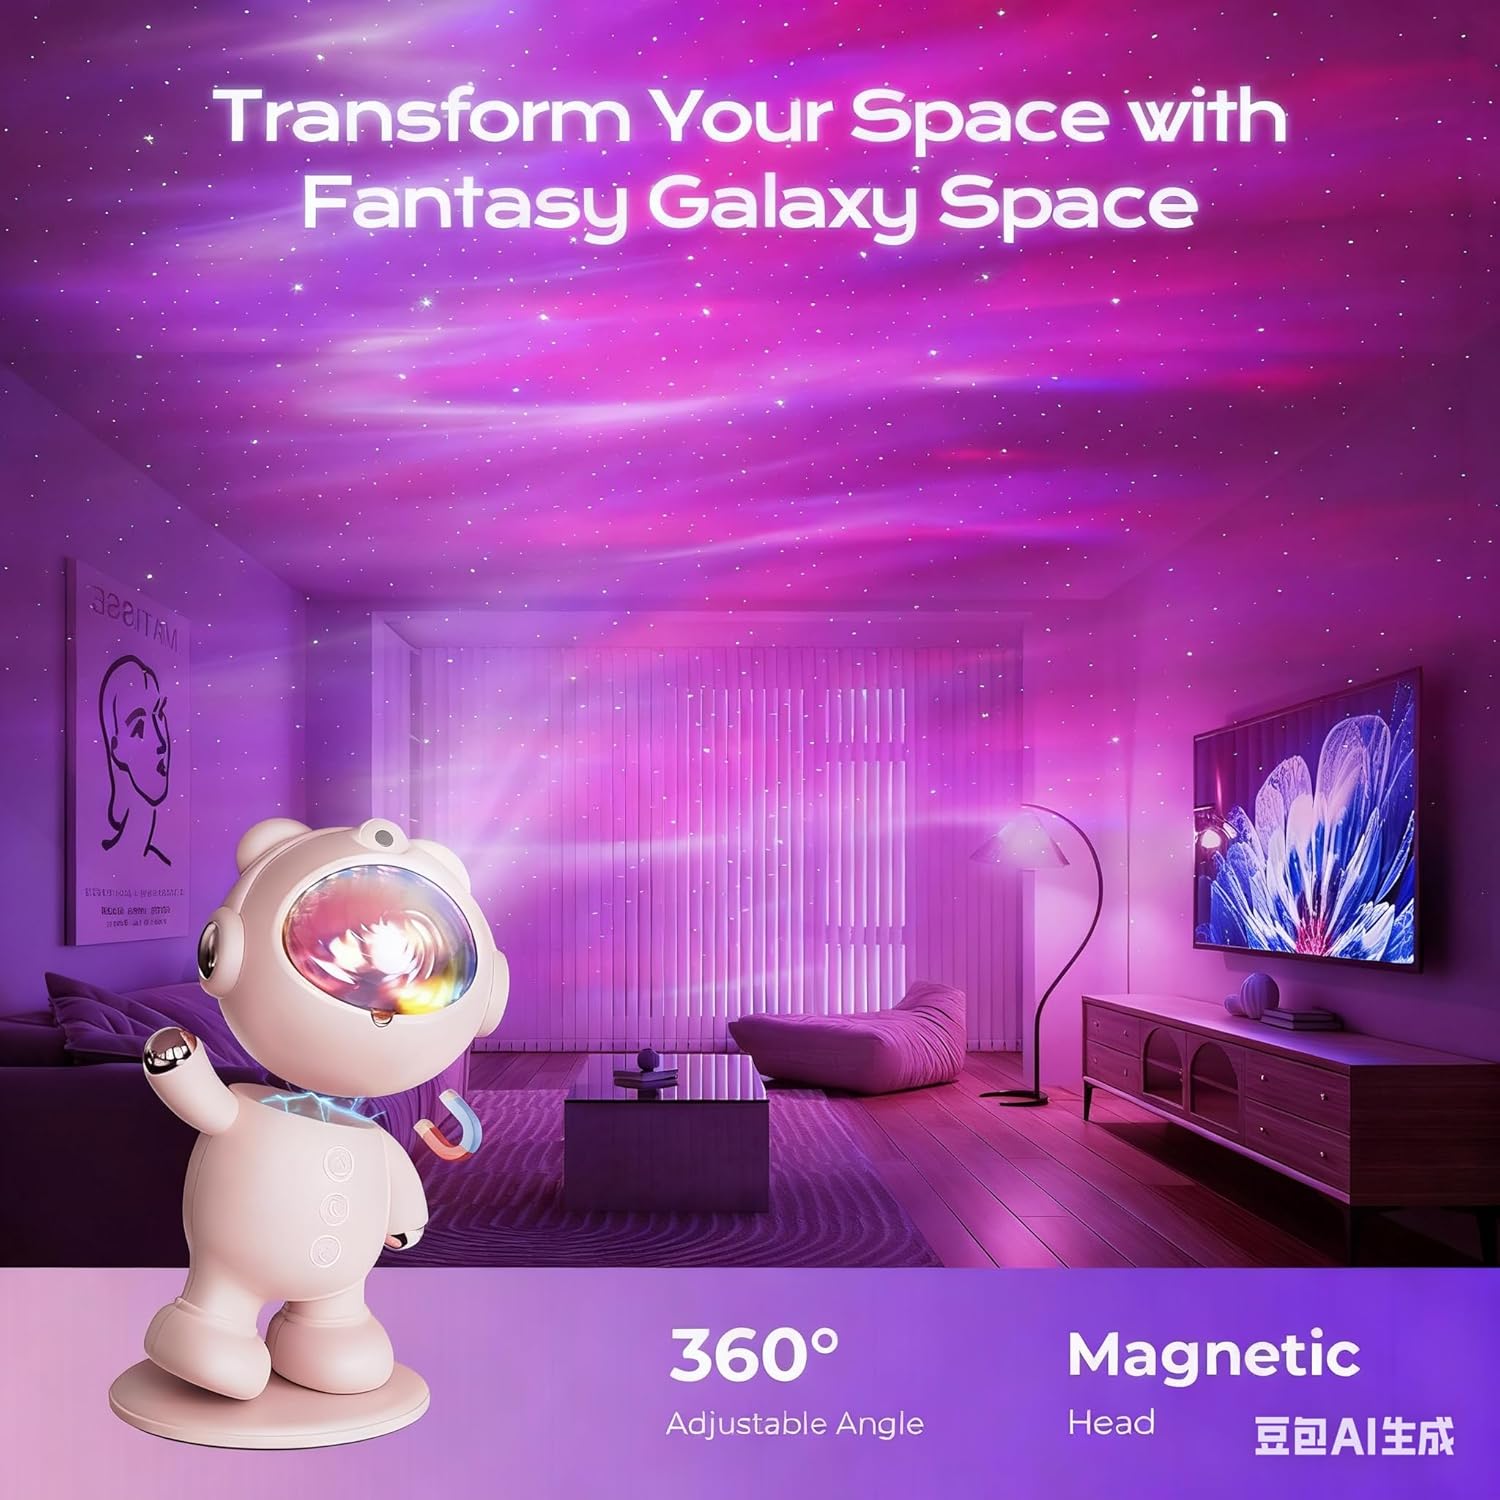
Image: The FULEN SP01 Galaxy Projector projecting aurora and stars onto a ceiling, demonstrating its 360-degree adjustable projection angle.
Main Components:
- Projector Body: Houses the LED and laser components.
- Projection Lens: Projects the aurora and star effects.
- Magnetic Head: Allows for flexible adjustment of the projection angle.
- Control Buttons: Located on the projector for basic functions (Power, Aurora, Star).
- Remote Control: Provides comprehensive control over all functions.
Setup
1. Placement
Place the projector on a stable, flat surface. Ensure there are no obstructions in the projection path to achieve the best visual effects. The magnetic head allows you to adjust the projection angle to direct the aurora and stars onto walls or the ceiling.
2. Power Connection
- Connect the provided USB power cable to the projector's power input port.
- Plug the other end of the USB cable into a compatible 5V/2A USB power adapter (not included) or a USB port on a computer/power bank.
3. Remote Control Battery
Insert 2 x AAA batteries (not included) into the remote control, observing the correct polarity.
Operating Instructions
1. Power On/Off
Press the power button on the projector or the remote control to turn the device on or off.
2. Aurora Effects
The projector offers 16 stunning aurora color effects. Use the remote control to customize these effects:
- Aurora Color: Press the 'Aurora' button on the remote to cycle through different color combinations.
- Brightness Adjustment: Use the 'B+' and 'B-' buttons to increase or decrease the aurora brightness.
- Speed Adjustment: Use the 'S+' and 'S-' buttons to adjust the movement speed of the aurora effect.

Image: A visual representation of 16 distinct aurora mode variations that can be projected by the device.
3. Star Effects
Press the 'Star' button on the remote control to turn the green star effect on or off. You can also adjust the brightness of the stars using the remote.
4. Timer Function
The projector includes a 1-hour timer function, allowing it to automatically turn off after a set period. This is ideal for bedtime use.
- Press the 'Timer' button on the remote control to activate the 1-hour auto-off timer.

Image: A child sleeping in a room illuminated by the projector, demonstrating the timer, brightness, and speed adjustment features.
Maintenance
Cleaning
To clean the projector, gently wipe the surface with a soft, dry cloth. Do not use abrasive cleaners or solvents, as these may damage the finish or internal components.
Storage
When not in use, store the projector in a cool, dry place, away from direct sunlight and extreme temperatures.
Troubleshooting
| Problem | Possible Cause | Solution |
|---|---|---|
| Projector does not turn on. | No power supply or loose connection. | Ensure the USB cable is securely connected and the power adapter is working. |
| No projection. | Projector is off or lens is obstructed. | Turn on the projector. Check if the projection lens is clear of any obstructions. |
| Remote control not working. | Batteries are dead or incorrectly inserted. Obstruction between remote and projector. | Replace batteries, ensure correct polarity. Remove any obstructions and point the remote directly at the projector. |
| Projection is blurry. | Lens is dirty or projector is too far/close to the surface. | Clean the lens with a soft cloth. Adjust the distance to the projection surface. |
Specifications
| Feature | Detail |
|---|---|
| Brand | FULEN |
| Model Number | SP01 |
| Dimensions (L x W x H) | 18 x 10 x 10 cm |
| Weight | 350 grams |
| Material | Plastic |
| Power Source | Battery Powered (1 Lithium-polymer battery required, not included) |
| Voltage | 3.7 Volts |
| Wattage | 1.5 Watts |
| Light Source Type | LED |
| Luminous Flux | 500 lm |
| Special Features | Color Changing, Timer |
| Switch Style | Touch |
| Installation Type | Tabletop Mount |
Energy Efficiency Information
The FULEN SP01 Galaxy Projector has an energy efficiency rating of Class A, with an energy consumption of 2 kWh/1000h.

Image: Product Information Sheet detailing technical specifications and energy data for the FULEN SP01.

Image: EU Energy Label for the FULEN SP01, indicating an energy efficiency class of A.
For detailed energy information, please refer to the EPREL database: https://eprel.ec.europa.eu/qr/1909388
Warranty and Support
This product comes with a standard manufacturer's warranty. For specific warranty terms and conditions, please refer to the documentation provided with your purchase or contact your retailer.
If you encounter any issues or have questions regarding your FULEN SP01 Galaxy Projector, please contact FULEN customer support for assistance.


