
1. Introduction and Overview
This manual provides detailed instructions for the installation, operation, and maintenance of your Mugast H61 LGA 1155 Desktop Motherboard. Please read this manual thoroughly before proceeding with installation to ensure proper setup and optimal performance.
The Mugast H61 LGA 1155 motherboard is designed for desktop PCs, supporting 2nd generation Intel Core i3/i5/i7, Pentium, and Celeron processors. It features dual-channel DDR3 memory support, an M.2 NVMe NGFF slot, and various connectivity options including HDMI, VGA, USB 2.0, and SATA 2.0.

Figure 1: Top-down view of the Mugast H61 LGA 1155 Desktop Motherboard, showcasing its various components and layout.
2. Setup and Installation
Follow these steps carefully to install your motherboard and its components.
2.1 Motherboard Layout

Figure 2: Diagram illustrating the key components and ports on the Mugast H61 motherboard, including LGA1155 CPU socket, DDR3 slots, M.2 NVMe, SATA, USB 2.0, VGA, HD, PCIE X1, and PCIE X16.
2.2 CPU Installation (LGA 1155 Socket)
- Prepare the Socket: Gently lift the load lever on the LGA 1155 CPU socket. Lift the metal load plate.
- Insert the CPU: Carefully align the notches on your Intel LGA 1155 processor with the corresponding keys on the socket. Ensure the golden triangle on the CPU aligns with the triangle on the socket. Lower the CPU straight down into the socket without applying force.
- Secure the CPU: Close the load plate and push the load lever back into its locked position. This will secure the CPU firmly.
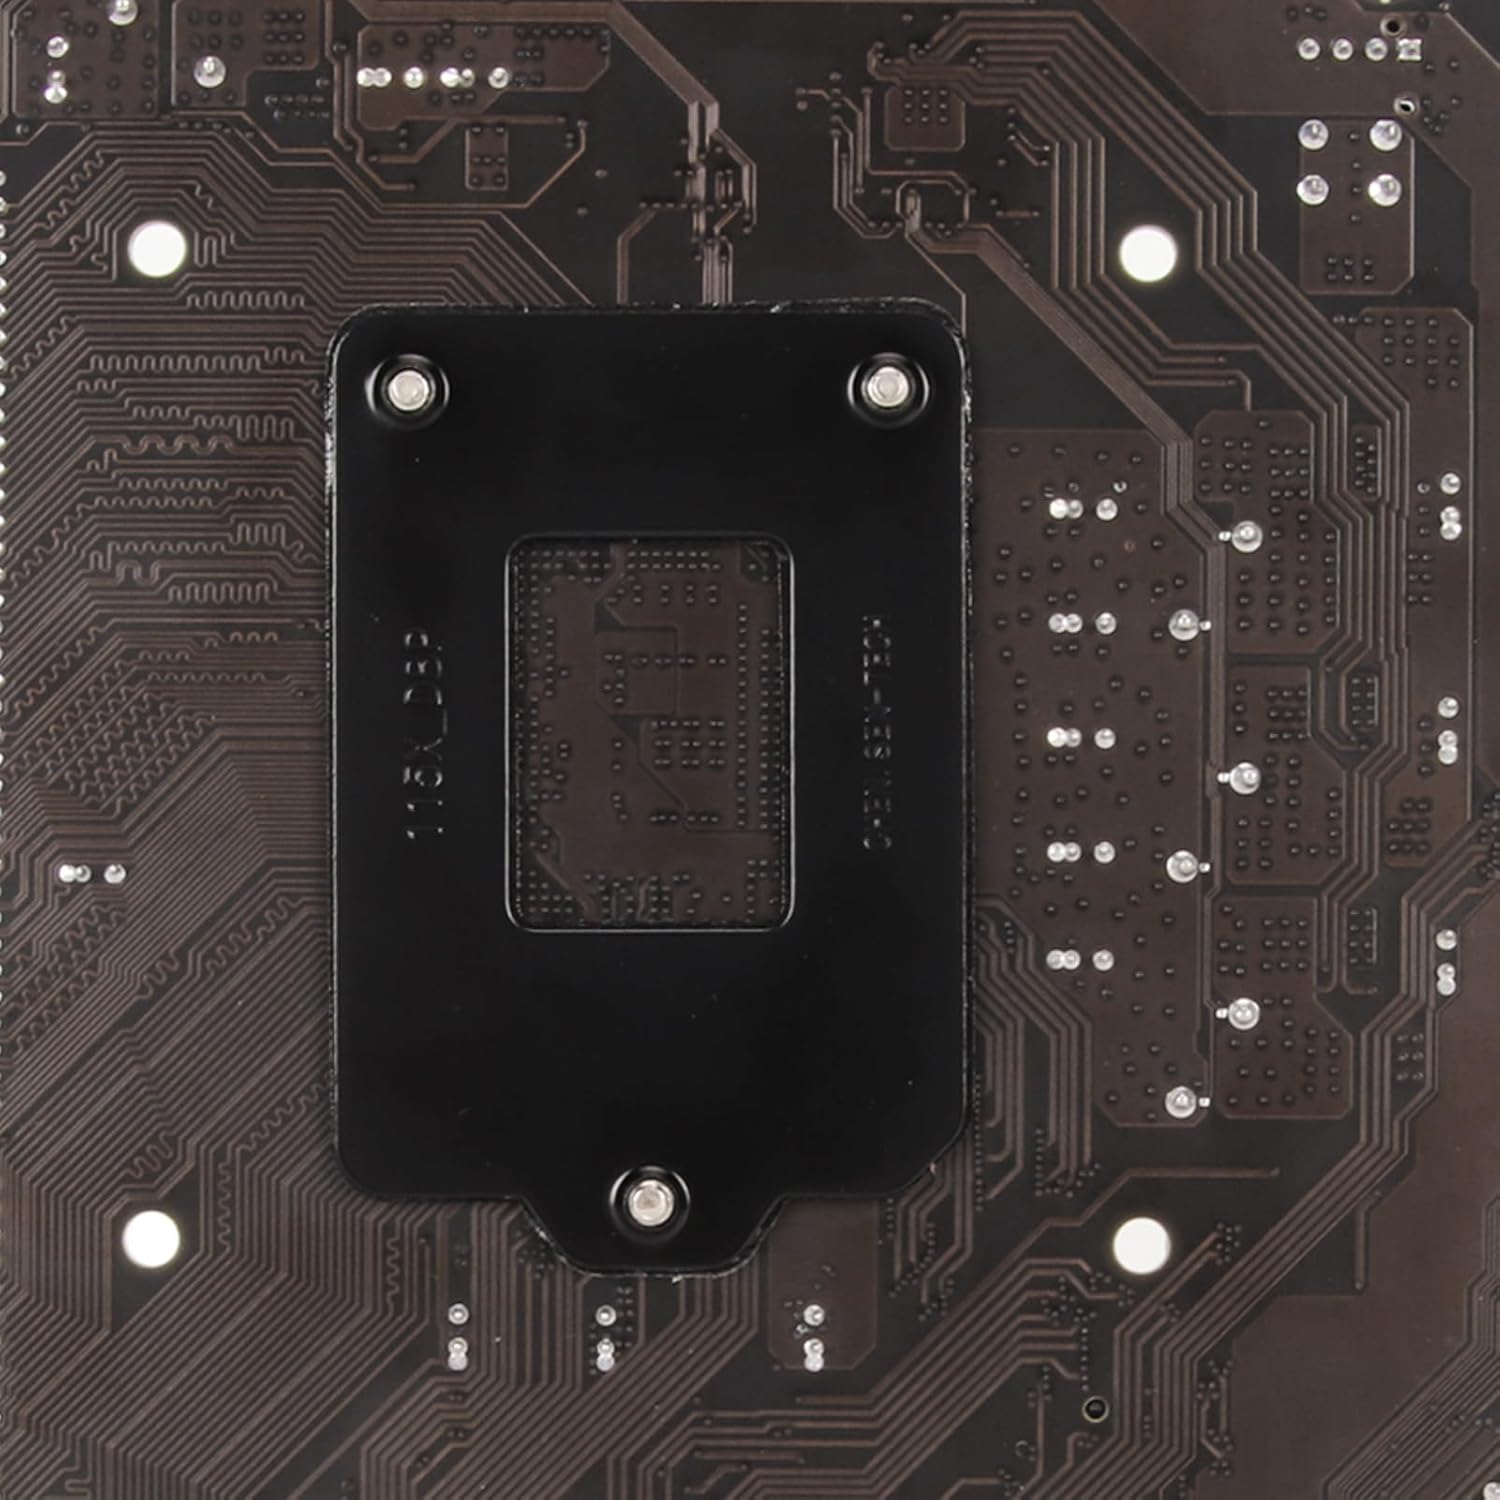
Figure 3: A close-up view of the LGA 1155 CPU socket on the motherboard, ready for processor installation.
2.3 RAM Installation (DDR3)
This motherboard supports dual-channel DDR3 memory. It has two DDR3 DIMM slots.
- Open Clips: Open the retention clips at both ends of the DIMM slot.
- Align Module: Align the notch on the DDR3 memory module with the key in the DIMM slot.
- Insert Module: Press down firmly on both ends of the memory module until the retention clips snap into place.
2.4 M.2 NVMe/NGFF SSD Installation
The motherboard features an M.2 high-speed hard disk interface supporting both NVMe and NGFF modes. A jumper cable is provided to switch between PCIe high-speed and SATA2.0 channels.
- Locate M.2 Slot: Identify the M.2 slot on the motherboard.
- Insert SSD: Gently insert the M.2 SSD into the slot at a 30-degree angle.
- Secure SSD: Push the SSD down and secure it with the provided screw.
- Configure Jumper: Refer to the motherboard diagram or specific instructions for the jumper setting to select between NVMe (PCIe) or NGFF (SATA) mode, depending on your M.2 SSD type.
2.5 Storage Device Installation (SATA 2.0)
Connect your SATA hard drives or SSDs to the SATA 2.0 ports on the motherboard using SATA data cables. Ensure power cables from your power supply are also connected to the drives.
2.6 Power Connections
Connect the 24-pin ATX power connector and the 4-pin ATX 12V power connector from your power supply to the corresponding ports on the motherboard. Ensure they are firmly seated.
2.7 Front Panel and I/O Connections
Connect the front panel headers (power button, reset button, HDD LED, power LED), USB 2.0 headers, and audio headers from your PC case to the appropriate pins on the motherboard. Refer to the motherboard layout diagram (Figure 2) for pin locations.

Figure 4: Detailed view of the rear I/O panel, showing VGA, HD (HDMI), USB, Network (LAN), and 6-channel HD audio interfaces.
3. Operating Instructions
Once all components are installed and connected, you can power on your system.
- Initial Boot: After connecting your monitor, keyboard, and mouse, press the power button on your PC case.
- BIOS/UEFI Setup: During startup, you may press a specific key (commonly DEL, F2, or F10) to enter the BIOS/UEFI setup utility. Here you can configure boot order, system time, and other advanced settings.
- Operating System Installation: Install your preferred operating system (e.g., Windows, Linux) from a bootable USB drive or DVD.
- Driver Installation: After OS installation, install the necessary drivers for the motherboard chipset, integrated graphics (if using), LAN, and audio. These are typically provided on a CD/DVD with the motherboard or can be downloaded from the manufacturer's website.
4. Maintenance
Proper maintenance ensures the longevity and stable performance of your motherboard.
- Dust Removal: Regularly clean dust from the motherboard and components using compressed air. Ensure the system is powered off and unplugged before cleaning.
- BIOS Updates: Periodically check the manufacturer's website for BIOS updates. BIOS updates can improve compatibility, stability, and performance. Exercise caution when updating the BIOS, as an interrupted update can render the motherboard inoperable.
- Component Checks: Ensure all cables and components are securely seated. Loose connections can cause system instability.
5. Troubleshooting
If you encounter issues, refer to the following common troubleshooting steps:
- No Power:
- Check if the power supply is connected correctly to the motherboard (24-pin and 4-pin connectors).
- Ensure the power supply switch is in the ON position.
- Verify front panel power button connection to the motherboard.
- No Display:
- Ensure the monitor is connected to the correct video output (VGA or HDMI) on the motherboard or dedicated graphics card.
- Reseat the RAM modules.
- Reseat the CPU.
- If using a dedicated graphics card, ensure it is properly seated in the PCIe X16 slot and has adequate power.
- System Instability/Crashes:
- Check for overheating. Ensure CPU cooler is properly installed.
- Run memory diagnostic tools to check RAM integrity.
- Ensure all drivers are up to date.
- Storage Drive Not Detected:
- Check SATA data and power cable connections.
- For M.2 SSDs, verify proper installation and jumper settings (NVMe/NGFF mode).
- Check BIOS settings to ensure SATA ports are enabled.
6. Specifications
Below are the technical specifications for the Mugast H61 LGA 1155 Desktop Motherboard:
| Feature | Specification |
|---|---|
| CPU Socket | LGA 1155 (Supports Intel i3/i5/i7, Pentium, Celeron series) |
| Chipset | H61 |
| Memory Slots | 2 x DDR3 DIMM slots (Dual Channel) |
| Memory Type | DDR3 non-ECC |
| Memory Frequency | 1066/1333/1600 MHz |
| Max Memory Capacity | 16 GB |
| Storage Interfaces | 3 x SATA 2.0 (3 GB/s), 1 x M.2 NVMe/NGFF slot (with jumper for PCIe/SATA mode) |
| Expansion Slots | 1 x PCIe X16, 1 x PCIe X1 |
| USB Ports | 6 x USB 2.0 (4 rear, 2 via internal header) |
| Video Output | 1 x VGA, 1 x HDMI (HD Interface) |
| LAN | 10/100 Mbps Ethernet |
| Audio | 3-in-1 Audio Port (Line In/Line Out/Mic In) |
| Power Connector | 1 x 24-pin ATX, 1 x 4-pin ATX 12V |
| Form Factor | Micro ATX |
| Model Number | Mugast8oxcqtikwa |

Figure 5: A summary of the key features and specifications of the Mugast H61 Desktop Motherboard.
7. Warranty and Support
For warranty information and technical support, please refer to the documentation provided with your purchase or contact the seller directly. The product typically includes a return policy, such as the 30-day free return mentioned in the product details.
No official product videos from the seller were found in the provided data to embed in this manual.