Introduction
Thank you for choosing the VEVOR 004-2.44M-D Barn Door Hardware Kit. This manual provides essential information for the safe and correct installation, operation, and maintenance of your new sliding barn door system. Please read these instructions thoroughly before beginning installation to ensure proper setup and to prevent damage or injury. Keep this manual for future reference.

Image: The VEVOR 004-2.44M-D Barn Door Hardware Kit installed on a white barn door, showcasing the 2-section track and J-shape hangers. The image highlights the system's suitability for doors between 4.6-5.2 ft wide and 1.3-1.8 inches thick.
Safety Information
Always follow these safety guidelines to ensure safe installation and operation:
- Read All Instructions: Familiarize yourself with all steps before installation.
- Proper Tools: Use appropriate tools for installation. Ensure they are in good working condition.
- Wall Structure: Verify that the wall where the track will be mounted is structurally sound and can support the weight of the door and hardware. Reinforcement may be necessary.
- Door Weight: Ensure the door's weight does not exceed the maximum load capacity of 150 kg (330 lbs).
- Two-Person Installation: It is recommended to have two people for lifting and hanging the door to prevent injury.
- Clearance: Ensure there is adequate clearance above the door opening for the track and hangers.
- Secure Fasteners: Tighten all screws and bolts securely, but do not overtighten.
- Children and Pets: Keep children and pets away from the installation area.
- Regular Inspection: Periodically check all components for wear, damage, or loose fasteners.
Package Contents
Carefully unpack the box and ensure all items listed below are present and undamaged. If any parts are missing or damaged, please contact VEVOR customer support.
- 2 x 150 cm (5 ft) Sliding Barn Door Rails (Total 300 cm / 10 ft)
- 2 x J-Shaped Hangers
- 7 x Plastic Washers
- 2 x Anti-Jump Pads
- 2 x Door Stops
- 1 x Floor Guide
- 7 x Guide Rail Spacers
- 1 x Installation Tool (Hex Key)
- 1 x Mounting Screw Kit (various screws and anchors)
- 1 x User Manual

Image: A comprehensive view of all accessories included in the VEVOR barn door hardware kit, laid out neatly. This includes the two track sections, J-shape hangers, door stops, floor guide, anti-jump pads, and various mounting hardware.
Specifications
The VEVOR 004-2.44M-D Barn Door Hardware Kit is designed for robust performance and durability. Refer to the table below for detailed product specifications:
| Feature | Specification |
|---|---|
| Model Number | 004-2.44M-D |
| Main Material | Carbon Steel |
| Color | Black |
| Total Track Length | 300 cm (10 ft), composed of two 150 cm sections |
| Max Load Capacity | 150 kg (330 lbs) |
| Adapted Door Width | 1.4 - 1.6 m (4.6 - 5.2 ft) |
| Adapted Door Thickness | 32 - 45 mm (1.3 - 1.8 inches) |
| Net Weight | 7.83 kg (17.3 lbs) |
| Assembly Required | Yes |

Image: A detailed diagram illustrating the dimensions of various components of the VEVOR barn door hardware kit, including the J-shape hanger, track, and mounting hardware. Key measurements for door thickness, width, and load capacity are also provided.
Setup and Installation
Follow these steps carefully for a successful installation. Ensure you have all necessary tools, including a drill, level, measuring tape, and screwdriver.
- Prepare the Wall and Door:
- Measure the width of your door. The track length should be approximately twice the door width for a single door. This kit provides a 300 cm (10 ft) track, suitable for doors 1.4-1.6 m (4.6-5.2 ft) wide.
- Determine the desired height for the track. It should be at least the door height plus the height of the hangers (approximately 11.2 inches / 28.5 cm from the top of the door to the top of the roller). Mark a level line on the wall for the track's top edge.
- Locate wall studs or use appropriate wall anchors for secure mounting. Mark the drilling points for the track spacers.
- Install the Track:
- Drill pilot holes at the marked locations.
- Attach the track spacers to the wall using the provided screws and anchors.
- Mount the two 150 cm track sections onto the spacers, ensuring they are perfectly aligned and level. Secure them firmly.

Image: A close-up view of the installed barn door track with J-shape hangers, demonstrating the secure attachment to the wall and the smooth rolling mechanism. This image illustrates the track assembly and hanger placement.
- Attach Hangers to the Door:
- Place the door on a stable surface.
- Position the J-shaped hangers on the top edge of the door, typically about 2-4 inches from each end. Ensure they are evenly spaced and aligned.
- Mark and drill pilot holes for the hanger bolts.
- Securely attach the hangers to the door using the provided bolts and washers.

Image: Various components of the VEVOR barn door hardware, including a J-shape hanger and track piece, highlighting the robust carbon steel construction. This image emphasizes the durability and quality of the materials used.
- Install Anti-Jump Pads and Door Stops:
- Attach the anti-jump pads to the top edge of the door, near the hangers. These prevent the door from lifting off the track.
- Slide the door stops onto the track from each end. These will prevent the door from sliding too far. Do not tighten them fully yet.
- Install the Floor Guide:
- Once the door is hung (see next step), position the floor guide on the floor directly beneath the door.
- Mark the drilling points for the floor guide.
- Drill pilot holes and secure the floor guide to the floor. Ensure it allows the door to slide smoothly without wobbling.
- Hang the Door:
- With assistance, carefully lift the door and hook the rollers of the hangers onto the track.
- Slide the door back and forth a few times to ensure smooth movement.
- Adjust and Secure:
- Adjust the position of the door stops on the track to control the door's travel range. Tighten them securely with the hex key.
- Ensure all fasteners are tight and the door operates smoothly and safely.
Operating Instructions
The VEVOR Barn Door Hardware Kit is designed for smooth and quiet operation. To operate your barn door:
- Opening and Closing: Gently push or pull the door along the track. The high-density silent pulleys ensure minimal friction and noise.
- Smooth Movement: The double-layered construction of the pulleys contributes to an exceptionally smooth glide. Avoid forcing the door if it encounters resistance.
- Door Stops: The installed door stops will prevent the door from sliding off the track or hitting the wall too hard at the ends of its travel.
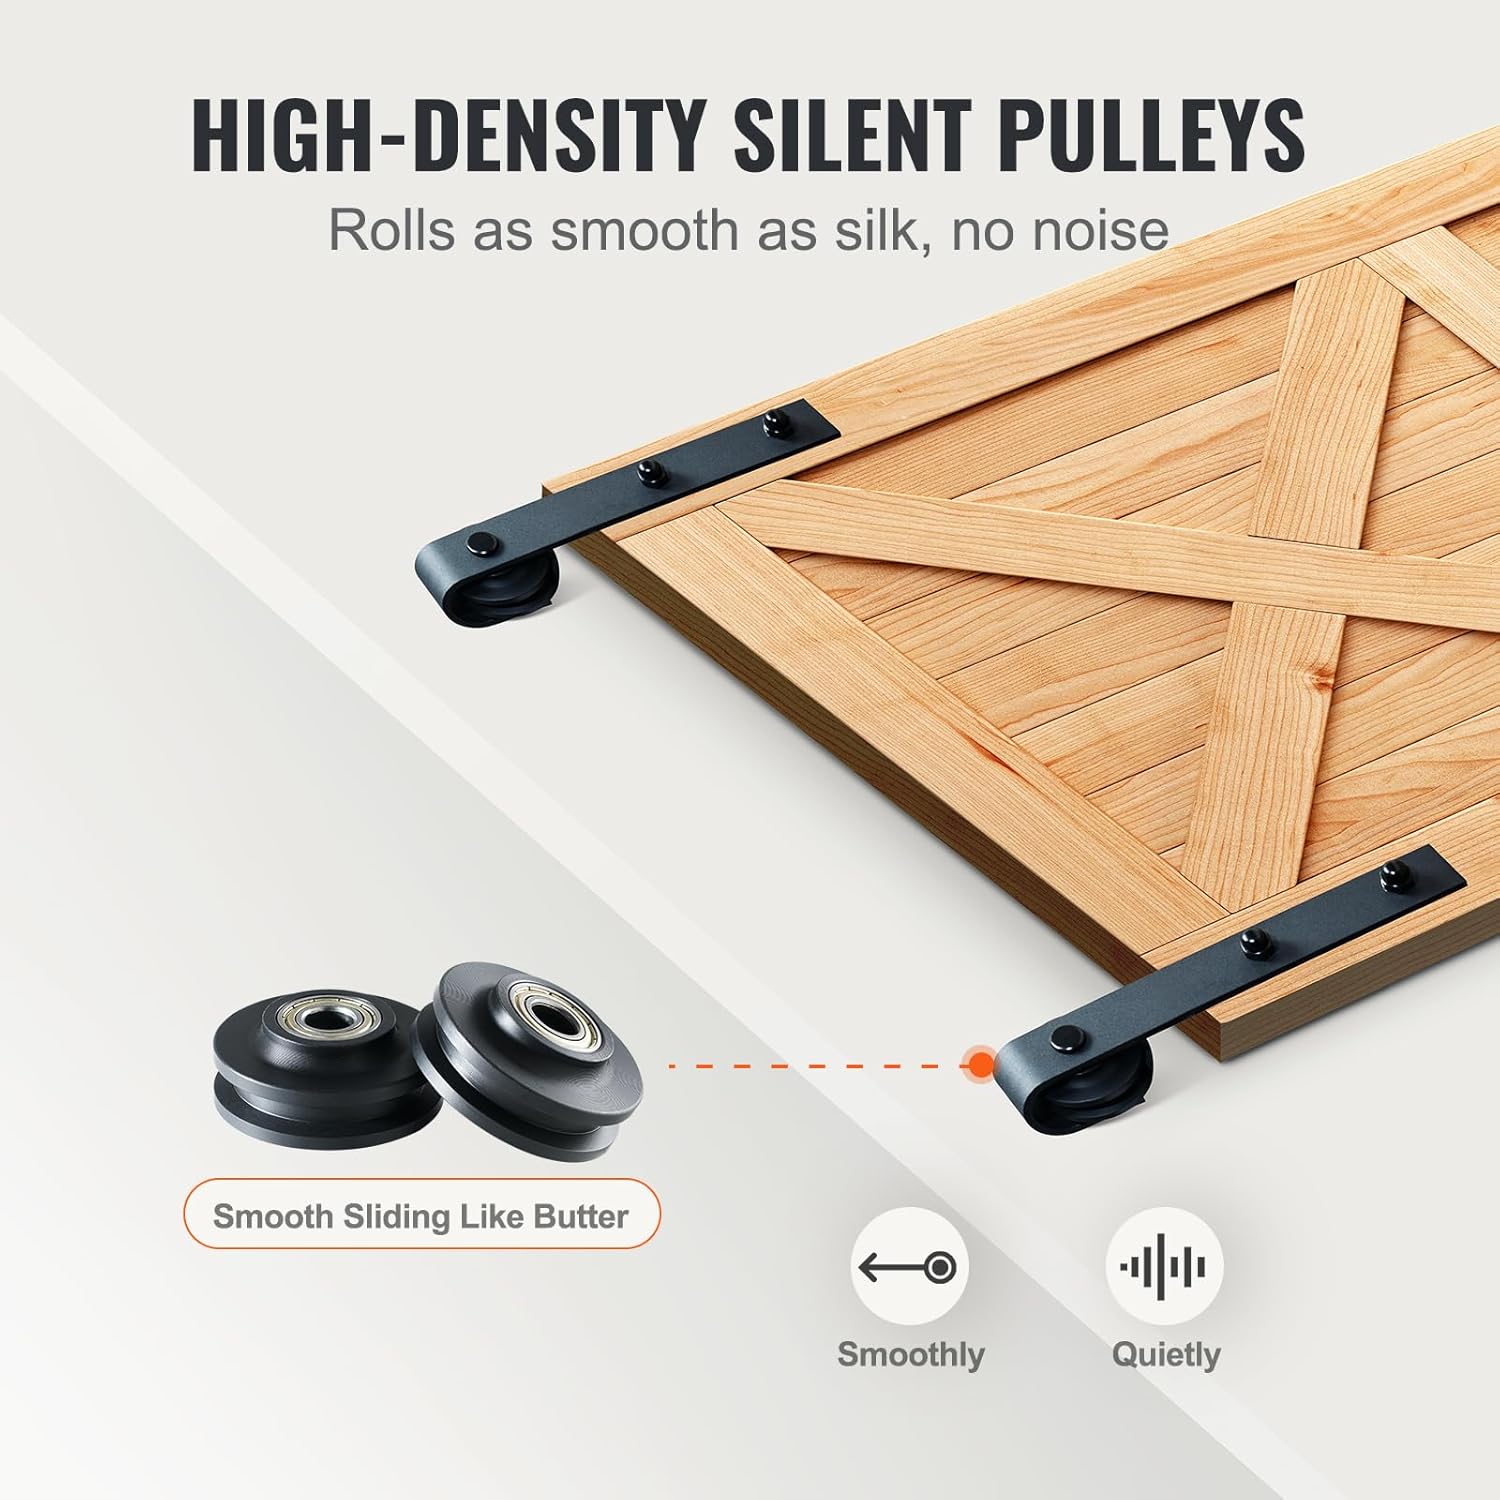
Image: A close-up view of the high-density silent pulleys, emphasizing their smooth sliding capability and quiet operation. The image highlights the design features that contribute to the system's effortless movement.
Maintenance
Regular maintenance will prolong the life and ensure the smooth operation of your barn door hardware:
- Cleaning: Wipe down the track and hangers periodically with a soft, damp cloth to remove dust and debris. Avoid abrasive cleaners.
- Lubrication: If the rollers begin to squeak or feel stiff, apply a small amount of silicone-based lubricant to the roller bearings. Do not use oil-based lubricants as they can attract dust.
- Fastener Check: Annually, or if you notice any looseness, check all mounting screws and bolts on the track, hangers, and floor guide. Tighten any loose fasteners.
- Inspect for Wear: Periodically inspect the rollers and track for any signs of wear or damage. Replace any worn components immediately.
Troubleshooting
If you encounter any issues with your barn door hardware, refer to the following common problems and solutions:
- Door is difficult to slide:
- Check if the track is level. Adjust if necessary.
- Clean the track and rollers of any debris.
- Lubricate the rollers with a silicone spray.
- Ensure the floor guide is not too tight against the door.
- Door wobbles or swings out:
- Ensure the floor guide is properly installed and adjusted to keep the door stable.
- Check if the anti-jump pads are correctly installed on top of the door.
- Loud noise during operation:
- Clean and lubricate the rollers.
- Check for any loose components that might be rattling. Tighten all fasteners.
- Door stops are not holding position:
- Ensure the door stops are tightened securely with the hex key.
Warranty and Support
VEVOR products are designed for durability and performance. For specific warranty information, please refer to the warranty card included with your purchase or visit the official VEVOR website. If you require technical assistance, have questions about installation, or need to report a missing/damaged part, please contact VEVOR customer support through their official channels. Always provide your model number (004-2.44M-D) when seeking support.


