qirita 42" Selfie Stick Tripod with Fill Light
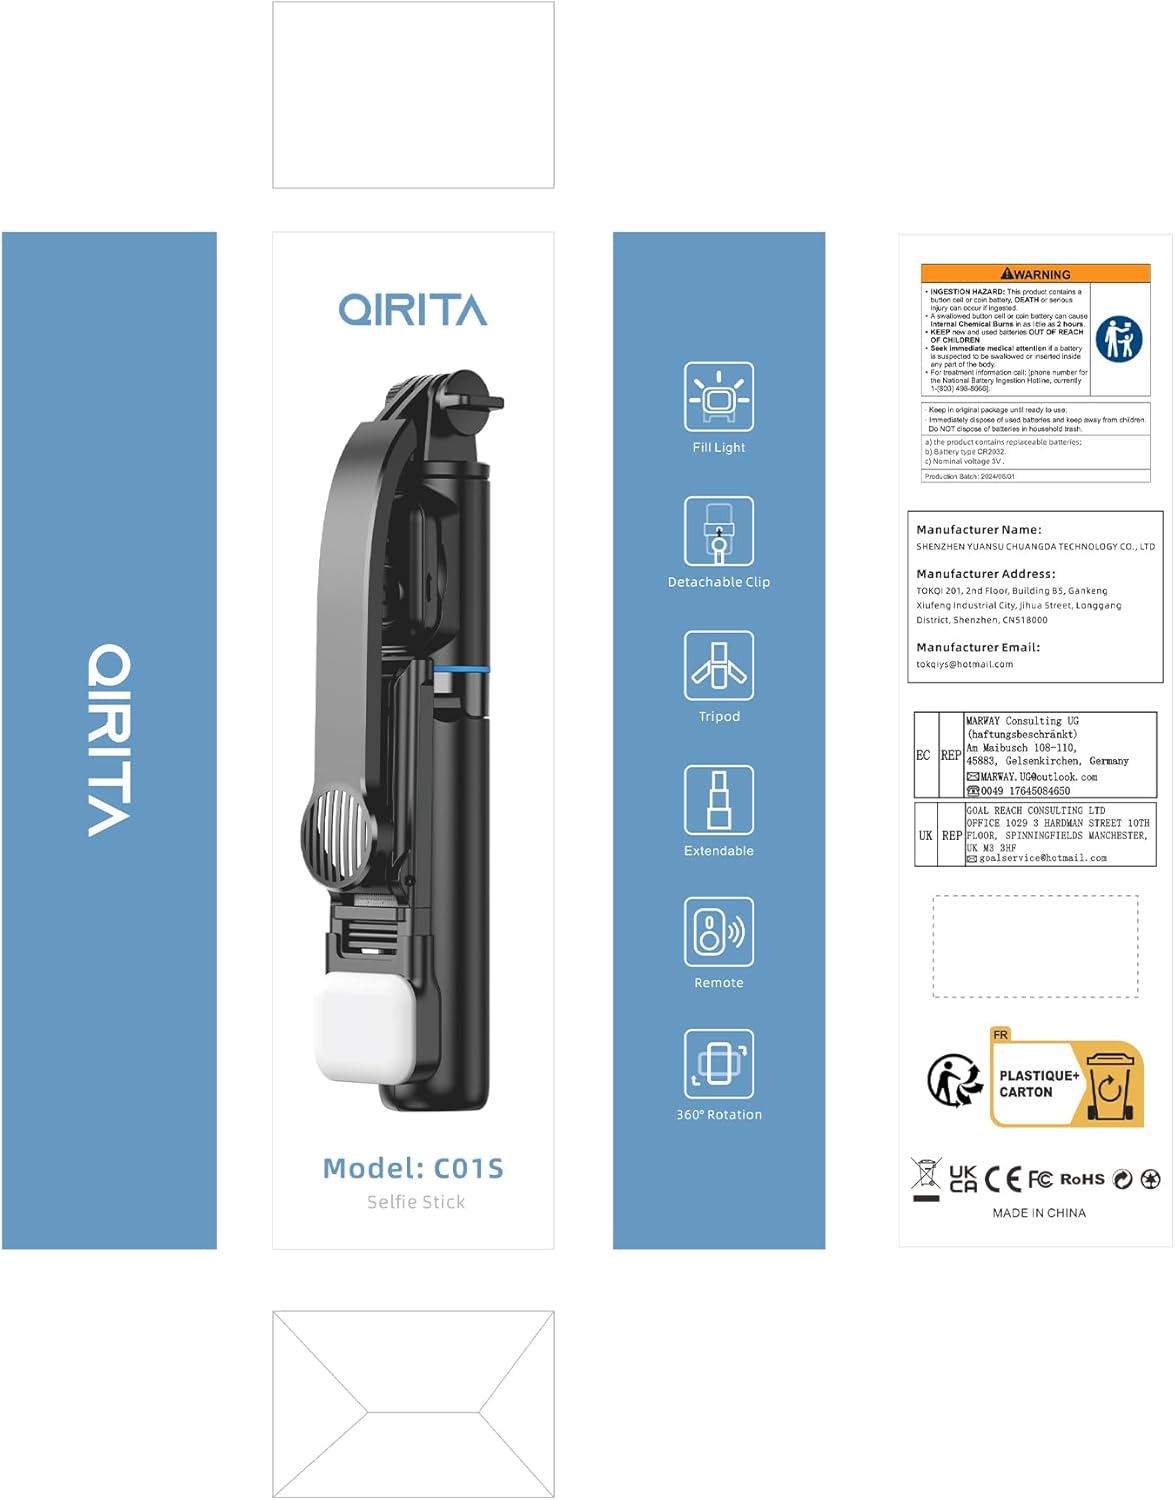
Model: C01S
Introduction
Thank you for choosing the qirita 42" Selfie Stick Tripod. This versatile device combines a selfie stick, a phone tripod, and a tabletop phone stand into one compact unit. It features a detachable wireless remote control for convenient photo and video capture, and an integrated LED fill light with adjustable brightness and color modes to enhance your shots. This manual provides detailed instructions for setup, operation, and maintenance to ensure optimal performance.
What's Included
- 42" Selfie Stick Tripod
- Detachable Wireless Remote Control
- Rechargeable LED Fill Light
- User Manual
Product Overview
Familiarize yourself with the main components of your selfie stick tripod:
- Extendable Pole: Multi-section telescopic pole for adjustable length.
- Tripod Legs: Foldable legs that provide stable support when used as a tripod.
- Phone Holder: Adjustable clip to securely hold your smartphone, with soft silicone padding.
- Fill Light: Detachable LED light with multiple brightness and color temperature settings.
- Remote Control: Detachable Bluetooth remote for wireless photo and video capture.
- Rotation Joint: Allows for 360° rotation and 225° tilt of the phone holder.

Overall view of the qirita Selfie Stick Tripod, highlighting its various configurations and components.
Setup Guide
1. Unfolding the Tripod
- Hold the main body of the selfie stick.
- Gently pull the bottom part downwards to extend the tripod legs. Ensure the legs are fully spread for maximum stability.
2. Attaching Your Phone
- Extend the phone holder clip.
- Carefully place your smartphone into the clip, ensuring it is securely held by the soft silicone pads. The clip is compatible with most smartphones between 2.5-3.7 inches (65-95mm) in width.

Securely attach your smartphone to the adjustable phone holder.
3. Pairing the Remote Control
- Locate the detachable remote control on the handle of the selfie stick. Slide it out to remove.
- Turn on the remote control (usually by pressing and holding the button). An indicator light will flash, indicating it's in pairing mode.
- On your smartphone, go to Bluetooth settings and search for new devices. Select 'Selfie' or a similar name to connect.
- Once paired, the indicator light on the remote will stop flashing. The remote supports shooting within 30 ft (10m) and is compatible with iOS and Android devices without needing an additional app.

Pair the detachable remote control with your smartphone via Bluetooth.
4. Using the Fill Light
- The LED fill light is rechargeable and can be attached to the phone holder.
- Press the button on the side of the fill light to cycle through 2 brightness levels and 3 lighting modes: white, natural, and warm. Adjust to your desired lighting condition.

The fill light offers multiple color temperatures and brightness settings.
Operating Instructions
1. Extending the Selfie Stick
- Hold the base of the selfie stick and gently pull the phone holder upwards to extend the telescopic poles.
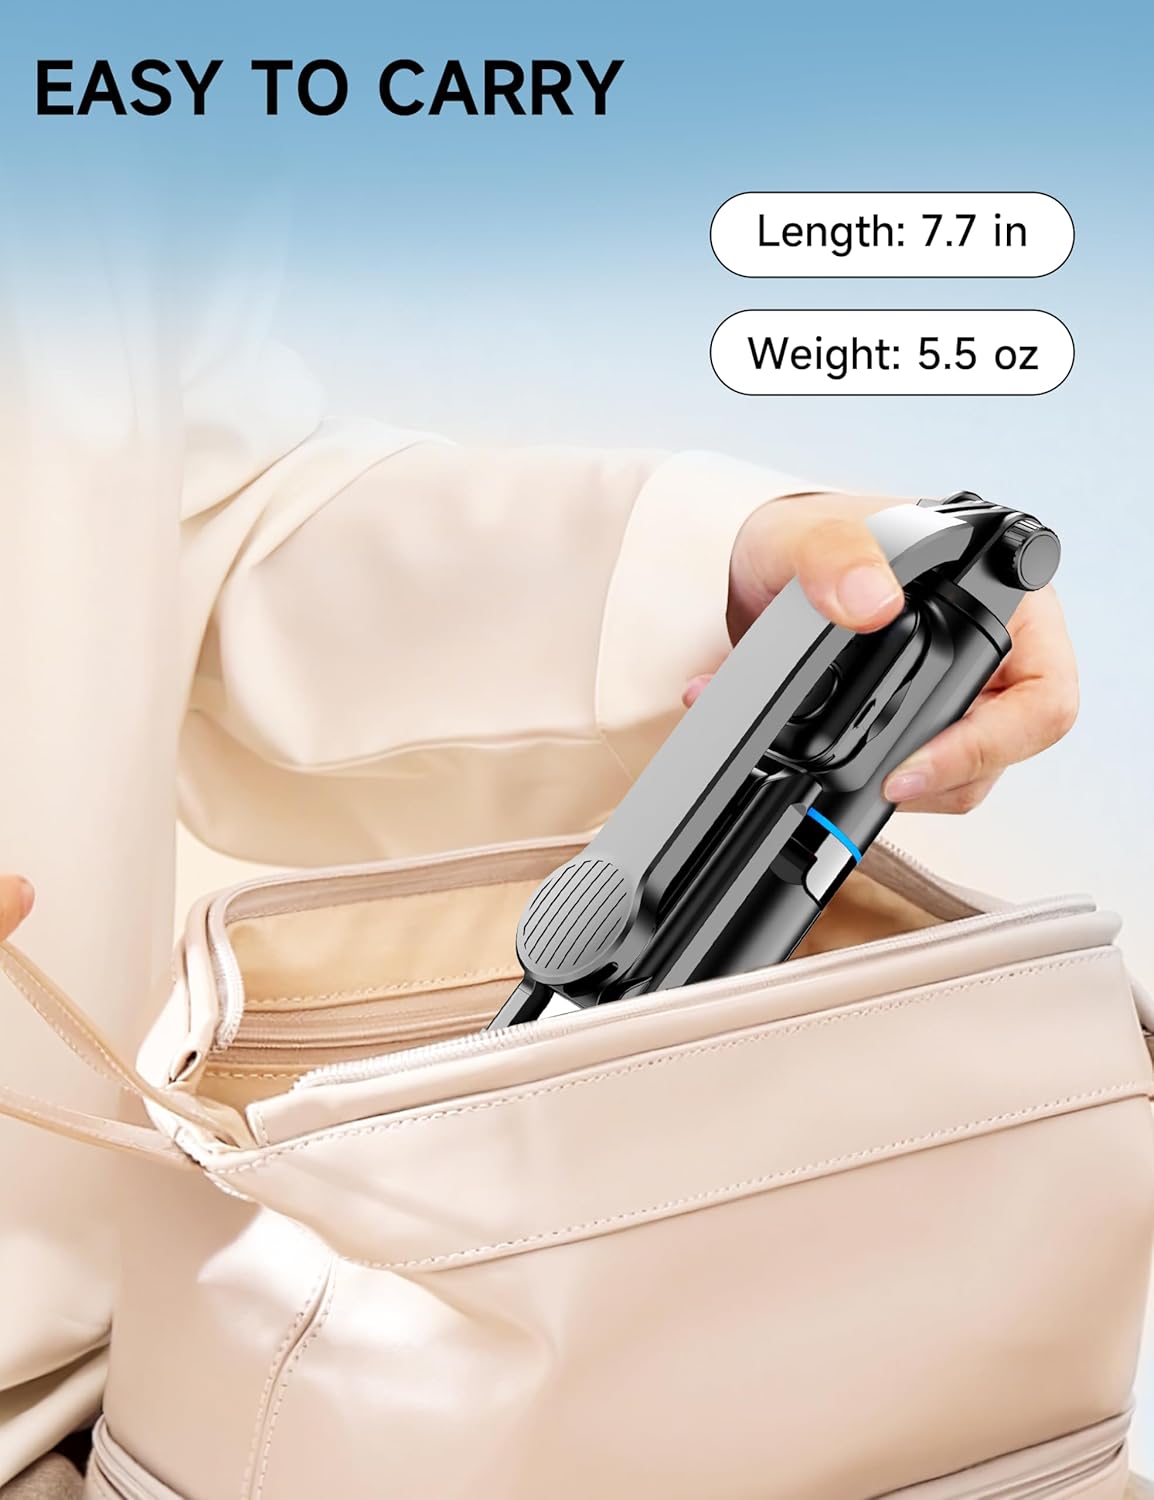
- The stick can be adjusted from 7.7 inches (19.6cm) to 42 inches (107cm). Extend it to your desired length for wider landscape shots or group photos.
- For optimal stability, especially when using as a tripod, extend it to the shortest possible length that meets your needs.

Extend the pole to capture wider scenes or group photos.
2. Adjusting Angles
- The phone holder features a 360° rotatable clip, allowing you to switch between horizontal and vertical orientations.
- The main arm of the phone holder can be tilted up to 225° for elevated and overhead shots, helping you find the best shooting angle for diverse compositions.

Adjust the phone holder for optimal shooting angles and orientations.
3. Using as a Tabletop Stand
- The phone clip can be detached from the main pole.
- Once detached, the phone clip can be used independently as a tabletop stand, ideal for watching videos, TV shows, or making video calls.
The phone clip can be detached and used as a convenient tabletop stand.
Maintenance
- Cleaning: Wipe the selfie stick tripod with a soft, dry cloth. Avoid using harsh chemicals or abrasive materials.
- Storage: When not in use, fold the tripod completely and store it in a cool, dry place away from direct sunlight and extreme temperatures.
- Battery Care: For the remote control and fill light, ensure they are charged regularly. If storing for an extended period, charge them to about 50% to prolong battery life.
The compact design makes it easy to carry and store.
Troubleshooting
Remote Control Not Connecting
- Check Battery: Ensure the remote control has sufficient battery power.
- Re-pair: Turn off and on both the remote and your phone's Bluetooth. Try re-pairing the devices.
- Clear Bluetooth History: On your phone, forget the device in Bluetooth settings and then attempt to pair again.
Tripod Stability Issues
- Fully Extend Legs: Ensure all three tripod legs are fully extended and locked into position.
- Flat Surface: Use the tripod on a stable, flat surface. Uneven ground can affect stability.
- Extension Length: The shorter the extension, the more stable the tripod will be. Avoid over-extending in windy conditions or on unstable surfaces.
Fill Light Not Working
- Charge Battery: Ensure the fill light is fully charged.
- Proper Attachment: Verify that the fill light is securely attached to the phone holder.
Specifications
| Feature | Detail |
|---|---|
| Model Name | C01S |
| Brand | qirita |
| Material | Aluminum |
| Maximum Height | 42 Inches (107 cm) |
| Folded Length | 7.7 Inches (19.6 cm) |
| Item Weight | 5.9 ounces (167 Grams) |
| Weight Limit | 1.1 Pounds |
| Compatible Devices | Smartphone (2.5-3.7 inch / 65-95mm width) |
| Fill Light | Rechargeable LED, 2 Brightness Levels, 3 Lighting Modes (White, Natural, Warm) |
| Remote Control Range | Up to 30 ft (10m) |
| Battery | 1 Lithium Metal battery (included) |
Warranty and Support
For warranty information or technical support, please refer to the product packaging or contact qirita customer service directly through the retailer where you purchased the product. Keep your purchase receipt as proof of purchase.

