
1. Product Overview
The Xmenha Kids Wireless Bluetooth Cat Ear Headphones, Model KE11, are designed to provide an engaging audio experience for children. These headphones feature a unique design with light-up cat ears and heart-shaped LED lights on the earcups. They offer multiple connectivity options, including Bluetooth wireless, a 3.5mm audio cable for wired use, and a memory card slot for MP3 playback. An adjustable noise-canceling microphone is integrated for clear communication.
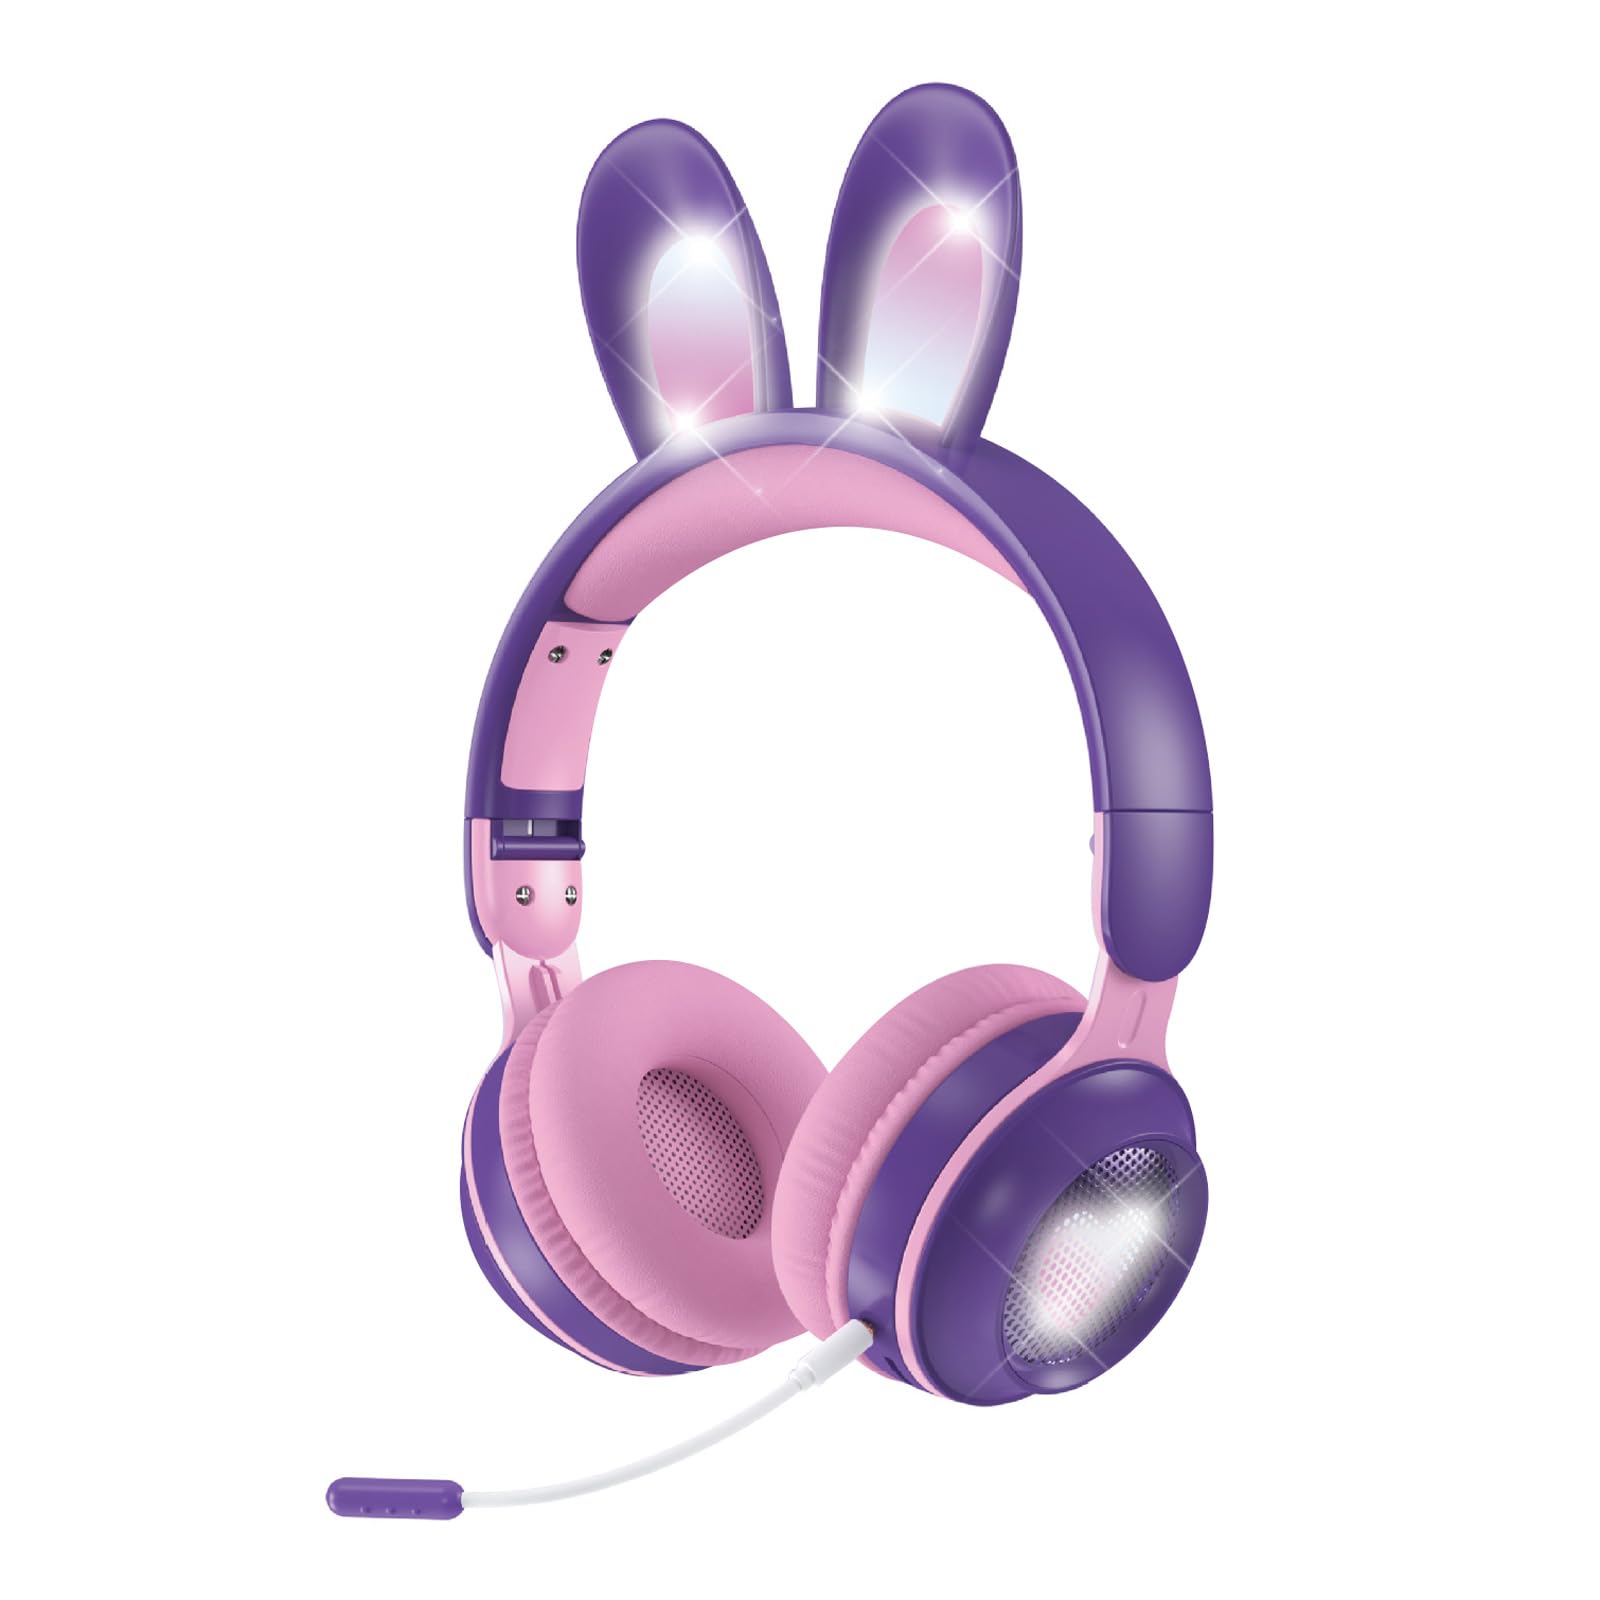
Figure 1: Xmenha Kids Wireless Bluetooth Cat Ear Headphones in Purple.
Key Features:
- Light-Up Cat Ears & Heart-Shaped LED Lights: Unique multi-color gradient LED lights on earcups and cat ears.
- Multiple Connectivity Options: Supports Bluetooth wireless, 3.5mm audio cable, and memory card (not included) for MP3 playback.
- Adjustable Headband & Soft Earmuffs: Provides a comfortable fit and improved sound isolation.
- Foldable Design: Easy to carry and store, suitable for travel.
- Built-in Microphone: Adjustable noise-canceling microphone for clear voice communication.
- Wide Compatibility: Works with smartphones, tablets, gaming consoles, Chromebooks, Kindle Fire, Switch, and iPad.
Video 1: This video demonstrates the features and various color options of the Xmenha Kids Bluetooth Headphones, including the light-up cat ears and microphone.
2. Package Contents
Please check the package contents upon unboxing to ensure all items are present:
- Xmenha Kids Wireless Bluetooth Cat Ear Headphones (1 unit)
- 3.5mm Audio Cable (1 unit)
- USB-C Charging Cable (1 unit)
- User Manual (this document)
3. Controls and Indicators
Familiarize yourself with the headphone controls and ports:

Figure 2: Illustration of upgraded Bluetooth 5.0 technology and various ports on the headphones.
- Power Button: Typically located on one earcup, used for powering on/off and Bluetooth pairing.
- Volume Buttons: Used to adjust audio volume.
- Multi-function Button: For play/pause, answer/end calls (functionality may vary).
- USB-C Charging Port: For connecting the charging cable.
- 3.5mm Audio Jack: For wired connection using the included audio cable.
- Memory Card Slot: For inserting a microSD card (not included) for MP3 playback.
- Microphone Port: For connecting the adjustable microphone.
- LED Indicator: Shows power status, charging status, and Bluetooth pairing mode.
4. Setup and Connection
4.1 Charging the Headphones
- Connect the provided USB-C charging cable to the charging port on the headphones.
- Connect the other end of the USB-C cable to a USB power adapter (not included) or a computer's USB port.
- The LED indicator will show the charging status. Charging time is approximately 2.5 hours.
- Once fully charged, the LED indicator will change (refer to specific LED behavior in the full manual if available).
4.2 Powering On/Off
- To Power On: Press and hold the Power button for approximately 3 seconds until the LED indicator lights up and you hear an audible prompt.
- To Power Off: Press and hold the Power button for approximately 3-5 seconds until the LED indicator turns off and you hear an audible prompt.
4.3 Bluetooth Pairing
- Ensure the headphones are powered off.
- Press and hold the Power button for approximately 5-7 seconds until the LED indicator flashes rapidly (usually blue and red alternately), indicating pairing mode.
- On your device (smartphone, tablet, etc.), enable Bluetooth and search for available devices.
- Select "Xmenha KE11" (or similar name) from the list of found devices.
- Once paired, the LED indicator will stop flashing and remain solid blue, and you will hear a connection confirmation sound.
4.4 Wired Connection
To use the headphones in wired mode:
- Connect one end of the 3.5mm audio cable to the 3.5mm audio jack on the headphones.
- Connect the other end of the audio cable to the audio output jack of your device.
- The headphones will automatically switch to wired mode. Bluetooth functionality will be disabled.
4.5 Memory Card Playback
The headphones support playback from a microSD card (not included).
- Carefully insert a microSD card with MP3 audio files into the memory card slot on the headphones.
- The headphones should automatically detect the card and begin playing music.
- Use the headphone controls to manage playback (play/pause, skip tracks).
5. Operation
5.1 Audio Playback
- Play/Pause: Press the Multi-function button once.
- Volume Up: Press the Volume Up button.
- Volume Down: Press the Volume Down button.
- Next Track: Press and hold the Volume Up button (or specific button, refer to product diagram).
- Previous Track: Press and hold the Volume Down button (or specific button, refer to product diagram).
5.2 Microphone Use
The adjustable microphone can be used for voice calls or in-game communication.
- Connect the microphone to its dedicated port on the headphones.
- Adjust the microphone's position for optimal voice pickup.
- When a call comes in (in Bluetooth mode), press the Multi-function button to answer. Press again to end the call.

Figure 3: Headphones with an adjustable noise-canceling microphone for clear communication.
5.3 Light Show Activation
The headphones feature light-up cat ears and heart-shaped LED lights on the earcups.
- The lights typically activate automatically when the headphones are powered on.
- Some models may have a dedicated button to toggle the lights on/off or change light modes. Refer to the product diagram for specific controls.
6. Maintenance and Care
- Cleaning: Use a soft, dry cloth to clean the headphones. Do not use abrasive cleaners or solvents.
- Storage: When not in use, store the headphones in a cool, dry place. The foldable design allows for compact storage.
- Avoid Moisture: Although the product description mentions