
LUXOAK CNS005-02
LUXOAK Farmhouse 6-Drawer Dresser Instruction Manual
Model: CNS005-02
Brand: LUXOAK
Introduction
This manual provides detailed instructions for the assembly, operation, and maintenance of your LUXOAK Farmhouse 6-Drawer Dresser (Model CNS005-02). Please read all instructions carefully before beginning assembly and retain this manual for future reference. This dresser is designed for use in bedrooms, living rooms, and hallways, offering ample storage with a rustic farmhouse aesthetic.
Important Safety Information
- Always follow assembly instructions precisely.
- Ensure all parts are securely fastened before use.
- Do not allow children to climb on or play with the dresser.
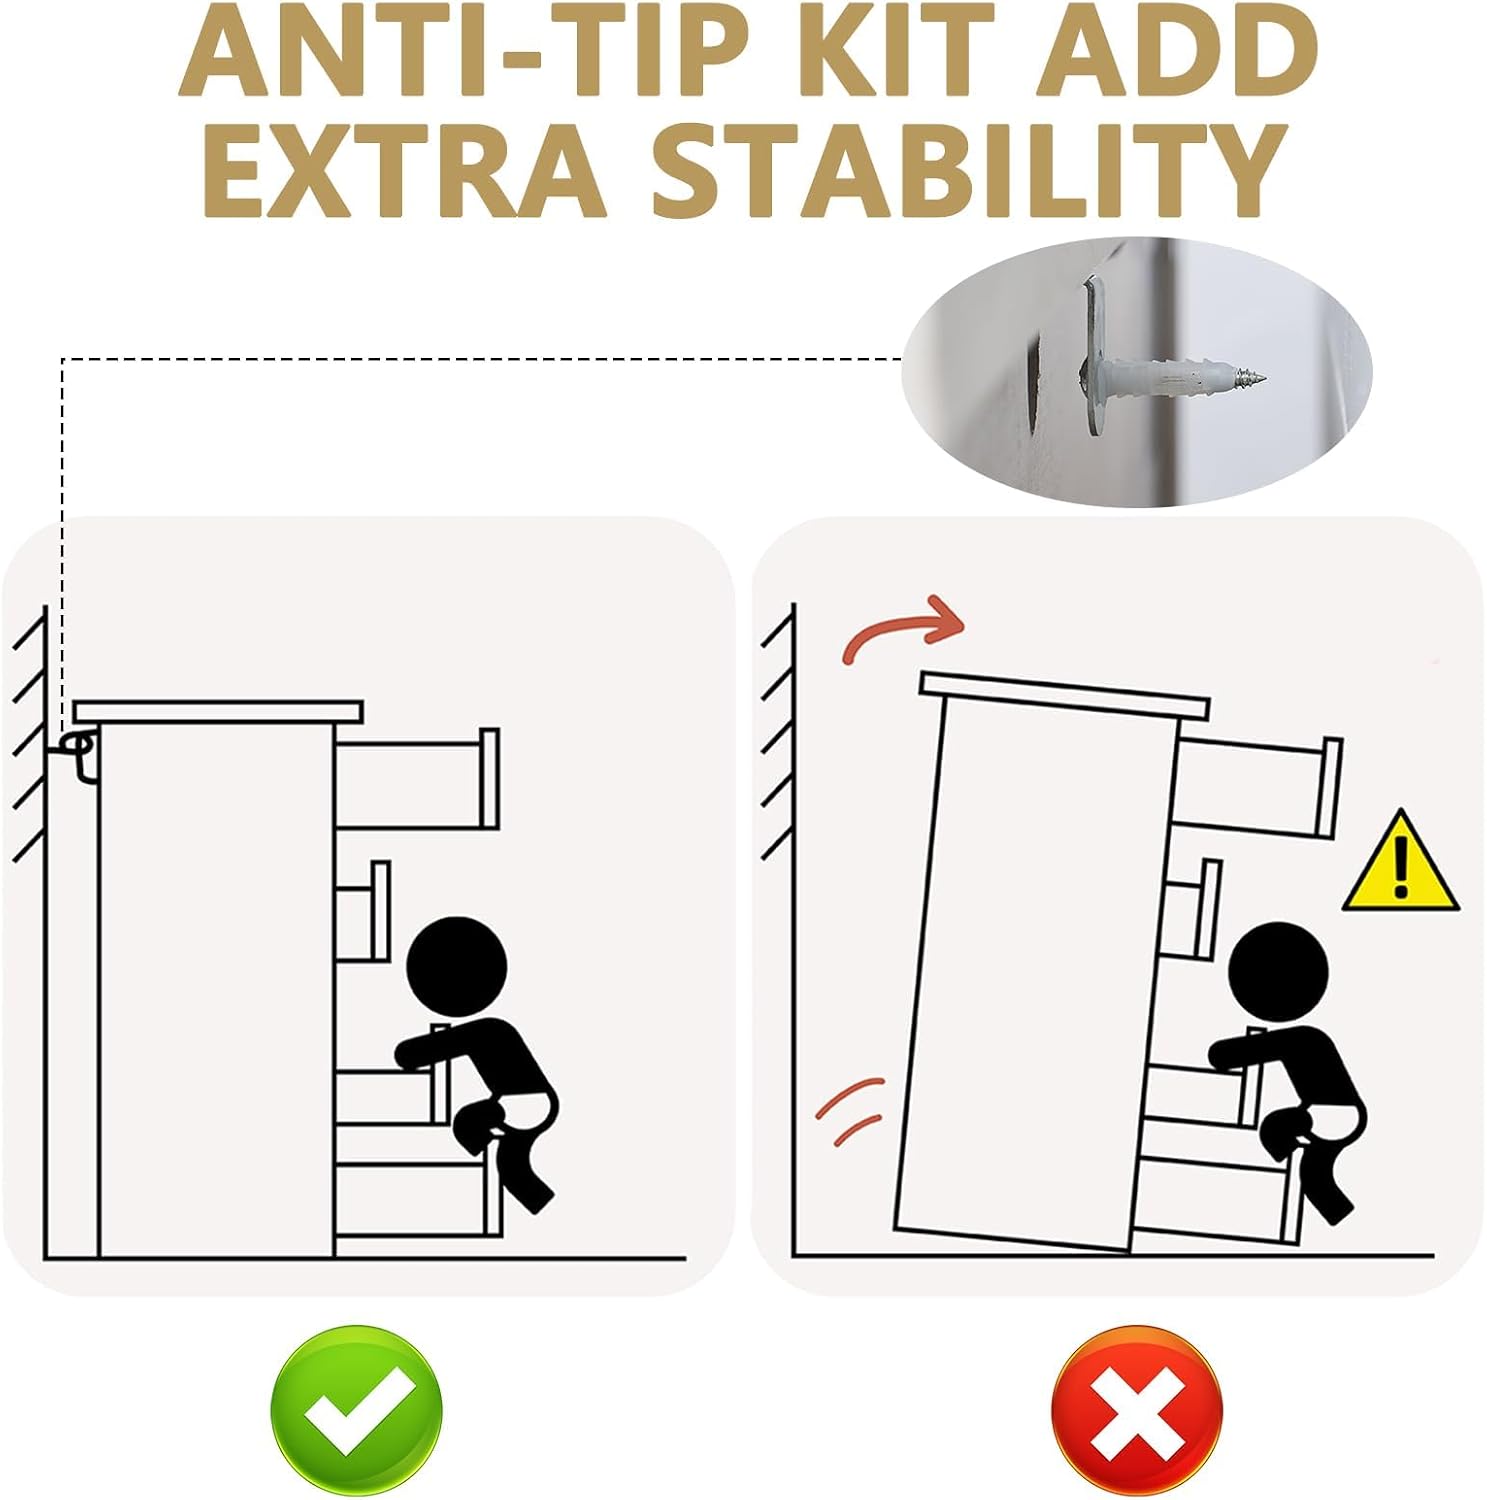
- Anti-Tip Device: It is highly recommended to install the included anti-tip device to prevent serious injury from tipping furniture. Secure the dresser to a wall stud using the provided hardware.
- Do not overload drawers. Distribute weight evenly.
- Keep small parts away from children during assembly.
Parts and Hardware
Before beginning assembly, verify that all components and hardware are present and undamaged. Refer to the detailed parts list provided in your product packaging. Key components include:
- Top Panel, Side Panels, Bottom Panel
- Drawer Fronts, Drawer Sides, Drawer Backs, Drawer Bottoms
- Metal Sliding Rails (pre-installed on some parts)
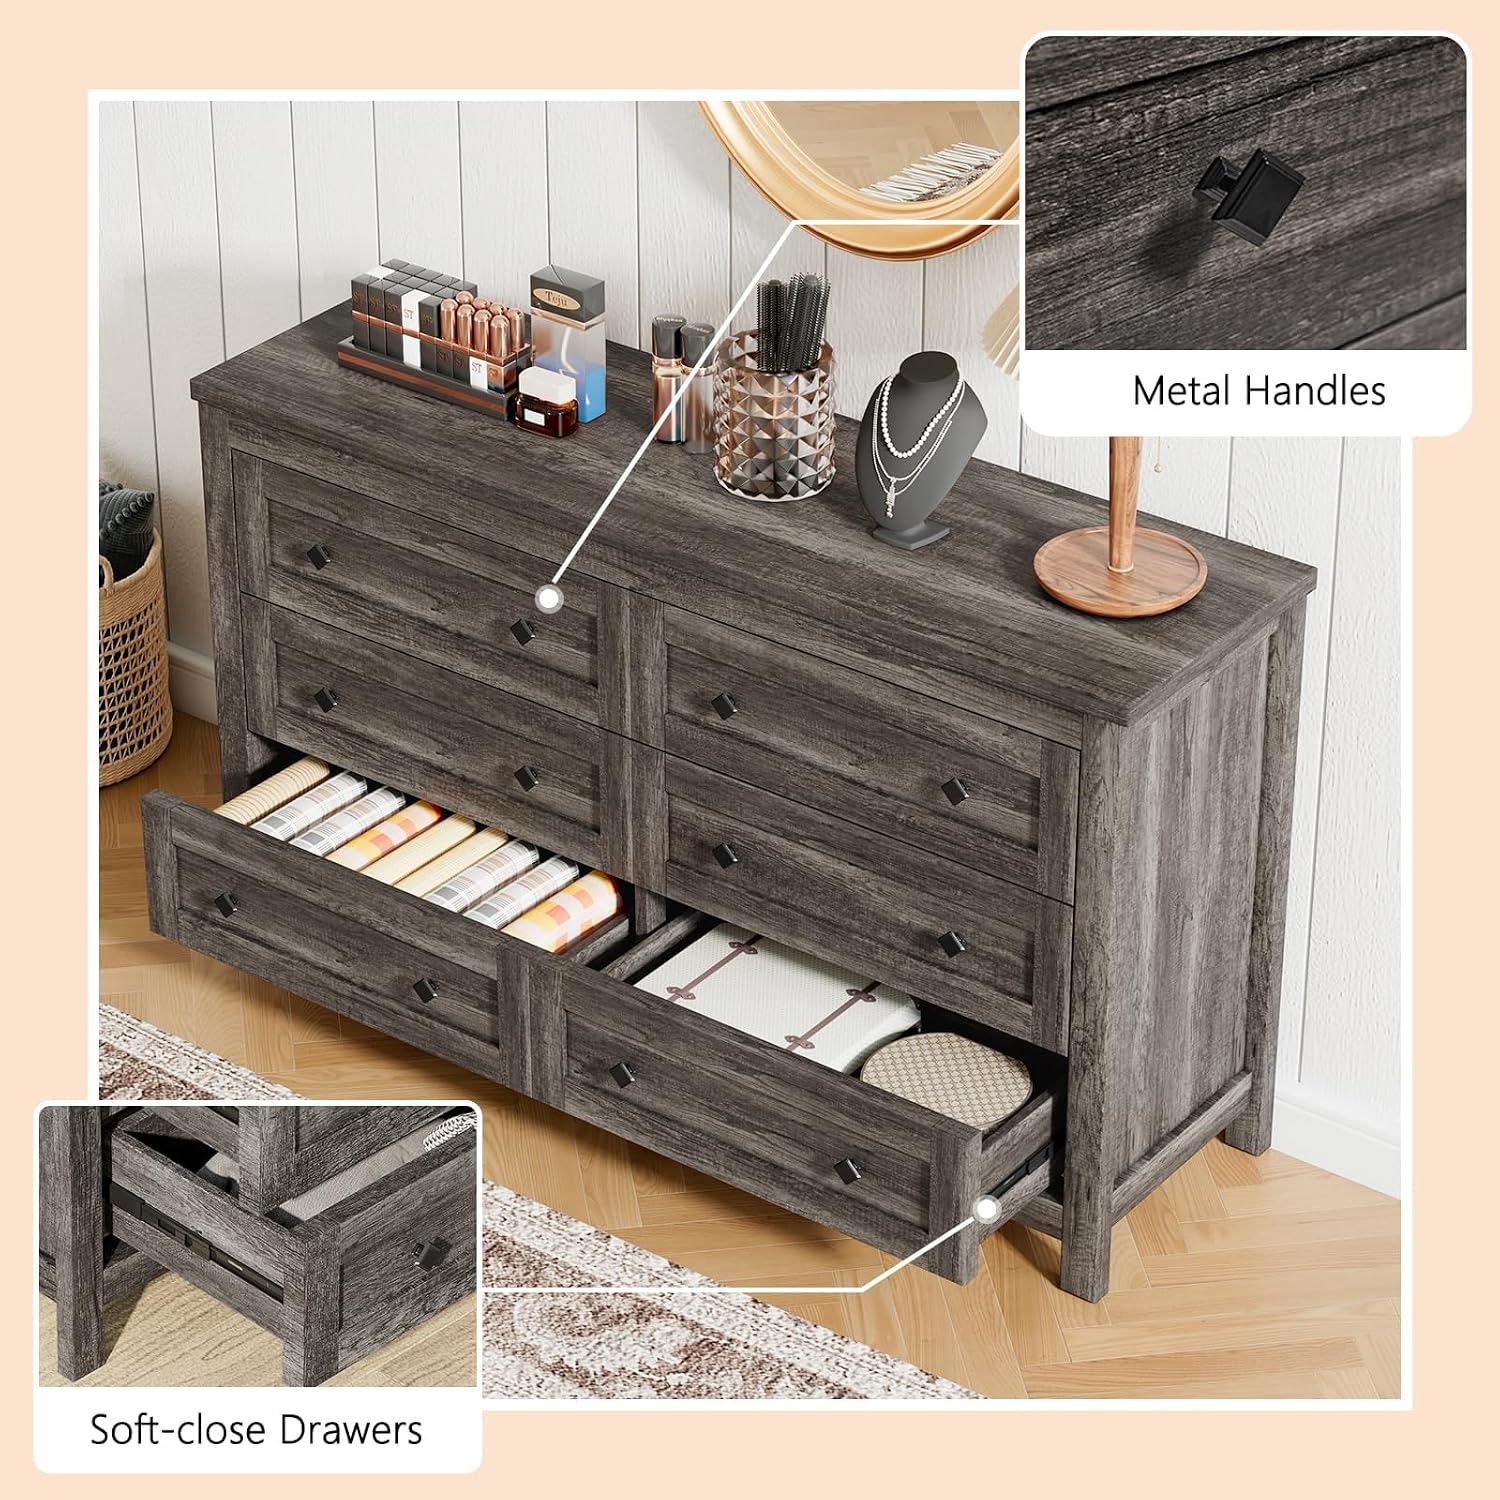
- Black Metal Handles
- Various screws, dowels, and cam locks
- Anti-tip kit (strap, screws, wall anchor)
Assembly Instructions
Assembly typically requires two people and can be completed within approximately 2 hours. All parts are numbered for easy identification. Follow the step-by-step diagrams provided in your package. A general overview of the assembly process is provided below:
Step 1: Prepare Drawer Components
Attach the necessary hardware (e.g., cam bolts) to the drawer side panels and drawer fronts as indicated in the diagrams. Ensure all connections are snug.
Step 2: Assemble Drawer Boxes
Connect the drawer sides, fronts, and backs using the specified hardware. Slide the drawer bottoms into the grooves. Secure the drawer boxes. The metal sliding rails are often pre-installed on the drawer sides for simplified installation.
Step 3: Construct the Main Dresser Frame
Assemble the side panels, bottom panel, and internal support panels of the dresser frame. Use the appropriate hardware (dowels, cam locks, screws) to create a sturdy structure. Ensure all connections are tight.
Step 4: Attach the Top Panel and Back Panel
Secure the top panel to the assembled frame. Attach the back panel using small nails or screws to enhance stability and square the unit. The back panel may include cutouts for cable management if used as a media console.
Step 5: Install Drawers and Handles
Carefully insert the assembled drawers into the dresser frame, aligning them with the pre-installed slide rails. Attach the black metal handles to each drawer front. Test each drawer for smooth operation. If a drawer does not slide smoothly, remove it and re-insert it, ensuring the ball bearings are aligned.

Step 6: Install Anti-Tip Kit
Position the dresser in its desired location. Secure the anti-tip strap to the back of the dresser and to a wall stud using the provided hardware. This step is critical for safety.
Assembly Video Reference
Video 1: Detailed assembly guide for the Farmhouse 6-Drawer Dresser. This video provides a visual walkthrough of the entire assembly process, from unpacking to final placement.
Operating Instructions
Your LUXOAK 6-Drawer Dresser is designed for convenient storage. Each drawer is equipped with smooth-gliding metal rails for easy opening and closing.
- Drawer Use: Gently pull the black metal handles to open drawers and push to close. The soft-close mechanism ensures quiet operation.
- Storage Capacity: The six large drawers provide ample space for clothing, linens, and other personal items. The overall dimensions are 54"W x 15.7"D x 31.4"H, with inner drawer dimensions of 22.4"W x 13.4"D x 4.6"H.
- Weight Limits: The tabletop supports up to 220 lbs. Each drawer can hold up to 34 lbs. Do not exceed these weight limits to maintain structural integrity.


Video 2: Overview of the Farmhouse 6-Drawer Dresser, showcasing its design, drawer functionality, and overall appearance.
Maintenance and Care
To ensure the longevity and appearance of your dresser, follow these care guidelines:
- Cleaning: Wipe the surface with a dry, soft cloth. Avoid using harsh chemicals or abrasive cleaners, which can damage the wood grain finish.
- Spills: Immediately wipe up any spills to prevent staining or water damage.
- Sunlight: Avoid prolonged exposure to direct sunlight to prevent fading or discoloration.
- Humidity: Maintain a stable humidity level in the room to prevent wood warping or cracking.
- Hardware: Periodically check and tighten all hardware connections to ensure stability.
Troubleshooting
| Problem | Possible Cause | Solution |
|---|---|---|
| Drawers do not slide smoothly or get stuck. | Misaligned drawer rails or ball bearings. | Remove the drawer, ensure the ball bearings on the main slides are at the front, and re-insert the drawer, aligning both sides simultaneously. Open and close slowly several times to seat the bearings. |
| Dresser feels wobbly or unstable. | Loose hardware or uneven floor. | Check and tighten all screws and cam locks. Ensure the dresser is on a level surface; use shims if necessary. Verify the anti-tip device is securely installed. |
| Parts are missing or damaged. | Manufacturing or shipping error. | Contact LUXOAK customer support with your model number and a description of the issue for assistance. |
Product Specifications
| Brand: | LUXOAK |
| Model Name: | CNS005-02 |
| Overall Dimensions: | 54"W x 15.7"D x 31.4"H |
| Drawer Inner Size: | 22.4"W x 13.4"D x 4.6"H |
| Number of Drawers: | 6 |
| Color: | Grey (Rustic Wood Grain Finish) |
| Material: | Engineered Wood |
| Tabletop Weight Capacity: | 220 lbs |
| Drawer Weight Capacity: | 34 lbs per drawer |
| Assembly Required: | Yes |
Warranty and Customer Support
For warranty information, missing parts, or any questions regarding your LUXOAK dresser, please refer to the warranty card included in your product packaging or contact LUXOAK customer support directly. Please have your model number (CNS005-02) ready when contacting support for faster service.
Contact Information: Please refer to the contact details provided with your purchase or on the official LUXOAK website.
Ask a question about this manual
Ask about setup, troubleshooting, compatibility, parts, safety, or missing instructions. Manuals+ will review the question and use this page’s manual context to help answer it.