1. Important Safety Information
Read and understand all safety warnings and instructions before operating this pneumatic air impact wrench. Failure to follow these instructions may result in serious injury.
- Always wear appropriate personal protective equipment (PPE) including eye protection, hearing protection, and gloves.
- Ensure the air supply is disconnected before performing any maintenance, changing accessories, or when the tool is not in use.
- Do not exceed the recommended operating pressure.
- Keep your work area clean and well-lit. Cluttered or dark areas invite accidents.
- Keep children and bystanders away while operating a power tool. Distractions can cause you to lose control.
- Use only clean, dry, regulated compressed air. Moisture and contaminants can damage the tool.
- Inspect air hoses and connections for wear or damage before each use. Replace damaged components immediately.
- Do not carry the tool by the air hose.
- Avoid accidental starting. Be sure the switch is in the off-position before connecting to the air supply.
- Maintain proper footing and balance at all times.
- Use only accessories specifically designed for impact wrenches and rated for the tool's torque output.
- Do not modify the tool. Any modifications can compromise safety and void the warranty.
2. Product Overview
The Vomeko KP-549 is a heavy-duty 1-inch drive pneumatic air impact wrench engineered for demanding mechanical repair tasks on trucks and heavy machinery. It delivers substantial torque output and incorporates features for efficient and reliable operation.
Key Features:
- Heavy Mechanical Repair Solution: This tool is specifically designed for high-volume repair jobs on trucks and other heavy machinery. Its robust construction is tailored to efficiently handle tough fastening and loosening tasks.
- Impressive Torque: Capable of delivering up to 2200 Nm of maximum torque, providing ample power for stubborn fasteners. It also manages air consumption efficiently, making it a cost-effective choice for heavy-duty applications.
- Enhanced Design Features: Includes an extended anvil for improved access, an integrated start switch, and a 3-level impact adjustment mechanism for precise fastening control. This design provides significant power for loosening while offering adjustable settings for various applications.
- Eco-Friendly Operation: As a pneumatic tool, it utilizes compressed air for power, offering an environmentally conscious alternative compared to other power sources.
- Strong Construction: The KP-549 Air Impact Wrench is built with durable materials to withstand rigorous conditions. An ergonomic soft grip and detachable side handles ensure user comfort during prolonged use, enhancing the user experience and reducing fatigue.

Image 1: The Vomeko KP-549 1 Inch Drive Heavy-Duty Pneumatic Air Impact Wrench, showcasing its robust design and extended anvil.
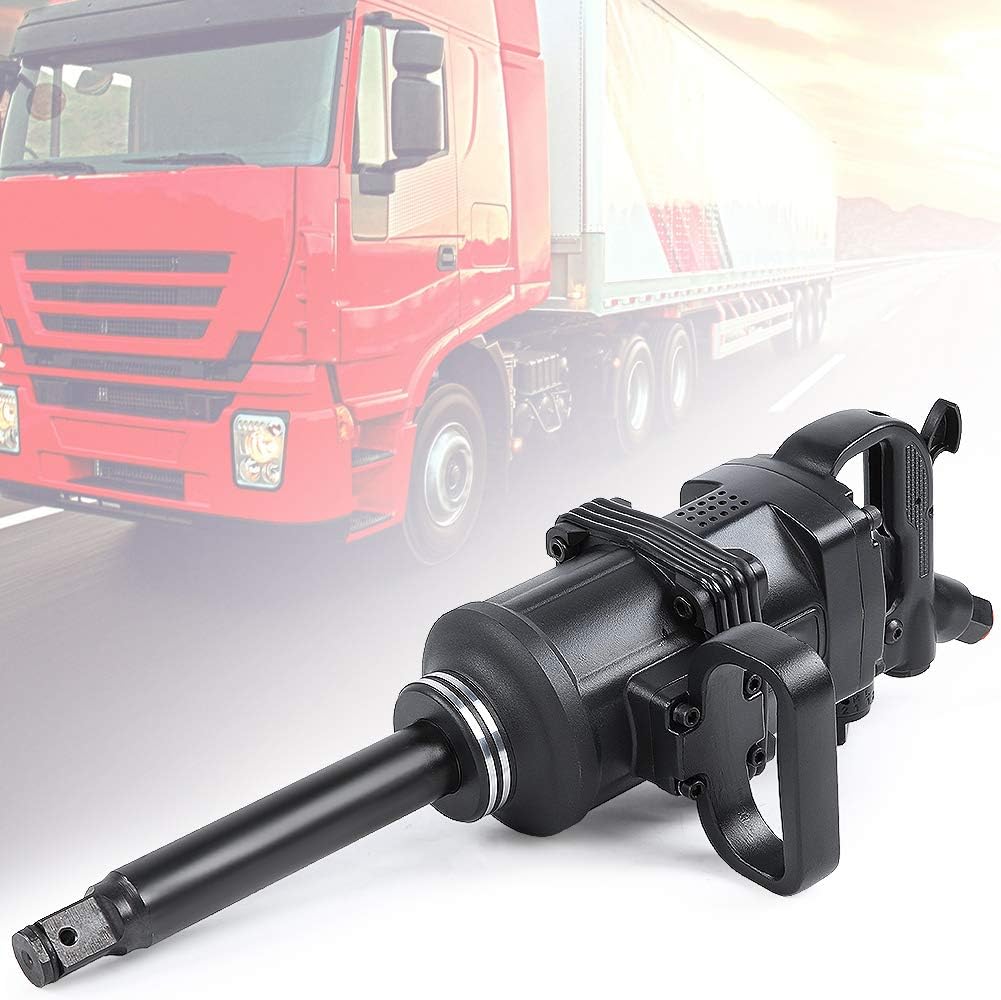
Image 2: The Vomeko KP-549 Impact Wrench positioned in front of a truck, illustrating its intended use for heavy machinery.

Image 3: The Vomeko KP-549 Impact Wrench shown in an operational context, with heavy trucks in the background, emphasizing its suitability for high-volume repair work.
3. Package Contents
Please verify that all items listed below are included in your package. If any items are missing or damaged, please contact customer support.
- 1 x Air Wrench
- 1 x Handle
- 1 x Air Inlet
- 1 x Hex Wrench
- 4 x Screw
- 4 x Screw Washer
- 1 x English Manual (This document)
4. Setup and Installation
Follow these steps to set up your Vomeko KP-549 Air Impact Wrench for operation.
- Attach Handle: Securely attach the auxiliary handle to the main body of the air wrench using the provided screws and washers. Ensure it is tightened properly for safe operation.
- Connect Air Inlet: Thread the 1/2 inch air inlet connector into the tool's air inlet port. Use thread sealant tape if necessary to ensure a tight, leak-free connection.
- Air Supply Preparation: Connect the air inlet to a clean, dry, and regulated compressed air supply. Ensure your air compressor can provide sufficient airflow (0.5 M³/Min average air consumption) and pressure.
- Filter Regulator Oiler: For optimal performance and extended tool longevity, it is highly recommended to install a filter regulator oiler on the compressor's main air line. This device filters impurities, regulates pressure, and provides essential lubrication.
- Initial Lubrication (if no oiler): If an inline filter regulator oiler is not used, add a few drops of spindle oil or automotive sewing machine lubricant to the specified oiling port before the first use.
- Pressure Setting: Ensure the air compressor is set to deliver a working pressure between 0.62-1.0 Mpa (8-12 KG/CM²). Operating below this range will significantly affect tool performance, while exceeding it can reduce the tool's lifespan and potentially cause damage.

Image 4: Detailed view of key components including the start switch, air inlet, positive/negative speed control switch, and 1-inch square head spindle.

Image 5: Labeled diagram highlighting the auxiliary handle, 1-inch square head, start switch, speed adjustment switch, and air inlet.
5. Operating Instructions
Follow these guidelines for safe and effective operation of your air impact wrench.
- Pre-Operation Lubrication: Before each use, especially if an inline oiler is not installed, add a few drops of spindle oil or automotive sewing machine lubricant into the air inlet.
- Connect Tool: Connect the air hose from your regulated air supply to the tool's air inlet.
- Select Direction: Use the positive and negative speed control switch (often marked R/L for Reverse/Left and F/R for Forward/Right) to select the desired rotation direction. Choose forward for tightening fasteners and reverse for loosening them.
- Adjust Impact Level: If applicable, use the 3-level impact adjustment for fastening to set the appropriate torque output for your application. Start with a lower setting and increase if more torque is needed.
- Operation: Place the appropriate socket onto the fastener. Ensure the socket is fully engaged. Press the start switch to operate the tool. Release the switch to stop the tool.
- Working Pressure: Always ensure the working pressure remains within the recommended range of 8-12 KG/CM². Consistent pressure is crucial for optimal performance and tool longevity.
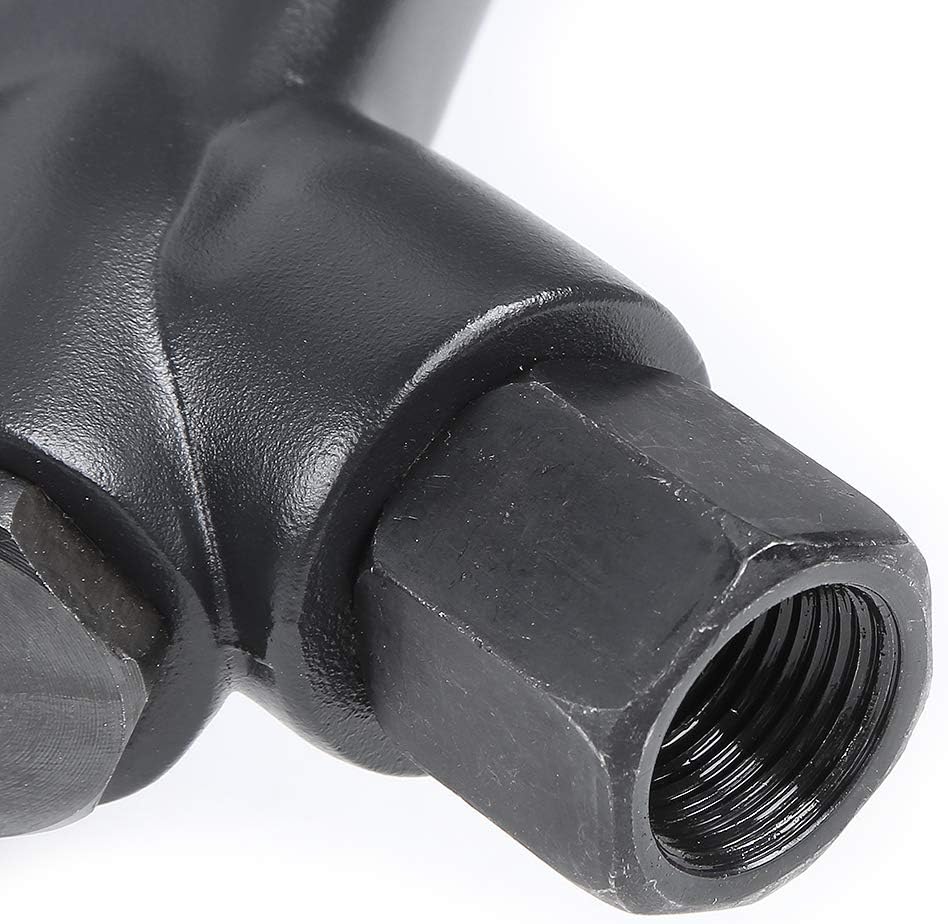
Image 6: Close-up view of the air inlet, where the air hose connects and lubricant can be added.

Image 7: Close-up view of the positive and negative speed control switch, used to select rotation direction and adjust impact level.

Image 8: Close-up view of the start switch, which activates the tool's operation.
6. Maintenance
Regular maintenance is crucial for the longevity and optimal performance of your pneumatic tool.
- Lubrication: Lubricate pneumatic tools with spindle oil or automotive sewing machine lubricant before and after each use. Important: Avoid using recycled or engine oil as these can cause internal damage to the tool.
- Filter Regulator Oiler Maintenance: If an inline filter regulator oiler is installed, ensure it is regularly inspected and maintained according to its manufacturer's instructions. Check oil levels and replace filters as needed.
- Sewage Impurities Filtering Device: Regularly inspect the sewage impurities filtering device on your air compressor system and drain accumulated moisture and contaminants as needed, typically on a weekly basis or more frequently with heavy use.
- Air System Inspection: Periodically check all air hoses and joints for leaks or looseness. Leaks can reduce tool performance and efficiency. Ensure connections are secure to prevent compressed air from entering the pneumatic tool improperly.
- Accessory Inspection: Before each use, inspect all accessories (e.g., sockets, extensions) for any signs of scratches, cracks, or damage. Damaged accessories can be dangerous during high-speed operation and should be replaced immediately.
- Storage: When not in use, store the tool in a clean, dry environment away from direct sunlight, excessive heat, or corrosive materials.
7. Troubleshooting
This section addresses common issues you might encounter and their potential solutions.
- Issue: Unsteady Rotation or Reduced Power
- Possible Cause: Insufficient lubrication, internal dirt/obstructions, or inadequate air pressure.
- Solution: Add ample spindle oil or automotive sewing machine lubricant to the air inlet. Operate the tool briefly (two to three times) to help dislodge and clean out dirt obstacles. Verify that the air compressor is delivering the recommended working pressure of 8-12 KG/CM². Check the air filter and drain the sewage impurities filtering device. Ensure air hoses are not kinked or leaking. If the issue persists, consult a qualified professional for inspection and repair.
- Issue: Air Leaks from Tool or Connections
- Possible Cause: Loose connections, damaged hoses, or worn seals/fittings.
- Solution: Inspect all air hose connections and fittings for tightness. Tighten any loose connections. Check air hoses for cuts, abrasions, or punctures and replace any damaged hoses immediately. If the leak is from the tool body, it may indicate internal seal wear, requiring professional service.
- Issue: Tool Not Starting
- Possible Cause: No air supply, insufficient air pressure, or a stuck start switch.
- Solution: Ensure the air compressor is turned on and connected to the tool. Check the air pressure gauge to confirm it is within the operating range. Verify the start switch is not jammed and moves freely. If the issue persists, disconnect air supply and inspect for internal obstructions or contact support.
8. Specifications
Technical specifications for the Vomeko KP-549 Air Impact Wrench.
| Specification | Value |
|---|---|
| Item Type | Air Impact Wrench |
| Brand | Vomeko |
| Model | KP-549 |
| Square Head Size | 1 inch (25mm) |
| Bolts Specification | Approx. 41mm / 1.6in |
| Average Air Consumption | 0.5 M³/Min |
| Working Pressure | 0.62-1.0 Mpa (8-12 KG/CM²) |
| No-load Speed | 4200 rpm |
| Air Inlet Size | 1/2 inch |
| Maximum Torque | 2200 Nm |
| Bolts Capacity | 41 MM |
| Material | Alloy Steel |
| Item Weight | 15.8 Kilograms (34.8 pounds) |
| Head Style | Hex |
| Operation Mode | Pneumatic |
9. Warranty and Support
For detailed warranty information or technical support, please refer to the documentation included with your original purchase or contact Vomeko customer service directly. Contact details are typically available on the product packaging or the official Vomeko website.
When contacting support, please have your model number (KP-549) and purchase date ready to expedite assistance.


