
Introduction
This manual provides detailed instructions for the setup, operation, and maintenance of your Denon DP-3000NE Fully Automatic Analog Turntable. This turntable features a robust base construction designed to minimize vibration, a direct drive motor, and a rigid die-cast aluminum platter for stable rotation at 33 1/3, 45, or 78 rpm. The S-shaped tonearm includes a removable headshell, allowing for various MM or MC turntable cartridges. An automatic start/stop system ensures gentle handling of your records, and a built-in phono equalizer offers flexible connectivity options.

Figure 1: Denon DP-3000NE Turntable with dust cover.
Package Contents
Before proceeding with the setup, please ensure all components are present:
- Denon DP-3000NE Turntable Unit
- 45 RPM Adapter
- Counterweight & Sub Counterweight
- Headshell and Dummy Headshell (for calibration)
- RCA Cable
- Quick Start Guide
- Screwdriver
Setup Instructions
- Unpacking: Carefully remove all components from the packaging. Retain packaging for future transport or storage.
- Placement: Place the turntable on a stable, level surface away from direct sunlight, heat sources, and excessive vibration. The heavier base construction and sound-insulating feet are designed to minimize external vibrations.
- Platter Installation: Gently place the die-cast aluminum platter onto the spindle.
- Tonearm Assembly:
- Attach the headshell (with the pre-installed MM cartridge) to the S-shaped tonearm.
- Attach the counterweight to the rear of the tonearm.
- Adjust the counterweight to balance the tonearm horizontally. Refer to the Quick Start Guide for detailed instructions on setting tracking force and anti-skate.
- Connectivity:
- Connect the RCA cable from the turntable's "PHONO OUTPUT" to your amplifier or receiver.
- If your amplifier has a dedicated phono input, connect directly. If not, utilize the turntable's built-in phono equalizer. This can be bypassed if your amplifier has its own phono stage.
- Connect the ground wire (SIGNAL GND) to your amplifier's ground terminal to minimize hum.
- Connect the power cable (AC IN) to an appropriate power outlet.

Figure 2: Rear panel connections for the Denon DP-3000NE.

Figure 3: Denon DP-3000NE integrated into a home audio setup.
Operating Instructions
- Power On: Ensure the turntable is connected to power.
- Place Record: Carefully place a vinyl record on the platter. For 45 RPM records with a large center hole, use the provided 45 RPM adapter.
- Select Speed: Use the speed selector to choose the appropriate rotation speed (33 1/3, 45, or 78 rpm) for your record.
- Start Playback (Automatic): Press the "START" button. The tonearm will automatically move to the beginning of the record and gently lower the stylus onto the groove.
- Start Playback (Manual): Alternatively, you can manually lift the tonearm using the cueing lever, position it over the desired track, and then lower the lever to gently drop the stylus.
- Stop Playback: Press the "STOP" button. The tonearm will automatically lift and return to its rest position, and the platter will stop rotating.
- Manual Stop: You can also manually lift the tonearm using the cueing lever and return it to its rest.

Figure 4: Placing a record on the turntable.

Figure 5: Overview of the turntable controls and components.
Official Product Video: Denon DP-3000NE Premium Direct-Drive Turntable
Video 1: This video provides a visual overview of the Denon DP-3000NE turntable, highlighting its design, features, and operation in a home audio environment.
Key Features
- Direct Drive Motor: Ensures stable and accurate platter rotation at 33 1/3, 45, and 78 RPM, minimizing speed fluctuations regardless of load.
- S-Shaped Tonearm: Designed to suppress vibration and optimize tracking for precise audio reproduction. It features a removable headshell for easy cartridge changes.
- Heavy Base Construction: Minimizes external vibrations, contributing to a clear and detailed sound output. The sound-insulating feet further enhance this stability.
- Automatic Start/Stop System: Provides gentle cueing and return of the tonearm, protecting your records from accidental scratches or damage.
- Built-in Phono Equalizer: Allows direct connection to amplifiers or receivers without a dedicated phono input. This equalizer can be bypassed if desired.
- Adjustable Insulator Feet: Sturdy, adjustable feet provide strength and further isolate the turntable from vibrations.
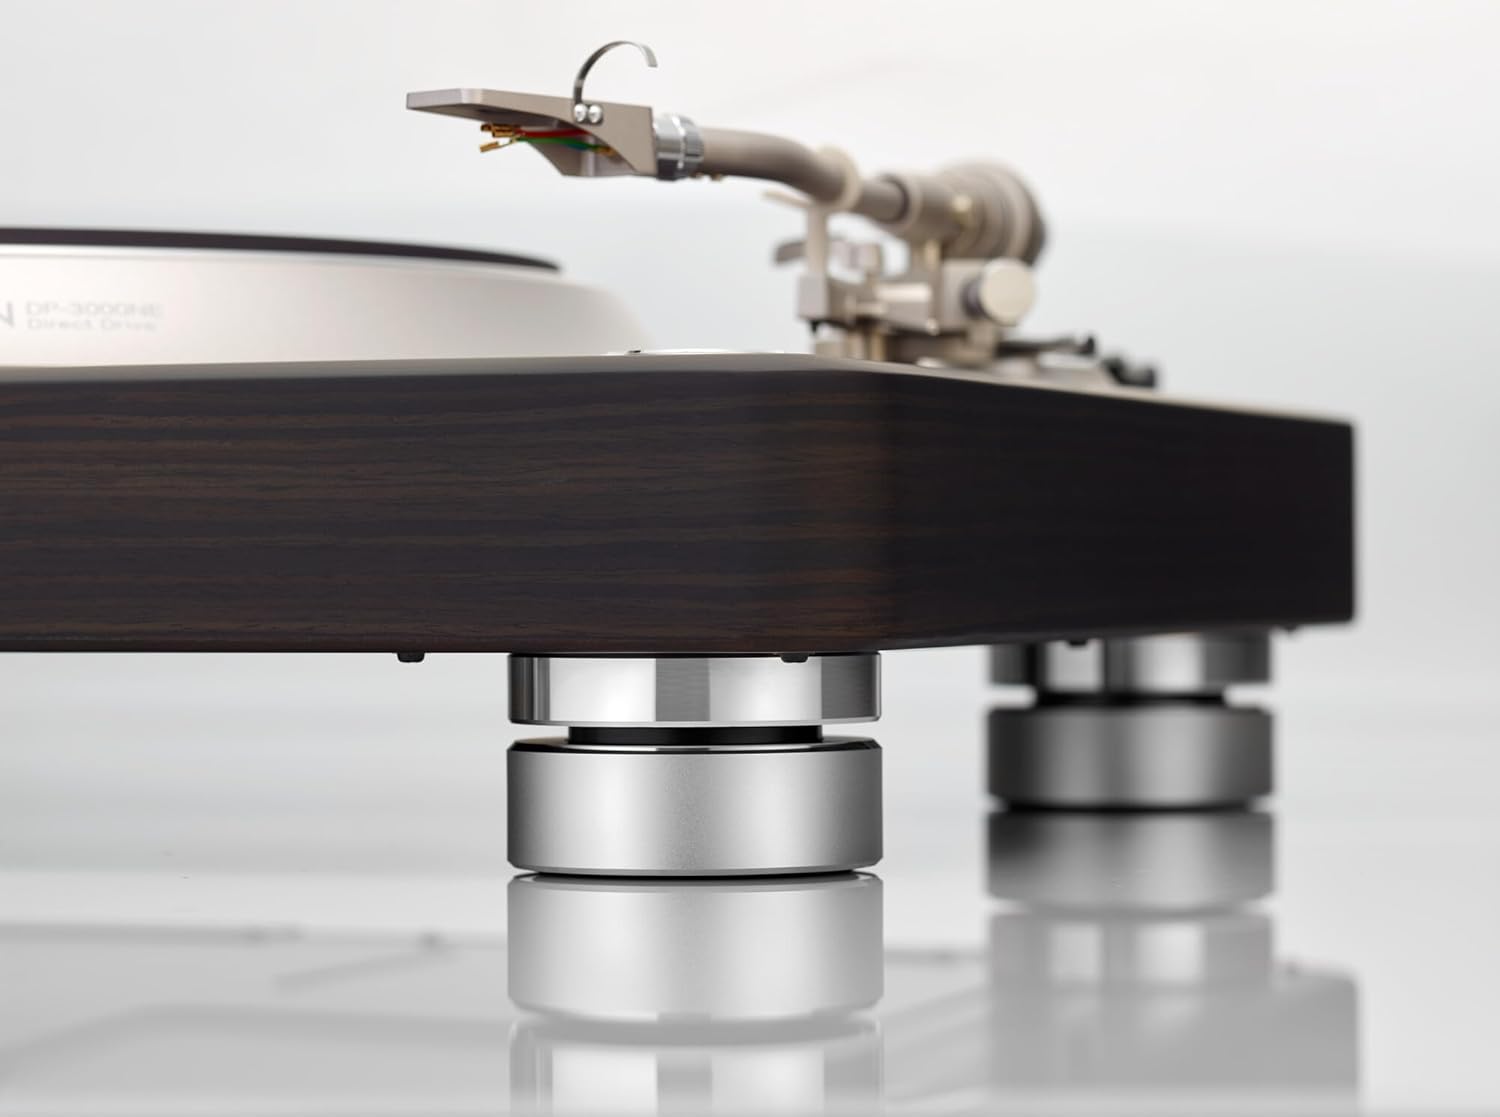
Figure 6: Detail of the turntable's sound-insulating feet.

Figure 7: The S-shaped tonearm with removable headshell.
Specifications
| Product Dimensions | 15.5 x 19.7 x 7.3 inches |
| Item Weight | 40.8 pounds |
| Model Number | DP3000NE |
| Brand | Denon |
| Maximum Rotational Speed | 78 RPM |
| Material | Wood |
| Color | Dark Ebony |
| Compatible Devices | Speaker, Personal Computer, Laptop, Receiver |
Maintenance
Regular maintenance ensures optimal performance and longevity of your turntable.
- Cleaning: Use a soft, dry cloth to wipe the turntable chassis and dust cover. Avoid abrasive cleaners or solvents. For the stylus, use a specialized stylus brush and cleaning fluid, brushing gently from back to front.
- Dust Cover: Keep the dust cover closed when not in use to protect the platter and tonearm from dust and debris.
- Stylus Replacement: The stylus is a delicate component and will wear over time. Consult your cartridge manufacturer's recommendations for replacement intervals. A worn stylus can damage your records and degrade sound quality.
- Record Care: Always handle records by their edges. Store them vertically in protective sleeves to prevent warping and dust accumulation. Clean records regularly with a carbon fiber brush or a record cleaning system.
Troubleshooting
If you encounter issues, refer to the following common troubleshooting steps:
- No Sound:
- Check all cable connections (RCA, ground, power).
- Ensure your amplifier/receiver is set to the correct input (Phono or Line, depending on phono equalizer setting).
- Verify the stylus is properly seated in the cartridge and not damaged.
- Distorted Sound or Skipping:
- Check tracking force and anti-skate settings. Incorrect settings can cause skipping or distortion.
- Ensure the record is clean and free of dust or debris.
- Verify the turntable is on a stable, level surface.
- Inspect the stylus for wear or damage.
- Humming Noise:
- Ensure the ground wire is securely connected to both the turntable and your amplifier.
- Check for interference from other electronic devices. Try moving the turntable or other components.
- Platter Not Spinning:
- Confirm the power cable is securely connected and the power outlet is active.
- Ensure the "START" button has been pressed.
For further assistance, please contact Denon customer support.
Warranty and Support
Your Denon DP-3000NE Turntable is manufactured by Denon. For warranty information, product registration, and technical support, please refer to the official Denon website or the warranty card included with your product.
Optional protection plans may be available from your retailer. For example, a 3-Year Protection Plan or a Complete Protect plan (monthly subscription) might be offered to cover eligible purchases.
Manufacturer: Denon


