
XTUGA CT60
XTUGA CT60 Audio Mixer User Manual
Model: CT60 | Brand: XTUGA
Introduction
The XTUGA CT60 is a portable 6-channel audio mixer designed for various audio applications, including recording, live performances, and multimedia playback. It features versatile connectivity options such as Bluetooth for wireless streaming, USB for direct input and computer connection, and XLR/Line inputs with 48V phantom power. The mixer provides comprehensive control over audio signals with individual channel adjustments, 3-band EQ, and built-in digital effects.

Figure 1: Front view of the XTUGA CT60 Audio Mixer, showcasing its 6 channels, various controls, and digital MP3 player section.
Setup Guide
Follow these steps to set up your XTUGA CT60 Audio Mixer for optimal performance.
1. Power Connection
Connect the provided power adapter to the mixer's power socket (20) located on the rear panel, then plug it into a suitable power outlet. Ensure the mixer is switched off (19) before connecting power.
2. Input Connections
- Microphones: Connect XLR microphones to the Mic input jacks (1) on channels 1-6. For condenser microphones requiring phantom power, activate the +48V Phantom Power Supply (15) by pressing the dedicated button. A red indicator light will illuminate when active.
- Line-Level Devices: Connect instruments or other line-level audio sources to the Line input jacks (2) using 1/4-inch TS or TRS cables.
- External Audio Players (RCA): Use the TAPE IN (RCA) inputs to connect external audio devices like CD players or media players.

Figure 2: Detailed diagram of the XTUGA CT60 Audio Mixer, indicating all input/output ports and control functions for easy identification.

Figure 3: Close-up of the XTUGA CT60's level indicator LEDs, providing visual feedback on audio signal levels for precise mixing.
Video 1: An overview of the XTUGA CT60 6-Channel Audio Mixer, demonstrating its features and connectivity options. This video is provided by the seller, Xtuga Audio-US.
3. Output Connections
- Main Output: Connect your main speakers or amplifier to the L MAIN OUT R (XLR) outputs (11).
- Control Room Output: Use the CTRL ROOM (1/4-inch TRS) outputs for connecting studio monitors.
- Headphones: Plug your headphones into the PHONES (1/4-inch TRS) jack for monitoring.
- Recording Output: The TAPE OUT (RCA) outputs can be used to send the mixed signal to a recording device.
Operating Instructions
1. Channel Control
- Gain Control (3): Adjust the input sensitivity for each channel. Set this to an appropriate level to prevent clipping.
- Equalizer (4): Each channel features a 3-band equalizer (HIGH, MID, LOW) for tone shaping.
- HF (High Frequency): Adjusts frequencies above 10kHz.
- MF (Mid Frequency): Adjusts frequencies around 2.5kHz.
- LF (Low Frequency): Adjusts frequencies below 100Hz.
- Aux Control (5): Controls the level of the signal sent to the auxiliary output for external effects or monitor mixes.
- FX Control (6): Adjusts the amount of internal digital effect applied to the channel.
- Pan Control (7): Pans the channel's signal between the left and right main outputs.
- Channel Volume Fader (8): Adjusts the overall volume level of the individual channel.

Figure 4: Illustration of the 3-band EQ adjustment section on the XTUGA CT60, showing the high, mid, and low frequency controls and their effect on the audio spectrum.
2. Digital MP3 Player & Connectivity
- USB Playback: Insert a USB flash drive into the USB port (located above the digital display) for direct MP3/WAV/WMA music playback. Use the MP3 playback control (14) buttons to navigate tracks and adjust volume.
- Bluetooth Connectivity: Activate Bluetooth on the mixer via the digital display. Search for "BT-Speaker" on your smart device (phone, tablet, etc.) and pair to stream audio wirelessly.
- Computer Connection: Connect the mixer to a computer via the USB port for recording and editing audio. The mixer acts as an audio interface, allowing you to integrate it with digital audio workstations (DAW).

Figure 5: The XTUGA CT60 connected to a computer via USB, demonstrating its capability as an audio interface for recording and mixing.
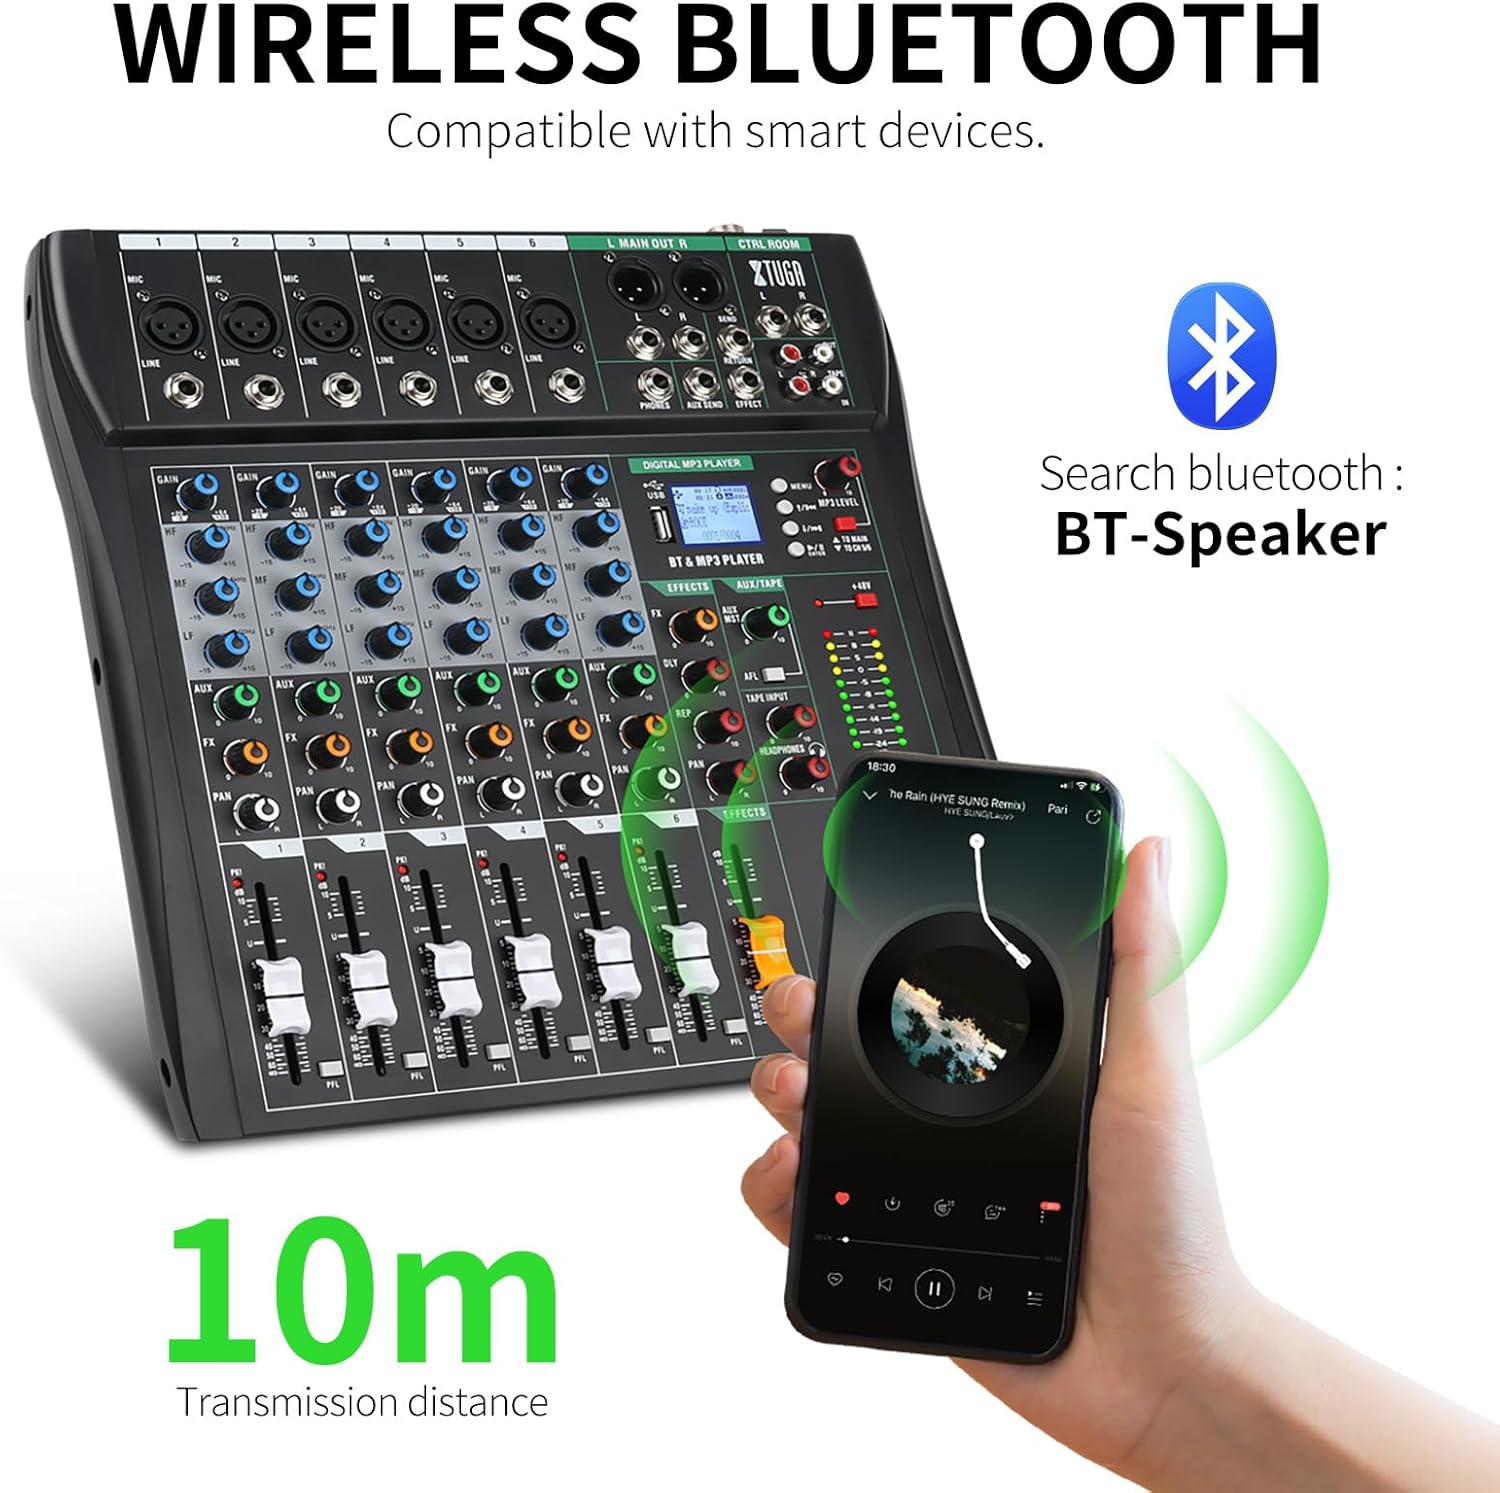
Figure 6: The XTUGA CT60 demonstrating its wireless Bluetooth connectivity with a smartphone, allowing for audio streaming from smart devices.
3. Monitoring and Effects
- Headphone Monitoring: Plug headphones into the PHONES jack. Adjust the Headphone volume (16) for comfortable monitoring.
- Digital Effects: The mixer includes built-in digital effects. Use the Effect volume adjustment (17) to control the overall effect level.

Figure 7: A user monitoring audio in real-time through headphones connected to the XTUGA CT60 mixer, essential for recording and live sound applications.
Maintenance
To ensure the longevity and optimal performance of your XTUGA CT60 Audio Mixer, follow these maintenance guidelines:
- Cleaning: Use a soft, dry cloth to clean the exterior of the mixer. Avoid using abrasive cleaners, solvents, or waxes, as they may damage the finish or internal components.
- Dust Protection: When not in use, cover the mixer with a dust cover to prevent dust and debris from accumulating on controls and inside the unit.
- Storage: Store the mixer in a cool, dry place away from direct sunlight, extreme temperatures, and high humidity.
- Cable Management: Ensure all cables are properly coiled and stored to prevent damage to connectors and internal wiring.
Troubleshooting
This section addresses common issues you might encounter with your XTUGA CT60 Audio Mixer.
| Problem | Possible Cause | Solution |
|---|---|---|
| No sound output |
|
|
| No sound from a specific channel |
|
|
| Bluetooth connection issues |
|
|
Specifications
| Feature | Detail |
|---|---|
| Model Number | CT60 |
| Number of Channels | 6 |
| Connectivity Technology | Bluetooth, USB |
| Phantom Power | +48 Volts |
| Operating System Compatibility | Windows, macOS, iOS, Android |
| Item Weight | 8.4 pounds (3.82 Kilograms) |
| Package Dimensions | 17.72 x 15.35 x 5.12 inches |
| Power Source | Corded Electric |
Warranty and Support
For warranty information and technical support, please refer to the official XTUGA website or contact XTUGA customer service directly. The official user guide can be found here.
Related documentsCT60

Ask a question about this manual
Ask about setup, troubleshooting, compatibility, parts, safety, or missing instructions. Manuals+ will review the question and use this page’s manual context to help answer it.