
NXGKET ZX-808
User Manual for NXGKET Walkie Talkies
Model: ZX-808 | Brand: NXGKET
1. Introduction
Thank you for choosing NXGKET Walkie Talkies. This 4-pack of rechargeable two-way radios is designed for reliable long-range communication, featuring 22 FRS channels, 121 privacy codes, and NOAA weather alerts. With a built-in 1800mAh Li-ion battery and USB-C charging, these walkie talkies are ideal for various outdoor activities such as camping, hiking, road trips, and cruises, as well as commercial and job site use. This manual provides essential information for setting up, operating, and maintaining your devices.
2. Package Contents
- Walkie Talkies x 4
- 1800mAh Li-ion Battery x 4 (pre-installed)
- 2-in-1 USB-C Cable x 2
- Charger x 1
- User's Manual x 1

Figure 2.1: Included components of the NXGKET Walkie Talkie 4-pack.
3. Product Overview
Familiarize yourself with the main parts of your NXGKET Walkie Talkie:

Figure 3.1: Front and side view of the walkie talkie with labeled components.
- Antenna: For transmitting and receiving signals.
- LED Flashlight: Built-in light for illumination.
- Volume / Power Knob: Rotate to turn the unit on/off and adjust volume.
- LCD Display: Shows channel, privacy code, battery level, and other indicators.
- Earpiece Port: For connecting compatible audio accessories.
- Lock / NOAA Button: Press to lock/unlock keypad or access NOAA weather channels.
- Scan / Monitor Button: Initiates channel scanning or monitors current channel activity.
- USB-C Charging Port: For connecting the USB-C charging cable.
- Speaker: For audio output.
- Microphone: For voice input.
- Call Tone Button: Sends an audible call alert to other radios.
- Flashlight Button: Activates the LED flashlight.
- Menu Button: Accesses settings and options.
- Up/Down Buttons: Navigate menus and adjust settings (e.g., channel, volume).
- PTT (Push-to-Talk) Button: Press and hold to transmit your voice.
4. Setup
4.1. Charging the Battery
Your NXGKET Walkie Talkies come with built-in 1800mAh Li-ion batteries. These batteries are not removable and do not require installation. Before first use, fully charge all walkie talkies.
- Connect one end of the 2-in-1 USB-C cable to the USB-C charging port on the side of the walkie talkie.
- Connect the other end of the USB-C cable to the charger. The charger can accommodate two USB-C cables simultaneously, allowing you to charge two walkie talkies at once.
- Plug the charger into a standard wall outlet.
- The battery indicator on the LCD display will show charging status. Once fully charged, the indicator will typically show a full battery icon.
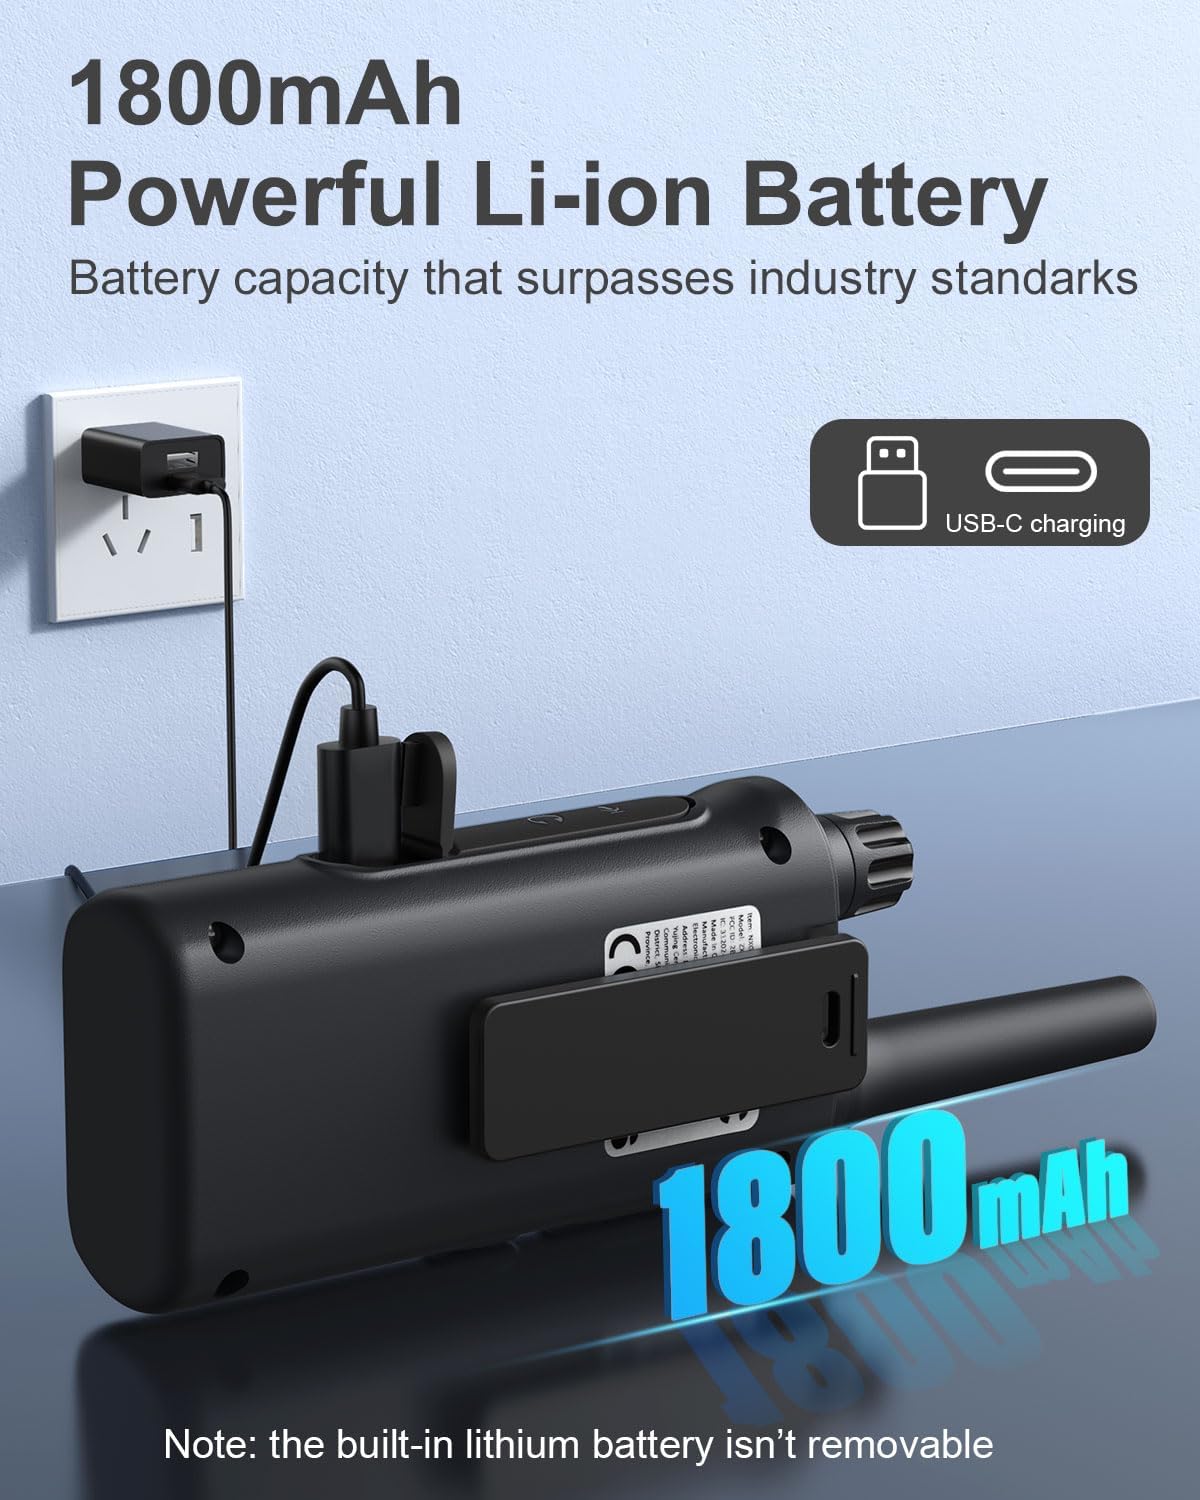
Figure 4.1: Walkie talkie connected to the charger via USB-C.
4.2. Powering On/Off
To power on or off your walkie talkie, rotate the Volume / Power Knob clockwise to turn on and counter-clockwise until it clicks to turn off.
5. Operating Instructions
5.1. Channel Selection
Your walkie talkies operate on 22 FRS channels. To communicate with another walkie talkie, both units must be set to the same channel and privacy code.
- With the walkie talkie powered on, press the Menu button. The channel number on the LCD display will begin to flash.
- Use the Up or Down buttons to select your desired channel (1-22).
- Press the Menu button again to confirm the channel selection or wait a few seconds for it to automatically set.
5.2. Privacy Codes (CTCSS/DCS)
Privacy codes (CTCSS/DCS) help reduce interference from other users on the same channel by filtering out transmissions that do not use the same code. Your walkie talkies support 121 privacy codes.
- Press the Menu button twice. The privacy code number will begin to flash.
- Use the Up or Down buttons to select your desired privacy code (0-121). Code 0 means no privacy code is active.
- Press the Menu button again to confirm, or wait for automatic setting.
5.3. Transmitting and Receiving
To transmit your voice, press and hold the PTT (Push-to-Talk) button located on the side of the walkie talkie. Speak clearly into the microphone. Release the PTT button to listen for a response.
5.4. Volume Adjustment
Rotate the Volume / Power Knob to adjust the listening volume. Clockwise increases volume, counter-clockwise decreases volume.
5.5. VOX/iVOX Function (Voice-Activated Transmission)
The VOX (Voice Operated eXchange) or iVOX function allows for hands-free communication. When activated, the radio transmits automatically when it detects your voice, without needing to press the PTT button. There are 9 levels of VOX sensitivity.

Figure 5.1: Illustration of walkie talkie use, including hands-free operation.
5.6. NOAA Weather Alerts
Your walkie talkie supports NOAA's National Weather Service, allowing it to scan 10 NOAA radio channels for weather alerts in your area. This feature is crucial for staying informed about severe weather conditions.

Figure 5.2: Walkie talkies providing NOAA weather alerts for various conditions.
5.7. Keypad Lock
To prevent accidental changes to your settings, you can lock the keypad. Press and hold the Lock / NOAA button until a key icon appears on the LCD display. Repeat the process to unlock the keypad.
5.8. Built-in Flashlight
To activate the built-in LED flashlight, press the Flashlight Button. Press it again to turn off the flashlight.

Figure 5.3: Walkie talkie with its LED flashlight activated.
5.9. Scan Function
The auto scan feature allows you to quickly find active channels. Press the Scan / Monitor button to initiate scanning. The radio will cycle through channels and stop on an active one. Press the button again to stop scanning.
5.10. Call Tone
You can send an audible call alert to other radios on the same channel. Press the Call Tone Button to transmit a distinct tone, signaling to others that you wish to communicate.
5.11. Usage Scenarios
These walkie talkies are versatile and suitable for a variety of environments:

Figure 5.4: Diverse applications for NXGKET Walkie Talkies.
For a visual demonstration of the walkie talkies in use, please refer to the following official product videos:
NXGKET walkie talkies, Perfect way to keep connection
This video demonstrates the effective communication range and clarity of the NXGKET walkie talkies, showcasing their ability to maintain connection in various environments.
NXGKET Walkie Talkies, Easy to Use
This video highlights the user-friendly interface and straightforward operation of the NXGKET walkie talkies, making them accessible for all ages.
6. Maintenance
- Cleaning: Use a soft, damp cloth to clean the exterior of the walkie talkie. Do not use harsh chemicals or abrasive cleaners.
- Storage: Store the walkie talkies in a cool, dry place when not in use. Avoid extreme temperatures and direct sunlight.
- Battery Care: Although the batteries are built-in, it is recommended to fully charge them before long periods of storage and to recharge them every few months to maintain battery health. Avoid completely draining the battery frequently.
- Water Resistance: The product is noted as waterproof. However, avoid prolonged submersion or exposure to high-pressure water jets to ensure longevity.
7. Troubleshooting
| Problem | Possible Cause | Solution |
|---|---|---|
| No power | Battery is depleted. | Charge the walkie talkie fully. |
| Cannot transmit or receive | Different channel/privacy code; Out of range; Obstructions. | Ensure both radios are on the same channel and privacy code. Move closer to the other radio. Avoid large obstructions like buildings or dense foliage. |
| Poor audio quality or static | Weak signal; Interference; Volume too low. | Move to an open area. Adjust volume. Check for sources of electrical interference. |
| Keypad is unresponsive | Keypad is locked. | Press and hold the Lock / NOAA button to unlock the keypad. |
| NOAA weather alert not working | Not in an area with NOAA broadcast; Feature not activated. | Ensure you are within range of a NOAA broadcast. Activate the NOAA scan feature. |
8. Specifications
| Feature | Detail |
|---|---|
| Model Number | ZX-808 |
| Item Weight | 4.2 ounces |
| Product Dimensions | 0.9 x 2 x 7.6 inches |
| Batteries | 4 Lithium Ion batteries (included, built-in) |
| Display Type | LCD |
| Number of Channels | 22 FRS Channels |
| Privacy Codes | 121 (CTCSS/DCS) |
| Frequency Range | 462.5625-462.7125 MHz, 467.5625-467.7125MHz, 462.5500-462.7250MHz |
| Talking Range Maximum | Up to 5 Miles (terrain and conditions dependent) |
| Special Features | Digital Display, Voice Operated Transmission (VOX/iVOX), Adjustable Receiver Sensitivity, Rechargeable, NOAA Weather Scan and Alert, Auto Squelch, Auto Memory, Auto Scan, Low Battery Alert, Keypad Lock, Adjustable Power, Drop-protection, Built-in Flashlight |
| Water Resistance Level | Waterproof |
| Country of Origin | China |
9. Warranty and Support
NXGKET provides a 1-Year Warranty for this product. Additionally, life-time reliable technical support is available to assist you with any questions or issues you may encounter. For support, please refer to the contact information provided with your purchase or visit the official NXGKET website.
Related documentsZX-808


Ask a question about this manual
Ask about setup, troubleshooting, compatibility, parts, safety, or missing instructions. Manuals+ will review the question and use this page’s manual context to help answer it.