
1. Product Overview
The REDTIGER F7N is a dual-channel dash camera system designed to record video footage from both the front and rear of your vehicle. It features 4K resolution for the front camera and 1080P for the rear, utilizing a STARVIS 2 sensor for enhanced low-light performance. The device includes a 3.18-inch touch screen, voice control capabilities, 5.8GHz WiFi for smartphone connectivity, built-in GPS, and various recording modes such as loop recording, G-sensor activated emergency recording, and 24-hour parking monitoring.

Image 1.1: Overview of the REDTIGER F7N dash cam's dual recording capabilities and STARVIS 2 technology.
2. Package Contents
Verify that all items are present in the package before installation.
- REDTIGER F7N Front Dash Camera
- Rear Camera with connection cable
- Vehicle Power Cable
- Suction Mount
- Circular Polarizing Lens (CPL)
- 128GB MicroSD Card (pre-installed or included separately)
- Hardwire Kit (for parking monitoring functionality)
- User Manual

Image 2.1: The included Circular Polarizing Lens (CPL) helps reduce glare and reflections.
3. Key Features
- Dual Recording: Simultaneous 4K (front) and 1080P (rear) video capture.
- STARVIS 2 Sensor: Advanced sensor technology for superior low-light performance and clarity.
- 3.18" Touch Screen: Intuitive interface for settings adjustment and video playback.
- Voice Control: Hands-free operation for common commands to minimize driving distractions.
- 5.8GHz WiFi: Fast wireless connection to the REDTIGER app for video management and firmware updates.
- Built-in GPS: Records speed, location, and route data for playback.
- WDR & HDR Technology: Enhances video quality in varying light conditions.
- Loop Recording: Automatically overwrites older footage to ensure continuous recording.
- G-Sensor: Detects impacts and sudden movements, automatically locking and protecting incident footage.
- 24-hour Parking Monitoring: Offers G-Sensor and Time-Lapse parking modes (requires hardwire kit).

Image 3.1: Details of STARVIS 2 Super Night Vision technology, including F/1.5 aperture and 6-layer lens.
4. Setup and Installation
4.1 Front Camera Installation
- Clean the windshield area where the dash cam will be mounted.
- Attach the suction mount to the front camera.
- Securely press the suction mount onto the windshield, ensuring it does not obstruct the driver's view. Position the camera to capture the road ahead clearly.
- Adjust the camera lens angle as needed.
4.2 Rear Camera Installation
- Mount the rear camera on the rear windshield, typically inside the vehicle, ensuring a clear view of the rear.
- Route the rear camera cable to the front camera, tucking it along the vehicle's headliner and A-pillars to keep it tidy.
- Connect the rear camera cable to the designated port on the front dash camera.
4.3 Power Connection
- Insert the 128GB MicroSD card into the dash cam's card slot.
- Connect the vehicle power cable to the dash cam's power input port.
- Plug the other end of the power cable into your vehicle's 12V power outlet (cigarette lighter socket).
- For 24-hour parking monitoring, install the included hardwire kit according to its separate instructions.
4.4 Initial Setup (Touch Screen)
Upon first power-on, the dash cam will guide you through initial settings using its touch screen interface.
- Select your preferred Language.
- Set the correct Time Zone.
- Confirm other basic settings as prompted.

Image 4.1: The touch screen interface for initial setup, including language and time zone selection.
5. Operation
5.1 Basic Recording
Once powered on, the dash cam will automatically begin recording. A red indicator light or icon on the screen typically confirms recording is active.
5.2 Voice Control
The F7N supports voice commands for hands-free operation. Speak clearly and directly to the dash cam. Common commands include:
- "Lock the Video": Locks the current recording segment to prevent overwriting.
- "Take Picture": Captures a still image.
- "Open Screen": Turns on the display.
- "Turn On Wifi": Activates the Wi-Fi function.
- "Turn Off Recording": Stops the current recording.
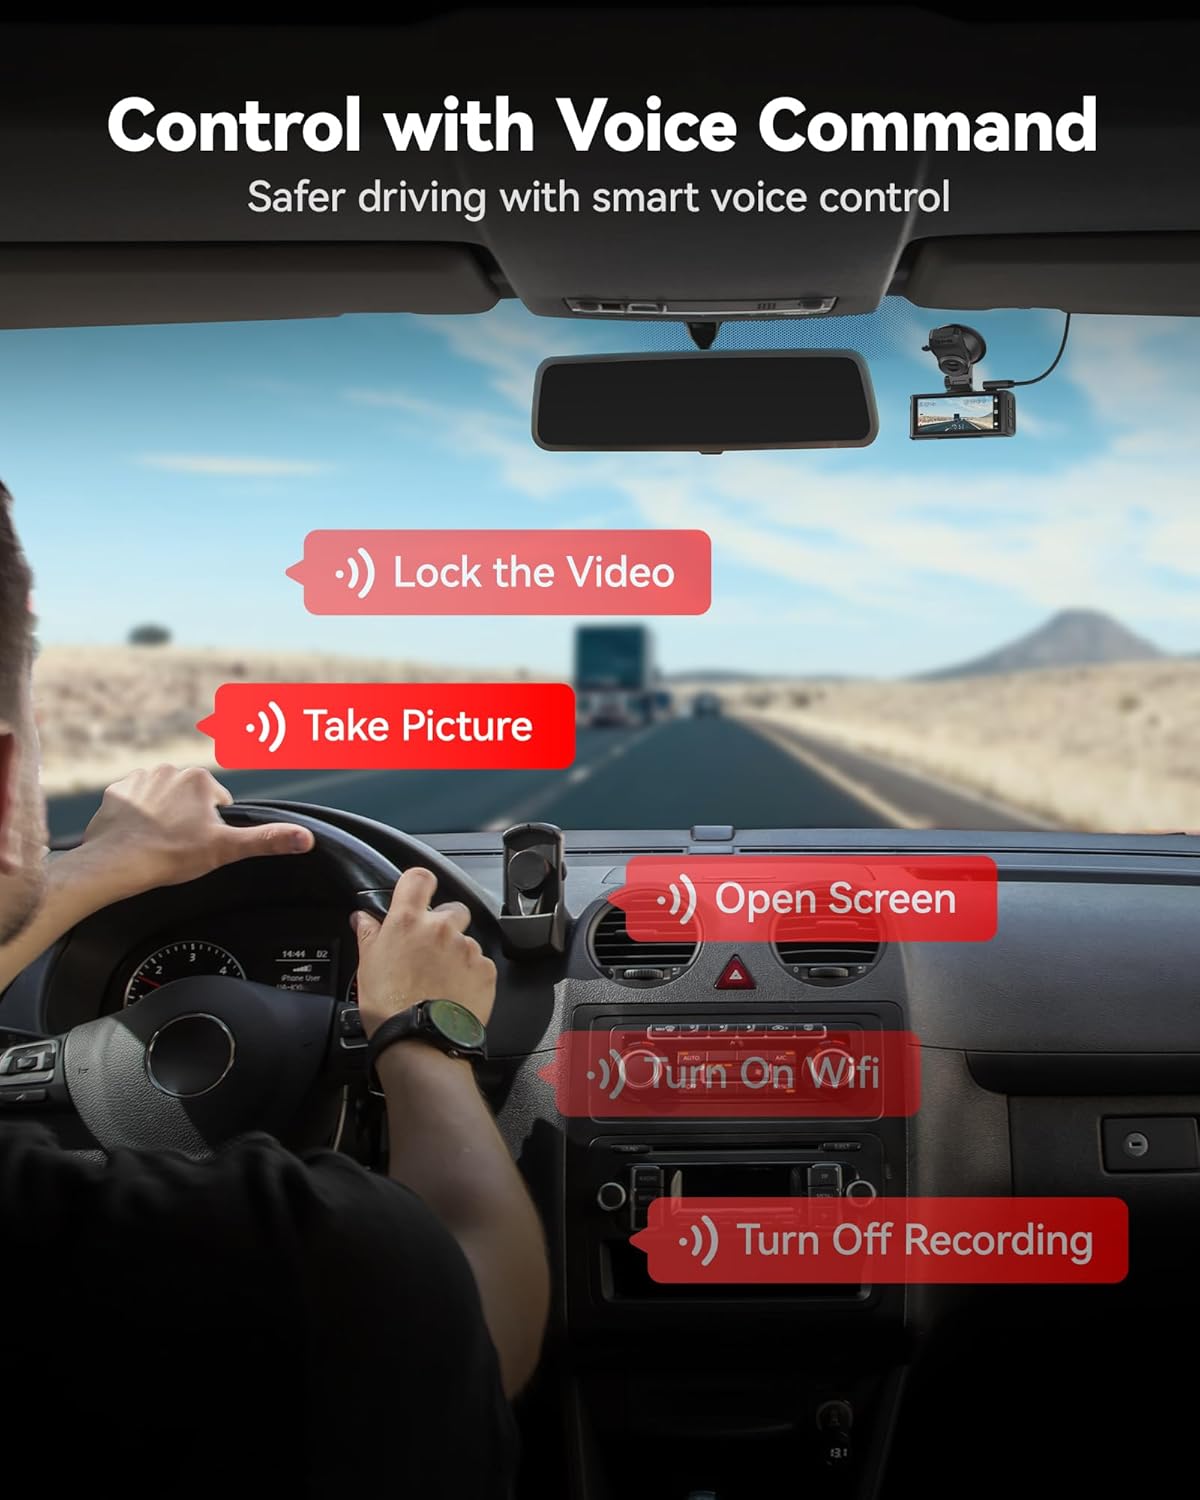
Image 5.1: Examples of voice commands for controlling the dash cam.
5.3 Touch Screen Functions
The 3.18-inch touch screen allows for direct interaction with the dash cam's menus and functions. Tap icons to:
- Access settings.
- Review recorded videos and photos.
- Manually lock emergency video.
- Toggle Wi-Fi on/off.
5.4 WiFi Connectivity and App
The dash cam features 5.8GHz WiFi for fast connection to the REDTIGER app (available on Android and iOS). This allows you to:
- View live footage.
- Playback recorded videos.
- Download videos to your smartphone.
- Adjust camera settings.
- Perform firmware updates (OTA Update).

Image 5.2: Illustration of 5.8GHz WiFi connectivity for smooth phone synchronization and download via the REDTIGER app.
5.5 GPS Functionality
The built-in GPS module records your vehicle's location, speed, and route data. This information can be viewed during video playback using the REDTIGER app or a compatible desktop player.

Image 5.3: GPS route tracking showing speed, location, and route on a map during video playback.
6. Recording and Maintenance Features
6.1 Loop Recording
The dash cam continuously records in short segments (e.g., 1, 3, or 5 minutes). When the memory card is full, the oldest unlocked footage is automatically overwritten by new recordings. This ensures that recording never stops due to a full memory card.
6.2 G-Sensor (Emergency Recording)
The integrated G-sensor detects sudden impacts or rapid acceleration/deceleration. When triggered, the current video segment is automatically locked and saved to a protected folder, preventing it from being overwritten by loop recording. The sensitivity of the G-sensor can typically be adjusted in the settings.
6.3 24-hour Parking Monitoring
To enable continuous surveillance while your vehicle is parked, the dash cam offers two parking monitoring modes:
- G-Sensor Parking Mode: The camera remains in standby and automatically begins recording if an impact or sudden motion is detected.
- Time-Lapse Parking Mode: The camera continuously records at a low frame rate, condensing hours of footage into minutes for efficient review.
Note: The 24-hour parking monitoring function requires the included hardwire kit to be properly installed to provide continuous power to the dash cam when the vehicle is off.

Image 6.1: Illustration of G-sensor mode and Time-lapse mode for 24-hour parking monitoring.
7. Troubleshooting
| Problem | Possible Solution |
|---|---|
| Dash cam does not power on. |
|
| Recording stops or footage is corrupted. |
|
| Wi-Fi connection issues. |
|
| Voice control not responding. |
|
| Parking monitor not working. |
|
8. Specifications
| Feature | Detail |
|---|---|
| Model Name | F7N |
| Front Camera Resolution | 4K UHD |
| Rear Camera Resolution | 1080P FHD |
| Sensor | STARVIS 2 |
| Display | 3.18" Touch Screen |
| Front Field of View | 170 Degrees |
| Rear Field of View | 140 Degrees |
| Connectivity | 5.8GHz Wi-Fi, GPS |
| Control Method | Touch, Voice |
| Storage | MicroSD Card (up to 256GB, 128GB included) |
| Mounting Type | Suction Mount |
| Included Components | Hardwire Kit, CPL, 128GB Card |
9. Warranty and Support
REDTIGER products are covered by a limited warranty. For detailed warranty information, product support, or technical assistance, please refer to the official REDTIGER website or contact their customer service directly. Keep your purchase receipt as proof of purchase for warranty claims.
Online Support: Visit the official REDTIGER website for FAQs, firmware updates, and contact information.


