1. Introduction
Thank you for purchasing the Snow Peak Trail Tripper Pro. 1 Tent. This manual provides essential information for the safe and correct setup, operation, and maintenance of your tent. Please read these instructions thoroughly before use and retain them for future reference.
The Trail Tripper Pro. 1 is a durable and reliable 1-person tent designed for solo outdoor adventures, offering excellent weather resistance and comfort.

Figure 1: The Snow Peak Trail Tripper Pro. 1 Tent, fully assembled.
2. Safety Precautions
- Fire Hazard: Keep all flame and heat sources away from the tent fabric. The tent is made of flammable material.
- Ventilation: Ensure adequate ventilation to prevent condensation and carbon monoxide buildup if using heating or cooking appliances inside or near the tent.
- Site Selection: Choose a flat, clear area free from sharp objects, overhanging branches, and potential flood zones. Avoid pitching under trees during storms.
- Securing the Tent: Always use all provided pegs and guy lines to secure the tent firmly, especially in windy conditions.
- Lightning: Do not use the tent during lightning storms. Seek appropriate shelter.
3. Package Contents
Verify that all components are present before attempting to set up your tent:
- Flysheet
- Inner Tent
- Ground Sheet
- Building Tape
- Main Cross Frame (x1)
- Side Frame A (x1)
- Side Frame B (x2)
- Mesh Gear Hammock
- Duralumin Pegs (17cm x 16)
- Free Rope (2m x 4)
- Seam Grip Agent
- Repair Pipe
- Carry Bag
- Frame Case
- Peg Case
4. Setup Instructions
Follow these steps for proper tent assembly:
- Prepare the Site: Lay out the ground sheet in your chosen location. This protects the tent floor from abrasion and moisture.
- Position the Inner Tent: Spread the inner tent over the ground sheet, aligning the corners.
- Assemble the Frames: Connect the sections of the Main Cross Frame, Side Frame A, and Side Frames B. Ensure all segments are fully inserted.
- Insert Frames into Inner Tent: Insert the frame poles into the sleeves or clips of the inner tent. The Main Cross Frame typically forms the primary dome structure, while the Side Frames provide additional support and shape.
- Attach Inner Tent to Frames: Secure the inner tent to the frames using the clips provided. This will raise the inner tent structure.
- Drape the Flysheet: Carefully drape the flysheet over the erected inner tent, ensuring the doors and vents align correctly.
- Secure the Flysheet: Attach the flysheet to the inner tent frames using the buckles or ties. Ensure a snug fit.
- Peg Down the Tent: Use the duralumin pegs to secure all corners of the ground sheet, inner tent, and flysheet to the ground. Angle the pegs away from the tent for maximum holding power.
- Attach Guy Ropes: Attach the free ropes to the designated guy points on the flysheet. Extend them outwards and peg them down, adjusting tension with the rope adjusters. This provides stability against wind.

Figure 2: Tent with the outer flysheet door open, revealing the inner tent entrance.

Figure 3: View of the inner tent, demonstrating the sleeping area and mesh gear hammock.
5. Operating Instructions
5.1 Entry and Exit
The tent features zippered doors on the flysheet and inner tent. Always close zippers completely to prevent insects and moisture from entering. For ventilation, the inner tent often has mesh panels that can be zipped open or closed.
5.2 Ventilation
The tent is equipped with ventilation openings to reduce condensation. Ensure these are open when possible, especially during humid conditions or when using the tent for extended periods. Proper airflow helps maintain a comfortable interior environment.
5.3 Securing in Wind
In windy conditions, ensure all guy lines are taut and securely pegged. Adjust the tensioners as needed. If extreme weather is expected, consider adding additional anchors or relocating to a more sheltered spot.
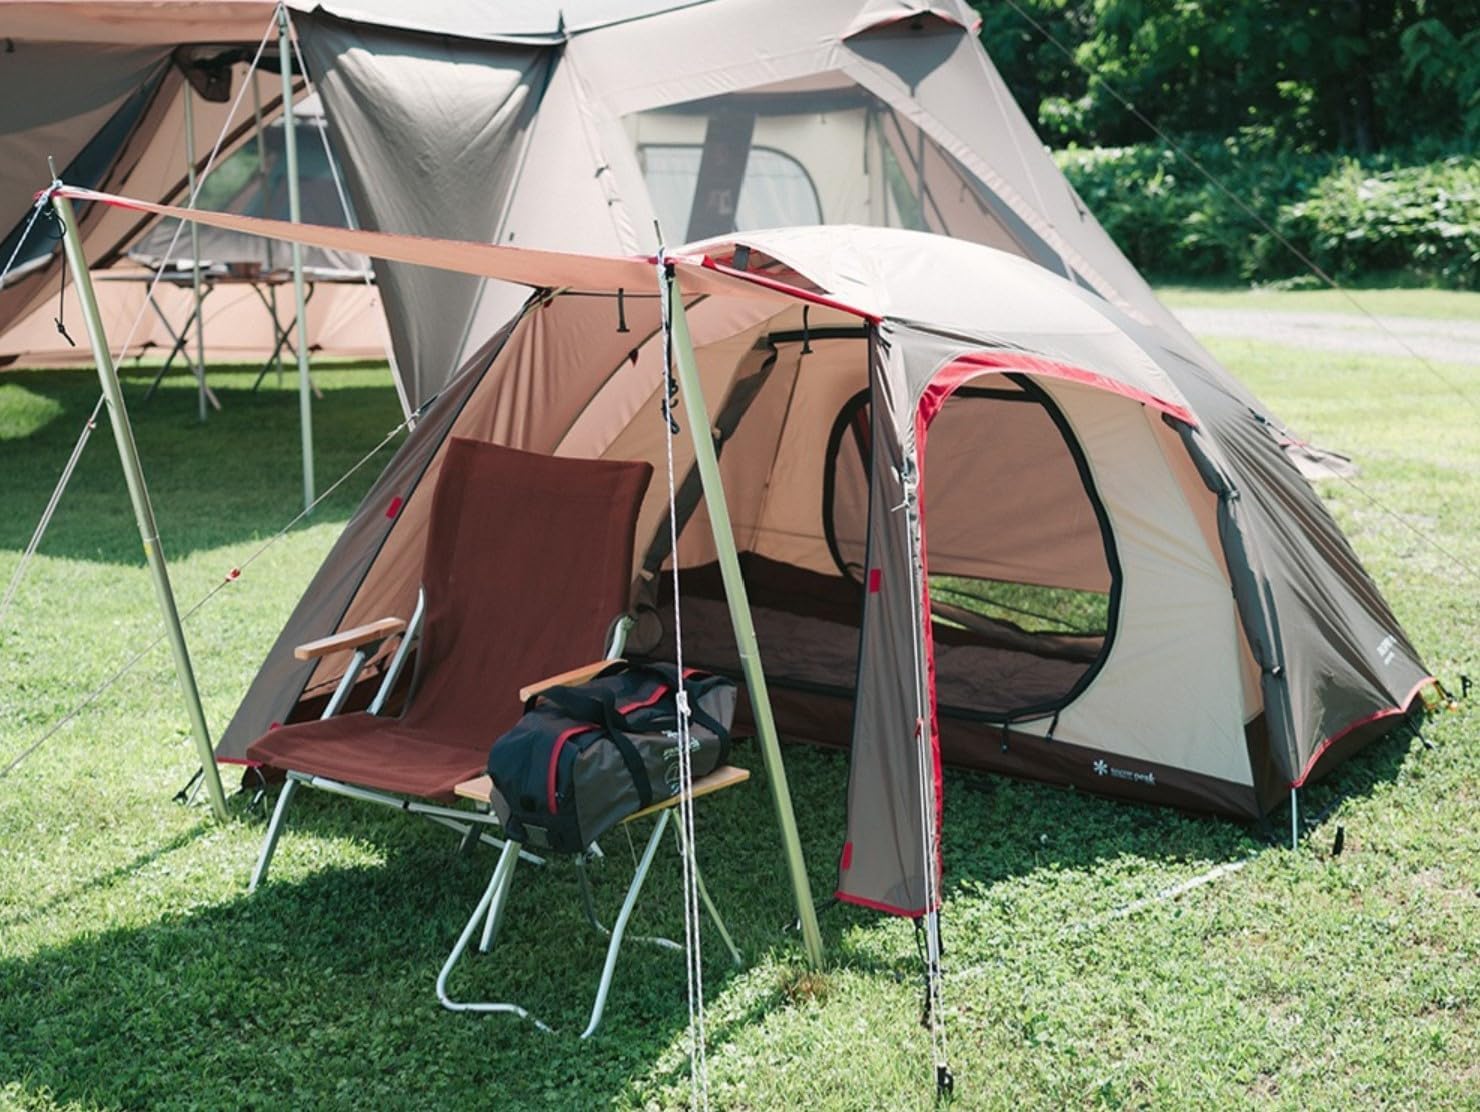
Figure 4: The Trail Tripper Pro. 1 Tent in an outdoor environment, demonstrating typical usage.
6. Maintenance
6.1 Cleaning
- Clean the tent with a soft sponge and mild soap (non-detergent) and lukewarm water.
- Do not use harsh chemicals, bleach, or washing machines, as these can damage the fabric coatings.
- Rinse thoroughly to remove all soap residue.
6.2 Drying
Always ensure the tent is completely dry before packing it away. Damp storage can lead to mildew, fabric degradation, and unpleasant odors. Hang the tent in a shaded, well-ventilated area until dry.
6.3 Storage
Store the clean, dry tent in its carry bag in a cool, dry place away from direct sunlight and extreme temperatures. Avoid compressing the tent excessively for long periods, as this can affect the fabric's waterproof coating.
6.4 Seam Sealing and Repairs
Over time, seam tape may degrade. Use the provided seam grip agent or a suitable seam sealer to re-seal seams if you notice leaks. For minor tears, use the repair pipe or a tent repair kit.
7. Troubleshooting
- Condensation: Ensure proper ventilation by opening vents. Avoid cooking inside the tent.
- Leaking: Check for tears in the fabric or degraded seam tape. Apply seam sealer as needed. Ensure the flysheet is taut and not touching the inner tent.
- Poles Not Connecting: Ensure all pole segments are fully extended and free of dirt or debris. If a pole is bent, use the repair pipe for a temporary fix.
- Tent Instability: Verify all pegs are securely driven into the ground and all guy lines are properly tensioned. Re-position the tent if the ground is too soft or uneven.
8. Specifications

Figure 5: Tent dimensions: 300cm length, 230cm width, 125cm height.
| Feature | Detail |
|---|---|
| Model Number | SD-651-1-AZ |
| Capacity | 1 Person |
| Weight | 4.9 kg |
| Dimensions (L x W x H) | 300 x 230 x 125 cm |
| Storage Size | 59 x 17 x 21 (h) cm |
| Flysheet Material | 75D Polyester Ripstop, PU Coating (1,800mm min), Water Repellent, UV Cut |
| Inner Tent Material (Wall) | 68D Polyester Ripstop |
| Inner Tent Material (Bottom) | 300D Polyester Oxford, PU Coating (10,000mm min) |
| Ground Sheet Material | 210D Polyester Oxford, PU Coating (1,800mm min) |
| Frame Material | A7001 Duralumin (φ10.2mm) |

Figure 6: Product branding detail on the tent flysheet.
9. Warranty and Support
For warranty information, product support, or to purchase replacement parts, please refer to the official Snow Peak website or contact Snow Peak customer service directly. Keep your proof of purchase for warranty claims.
Snow Peak Official Website: www.snowpeak.com


