
Introduction
The Whirlpool WPW10350382 Genuine OEM Upper Dishrack Assembly is a replacement part designed to hold dishes on the top level of your dishwasher during the cleaning cycle. This manual provides essential information for safe installation, proper use, and maintenance of your new dishrack assembly.
Product Overview
The WPW10350382 Upper Dishrack Assembly is a genuine OEM part, ensuring compatibility and quality with your Whirlpool appliance. It replaces several part numbers including W10599464, W10056462, W10082824, W10321579, W10321578, W10199801, 8519628, 8519629, 8519630, 8539233, 8539234, 8539180, 8539184, 8268619, 8268621, 8268622, 8193774, 8193775, 8193943, WPW10082824, and W10350382. This assembly is compatible with various Whirlpool models such as WDT730PAHZ, KDTE104ESS, KDFE104DSS, WDT780SAEM, and WDF540PADM.
Note: This assembly includes the dishrack only. You will need to transfer all mounting components from your old dishrack to this new part.
Why Choose Genuine OEM Parts
This video from Whirlpool Service Parts explains the benefits of using genuine OEM parts for your appliances, emphasizing quality, durability, and perfect fit.

This graphic illustrates the concept of Original Equipment Manufacturer (OEM) parts, highlighting that they are designed specifically by the manufacturer for their products to ensure quality and compatibility.
Installation Instructions
Safety Precautions
Before beginning any installation, always ensure the appliance is unplugged or the house circuit breaker is shut off to prevent electrical shock.
Tools Required
Basic hand tools, such as a multi-screwdriver, are typically sufficient for this installation.
Step-by-Step Installation
- Step 1: Prepare for Disassembly
It is recommended to take a digital photo of your existing dishrack before disassembling it. This will serve as a helpful reference during the reassembly process.

Top view of the Whirlpool WPW10350382 Upper Dishrack Assembly, showing the overall structure and spacing for dishes.
- Step 2: Remove the Old Upper Dishrack
Carefully remove the old upper dishrack from your dishwasher. This may involve detaching rollers, adjusters, or other mounting hardware. Refer to your dishwasher's specific model manual if you encounter difficulties.

Another top view of the dishrack, highlighting the wire design for holding various dish sizes.
- Step 3: Transfer Mounting Components
Transfer all necessary mounting components (e.g., rollers, adjusters, spray arms if applicable) from the old dishrack to the new WPW10350382 Upper Dishrack Assembly. Ensure all components are securely attached.
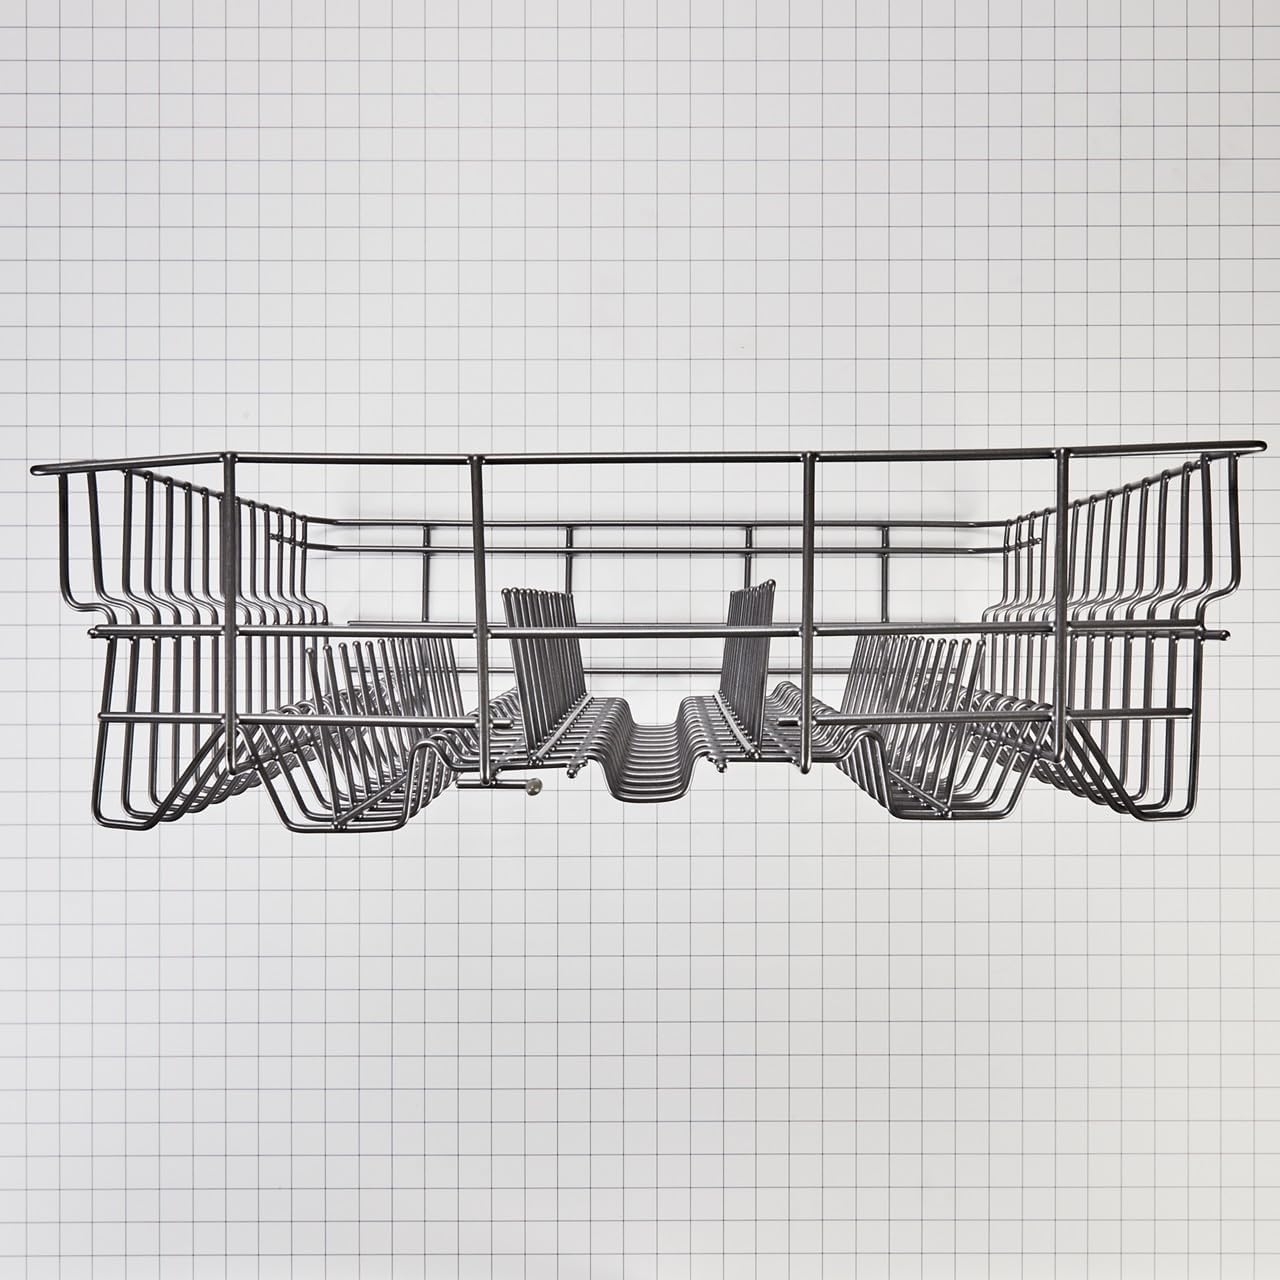
Side view of the upper dishrack assembly, illustrating its height and depth within the dishwasher.
- Step 4: Install the New Upper Dishrack
Slide the new dishrack assembly into the dishwasher, ensuring it moves smoothly along the tracks. Reattach any securing clips or mechanisms.
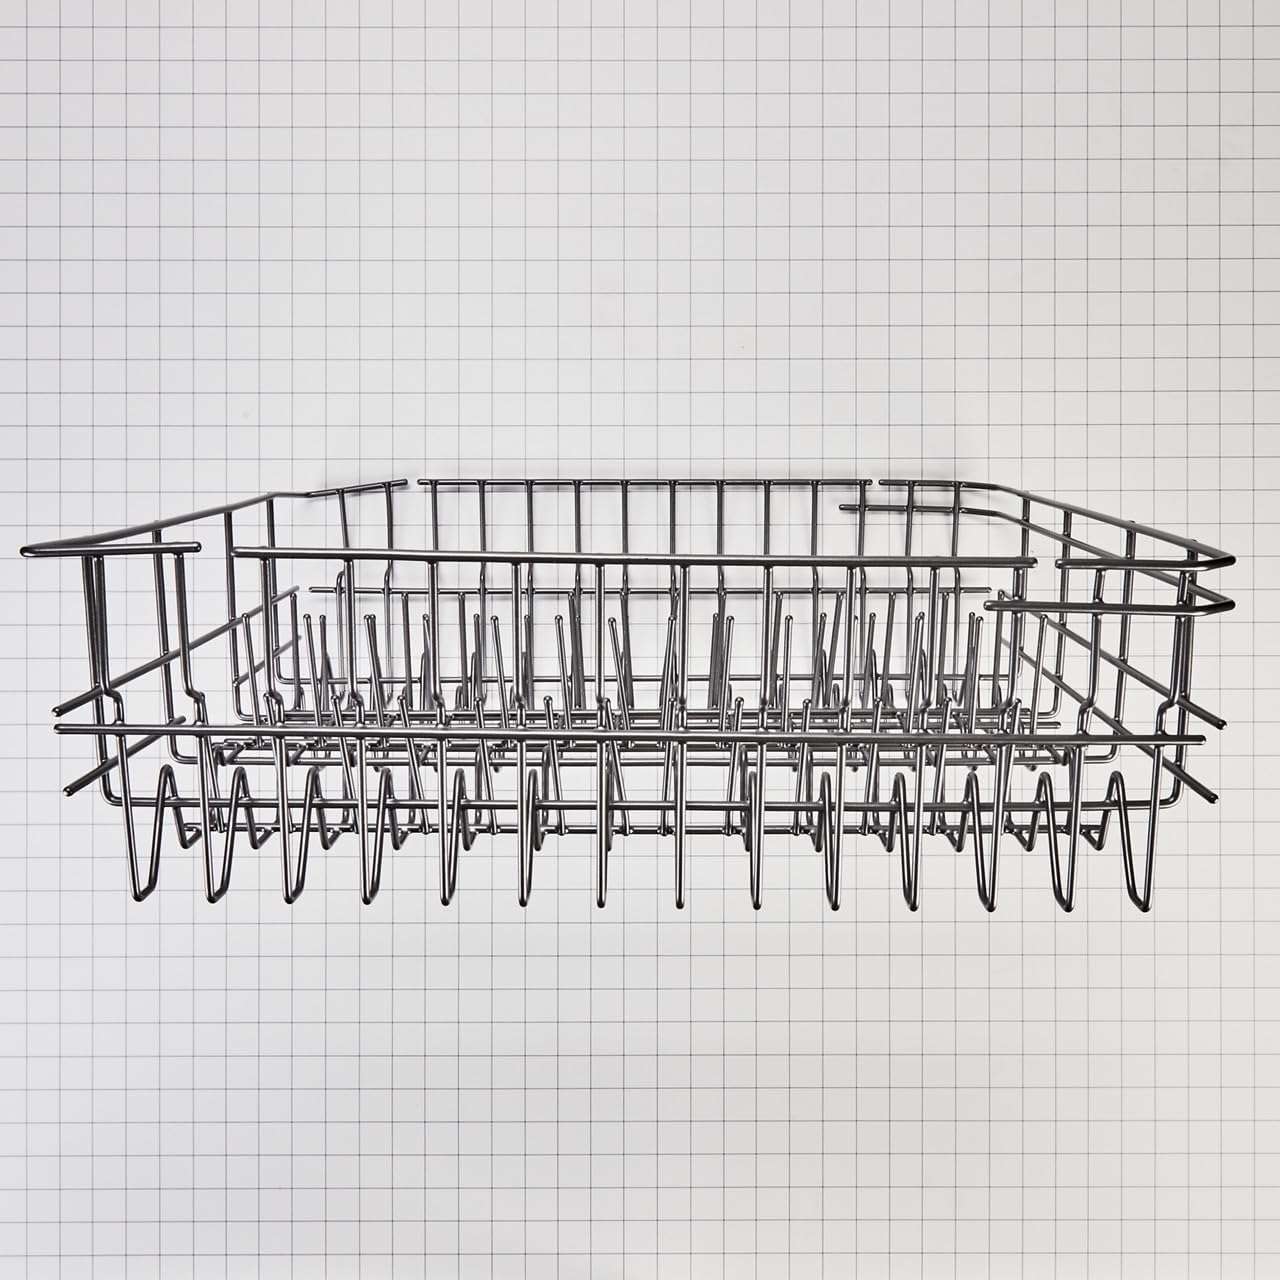
Front view of the dishrack, showing the rack tines and overall construction.
- Step 5: Test Functionality
Once installed, gently pull the dishrack in and out to ensure it operates correctly and is securely seated. Restore power to the dishwasher.
Operating Instructions
Loading the Dishrack
Load dishes, glasses, and other items onto the upper dishrack. Ensure items are placed securely and do not obstruct the spray arms or detergent dispenser. Avoid overcrowding to allow for proper water circulation and cleaning.
Adjusting Rack Height (if applicable)
If your dishwasher model features adjustable upper rack height, refer to your dishwasher's main user manual for instructions on how to adjust the height to accommodate taller items in either the upper or lower rack.
Maintenance
Cleaning the Dishrack
Regularly inspect the dishrack for any food debris or mineral buildup. Clean the dishrack as needed with a soft brush and mild detergent. For limescale and mineral buildup, consider using a specialized dishwasher cleaner such as affresh® Dishwasher Cleaner (item W10282479), as recommended by Whirlpool Corporation.
Inspecting for Wear
Periodically check the dishrack for any signs of wear, such as bent tines or damaged coating, which could affect its performance or damage dishes.
Troubleshooting
Dishes Not Cleaning Properly
Ensure the dishrack is not overloaded and that items are not blocking the spray arm's rotation. Verify that the dishrack is correctly seated on its tracks and can move freely.
Dishrack Not Sliding Smoothly
Check the rollers and tracks for any obstructions or damage. Clean the tracks and rollers if necessary. Ensure all mounting components are properly installed and not causing friction.
Specifications
- Brand: Whirlpool
- Model Number: WPW10350382
- Item Weight: 5.06 pounds
- Product Dimensions: 21.63 x 7.75 x 24.25 inches
- Included Components: Whirlpool WPW10350382 Genuine OEM Upper Dishrack Assembly
Warranty and Support
Warranty Information
The Whirlpool WPW10350382 Genuine OEM Upper Dishrack Assembly comes with a one-year warranty. This warranty covers defects in materials and workmanship under normal use. For specific warranty details and claims, please refer to the documentation included with your purchase or contact Whirlpool customer service.
Customer Support
For further assistance, technical support, or to purchase additional genuine OEM parts, please visit the official Whirlpool Store or contact their customer service department. Using genuine OEM parts ensures optimal performance and longevity of your appliance.