1. Introduction
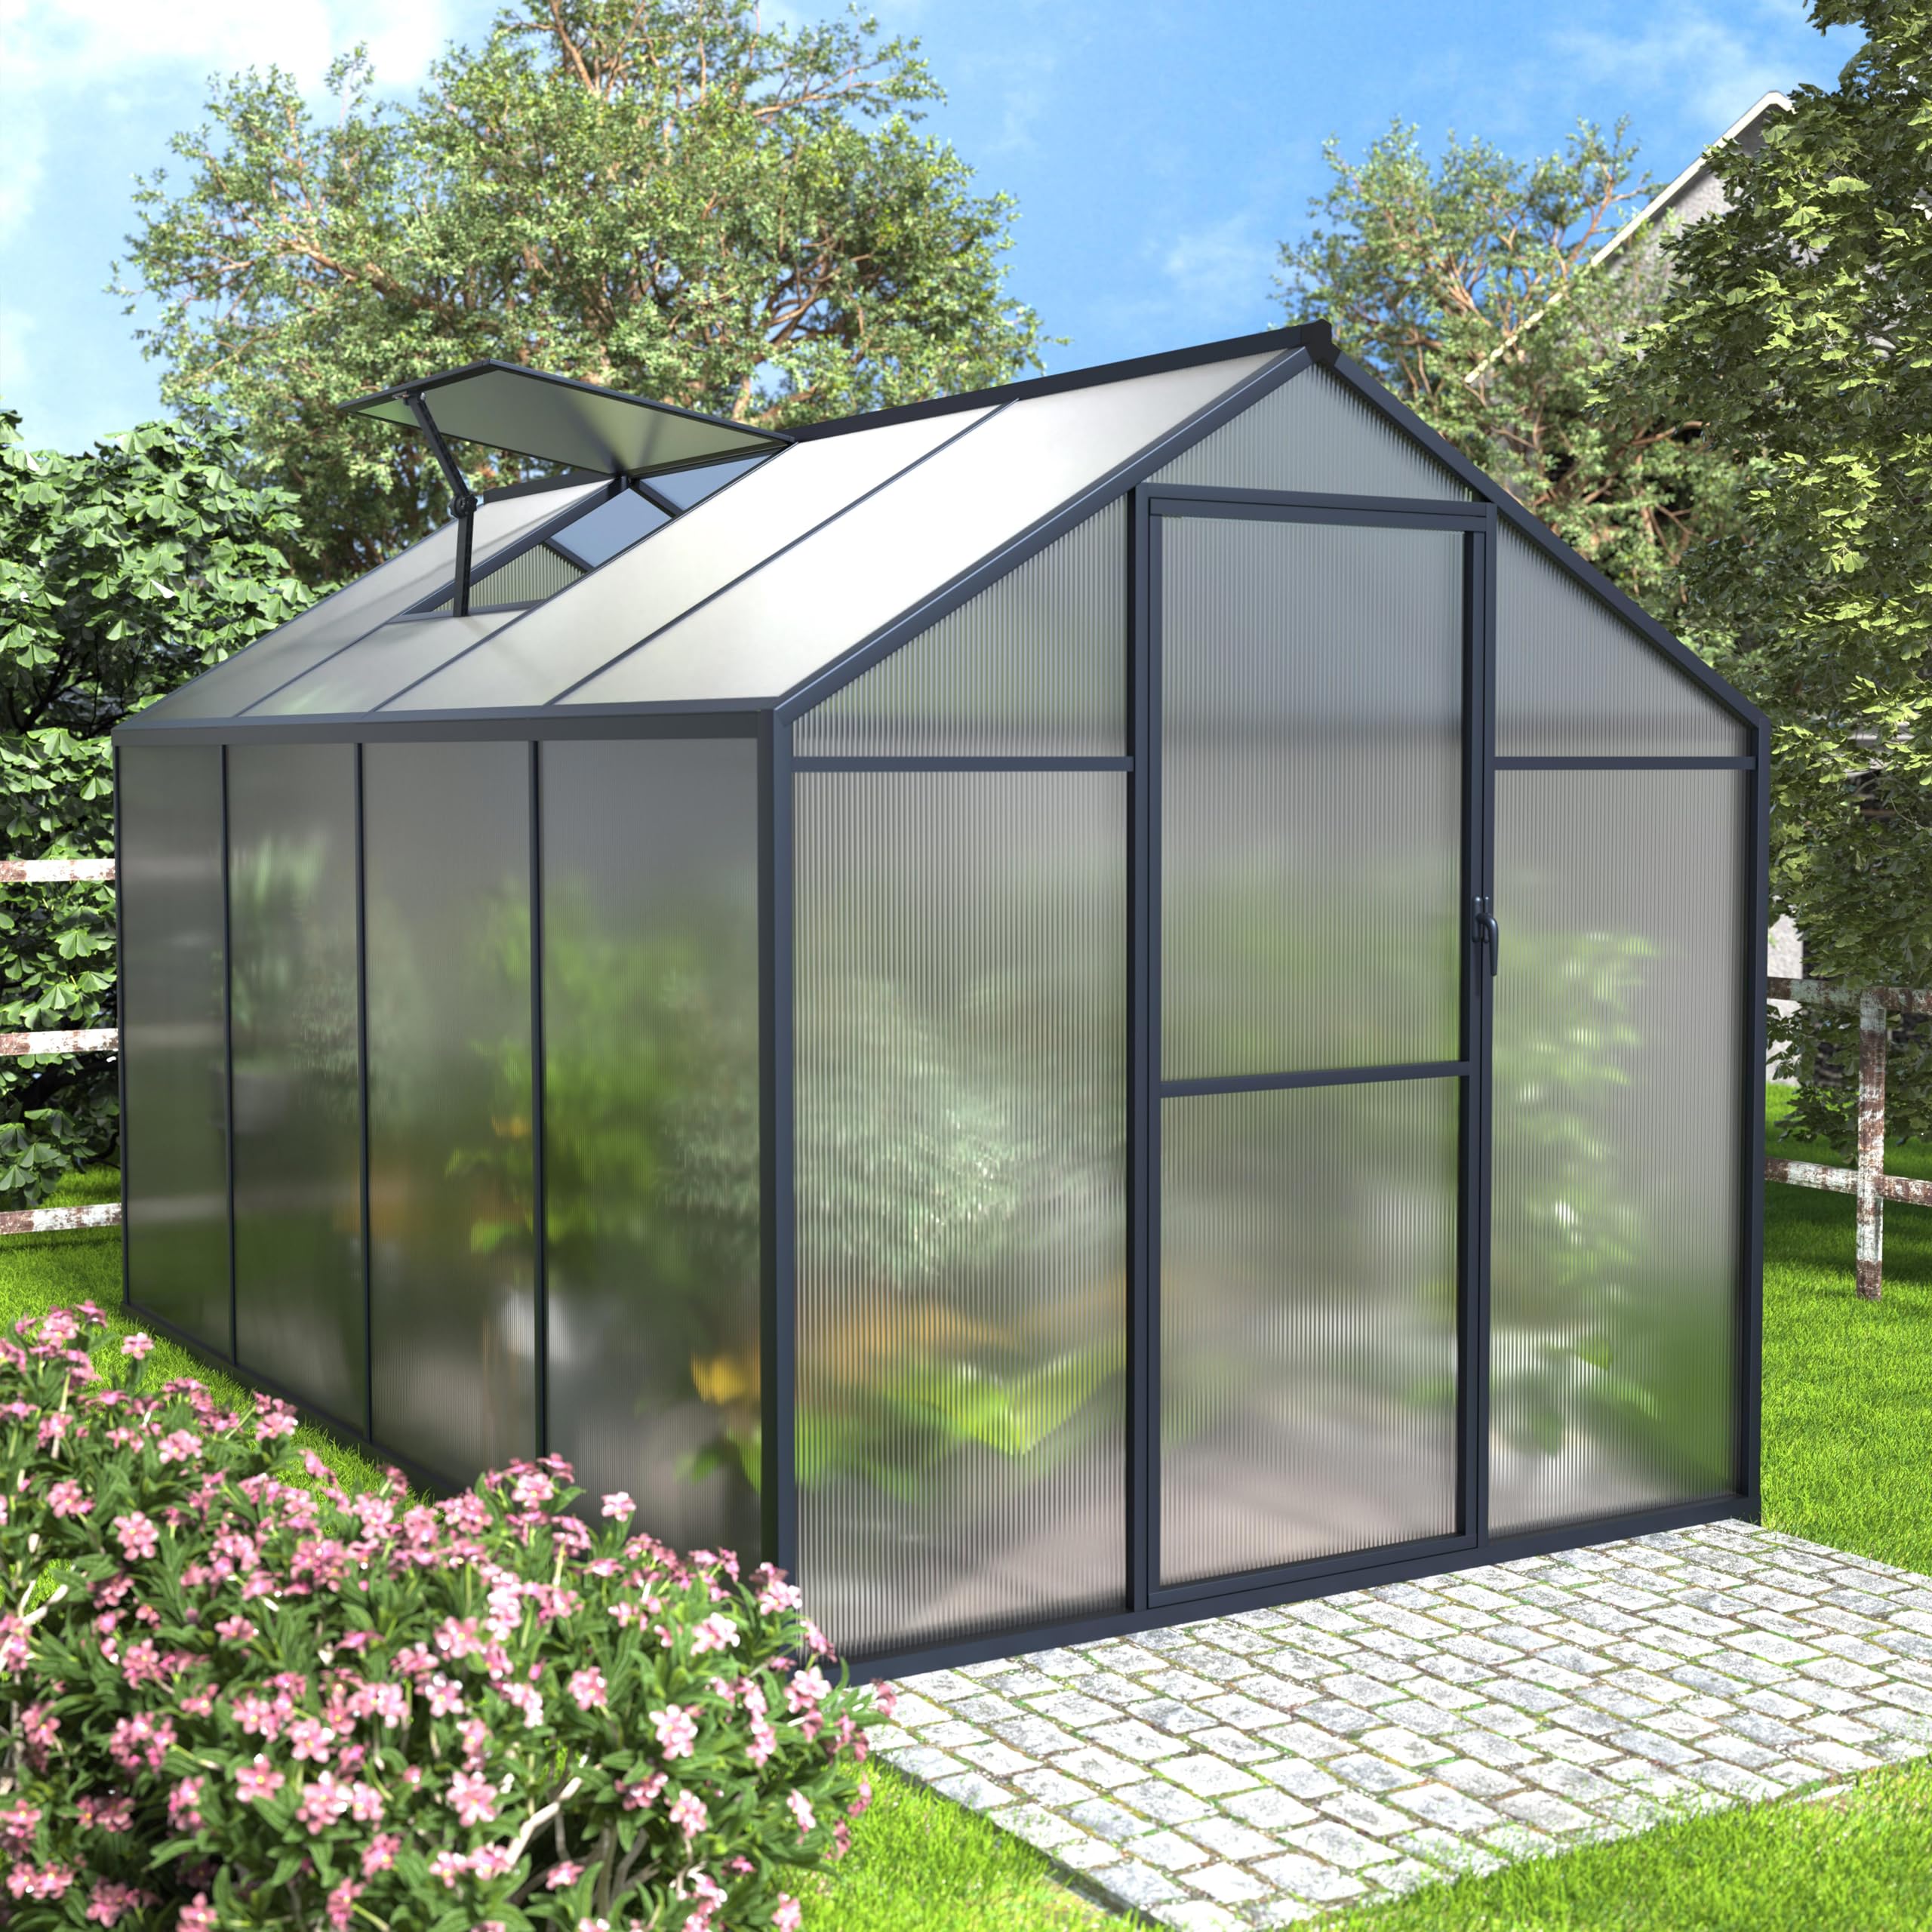
This manual provides detailed instructions for the assembly, operation, and maintenance of your VEIKOU 6x8 FT Greenhouse. Designed for outdoor use, this greenhouse features a sturdy aluminum frame, 4mm twin-wall polycarbonate panels, an upgraded roof vent, and a lockable door. It is engineered to create an optimal environment for plant growth by providing protection from wind and cooler temperatures while allowing ample light.
The upgraded roof vent with pulleys allows for easy airflow regulation, and the sliding panel assembly system simplifies installation. The powder-coated aluminum frame is rust-resistant and weather-resistant, ensuring durability. The polycarbonate panels offer strong flexibility and weather resistance, protecting plants from harsh conditions and UV rays.
2. Safety Information
- Handle heavy components with care: Always use proper lifting techniques or seek assistance when moving heavy parts to prevent injury.
- Ensure proper ventilation: Utilize the adjustable roof vent to prevent overheating inside the greenhouse, especially on warm days.
- Anchor the structure: Securely anchor the greenhouse to the ground to prevent it from being blown away in strong winds. Consider using tie-down kits for improved wind resistance.
- Use appropriate tools: While basic tools may be provided, using proper tools for assembly can prevent damage to components and ensure a secure build.
- Wear protective gear: Gloves are recommended during assembly to protect hands from sharp edges.
- Seal panels: For enhanced weather protection, consider using silicone sealant to seal the panels, especially in areas prone to harsh weather.

3. Package Contents
Before beginning assembly, ensure all parts are present and undamaged. Refer to the assembly instructions for a complete list of components. The package includes:
- Aluminum frame components (labeled A1-1, A1-2, A1-3, A1-4, A2-1, A2-2, A3, A4, A5-1, A5-2, A6-1, A6-2, A6-3, A6-4, A7, A8-1, A8-2, A9-1, A9-2, A9-3, A10-1, A10-2, A11, A12, A13, A14, A15-1, A15-2, A15-3, A15-4, A16, A17, A18, A19, A20, A21, A22-1, A22-2, A23, A24, A26, A27)
- Polycarbonate panels (labeled B1, B2, B3, B4, B5, B6, B7, B7-1, B8, B9)
- Hardware (screws, nuts, brackets, hinges, handles, etc., labeled H1-H26)
- Basic assembly tools (small wrench, screwdriver)
All components are carefully packaged and labeled to facilitate the assembly process. Please check each part against the provided list in the separate assembly guide.

4. Assembly Instructions
The VEIKOU Greenhouse features a sliding panel assembly system and riveted construction designed for easier installation. It is recommended to have at least two people for assembly. Please refer to the detailed step-by-step instructions provided in the included assembly manual and the official setup video.
4.1. Assembly Overview Video
Video 1: An introductory video demonstrating the assembly process for a similar VEIKOU greenhouse model (8x14FT).
4.2. Detailed Setup Video
Video 2: A comprehensive greenhouse setup video, detailing the step-by-step assembly process.
4.3. Key Assembly Steps
- Base Frame Assembly: Connect the base frame components (e.g., A1-1, A1-2, A1-3, A1-4) using the provided connectors (H1) and screws (H6, H9). Ensure all connections are secure.
- Vertical Supports: Attach the vertical support beams (e.g., A4, A6-1, A6-2, A6-3, A6-4) to the base frame using the appropriate hardware (H8).
- Side Panel Installation: Slide the polycarbonate panels (e.g., B1, B2) into the designated channels of the vertical supports and horizontal bars (e.g., A9-1, A9-2, A9-3, A10-1, A10-2, A11). Secure with screws (H8, H11, H20).
- Roof Frame Assembly: Assemble the roof frame sections (e.g., A5-1, A5-2, A12, A14) and attach them to the vertical supports.
- Roof Panel Installation: Carefully slide the roof polycarbonate panels (e.g., B1, B3, B4, B5, B7, B8, B9) into the roof frame channels.
- Vent Installation: Assemble and install the adjustable roof vent (A12, B5, H18, H19) according to the instructions. This allows for controlled airflow.
- Door Assembly and Installation: Assemble the door frame (A22-1, A22-2) and attach the polycarbonate panels (B2). Install the door handle (A27, H17) and hinges. Mount the door to the main frame.
- Final Securing: Double-check all screws and connections to ensure the structure is stable and secure. Apply silicone sealant if desired for extra weatherproofing.

5. Operating Instructions
5.1. Adjustable Roof Vent
The greenhouse features an upgraded roof vent with a pole-less mode and pulleys, allowing for easy adjustment to a suitable angle. This enables you to regulate airflow and prevent overheating inside the greenhouse. Simply rotate or fix the buttons tightly to secure the vent in the desired position.

5.2. Lockable Door
The heavy-duty greenhouse includes a lockable door with handles for comfortable use and enhanced security. Ensure the door is properly closed and locked to protect your plants from external elements and pests.

6. Maintenance
- Regular Cleaning: Clean the polycarbonate panels periodically with mild soap and water to ensure maximum light transmission. Avoid abrasive cleaners that could scratch the panels.
- Frame Inspection: Regularly inspect the aluminum frame for any signs of damage or loose connections. Tighten screws as needed.
- Panel Integrity: Check polycarbonate panels for cracks or damage. Replace damaged panels to maintain the greenhouse's protective qualities.
- Vent Mechanism: Ensure the roof vent mechanism operates smoothly. Lubricate moving parts if necessary.
- Anchoring System: Periodically check the ground anchors to ensure they remain secure, especially after strong winds or heavy rainfall.
7. Troubleshooting
- Greenhouse unstable in wind: Ensure the structure is properly anchored to the ground. Consider adding extra tie-down kits or bolting the base to a concrete slab or base plates for increased stability.
- Water leakage: Check for gaps between panels or between panels and the frame. Apply silicone sealant to any problematic areas.
- Overheating inside: Ensure the roof vent is open and adjusted to allow sufficient airflow. Consider additional shading during peak sunlight hours if needed.
- Difficulty with assembly: Review the assembly video and instructions carefully. Ensure all parts are correctly identified by their labels. Contact customer support if issues persist.
8. Specifications
| Feature | Specification |
|---|---|
| Overall Size | 72"W x 95.1"D x 76.6"H (6x8 FT) |
| Interior Size | 67.5"W x 91.6"D |
| Door Size | 24.4"W x 65.7"H |
| Frame Material | Powder-coated Aluminum |
| Cover Material | 4mm Twin-Wall Polycarbonate (UV-resistant) |
| Number of Doors | 1 (Lockable) |
| Number of Vents | 1 (Adjustable Roof Vent) |
| Indoor/Outdoor Usage | Outdoor |
| Color | Gray |

9. Warranty and Support
For warranty information, product support, or to inquire about replacement parts, please contact VEIKOU customer service directly. Refer to the contact details provided in your product packaging or on the official VEIKOU website.