1. Introduction
Thank you for choosing the HOFTRONIC LED Ceiling Light. This product is designed for indoor use and features an integrated motion sensor and twilight switch, ensuring efficient and convenient lighting. This manual provides essential information for safe installation, operation, and maintenance of your new ceiling light.
2. Safety Instructions
- Always disconnect power at the main circuit breaker before installation, maintenance, or repair.
- Installation must be performed by a qualified electrician or in accordance with local electrical codes.
- Ensure the supply voltage matches the product specifications (230 Volts).
- Do not modify the product in any way. Unauthorized modifications may void the warranty and pose safety risks.
- This product is rated IP20 for indoor use only. Do not expose to moisture or outdoor elements.
- Avoid looking directly into the LED light source when illuminated, as it may cause eye strain.
3. Product Overview
The HOFTRONIC LED Ceiling Light combines energy-efficient LED technology with smart sensor capabilities. It features a PIR (Passive Infrared) motion sensor and an adjustable twilight switch to optimize energy consumption.
Key Features:
- Integrated Motion Sensor: Detects movement within a 360° range, up to 6 meters.
- Twilight Switch: Activates the light only when ambient light levels fall below a set threshold. This feature can be disabled.
- Adjustable Settings: Time delay and lux sensitivity are continuously adjustable.
- Easy Installation: Features a rotary click system for quick and secure ceiling mounting.
- Energy Efficient: 12W power consumption with 1160 lumens output.
- Cool White Light: Provides 6400K cool white illumination. Other variants (3000K Warm White, 4000K Neutral White) are available.

Image 3.1: The HOFTRONIC LED Ceiling Light is available in various color temperatures, including 3000K Warm White, 4000K Neutral White, and 6400K Daylight White (the current model).
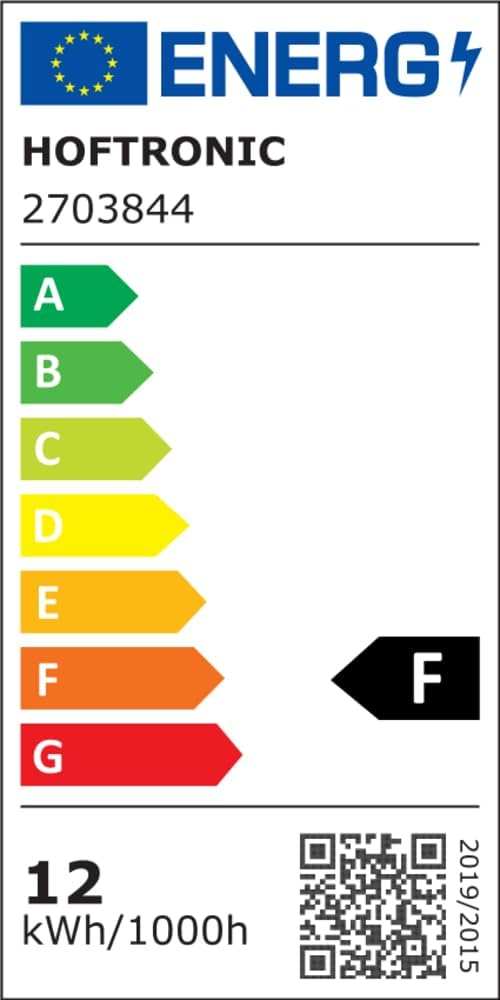
Image 3.2: Top-down view of the LED ceiling light, highlighting its compact, round design and central sensor.
4. Specifications
| Feature | Specification |
|---|---|
| Brand | HOFTRONIC |
| Model Number | 2703844 |
| Dimensions (L x W x H) | 29 x 29 x 6 cm |
| Weight | 0.5 kg |
| Material | Plastic |
| Power | 12 Watts |
| Luminous Flux | 1160 lumens |
| Color Temperature | 6400 Kelvin (Cool White) |
| Voltage | 230 Volts (AC) |
| Sensor Type | PIR Motion Sensor, Twilight Switch |
| Detection Angle | 360° |
| Detection Range | Up to 6 meters |
| IP Rating | IP20 (Indoor use) |
| Lifetime | 20,000 hours |
| Energy Efficiency Class | F |

Image 4.1: EU Energy Label for the HOFTRONIC LED Ceiling Light. For more details, visit the official EPREL database: https://eprel.ec.europa.eu/qr/1529287

Image 4.2: Dimensional drawing of the ceiling light, indicating a diameter of 290mm and a height of 60mm.
5. Setup and Installation
The HOFTRONIC LED Ceiling Light is designed for straightforward installation using a rotary click system. All necessary mounting hardware is included.
Installation Steps:
- Safety First: Turn off the power supply at the main circuit breaker before beginning installation.
- Prepare Mounting Surface: Mark the drilling points on the ceiling using the light fixture's base as a template. Ensure no electrical wires or pipes are present behind the drilling points.
- Drill Holes: Drill holes at the marked positions and insert appropriate wall plugs (if required for your ceiling type).
- Mount Base: Secure the mounting base to the ceiling using the provided screws.
- Wire Connection: Connect the electrical wires from your ceiling to the terminal block on the light fixture. Ensure correct polarity (Live, Neutral, Earth if applicable). Refer to the wiring diagram below.
- Attach Light Fixture: Align the main light fixture with the mounted base and twist it clockwise until it clicks securely into place. The rotary click system ensures a firm connection.
- Restore Power: Turn the power supply back on at the circuit breaker.

Image 5.1: Internal components of the light, showing the LED array and the wiring terminal block for electrical connection.
6. Operating Instructions
This LED ceiling light features adjustable settings for its motion sensor and twilight switch. These settings allow you to customize the light's behavior to suit your specific needs.
Sensor Adjustment:
The sensor module has two adjustment knobs, typically labeled 'TIME' and 'LUX'.
- TIME (Time Delay): This knob controls how long the light remains illuminated after motion is no longer detected. It is continuously adjustable, typically from 10 seconds to 3 minutes. Turn the knob clockwise to increase the time delay, and counter-clockwise to decrease it.
- LUX (Twilight Switch Sensitivity): This knob sets the ambient light level at which the motion sensor becomes active. It is continuously adjustable, typically from 3 lux (very dark) to 2000 lux (daylight). Turn the knob towards the 'sun' symbol for the sensor to be active only in brighter conditions, or towards the 'moon' symbol for it to be active in darker conditions. The twilight switch can also be completely disabled, allowing the motion sensor to operate regardless of ambient light.

Image 6.1: The sensor adjustment knobs for 'Time delay' and 'Twilight switch' (Lux sensitivity).
PIR Sensor Note: This product uses a Passive Infrared (PIR) sensor. PIR sensors detect changes in infrared radiation (heat) caused by moving objects. They do not detect movement through walls or glass, making them suitable for specific indoor areas like corridors, storage rooms, or offices where detection is needed within the direct line of sight.
7. Maintenance
The HOFTRONIC LED Ceiling Light requires minimal maintenance.
- Cleaning: Ensure the power is off before cleaning. Wipe the fixture with a soft, dry, or slightly damp cloth. Do not use abrasive cleaners, solvents, or harsh chemicals, as these can damage the finish or electronic components.
- No User-Serviceable Parts: The LED light source is integrated and not replaceable by the user. Do not attempt to open or repair the fixture.
- Sensor Lens: Keep the sensor lens clean and free from obstructions to ensure optimal performance.
8. Troubleshooting
If you encounter issues with your HOFTRONIC LED Ceiling Light, refer to the following common problems and solutions:
| Problem | Possible Cause | Solution |
|---|---|---|
| Light does not turn on. | No power supply. LUX setting too high (daylight mode). Sensor obstructed or faulty. | Check circuit breaker. Adjust LUX knob towards 'moon' symbol or disable twilight switch. Ensure sensor is clear. Test in a dark environment. |
| Light stays on continuously. | Constant motion in detection area. TIME setting too long. LUX setting too low (always on). Sensor faulty. | Ensure no continuous motion. Adjust TIME knob to a shorter duration. Adjust LUX knob towards 'sun' symbol. Contact support if issue persists. |
| Light turns on unexpectedly. | Minor movements (pets, drafts). Sensor too sensitive. | Adjust sensor placement if possible. Reduce TIME setting. |
| Detection range is too short/long. | Installation height/angle. Environmental factors. | Ensure optimal installation height (typically 2-4 meters). The sensor range is fixed up to 6 meters. |
9. Warranty and Support
The HOFTRONIC LED Ceiling Light is designed for a long operational life of 20,000 hours. Based on an average usage of 10 hours per day, 250 days per year, this equates to approximately 8 years of use.
For warranty claims, technical support, or further assistance, please contact your retailer or the HOFTRONIC customer service department. Please have your model number (2703844) and proof of purchase available when contacting support.


