1. Introduction
Thank you for choosing the ONIKUMA CW908 Wired Gaming Mouse. This manual provides detailed instructions on how to set up, operate, maintain, and troubleshoot your new gaming mouse. Please read this manual carefully before use to ensure optimal performance and longevity of your device.
2. Product Overview
The ONIKUMA CW908 is a high-performance wired gaming mouse designed for comfort and precision. It features 7 programmable buttons, adjustable DPI up to 7200, and vibrant RGB lighting. Its ergonomic and lightweight design ensures comfortable use during extended gaming sessions.
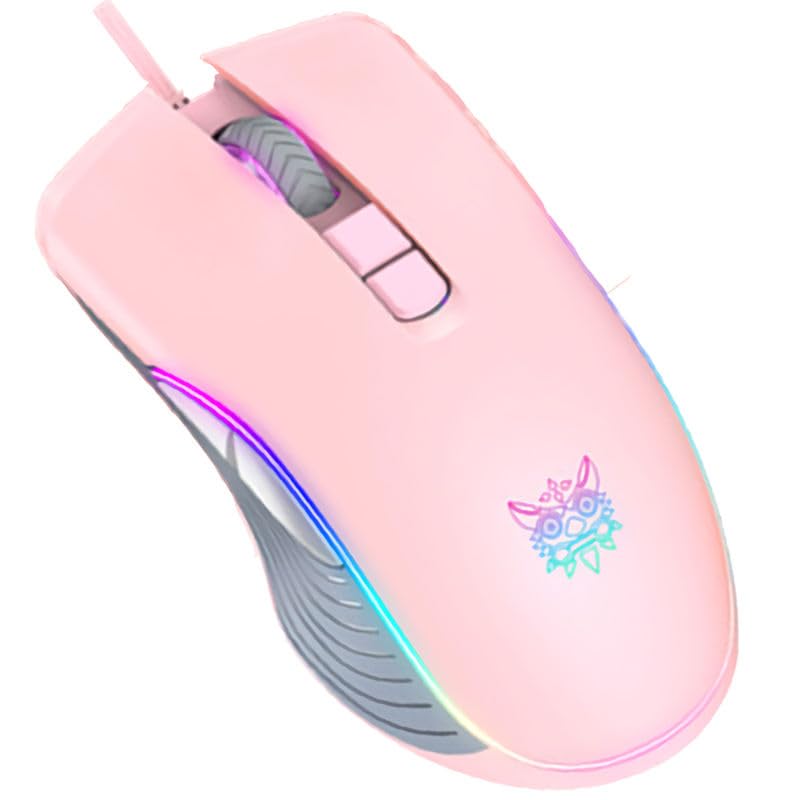
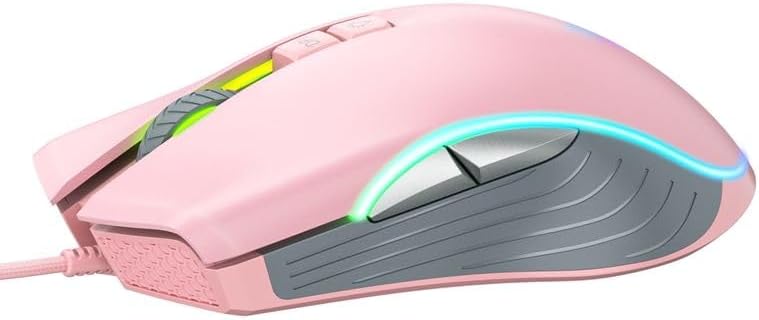
2.1 Mouse Components
- Left Click Button: Standard primary click function.
- Right Click Button: Standard secondary click function.
- Scroll Wheel: For scrolling and middle-click function.
- DPI Adjustment Button: Cycles through DPI settings.
- Forward Button: Navigates forward in web browsers or applications.
- Backward Button: Navigates backward in web browsers or applications.
- RGB Lighting: Integrated LED lighting for aesthetic appeal.
- USB Connector: For wired connection to your computer.
2.2 Product Images
3. Setup Instructions
Setting up your ONIKUMA CW908 mouse is a simple plug-and-play process.
- Unpack the Mouse: Carefully remove the mouse from its packaging.
- Connect to Computer: Plug the USB connector of the mouse into an available USB port on your personal computer or laptop.
- Driver Installation: Your operating system (Windows 7, Windows 98, Linux, or newer versions) should automatically detect and install the necessary drivers. This process may take a few moments.
- Ready for Use: Once the drivers are installed, the mouse will be ready for immediate use. The RGB lighting will illuminate.
4. Operating Instructions
The ONIKUMA CW908 mouse offers intuitive controls for both general use and gaming.
4.1 Basic Operation
- Move the mouse on a flat surface to control the cursor on your screen.
- Use the Left Click Button for primary actions (e.g., selecting items, opening files).
- Use the Right Click Button for secondary actions (e.g., opening context menus).
- Roll the Scroll Wheel up or down to navigate through documents or web pages. Press the Scroll Wheel for its middle-click function.
4.2 DPI Adjustment
The mouse features an adjustable DPI (Dots Per Inch) setting, allowing you to change cursor sensitivity on the fly. The CW908 supports up to 7200 DPI.
- Press the DPI Adjustment Button (usually located behind the scroll wheel) to cycle through different DPI levels.
- Each press will switch to a predefined DPI setting, indicated by a change in the RGB lighting color or pattern (if applicable).
- Select the DPI level that best suits your task, whether it's precise aiming in games or fast navigation across multiple monitors.
4.3 Side Buttons
The Forward and Backward buttons on the side of the mouse provide quick navigation.
- The Forward Button typically moves forward in web browsers or file explorers.
- The Backward Button typically moves backward in web browsers or file explorers.
5. Customizing Settings
While the ONIKUMA CW908 offers plug-and-play functionality, advanced customization for button remapping or more intricate RGB control may require dedicated software. Please check the official ONIKUMA website for any available software downloads specific to the CW908 model.
- DPI Settings: As mentioned, the DPI button cycles through preset levels. Software, if available, may allow for custom DPI steps.
- Button Programming: With compatible software, the 7 buttons can often be remapped to perform specific functions, macros, or keyboard shortcuts, enhancing your gaming and productivity.
- RGB Lighting: Software can provide more granular control over RGB effects, colors, and brightness, beyond the default cycling modes.
6. Maintenance
Proper maintenance ensures the longevity and performance of your gaming mouse.
- Cleaning: Use a soft, dry cloth to wipe the surface of the mouse. For stubborn dirt, slightly dampen the cloth with water or a mild cleaning solution. Avoid harsh chemicals.
- Sensor Cleaning: Occasionally, dust or debris may accumulate around the optical sensor on the underside of the mouse. Use a cotton swab or compressed air to gently clean the sensor area.
- Cable Care: Avoid sharply bending or pulling the USB cable. Store the mouse in a way that prevents the cable from being crimped or damaged.
- Storage: When not in use, store the mouse in a clean, dry environment away from extreme temperatures.
7. Troubleshooting
If you encounter issues with your ONIKUMA CW908 mouse, refer to the following common problems and solutions:
| Problem | Possible Cause | Solution |
|---|---|---|
| Mouse not responding | Loose USB connection, faulty USB port, driver issue. | Ensure USB cable is securely plugged in. Try a different USB port. Restart your computer. Check Device Manager for driver status. |
| Cursor movement is erratic or jumpy | Dirty optical sensor, unsuitable mouse pad surface. | Clean the optical sensor on the underside of the mouse. Use a clean, uniform-colored mouse pad. |
| DPI button not changing sensitivity | Button malfunction, software conflict. | Ensure the mouse is properly connected. If using custom software, check its settings. Try on another computer to rule out system issues. |
| RGB lighting not working | Power issue, software setting. | Ensure the mouse is receiving power via USB. If using custom software, check lighting settings. |
8. Specifications
| Feature | Detail |
|---|---|
| Brand | ONIKUMA |
| Model | CW908 |
| Connectivity Technology | USB Wired |
| Movement Detection | Optical |
| DPI (Dots Per Inch) | Up to 7200 (Adjustable) |
| Number of Buttons | 7 |
| Special Features | LED Lighting (RGB), Comfortable Design, Lightweight |
| Recommended Use | Gaming |
| Compatible Devices | Personal Computer, Laptop |
| Operating System Compatibility | Linux, Windows 7, Windows 98 (and newer Windows versions) |
| Style | Modern |
| Color | Pink |
9. Warranty and Support
ONIKUMA products are manufactured to high-quality standards. For specific warranty information, please refer to the warranty card included with your product or visit the official ONIKUMA website. If you require technical support or have questions not covered in this manual, please contact ONIKUMA customer service through their official channels.


