1. Product Overview
The ROCAM Projection Alarm Clock Radio (Model 1024) is a versatile device combining an FM radio, digital clock with projection, and dual alarm functions. It also features a calendar, temperature and humidity display, 12/24-hour format, DST, and integrated USB and Type-C charging ports. This manual provides detailed instructions for setup, operation, and maintenance.
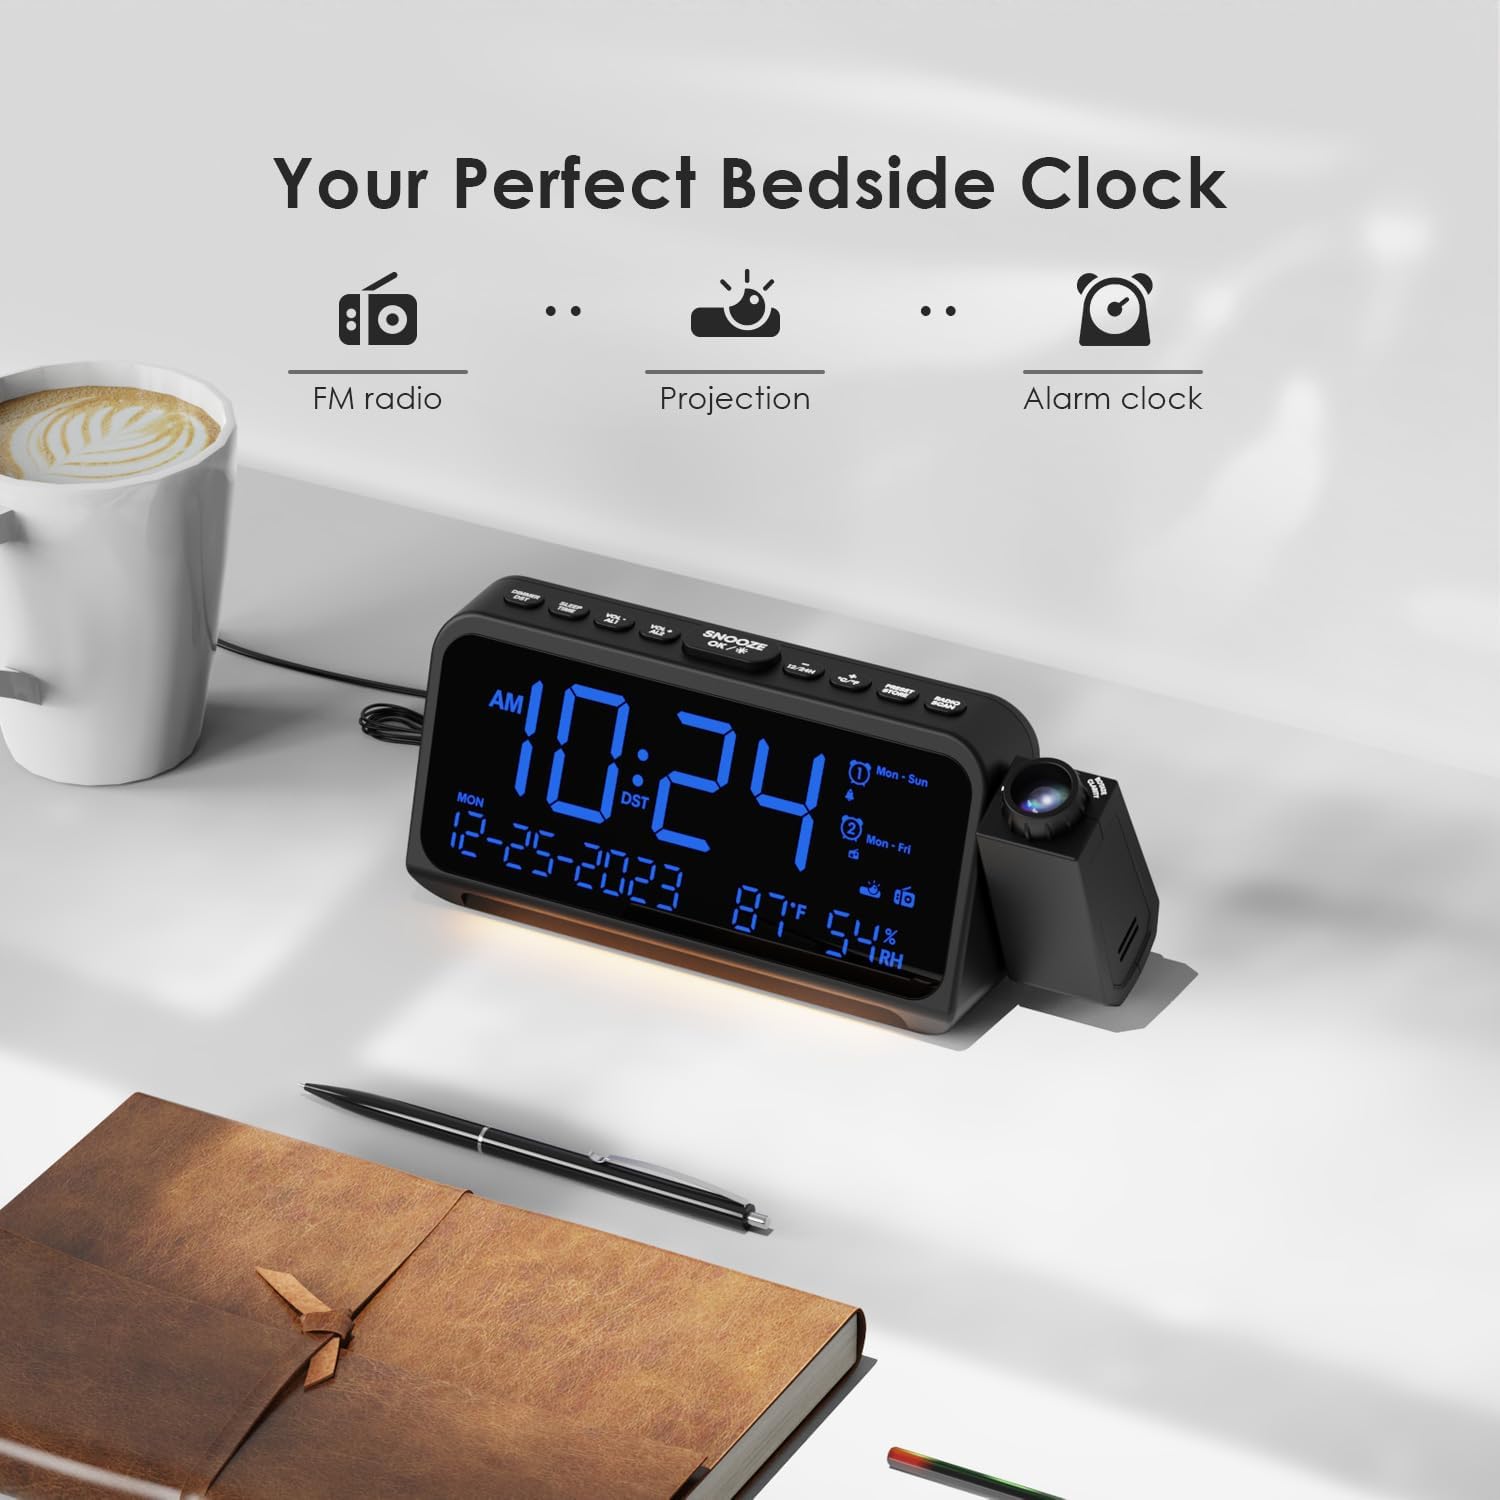
Image 1.1: Front view of the ROCAM Projection Alarm Clock Radio displaying time, date, temperature, and humidity.
2. Setup
2.1 Power Connection
Connect the provided power adapter to the DC IN port on the back of the alarm clock and plug it into a standard wall outlet. The clock will power on and the display will illuminate.

Image 2.1: Connecting the alarm clock to a power source.
2.2 Battery Backup Installation
For backup power during outages, install two AAA batteries (not included) into the battery compartment located on the bottom of the unit. The backup batteries maintain time and alarm settings but do not power the display or other functions.

Image 2.2: Installing AAA batteries for backup power.
3. Operating Instructions
3.1 Time and Date Setting
- Press and hold the TIME SET button to enter time setting mode.
- Use the +/- buttons to adjust hours, minutes, year, month, and day. Press TIME SET to confirm each step.
- To switch between 12-hour and 24-hour format, press the 12/24H button.
- To activate or deactivate Daylight Saving Time (DST), press the DST button.
3.2 Alarm Setting
The clock features two independent alarms (Alarm 1 and Alarm 2).
- Press and hold the AL1 or AL2 button to enter alarm setting mode.
- Use the +/- buttons to set the desired alarm time. Press the respective alarm button (AL1 or AL2) to confirm.
- Select the alarm mode: beep or FM radio. Use the +/- buttons to toggle and confirm with the alarm button.
- Choose the alarm frequency: Mon-Sun (every day), Mon-Fri (weekdays), Sat-Sun (weekends), or One-Time. Confirm with the alarm button.
- To adjust alarm volume, use the VOL +/- buttons during alarm setup or when the alarm is sounding.
- When an alarm sounds, press the SNOOZE/OK/* button for a 9-minute snooze. To turn off the alarm, press any other button.

Image 3.1: Dual alarm settings with options for alarm sound and frequency.
3.3 FM Radio Operation
- Press the RADIO button to turn on the FM radio.
- Press the SCAN button to automatically scan and save available FM stations (87.5 MHz to 108.0 MHz). Up to 20 stations can be stored.
- Use the PRESET/STORE button to cycle through saved stations.
- Adjust the radio volume using the VOL +/- buttons.
- To set a sleep timer for the radio, press the SLEEP TIMER button repeatedly to select 15, 30, 60, or 90 minutes. The radio will automatically turn off after the selected duration.

Image 3.2: FM radio display and sleep timer settings.
3.4 Projection Function
The integrated projector displays the time on your ceiling or wall.
- Press the PROJECTION button to turn the projection on/off.
- Rotate the projector lens to adjust the projection angle (up to 350°).
- Use the focus ring on the projector to sharpen the projected image.
- Press the 180° FLIP button to invert the projected image if it appears upside down.
- Adjust the projection brightness through 5 levels by repeatedly pressing the DIM button on the side of the projector.

Image 3.3: Illustration of 5-level dimmable projection.

Image 3.4: Projector rotation capability.
3.5 Display and Night Light
- The 5.9-inch LED display shows time, date, day of the week, and indoor temperature/humidity.
- Adjust the display brightness through 5 levels by repeatedly pressing the DIM button on the top of the unit.
- The integrated night light has two brightness levels. Press the NIGHT LIGHT button to cycle through off, low, and high brightness.

Image 3.5: Dimmable LED display and night light options.
3.6 Charging Ports
The alarm clock includes a USB port and a Type-C port for charging external devices.
- USB Output: 5V-1A
- Type-C Input/Output: 5V-2A (Input), 5V-1A (Output)
Connect your smartphone or other compatible devices to these ports for charging.

Image 3.6: USB and Type-C charging ports on the back of the unit.
4. Maintenance
- Cleaning: Wipe the unit with a soft, dry cloth. Do not use abrasive cleaners or solvents.
- Battery Replacement: Replace the AAA backup batteries annually or if the clock loses settings during a power outage. Ensure correct polarity when inserting new batteries.
- Storage: If storing the device for an extended period, remove the backup batteries to prevent leakage.
5. Troubleshooting
| Problem | Possible Cause | Solution |
|---|---|---|
| Display is blank. | No power or power outage. | Ensure the power adapter is securely connected to a working outlet. Check if backup batteries are installed and functional during an outage. |
| Alarm does not sound. | Alarm not activated or volume too low. | Verify alarm is set and enabled. Increase alarm volume. Check alarm frequency settings (e.g., if set for Mon-Fri, it won't sound on Sat/Sun). |
| Projection is blurry. | Focus not adjusted. | Rotate the focus ring on the projector lens until the image is clear. |
| Projected time is upside down. | Projection image orientation. | Press the 180° FLIP button to correct the orientation. |
| Radio reception is poor. | Antenna position or interference. | Extend and reposition the FM antenna wire for better reception. Avoid placing near other electronic devices that may cause interference. |
| Charging ports not working. | Device not powered or cable issue. | Ensure the alarm clock is connected to mains power. Try a different USB/Type-C cable. Verify the device being charged is compatible. |
| Temperature reading seems inaccurate. | Environmental factors or sensor calibration. | The internal sensor may be affected by the unit's own heat or external drafts. Allow time for stabilization. Note that minor variations (2-3 degrees) can occur compared to professional thermometers. |
6. Specifications
| Feature | Detail |
|---|---|
| Brand | ROCAM |
| Model Number | 1024 |
| Color | Blue |
| Display Type | Digital LED (5.9 inches) |
| Power Source | AC Powered with Battery Backup (2x AAA, not included) |
| FM Radio Frequency | 87.5 MHz - 108.0 MHz |
| Projection Brightness | 5 levels |
| Display Brightness | 5 levels |
| Night Light Brightness | 2 levels |
| USB Output | 5V-1A |
| Type-C Input/Output | 5V-2A (Input), 5V-1A (Output) |
| Dimensions | 20cm (L) x 8.4cm (H) (approximate) |
| Special Features | Temperature display, Calendar display, FM Radio, Projector clock |
7. Warranty and Support
For warranty information and customer support, please refer to the documentation included with your purchase or contact ROCAM customer service directly. Specific warranty terms may vary by region and retailer.


