Introduction
Thank you for choosing the Best Choice Products 7.5ft Pre-Lit Artificial White Christmas Tree. This manual provides essential information for safe assembly, operation, and maintenance of your new Christmas tree. Please read all instructions carefully before beginning assembly and retain this manual for future reference.
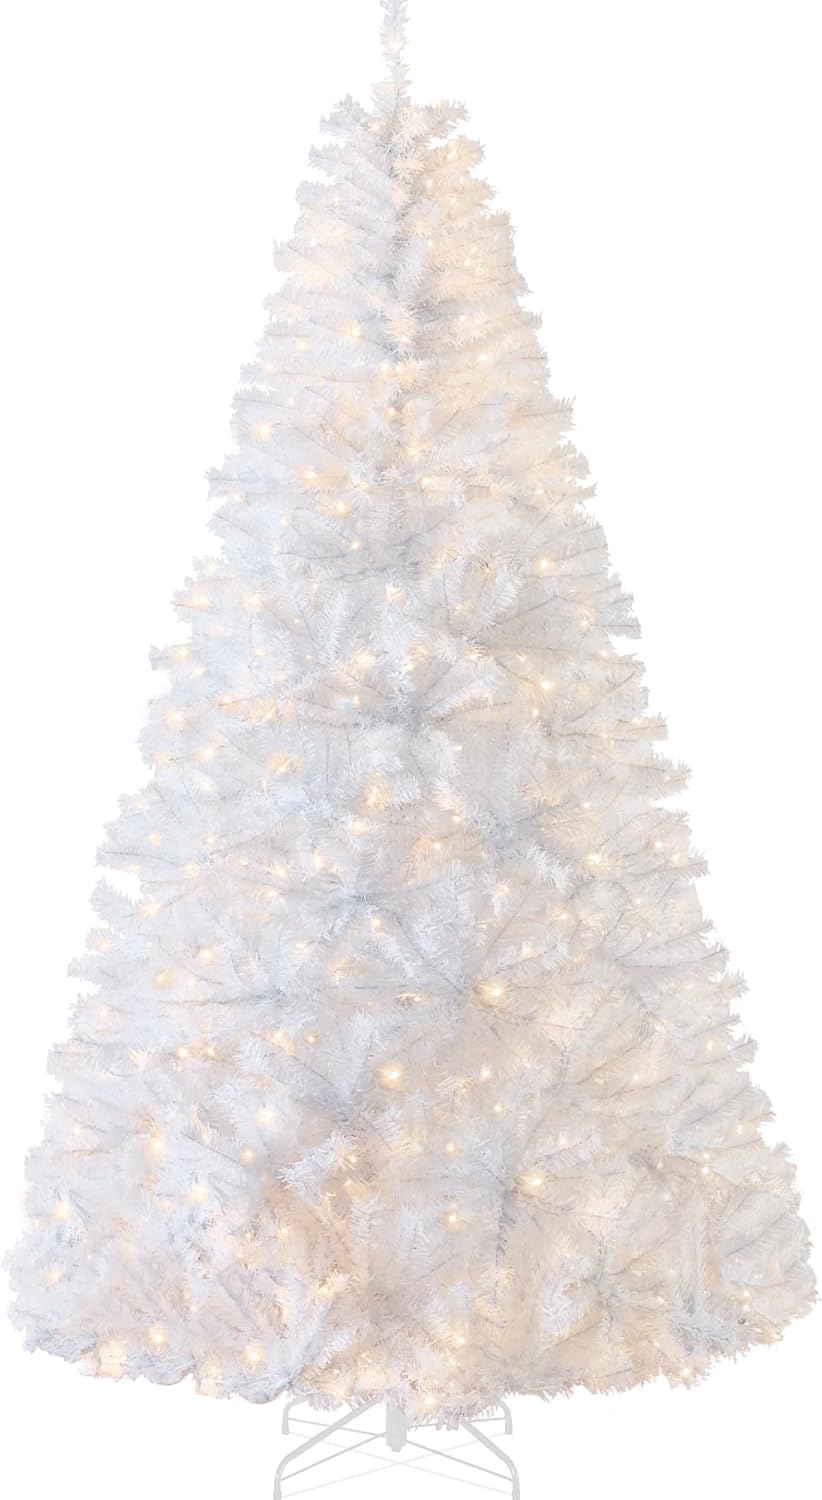
Image: The Best Choice Products 7.5ft Pre-Lit Artificial White Christmas Tree, fully assembled and lit.
Important Safety Information
To reduce the risk of fire, electric shock, or injury, please observe the following safety precautions:
- This product is intended for indoor use only.
- Ensure all light connections are secure before plugging into a power source.
- Do not overload electrical outlets. Connect the tree to a single, dedicated outlet if possible.
- Keep the tree away from heat sources, open flames, and flammable materials.
- Do not modify or attempt to repair the wiring or lights. Contact customer support if issues arise.
- Always unplug the tree from the power source before assembling, disassembling, or moving it.
- The tree branches are made of flame-retardant PVC, but this does not make the tree fireproof. Exercise caution.
- Keep small children and pets away from the tree during assembly and ensure it is stable once set up.
Package Contents
Before assembly, carefully unpack all components and verify that you have received the following items:
- Tree Sections (A, B, C - quantity may vary by height)
- Metal Tree Stand
- Thumb Screws for Stand
- Pre-attached Warm White Lights
- Assembly Guide (this manual)
Setup and Assembly
Assembly of your artificial Christmas tree is designed to be straightforward. Please follow these steps:
- Step 1: Assemble the Tree Stand. Unfold the metal tree stand and insert the thumb screws into the designated holes. Do not tighten them fully yet.
- Step 2: Insert the Bottom Section. Locate the largest tree section (usually marked 'A' or the bottom section). Insert it into the assembled tree stand. Tighten the thumb screws on the stand to secure the section firmly.
- Step 3: Attach Remaining Sections. Continue by inserting the middle section (usually 'B') into the top of the bottom section. Then, insert the top section (usually 'C') into the middle section. Ensure all sections are securely seated.
- Step 4: Connect Light Cords. Connect the light cords from each tree section. Ensure all connections are snug. Refer to the labels on the cords if provided.
- Step 5: Fluff the Branches. Starting from the bottom section and working your way up, gently spread out each branch and individual tip. Bend the tips to fill any gaps and create a full, natural appearance. This process is crucial for the tree's aesthetic. For a 7.5ft tree, approximate fluffing time is 45-60 minutes.
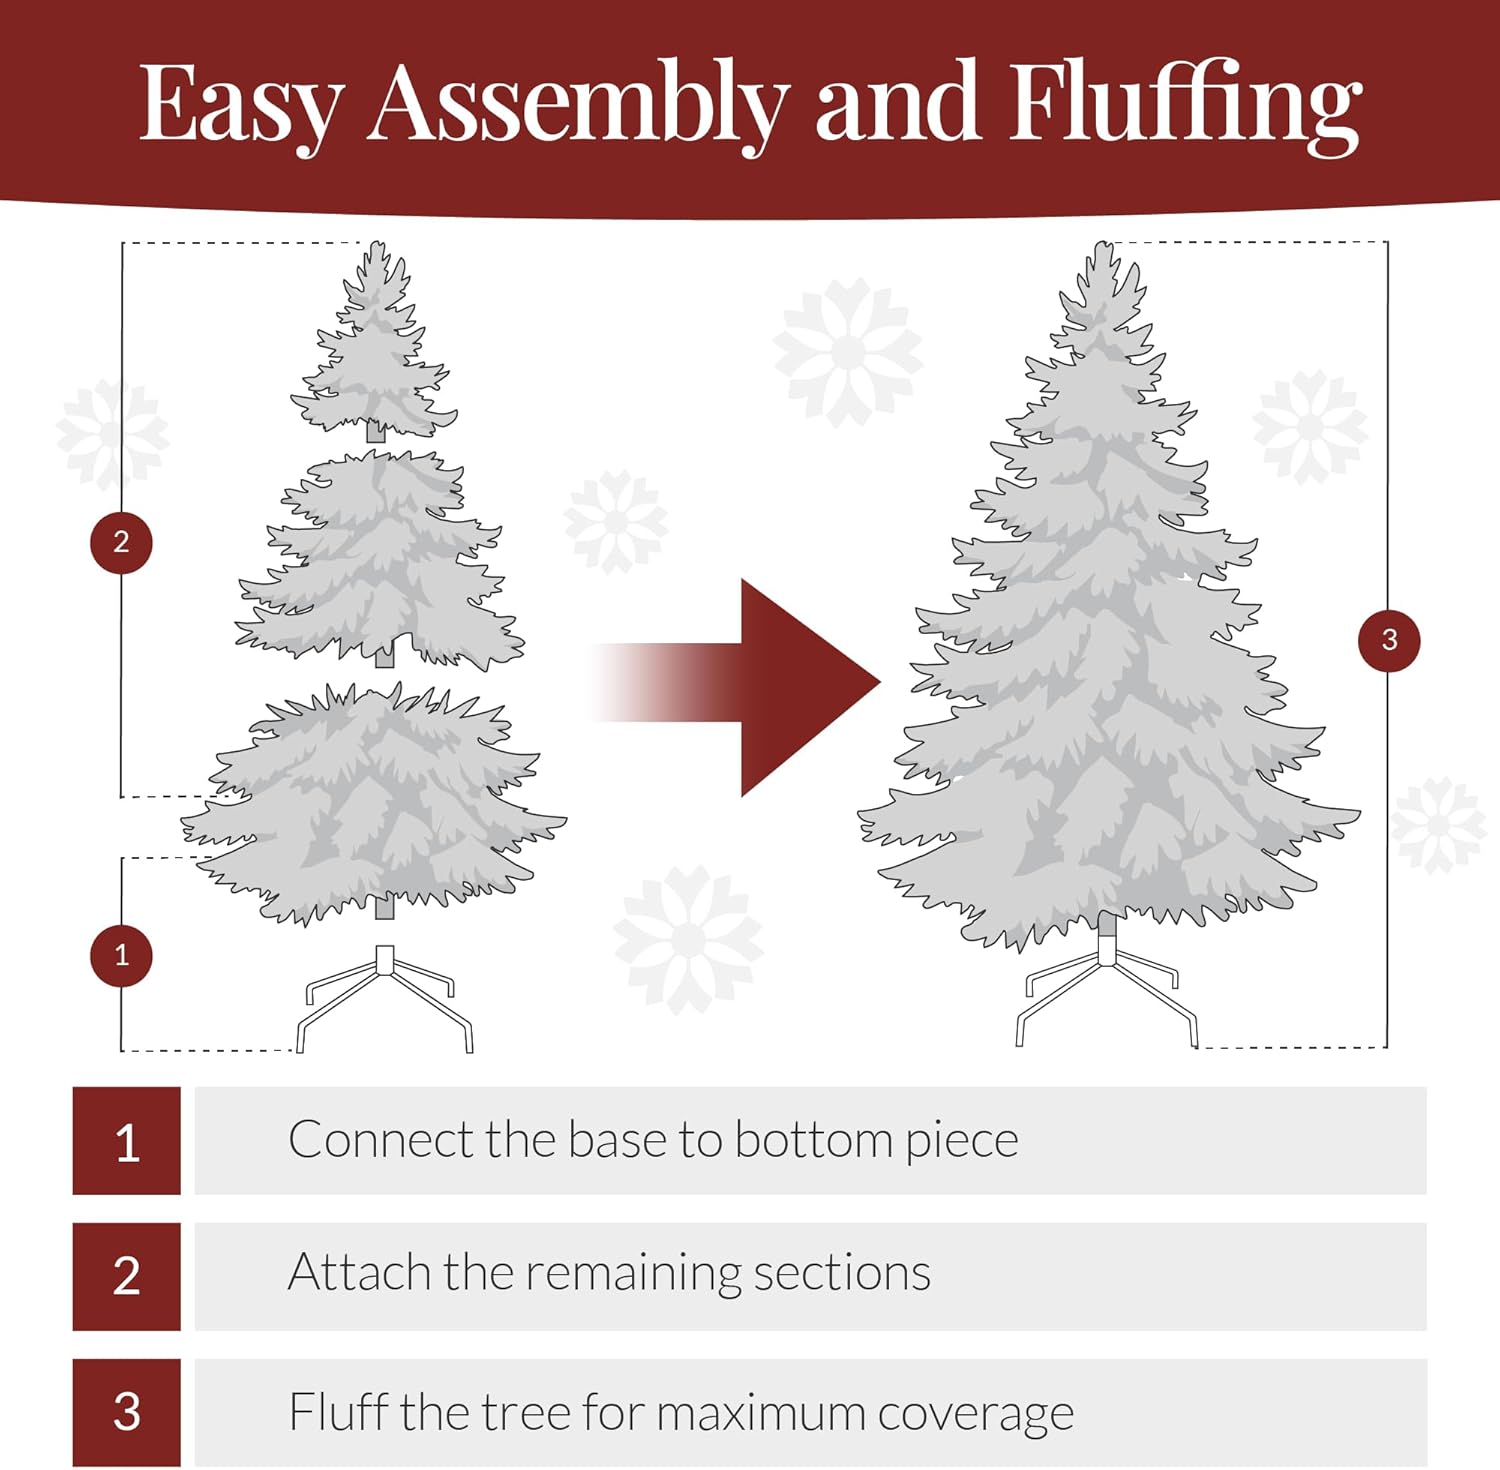
Image: Visual guide for tree assembly, illustrating the three main steps: connecting the base, attaching sections, and fluffing branches.

Image: The 7.5ft Pre-Lit Artificial White Christmas Tree with its height (7.5ft) and base diameter (52 inches) indicated.
Operating Instructions (Lights)
Your Best Choice Products Christmas tree comes pre-lit with warm white incandescent lights, designed for convenience and a festive glow.
- Power Connection: After assembly and fluffing, plug the main power cord into a standard electrical outlet.
- Light Functionality: The lights are designed to remain lit even if one bulb burns out. However, if a section of lights goes out, check for loose bulbs or connections.
- Replacement Bulbs: If replacement bulbs are needed, use only bulbs of the same type and wattage as originally supplied with the tree.
- Unplug When Not in Use: Always unplug the tree when leaving the house or going to bed to prevent potential hazards and conserve energy.

Image: A close-up view of the warm white lights integrated into the white artificial pine branches.
Maintenance and Storage
Proper care and storage will ensure your Christmas tree remains beautiful for many seasons.
- Cleaning: Dust the tree periodically with a soft, dry cloth. Do not use liquid cleaners or solvents.
- Disassembly: Reverse the assembly steps. Carefully disconnect light cords and remove sections. Compress the branches gently to reduce storage space.
- Storage: Store the tree in its original box or a dedicated Christmas tree storage bag in a cool, dry place, away from direct sunlight and extreme temperatures. Avoid placing heavy objects on top of the stored tree.
- Light Inspection: Before storing and before next season's setup, inspect all light cords for any damage, fraying, or exposed wires. Replace any damaged light sets immediately.
Troubleshooting
| Problem | Possible Cause | Solution |
|---|---|---|
| Lights are not working. | Loose connection, burnt-out bulb, or no power. | Check all light cord connections. Ensure the tree is plugged into a working outlet. Replace any burnt-out bulbs with spares (if provided) or compatible replacements. |
| Tree appears sparse or not full. | Branches are not fully fluffed. | Spend additional time fluffing each branch and individual tip, bending them to fill gaps. Refer to Step 5 of the Assembly section. |
| Tree is unstable. | Stand not properly assembled or tightened. | Ensure the metal stand is fully unfolded and the thumb screws are securely tightened around the bottom tree section. |
Specifications
| Feature | Detail |
|---|---|
| Brand | Best Choice Products |
| Model Number | SKY7074 |
| Product Dimensions | 52" (Diameter) x 90" (Height) |
| Color | White Tree with Warm White Lights |
| Material | 100% PVC |
| Item Weight | 20.3 Pounds |
| Tree Type | Artificial Pine |
| Base Type | Metal Stand |
| Special Feature | Prelit |
| Light Color | Warm White |
| Number of Lights | 550 |
| Number of Branch Tips | 1350 |
| Recommended Use | Indoor |
| UPC | 842957135356 |
Warranty and Support
For any questions, missing parts, or support needs regarding your Best Choice Products Christmas tree, please contact Best Choice Products customer service. Refer to the contact information provided with your purchase or visit the official Best Choice Products website for assistance.
Please note that specific warranty details may vary. Keep your proof of purchase for any warranty claims.


