1. Introduction
This manual provides essential information for the proper installation, operation, and maintenance of the Blooy 208649 Presser Foot. This presser foot is designed for specific industrial overlock sewing machines, ensuring optimal performance for 3-needle, 6-thread applications. Please read this manual thoroughly before installation and use.
2. Product Overview
The Blooy 208649 Presser Foot is a precision-engineered component for industrial overlock sewing machines. It is crucial for guiding fabric smoothly and maintaining consistent stitch quality during high-speed sewing operations.
2.1 Part Numbers
- Primary Part Number: 208649
- Alternate Part Number: P233
2.2 Compatibility
This presser foot is compatible with the following industrial overlock sewing machine models:
- Pegasus Series: L32, E32, M732
- Siruba Series: 767-516M2, 767HD-516M2, 567-516M2
It is specifically designed for 3-needle, 6-thread overlock sewing machines.

Figure 1: General view of the Blooy 208649 Presser Foot. This image shows the overall design and metallic finish of the presser foot, highlighting its robust construction.
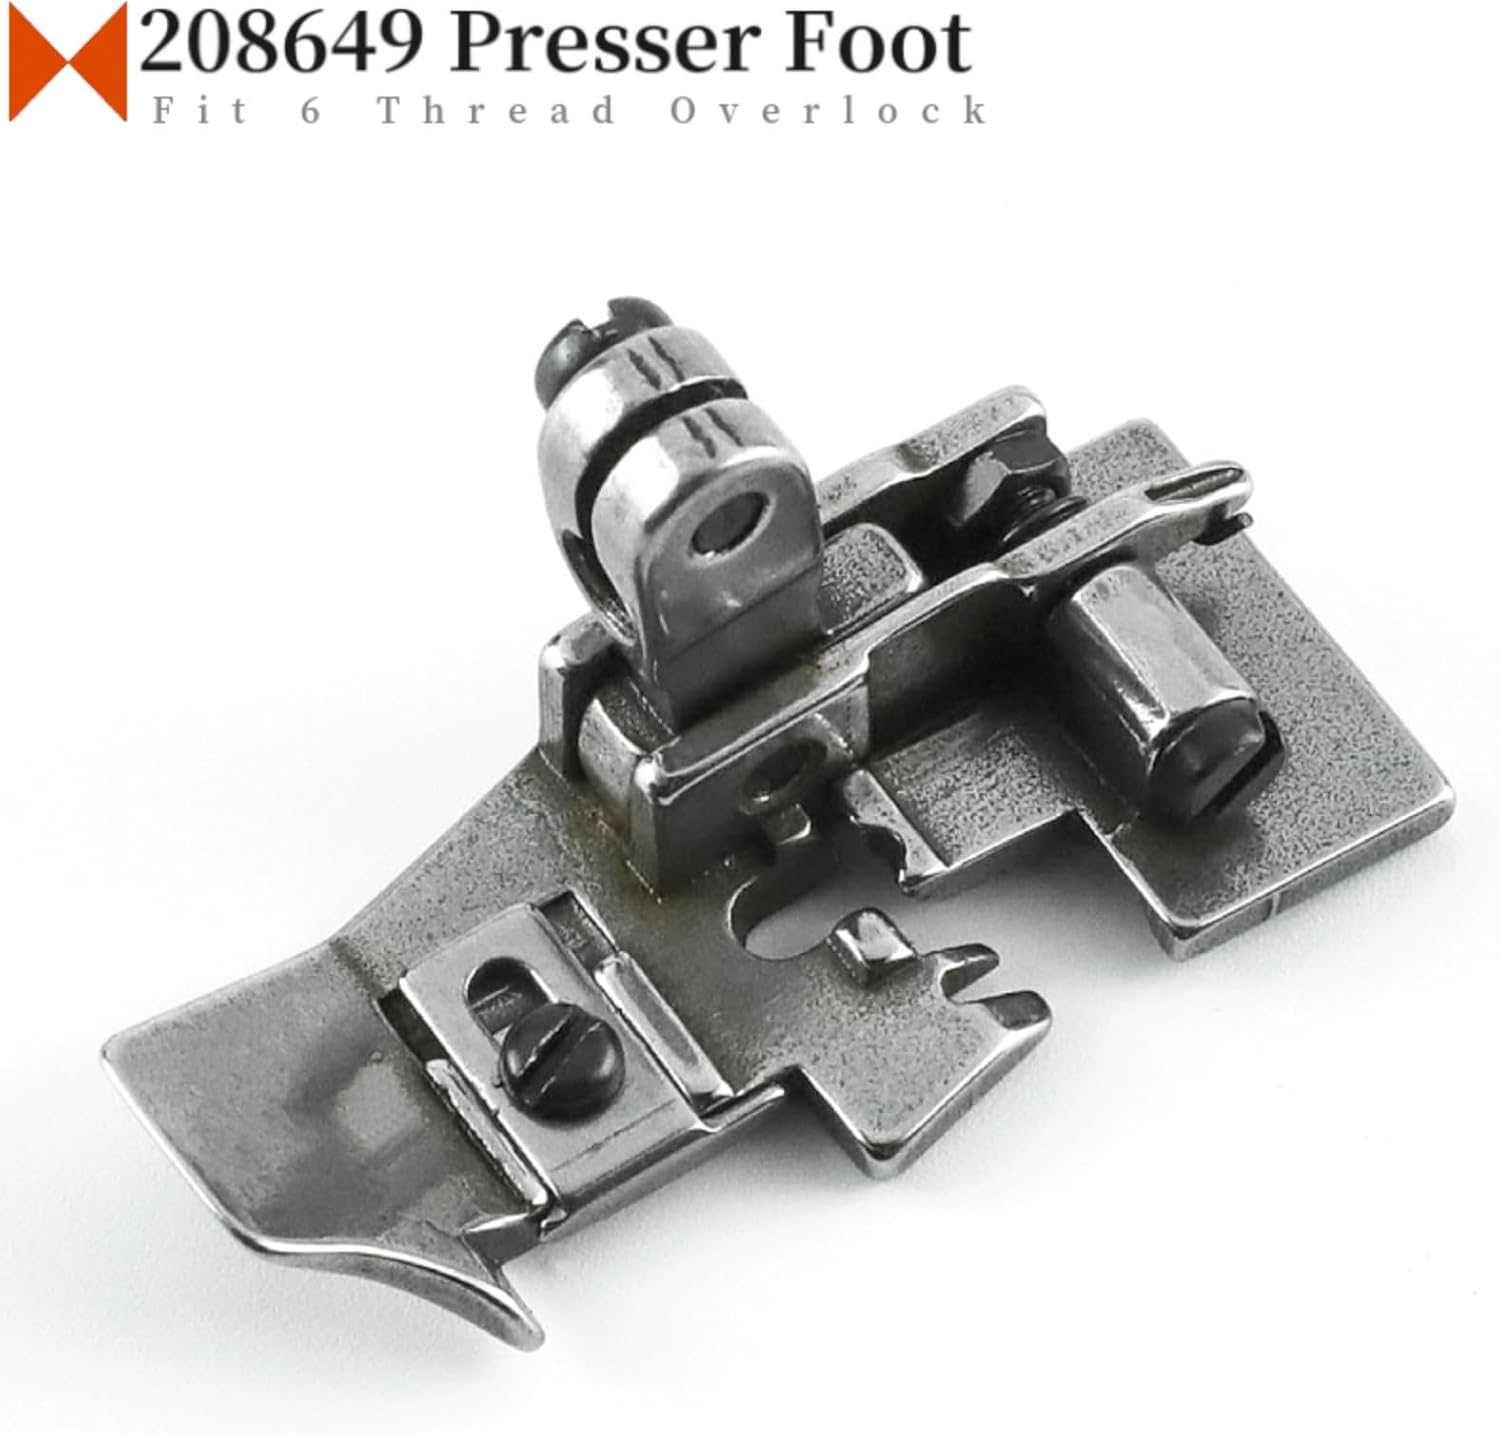
Figure 2: The Blooy 208649 Presser Foot, emphasizing its compatibility with 6-thread overlock machines. The image provides a clear view of the foot's structure and its intended application.
3. Installation and Setup
Proper installation of the presser foot is essential for safe and effective operation. Always ensure the sewing machine is powered off and unplugged before performing any installation or maintenance.
3.1 Safety Precautions
- Always turn off and unplug the sewing machine before installing or removing parts.
- Use appropriate tools to avoid damage to the presser foot or machine.
- Keep fingers clear of the needle and moving parts.
3.2 Installation Steps
- Prepare the Machine: Ensure the machine is off and the needle is in its highest position.
- Remove Old Presser Foot (if applicable): Loosen the screw that secures the current presser foot to the presser bar. Carefully remove the old foot.
- Position the New Presser Foot: Align the Blooy 208649 Presser Foot with the presser bar. The U-shaped bracket on the foot should fit around the presser bar's screw.
- Secure the Presser Foot: Tighten the screw firmly to secure the new presser foot in place. Ensure it is stable and does not wobble.
- Test Functionality: Manually lower and raise the presser foot lever to confirm smooth movement. Check that the foot sits flat on the needle plate when lowered.
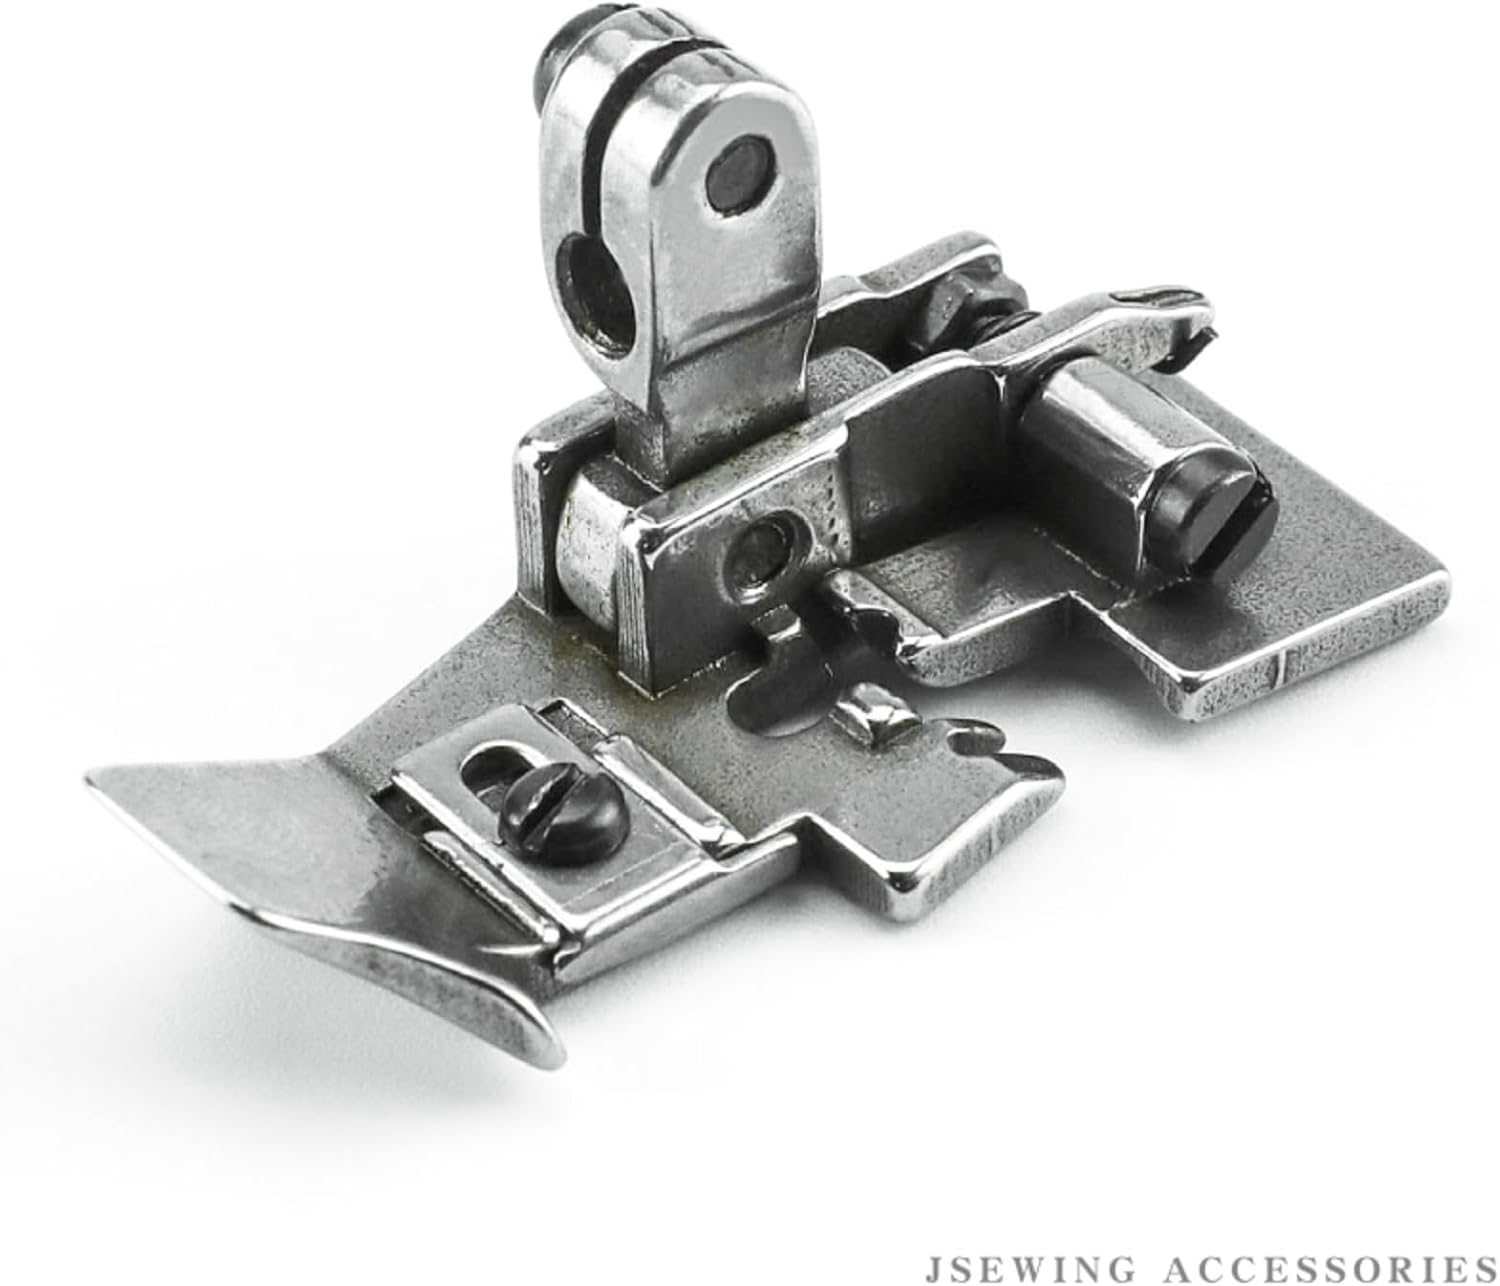
Figure 3: Angled close-up of the presser foot, showing the attachment point and screw mechanism. This view is helpful for understanding how the foot connects to the machine's presser bar.
4. Operation
Once installed, the Blooy 208649 Presser Foot functions as a standard presser foot for your compatible industrial overlock machine. Its primary role is to hold the fabric firmly against the feed dogs, allowing for consistent and even feeding during the sewing process. This is critical for achieving high-quality overlock stitches, especially with multiple needles and threads.
- Ensure the presser foot is lowered before beginning to sew.
- Adjust presser foot pressure according to the fabric thickness and type, if your machine allows.
- Guide the fabric gently, allowing the feed dogs and presser foot to do their work.

Figure 4: The Blooy 208649 Presser Foot shown installed on an industrial overlock sewing machine. This image demonstrates the foot's position relative to the needle plate and feed dogs during operation.
5. Maintenance
Regular maintenance helps prolong the life of your presser foot and ensures consistent sewing performance.
- Cleaning: Periodically wipe the presser foot clean with a soft, dry cloth to remove lint, dust, and fabric fibers. Avoid using harsh chemicals that could damage the metal finish.
- Inspection: Regularly inspect the presser foot for signs of wear, damage, or deformation. Check for any burrs or rough edges that could snag fabric.
- Tightness: Ensure the screw securing the presser foot remains tight. A loose presser foot can lead to uneven stitching or fabric feeding issues.

Figure 5: Underside view of the presser foot, showing the channels and surfaces that contact the fabric and feed dogs. Regular cleaning of these areas is important for smooth operation.

Figure 6: Bottom view of the presser foot, illustrating the contact points with the fabric and the opening for the needles. This perspective is useful for identifying any obstructions or wear on the foot's base.
6. Troubleshooting
If you encounter issues related to the presser foot, consider the following common troubleshooting steps:
- Uneven Stitching: Check if the presser foot is securely tightened. A loose foot can cause inconsistent fabric feeding.
- Fabric Not Feeding Smoothly: Ensure there is no lint or debris accumulated under the presser foot or around the feed dogs. Verify that the presser foot is clean and free of burrs.
- Foot Wobbles: Re-tighten the screw holding the presser foot to the presser bar. If the wobble persists, inspect the presser bar for damage or wear.
- Damage to Fabric: Inspect the underside of the presser foot for any sharp edges or damage that could be snagging or marking the fabric. Replace the foot if significant damage is present.
For persistent issues, consult your sewing machine's main instruction manual or contact a qualified technician.
7. Specifications
| Part Number | 208649 (Alternate: P233) |
| Brand | Blooy |
| Product Dimensions | 6 x 4 x 2 inches (approximate) |
| Compatible Machine Types | Industrial Overlock Sewing Machines (3 Needle, 6 Thread) |
| Compatible Models | Pegasus L32, E32, M732; Siruba 767-516M2, 767HD-516M2, 567-516M2 |
| Manufacturer | Blooy |
| UPC | 794697679570 |
8. Warranty and Support
Specific warranty information for the Blooy 208649 Presser Foot may vary depending on the retailer or region of purchase. Please retain your proof of purchase for any warranty claims.
For product support, technical assistance, or warranty inquiries, please contact the seller or manufacturer directly. Refer to your purchase documentation for contact details.