
DELURA B0CFPRPNHZ
DELURA Triple Lens Car Dash Cam User Manual
Model: B0CFPRPNHZ
Introduction
This user manual provides comprehensive instructions for the DELURA Triple Lens Car Dash Cam, designed to enhance your driving safety and capture important moments on the road. Please read this manual carefully before using the device to ensure proper operation and maintenance.

Image: Main view of the DELURA Triple Lens Car Dash Cam, showing the front camera and the display screen.
Product Overview
Key Features:
- Triple Lens Recording: Simultaneously captures front, cabin, and rear views for comprehensive coverage.
- High-Resolution Video: Crystal-clear 1080P HD recording with F2.0 large aperture for excellent low-light performance.
- 4.0-inch IPS Display: Vividly showcases visuals and provides a clear interface for settings and playback.
- 170-Degree Wide-Angle Lens: Ensures a broad field of view, capturing more of the road and surroundings.
- Motion Detection: Automatically triggers recording when motion is detected, even when parked.
- Loop Recording: Optimizes storage by overwriting the oldest unlocked footage, ensuring continuous recording.
- G-Sensor: Automatically locks and protects video footage during collisions or sudden impacts.
- Real-time Rearview: Provides live feed from the rear camera for enhanced parking and driving safety.
- Built-in Microphone: Captures ambient sound for a complete recording experience.
Product Components:

Image: Various angles of the DELURA Triple Lens Car Dash Cam, illustrating its compact design and multiple camera lenses.

Image: Detailed view of the dash cam's side, showing the USB port, memory card slot, and other connection points.

Image: An overview of the product accessories, including the dash camera unit, user manual, car charger, suction cup mount, and optional backup camera with cable.
The package typically includes: Dash Camera, User Manual, Car Charger, Suction Cup Mount. An optional Backup Camera with its cable may also be included depending on the purchased package.
Setup and Installation
- Prepare the Micro SD Card: Insert a high-speed (Class 10 or higher) Micro SD card (not included) into the dash cam's SD card slot. Ensure the card is formatted within the dash cam's settings before first use.
- Mount the Dash Cam: Attach the suction cup mount to the dash cam. Clean a spot on your car's windshield, preferably near the rearview mirror, ensuring it does not obstruct your driving view. Press the suction cup firmly against the windshield and lock it into place.
- Connect Power: Plug the car charger into your vehicle's cigarette lighter socket. Connect the other end of the car charger cable to the dash cam's USB power input port. Route the cable neatly along the windshield edge and dashboard to avoid interference with driving.
- Install Rear Camera (Optional): If your package includes a rear camera, connect its cable to the designated port on the main dash cam unit. Route the cable to the rear of your vehicle. Mount the rear camera on the rear windshield or near the license plate, ensuring a clear view. Connect the red wire of the rear camera cable to your car's reverse light positive wire for automatic reverse display functionality.
- Adjust Camera Angle: Once mounted and powered, adjust the angle of the front and cabin cameras to ensure they capture the desired view. The front camera should capture the road ahead, and the cabin camera should cover the interior.
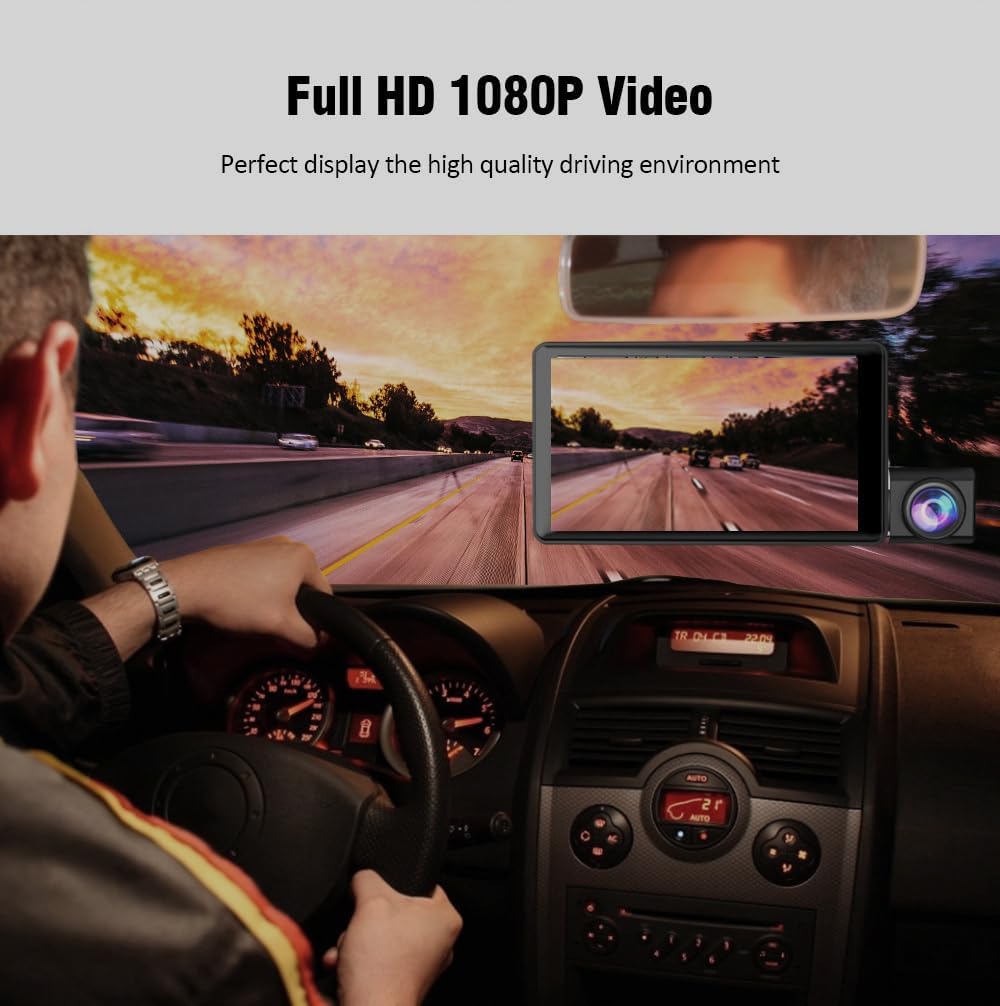
Image: The dash cam mounted on a car's windshield, displaying a clear view of the road ahead, illustrating proper installation and field of view.
Operating Instructions
Power On/Off:
- The dash cam will automatically power on and begin recording when connected to power and the vehicle's ignition is turned on.
- It will automatically power off a few seconds after the vehicle's ignition is turned off.
- To manually power on/off, press and hold the Power button.
Recording Modes:
- Normal Recording: The camera continuously records when powered on. Videos are saved in segments (e.g., 1, 3, or 5 minutes) to the Micro SD card.
- Loop Recording: When the Micro SD card is full, the oldest unlocked video files will be automatically overwritten to make space for new recordings. Ensure this feature is enabled in settings.
- G-Sensor (Emergency Recording): In the event of a sudden impact or collision, the built-in G-sensor will automatically detect it and lock the current video file, preventing it from being overwritten by loop recording.
- Motion Detection: When enabled, the dash cam will automatically start recording if it detects motion in front of the vehicle while parked. This feature requires continuous power supply (e.g., hardwire kit, not included) to function when the car is off.

Image: A visual representation of the triple camera system, showing the front, cabin, and rear cameras working simultaneously to record comprehensive footage.
Menu Navigation and Settings:
- Use the physical buttons on the dash cam (usually Mode, Up, Down, OK) to navigate through the menu options displayed on the 4.0-inch IPS screen.
- Common settings include: Video Resolution, Loop Recording duration, G-Sensor sensitivity, Motion Detection On/Off, Date/Time Stamp, Audio Recording, and formatting the SD card.
Playback:
- To view recorded videos on the dash cam, switch to playback mode via the Mode button.
- Use the Up/Down buttons to select the desired video file and the OK button to play it.
- Alternatively, remove the Micro SD card and insert it into a computer's card reader to view files.
Maintenance
- Cleaning: Use a soft, dry cloth to clean the dash cam's lenses and screen. Do not use liquid cleaners or abrasive materials.
- SD Card Management: Regularly format your Micro SD card (at least once a month) within the dash cam's settings to ensure optimal performance and prevent data corruption. Replace the SD card if it shows signs of degradation or errors.
- Temperature: Avoid exposing the dash cam to extreme temperatures (very hot or very cold) for extended periods, as this can affect battery life and component longevity.
- Firmware Updates: Check the manufacturer's website periodically for firmware updates. Updating the firmware can improve performance and add new features.
Troubleshooting
| Problem | Possible Cause / Solution |
|---|---|
| Dash cam does not power on. |
|
| Recording stops or freezes. |
|
| Video quality is poor. |
|
| G-Sensor is too sensitive/not sensitive enough. |
|
| Date/Time is incorrect. |
|
Specifications
| Feature | Detail |
|---|---|
| Brand | DELURA |
| Model | B0CFPRPNHZ |
| Video Capture Resolution | 1080p |
| Screen Size | 4 Inches |
| Connectivity Technology | USB |
| Connectivity technologies | USB |
| Other display features | Wireless |
| Vehicle Service Type | Car |
| Orientation | Drivers Side |
| Auto Part Position | Rear (for optional camera) |
| UPC | 727494342446 |
| Manufacturer | DELURA |
| Date First Available | August 15, 2023 |
Warranty and Support
For warranty information, technical support, or any inquiries regarding your DELURA Triple Lens Car Dash Cam, please refer to the contact information provided on the product packaging or visit the official DELURA website. Keep your purchase receipt as proof of purchase for warranty claims.
Online Resources: For the most up-to-date information, FAQs, and potential firmware downloads, please visit the manufacturer's official support page.
Ask a question about this manual
Ask about setup, troubleshooting, compatibility, parts, safety, or missing instructions. Manuals+ will review the question and use this page’s manual context to help answer it.