1. Introduction
This manual provides essential instructions for the safe and efficient operation of your Casio XJ-M255 DLP Projector. Please read this manual thoroughly before using the projector and retain it for future reference. The Casio XJ-M255 is a WXGA conference room projector featuring 3,000 ANSI Lumens brightness, 1280x800 native resolution, and 3D capability, designed for clear and vibrant presentations.
2. Safety Information
- Optical Radiation Warning: This product emits potentially hazardous optical radiation. Do not stare at the operating lamp. Direct exposure to the light source may be harmful to the eye.
- Ventilation: Ensure adequate ventilation around the projector. Do not block ventilation openings. Overheating can cause malfunction or damage.
- Power Supply: Use only the specified power supply (100-240V ~ 50/60Hz). Ensure the power cable is securely connected and not damaged.
- Liquid and Moisture: Keep the projector away from water or other liquids. Do not operate in high humidity environments.
- Cleaning: Disconnect the power cord before cleaning. Use a soft, dry cloth. Avoid abrasive cleaners.
- Servicing: Do not attempt to service this product yourself. Refer all servicing to qualified service personnel.
3. Package Contents
Verify that all items are present in the package:
- Casio XJ-M255 DLP Projector
- HDMI Cable
- Power Cable
- Remote Control
4. Projector Overview
4.1 Front View
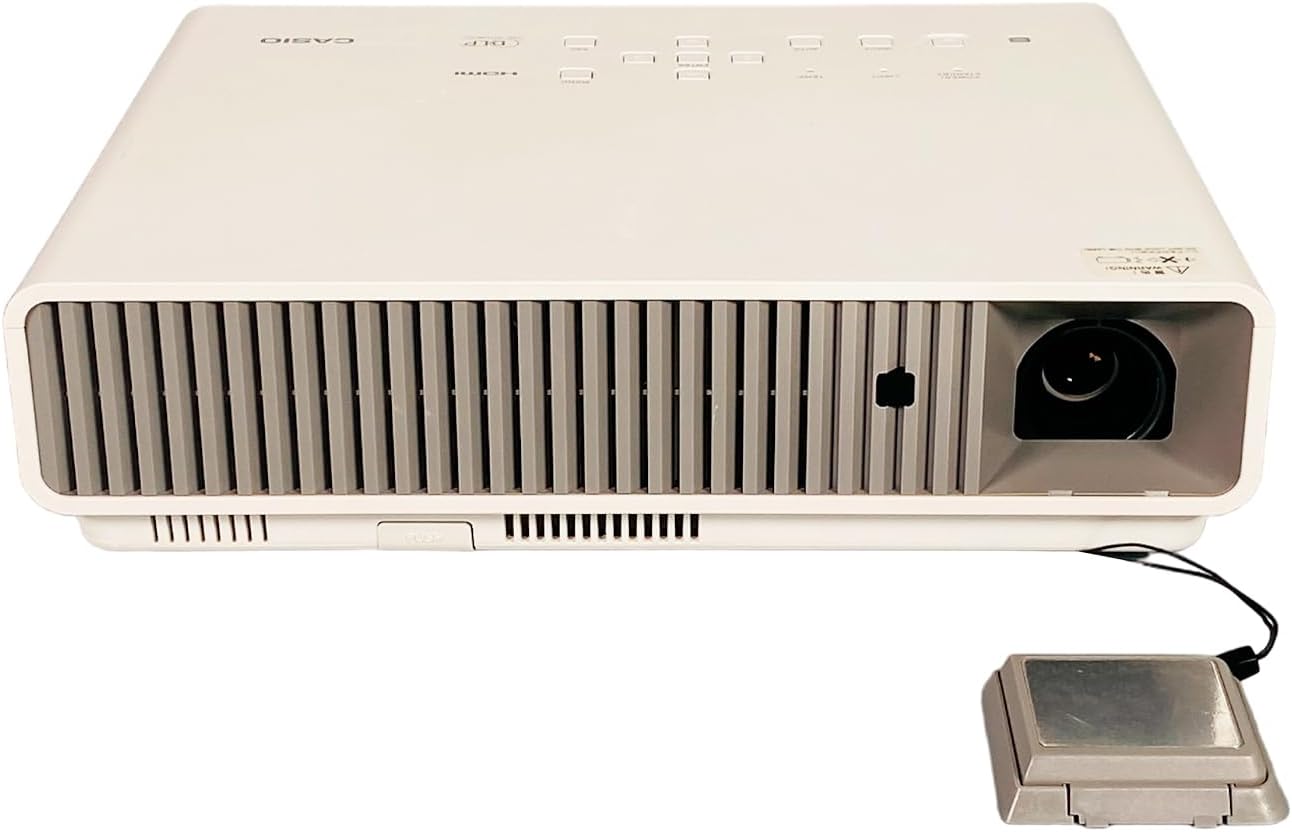
Figure 4.1: The front of the projector features the projection lens on the right and extensive ventilation grilles across the front to ensure proper airflow during operation.
4.2 Rear View (Input/Output Ports)

Figure 4.2: The rear panel includes a comprehensive set of connectivity options: USB-A, LAN, Computer (VGA) input, HDMI input, Video (RCA) input, S-Video input, Serial port, and Audio In/Out jacks. The power input is located on the far right.
4.3 Top View (Control Panel)

Figure 4.3: The top surface features the control panel with buttons for Power/Standby, Light, Temp, Input selection, Auto adjustment, Enter, Menu, and ESC. The HDMI and DLP logos are also visible.
4.4 Side View (Focus and Zoom)

Figure 4.4: One side of the projector houses the manual focus and zoom adjustment rings, allowing for precise image clarity and size control.
4.5 Product Label

Figure 4.5: The product label provides critical information including the model number (XJ-M255), electrical requirements (100-240V ~ 50/60Hz, 2.3-1.0A), and various regulatory compliance marks.
5. Setup
5.1 Placement
Place the projector on a stable, flat surface or mount it securely. Ensure the projector is positioned at an appropriate distance from the screen to achieve the desired image size. Maintain clear space around the ventilation grilles to prevent overheating.
5.2 Power Connection
- Connect the power cable to the projector's power input port (refer to Figure 4.2).
- Plug the other end of the power cable into a grounded electrical outlet.
5.3 Connecting Input Devices
Connect your video source (e.g., laptop, Blu-ray player) to the projector using the appropriate cable. The Casio XJ-M255 supports multiple input types:
- HDMI: For high-definition digital video and audio.
- Computer (VGA): For analog computer signals.
- Video (RCA) / S-Video: For standard definition analog video.
- USB-A: For certain data or wireless dongle connections.
- LAN: For network connectivity and control.
5.4 Initial Power On
After connecting power and input devices, press the Power/Standby button on the projector's control panel (Figure 4.3) or the remote control to turn on the projector.
6. Operating the Projector
6.1 Power On/Off
- To Power On: Press the Power/Standby button once. The power indicator light will illuminate.
- To Power Off: Press the Power/Standby button twice. The projector will enter a cool-down cycle before shutting down completely. Do not unplug the projector during the cool-down cycle.
6.2 Focus and Zoom Adjustment
Rotate the Focus ring (Figure 4.4) on the side of the projector until the image appears sharp and clear. Adjust the Zoom ring (Figure 4.4) to achieve the desired image size on your screen.
6.3 Input Source Selection
Press the Input button on the control panel or remote control to cycle through available input sources (HDMI, Computer, Video, S-Video, etc.). Select the input corresponding to your connected device.
6.4 Menu Navigation
Press the Menu button to access the on-screen display (OSD) menu. Use the arrow buttons to navigate through options and the Enter button to select. Press ESC to exit a menu or return to the previous level.
6.5 Basic Display Settings
Within the OSD menu, you can adjust settings such as:
- Brightness/Contrast: Adjust for optimal image visibility.
- Aspect Ratio: Select between 16:10 (native), 4:3, or other options to match your content.
- Keystone Correction: Correct trapezoidal distortion if the projector is not perfectly perpendicular to the screen.
6.6 3D Functionality
The Casio XJ-M255 is 3D capable. To utilize 3D features, ensure your input source provides 3D content and you are using compatible 3D glasses (sold separately). Refer to the OSD menu for specific 3D settings and modes.
7. Maintenance
7.1 Cleaning the Lens
Gently wipe the projector lens with a soft, lint-free cloth specifically designed for optical surfaces. Avoid using excessive force or abrasive materials, which can scratch the lens.
7.2 Ventilation
Regularly check and clean the projector's ventilation grilles to prevent dust buildup. Blocked vents can lead to overheating and reduced performance. Use a soft brush or compressed air to clear dust.
7.3 Storage
When not in use for extended periods, store the projector in a cool, dry place, protected from dust and extreme temperatures. Use the original packaging or a protective case if available.
8. Troubleshooting
- No Image Displayed:
- Ensure the projector is powered on and the power indicator is lit.
- Verify the input cable (HDMI, VGA) is securely connected to both the projector and the source device.
- Select the correct input source using the Input button.
- Check if the source device is outputting a signal.
- Image is Blurry:
- Adjust the Focus ring on the projector lens.
- Ensure the projector is at the correct distance from the screen.
- Remote Control Not Working:
- Check and replace the batteries in the remote control.
- Ensure there are no obstructions between the remote and the projector's IR receiver.
- Projector Overheating Warning:
- Ensure ventilation grilles are not blocked.
- Clean any dust from the vents.
- Operate the projector in a well-ventilated area.
9. Specifications
| Feature | Specification |
|---|---|
| Model | Casio XJ-M255 |
| Display Technology | DLP |
| Native Resolution | 1280 x 800 (WXGA) |
| Brightness | 3,000 ANSI Lumens |
| Aspect Ratio | 16:10 (Native) |
| Contrast Ratio | 1,800:1 |
| Video Modes Supported | 720p, 1080i, 1080p/60, 576i, 576p, 480p, 480i |
| 3D Capability | Yes |
| Connectivity | HDMI, VGA, USB-A, LAN, Video (RCA), S-Video, Serial, Audio In/Out |
| Power Supply | 100-240V ~ 50/60Hz, 2.3-1.0A |
| Dimensions (W x D x H) | 12.25 x 9.61 x 3.31 inches (approx.) |
| Weight | 8.6 pounds (approx.) |
10. Warranty and Support
For warranty information and technical support, please refer to the documentation provided at the time of purchase or contact your authorized Casio dealer or service center. Keep your purchase receipt as proof of purchase for warranty claims.


