
1. Introduction
This manual provides essential instructions for the installation, operation, and maintenance of your Real HD Hanwha A-Series 8-Channel PoE IP Camera System. This system includes the ARN-810S Network Video Recorder (NVR) and ANV-L7012R 4MP IP PoE Dome Cameras. Please read this manual thoroughly before using the product to ensure proper setup and functionality.
The system is designed for reliable surveillance, featuring 4K recording capabilities, H.265 video compression, and weatherproof cameras suitable for various environments.
2. What's in the Box
Verify that all components are present in the package:
- 1 x Hanwha ARN-810S 8-Channel PoE NVR with 2TB HDD (Pre-installed)
- 6 x Hanwha ANV-L7012R 4MP IP PoE Dome Cameras
- Power Adapter for NVR
- USB Mouse
- Quick Start Guide
Note: Ethernet cables for connecting cameras are not included and must be purchased separately.
3. Setup
3.1 System Overview and Connections
Before beginning installation, familiarize yourself with the NVR's ports and camera components.

Figure 3.1: NVR Connection Diagram. Connect a monitor (HDMI or VGA), USB mouse, cameras to PoE ports, router to Network 1 or 2, and power adapter.
3.2 NVR Initial Setup
- Connect Monitor and Mouse: Connect a monitor to the NVR's HDMI or VGA port. Connect the included USB mouse to a USB port on the NVR.
- Connect Cameras: Connect the IP PoE dome cameras to the NVR's PoE ports using Ethernet cables. The NVR provides power and data over a single cable.
- Connect to Network (Optional but Recommended): Connect the NVR to your router using an Ethernet cable for remote access and firmware updates.
- Power On: Connect the NVR's power adapter to a power outlet. The system will boot up automatically.
- Initial Configuration Wizard: Follow the on-screen wizard to set up basic NVR settings, including language, date/time, network settings, and password.
3.3 Camera Installation
The ANV-L7012R dome cameras are designed for outdoor use with IP67 weatherproofing.

Figure 3.2: Hanwha ANV-L7012R 4MP IP PoE Dome Camera.
- Choose Location: Select a suitable location for each camera, ensuring optimal viewing angle (107.5° wide angle) and coverage. Consider areas prone to intrusion or requiring monitoring.
- Mounting: Securely mount the cameras to a wall or ceiling using appropriate hardware. Ensure the mounting surface can support the camera's weight.
- Cable Routing: Route the Ethernet cable from the camera to the NVR, protecting it from environmental damage.
- Adjust Angle: Adjust the camera's lens angle to cover the desired area.
4. Operation
4.1 Live View and Playback
After initial setup, the NVR will display live feeds from connected cameras. Use the USB mouse to navigate the NVR interface.
- Live View: The default screen shows real-time video from all connected cameras. You can switch between single-camera view and multi-camera grid views.
- Playback: Access recorded footage by selecting the 'Playback' option from the main menu. You can search by date, time, and event.
4.2 Recording Modes
The NVR supports various recording configurations:
- Continuous Recording: Records 24/7.
- Schedule Recording: Records during specified time periods.
- Event Recording: Records when motion is detected or other alarms are triggered.
4.3 Advanced Image Features
The cameras incorporate advanced image processing technologies for enhanced clarity:

Figure 4.1: Visual comparison of WDR, 3DNR, and BLC features.
- Wide Dynamic Range (WDR): Balances extremely bright and dark areas in the same scene to provide clear images.
- 3D Digital Noise Reduction (3DNR): Reduces image noise, especially in low-light conditions, for clearer video.
- Backlight Compensation (BLC): Improves the visibility of objects that are silhouetted against a bright background.
- Smart IR: Automatically adjusts the intensity of the infrared LEDs to prevent overexposure of objects close to the camera, ensuring clear night vision up to 65 feet.

Figure 4.2: Smart IR technology provides balanced illumination for night vision.
4.4 Mobile App Access
Access your surveillance system remotely using the Wisenet Mobile app.

Figure 4.3: Scan QR codes to download the Wisenet Mobile app.
Download the app:
- Google Play Store: Download Wisenet Mobile (Android)
- Apple App Store: Download Wisenet Mobile (iOS)
Follow the in-app instructions to add your NVR using its QR code or IP address for live viewing and playback on your mobile device.
5. Maintenance
5.1 Weather Resistance
The ANV-L7012R dome cameras are IP67 rated, providing protection against dust and water ingress. They are designed to operate in extreme weather conditions, from -30°C (-22°F) to 60°C (140°F).
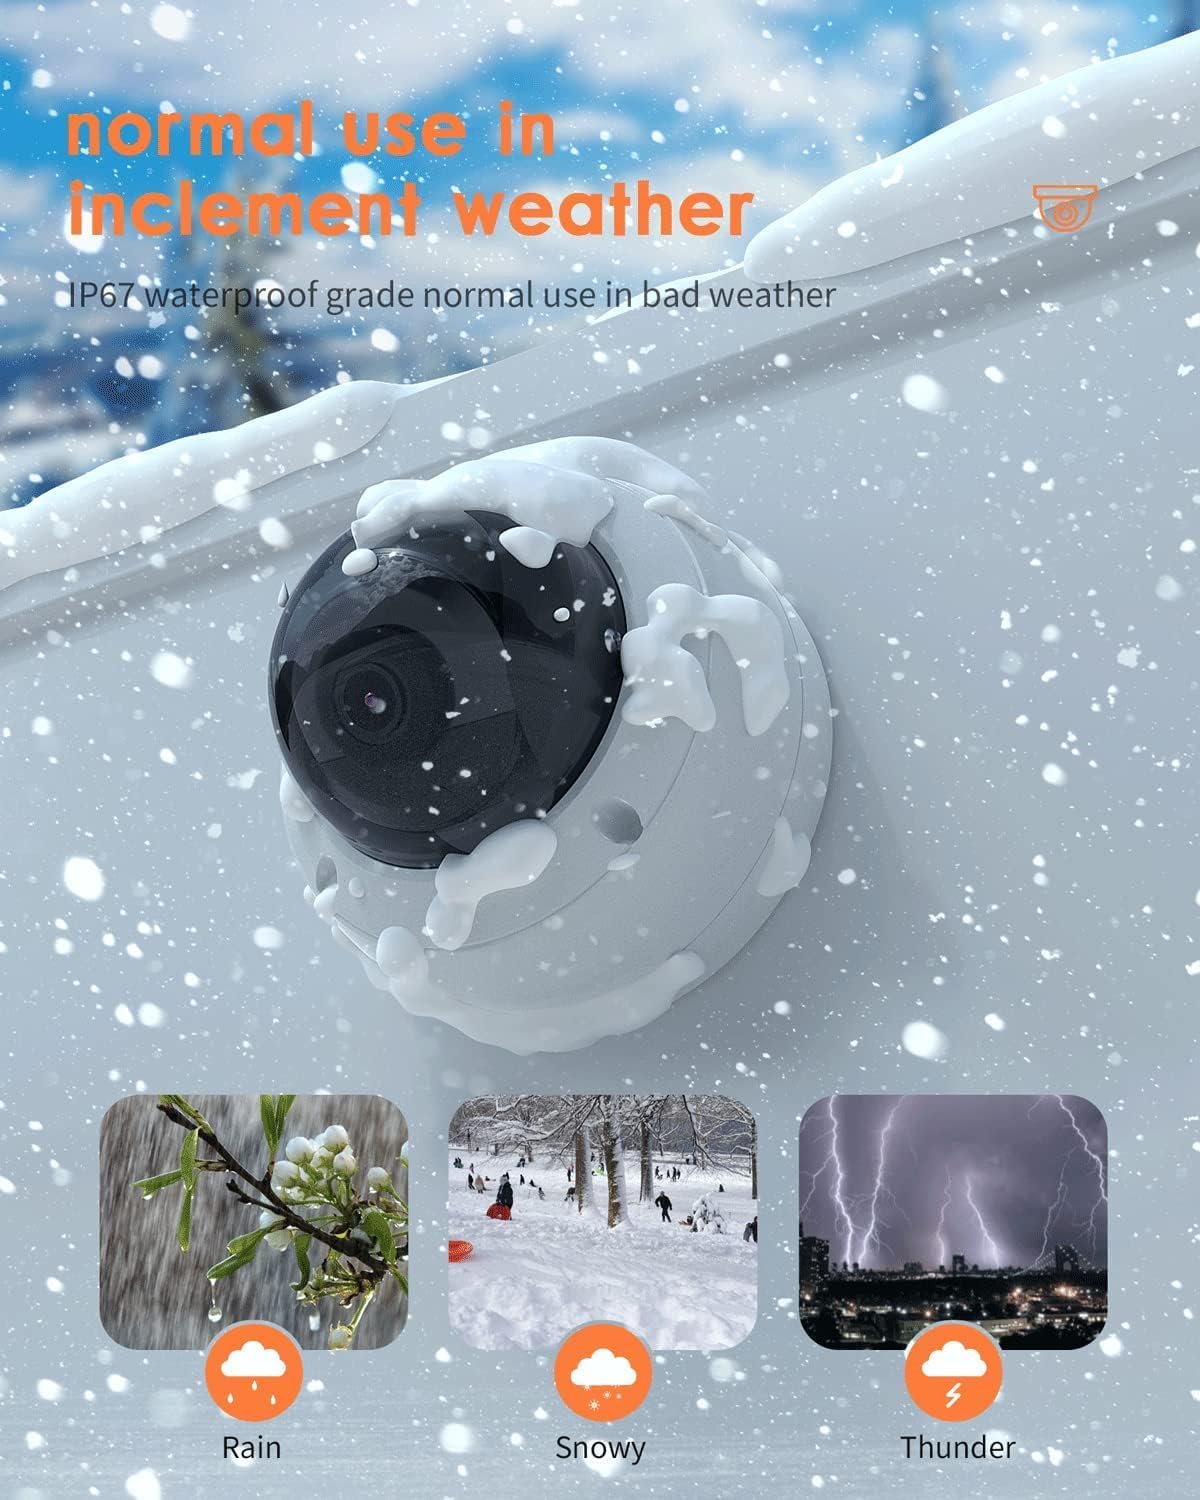
Figure 5.1: IP67 Weatherproof cameras are suitable for various outdoor conditions.
5.2 General Care
- Cleaning: Periodically clean camera lenses with a soft, damp cloth to ensure clear image quality. Do not use harsh chemicals.
- Firmware Updates: Regularly check for and install firmware updates for the NVR and cameras to ensure optimal performance and security.
- Hard Drive Health: The 2TB surveillance-grade HDD is designed for continuous operation. Monitor its health through the NVR's system settings.
6. Troubleshooting
6.1 No Video Display
- Check Power: Ensure the NVR is powered on and the power adapter is securely connected.
- Monitor Connection: Verify the HDMI/VGA cable connection between the NVR and the monitor. Try a different cable or monitor.
- Camera Connection: Ensure cameras are properly connected to the NVR's PoE ports. Check Ethernet cables for damage.
6.2 Remote Access Issues
- Network Connection: Confirm the NVR is connected to your router and has internet access.
- App Configuration: Double-check the NVR's network settings and the app's device addition process.
- Firewall/Router Settings: Ensure your router's firewall is not blocking the NVR's communication. Port forwarding may be required for some network setups.
6.3 Poor Image Quality
- Clean Lens: Clean the camera lens for any dirt or smudges.
- Lighting: Ensure adequate lighting in the monitored area, especially for night vision.
- Settings: Adjust image settings (brightness, contrast, WDR, BLC) in the NVR interface.
7. Specifications
| Feature | Specification |
|---|---|
| Brand | Real HD |
| NVR Model | ARN-810S |
| Camera Model | ANV-L7012R |
| Number of Channels | 8 |
| Video Capture Resolution | 4MP (2688p), 4K (3840p) |
| Memory Storage Capacity | 2 TB HDD (Pre-installed) |
| Connectivity Technology | Wired (PoE) |
| Special Feature | Night Vision, IP67 Weatherproof |
| Operating Temperature | -30°C to 60°C (-22°F to 140°F) |
| Focal Length | 2.8 mm (Fixed Lens) |
| Night Vision Range | 65 Feet |
| Viewing Angle | 108 Degrees |
| Frame Rate | 60 FPS |
| Recording Mode | Event, Schedule |
| Hardware Interface | Ethernet (RJ45) |
| Product Dimensions (NVR) | 20 x 20 x 20 inches (approximate) |
| Item Weight | 30 pounds (total system approximate) |
8. Warranty and Support
For warranty information and technical support, please refer to the documentation included with your purchase or visit the Real HD official website. Keep your purchase receipt as proof of purchase for warranty claims.
This product is from a small business brand. Your support is appreciated.