1. Introduction
Thank you for purchasing the Topteng 200W COB LED Stage Spotlight. This manual provides essential information for the safe and efficient operation of your new stage lighting fixture. Please read this manual thoroughly before installation and use, and retain it for future reference.

Figure 1.1: Topteng 200W COB LED Stage Spotlight with barn doors attached.
2. Safety Information
To ensure safe operation, please observe the following precautions:
- Always disconnect the power supply before cleaning, servicing, or installing the fixture.
- Ensure proper grounding to avoid electrical shock.
- Do not operate the fixture if the power cord is damaged.
- Avoid direct eye exposure to the light source.
- Install the fixture in a well-ventilated area, away from flammable materials.
- Ensure the mounting surface or structure can support the weight of the fixture.
- This product is designed for indoor use only.
3. Package Contents
Verify that all components are present and in good condition upon unpacking:
- 1 x Topteng 200W COB LED Stage Spotlight
- 1 x Barn Door Assembly
- 1 x Power Cable
- 1 x User Manual (this document)

Figure 3.1: Product with detachable barn doors.
4. Product Features
The Topteng 200W COB LED Stage Spotlight offers advanced features for versatile lighting applications:
- High Power COB LED: Features a 200W COB LED providing super bright warm white (3200K) and cool white (5600K) light.
- 2-in-1 Light Source: Combines warm and cool white LEDs for flexible color temperature control.
- Multiple Operating Modes: Supports Sound-Active, Master-Slave, Auto Running, and DMX512 modes.
- Barn Doors Included: Adjustable barn doors allow for precise control over light beam shaping and spill.
- Robust Construction: Durable metal housing designed for stage environments.
- Easy Installation: Equipped with flexible dual mounting brackets and durable knobs for ceiling, shelf, or floor placement.
- Effective Range: Provides an effective lighting range of up to 10 meters.
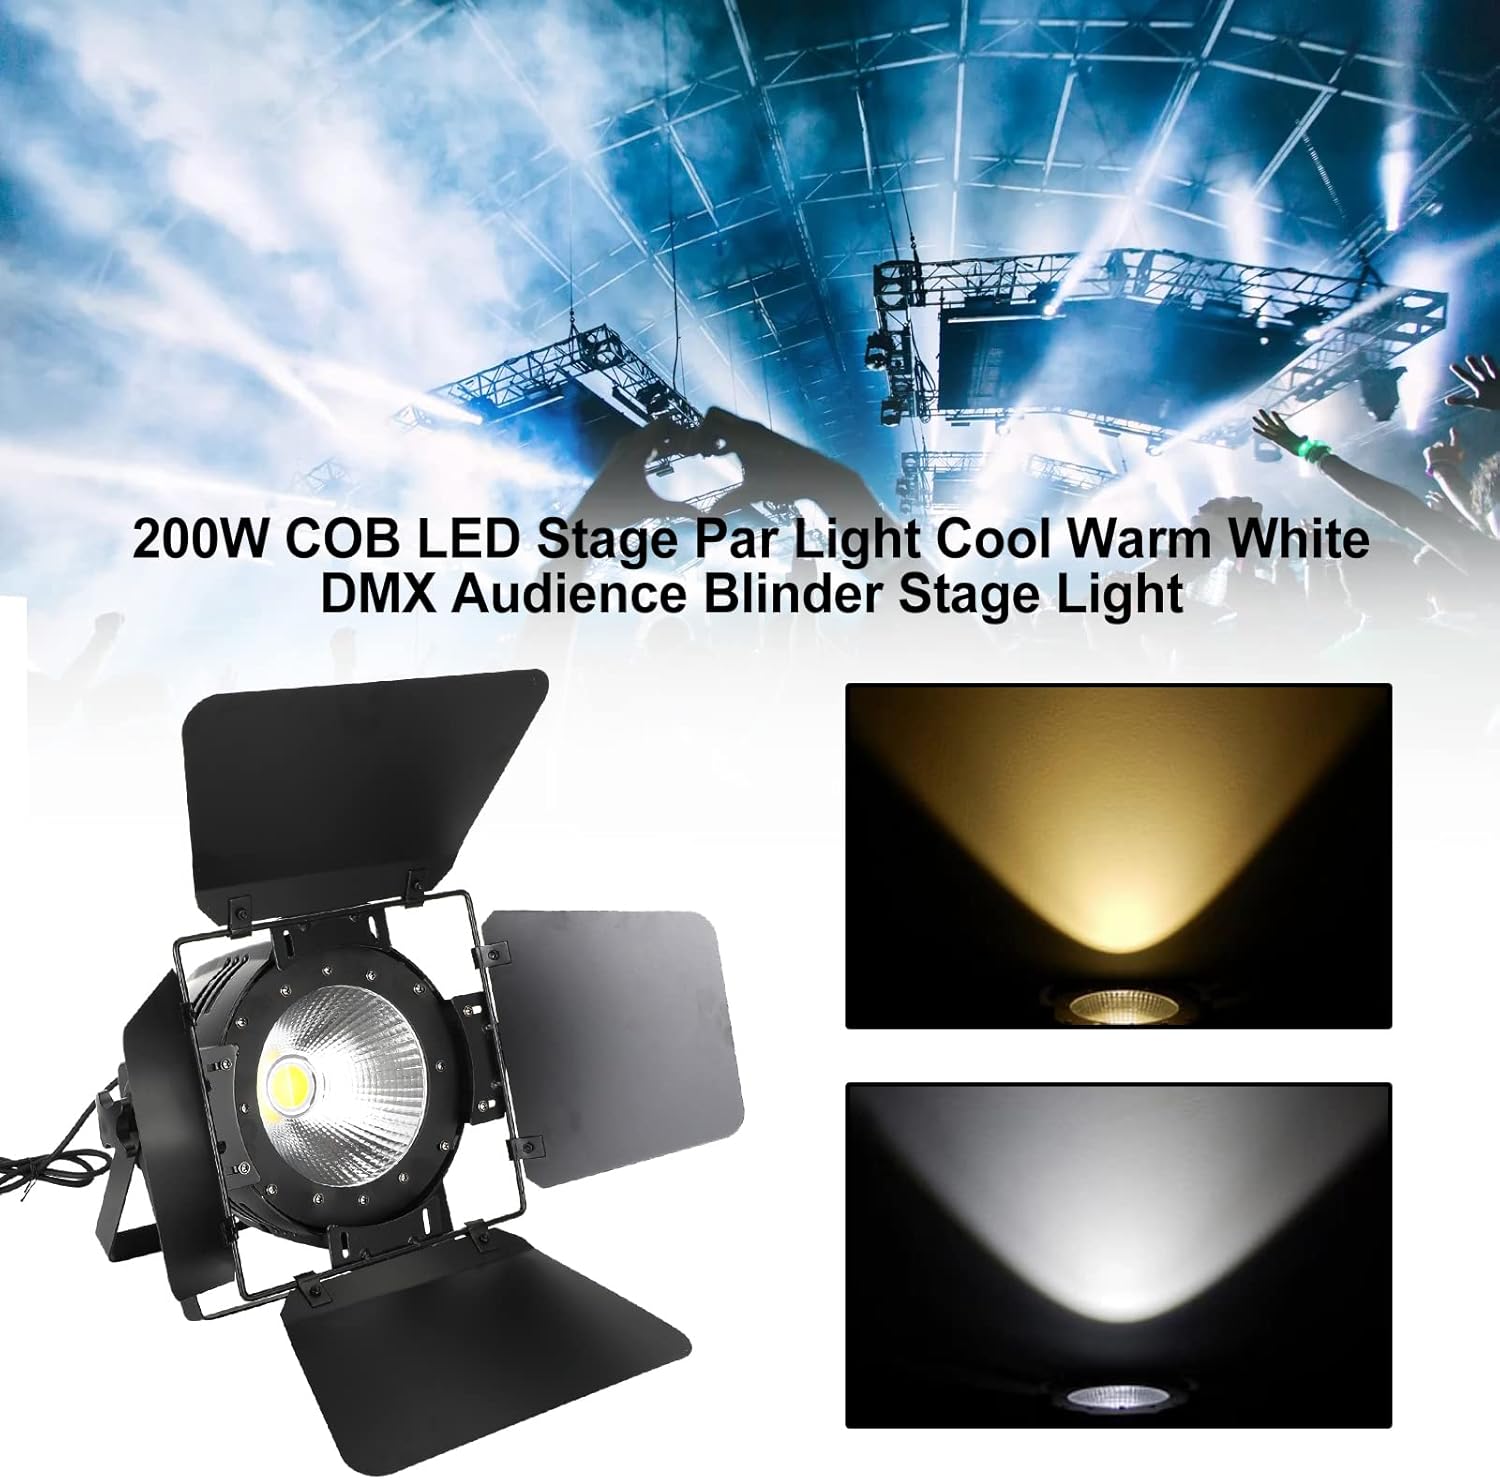
Figure 4.1: Demonstration of warm and cool white light output.
5. Setup
5.1 Physical Installation
- Unpack: Carefully remove the fixture and all components from the packaging.
- Attach Barn Doors: If not already attached, secure the barn door assembly to the front of the light fixture using the provided screws or clips.
- Mounting:
- For floor placement, ensure the dual mounting brackets are adjusted to provide a stable base.
- For ceiling or truss mounting, use appropriate clamps (not included) with the mounting brackets. Ensure all connections are secure and use a safety cable as an additional precaution.
- Positioning: Adjust the angle of the light using the knobs on the side of the mounting brackets.
5.2 Electrical Connection
- Connect the provided power cable to the power input on the rear of the fixture.
- Plug the other end of the power cable into a suitable grounded power outlet (AC 110V-240V, 50/60Hz).
- Ensure the power source matches the fixture's voltage requirements.
5.3 DMX Connection (Optional)
- For DMX control, connect a DMX cable (3-pin XLR) from your DMX controller's output to the DMX IN port on the fixture.
- For multiple fixtures, daisy-chain them by connecting the DMX OUT of the first fixture to the DMX IN of the next, and so on.
- Set the DMX address for each fixture using the control panel on the rear of the unit. Refer to the DMX Channel Chart in Section 6.4 for specific channel functions.

Figure 5.1: Various views of the light, including the rear control panel for connections and settings.
6. Operating Modes
The fixture can be operated in several modes, selectable via the control panel on the rear of the unit.
6.1 Control Panel Overview
The control panel typically includes a digital display and buttons (MENU, UP, DOWN, ENTER) for navigation and selection.
Figure 6.1: Rear control panel with display and buttons.
6.2 Auto Running Mode
In Auto Running mode, the fixture cycles through pre-programmed light sequences and effects automatically. Use the MENU button to navigate to the Auto mode setting, then use UP/DOWN to select different auto programs or speeds, and ENTER to confirm.
6.3 Sound-Active Mode
The Sound-Active mode allows the light to react to ambient sound or music via its built-in microphone. Navigate to the Sound-Active mode setting using the MENU button. You may be able to adjust the sound sensitivity using the UP/DOWN buttons.
6.4 Master/Slave Mode
This mode allows multiple fixtures to synchronize their operation without a DMX controller. Connect the DMX OUT of the "Master" fixture to the DMX IN of the first "Slave" fixture, and continue daisy-chaining. Set the Master fixture to an Auto or Sound-Active mode, and set all Slave fixtures to Slave mode. The Slave fixtures will then mimic the Master's behavior.
6.5 DMX512 Mode
For professional control, use DMX512 mode. Set the fixture's DMX address using the control panel. The DMX address determines the starting channel for the fixture on the DMX universe. Consult the DMX channel chart below for specific functions.
DMX Channel Chart (Example - refer to product-specific DMX manual for exact details)
| Channel | Function | Value Range | Description |
|---|---|---|---|
| 1 | Dimmer | 0-255 | Overall intensity (0% to 100%) |
| 2 | Warm White | 0-255 | Warm white intensity (0% to 100%) |
| 3 | Cool White | 0-255 | Cool white intensity (0% to 100%) |
| 4 | Strobe | 0-255 | Strobe speed (slow to fast) |
| 5 | Mode Select | 0-255 | Selects auto programs or sound active mode |
Video 6.1: Demonstration of light effects and modes.
This video showcases the various lighting effects and transitions possible with the Topteng 200W COB LED Stage Spotlight, including changes in brightness and color temperature.
7. Maintenance
Regular maintenance ensures optimal performance and extends the lifespan of your fixture.
- Cleaning: Periodically clean the lens and exterior housing with a soft, lint-free cloth. Do not use abrasive cleaners or solvents.
- Fan and Vents: Ensure cooling fans and ventilation openings are clear of dust and debris to prevent overheating. Use compressed air if necessary.
- Cable Inspection: Regularly inspect power and DMX cables for any signs of damage, fraying, or loose connections. Replace damaged cables immediately.
- Storage: When not in use, store the fixture in a dry, dust-free environment, preferably in its original packaging or a protective case.
8. Troubleshooting
If you encounter issues, refer to the following common problems and solutions:
| Problem | Possible Cause | Solution |
|---|---|---|
| No power | Power cable disconnected; no power from outlet; blown fuse. | Check power cable connection; test outlet with another device; check and replace fuse if necessary. |
| Light not responding to DMX | Incorrect DMX address; faulty DMX cable; DMX terminator missing; incorrect DMX mode. | Verify DMX address matches controller; check DMX cable integrity; use a DMX terminator on the last fixture; ensure fixture is in DMX mode. |
| Light flickering or unstable | Loose power connection; power fluctuations; DMX signal issues. | Secure power cable; use a stable power source; check DMX connections and signal quality. |
| Overheating | Blocked ventilation; operating in high ambient temperature. | Clear all vents and fans; ensure adequate airflow around the fixture; operate within specified temperature ranges. |
9. Specifications
| Attribute | Detail |
|---|---|
| Model | 200W COB LED |
| Light Source | 200W COB LED (Warm White 3200K & Cool White 5600K) |
| Voltage | AC 110-240V, 50/60Hz |
| Power Consumption | 200W |
| Control Modes | Sound-Active, Master-Slave, Auto Running, DMX512 |
| DMX Channels | (Varies by mode, typically 5-9 channels) |
| Material | Metal |
| Color | Black |
| Dimensions (L x W x H) | 14.96 x 10.24 x 10.24 inches (38 x 26 x 26 cm) |
| Weight | 7.28 pounds (3.3 kg) |
| Effective Range | Up to 10 meters |

Figure 9.1: Product dimensions.
10. Warranty and Support
Topteng products are manufactured to high quality standards. For warranty information and technical support, please refer to the warranty card included with your purchase or contact Topteng customer service directly.
Customer Service Contact: Please visit the official Topteng website or refer to your purchase documentation for the most current contact information.


