
Haofy BB8 F180/R160
Haofy Mechanical Bicycle Disc Brake Instruction Manual
Model: BB8 F180/R160
Introduction
This manual provides essential information for the proper installation, operation, and maintenance of your Haofy Mechanical Bicycle Disc Brake. Please read these instructions carefully before installation and use to ensure optimal performance and safety. This product is designed for mountain bikes and offers reliable stopping power with adjustable control.
Safety Information
- Always ensure all components are securely fastened before riding.
- Regularly inspect brake pads and rotors for wear and damage. Replace worn parts immediately.
- Brake performance can be affected by weather conditions (e.g., rain, snow). Adjust riding style accordingly.
- If you are unsure about any installation or maintenance steps, consult a professional bicycle mechanic.
- Keep hands and clothing clear of moving parts during operation and maintenance.
Package Contents
Please verify that all parts are present before beginning installation:
- 1 x Haofy Mechanical Bicycle Disc Brake Device (Model BB8 F180/R160)
- Mounting hardware (bolts, washers)
Note: New and old models of this product may be shipped randomly. Both types are compatible with the specified model.

Image: Comparison of the new and old design types for the Haofy mechanical bicycle disc brake. Both designs function identically for the specified model.
Setup and Installation
Follow these steps to install the disc brake device on your bicycle. Ensure your bike is stable on a stand before proceeding.
- Prepare the Mounting Area: Ensure the brake mount on your bicycle frame or fork is clean and free of debris.
- Position the Brake Device: Align the disc brake device with the mounting holes on your frame (for rear brake) or fork (for front brake). The F180/R160 model indicates a front brake for a 180mm rotor and a rear brake for a 160mm rotor.
- Secure the Caliper: Insert the mounting bolts through the brake device and into the frame/fork. Hand-tighten the bolts initially.
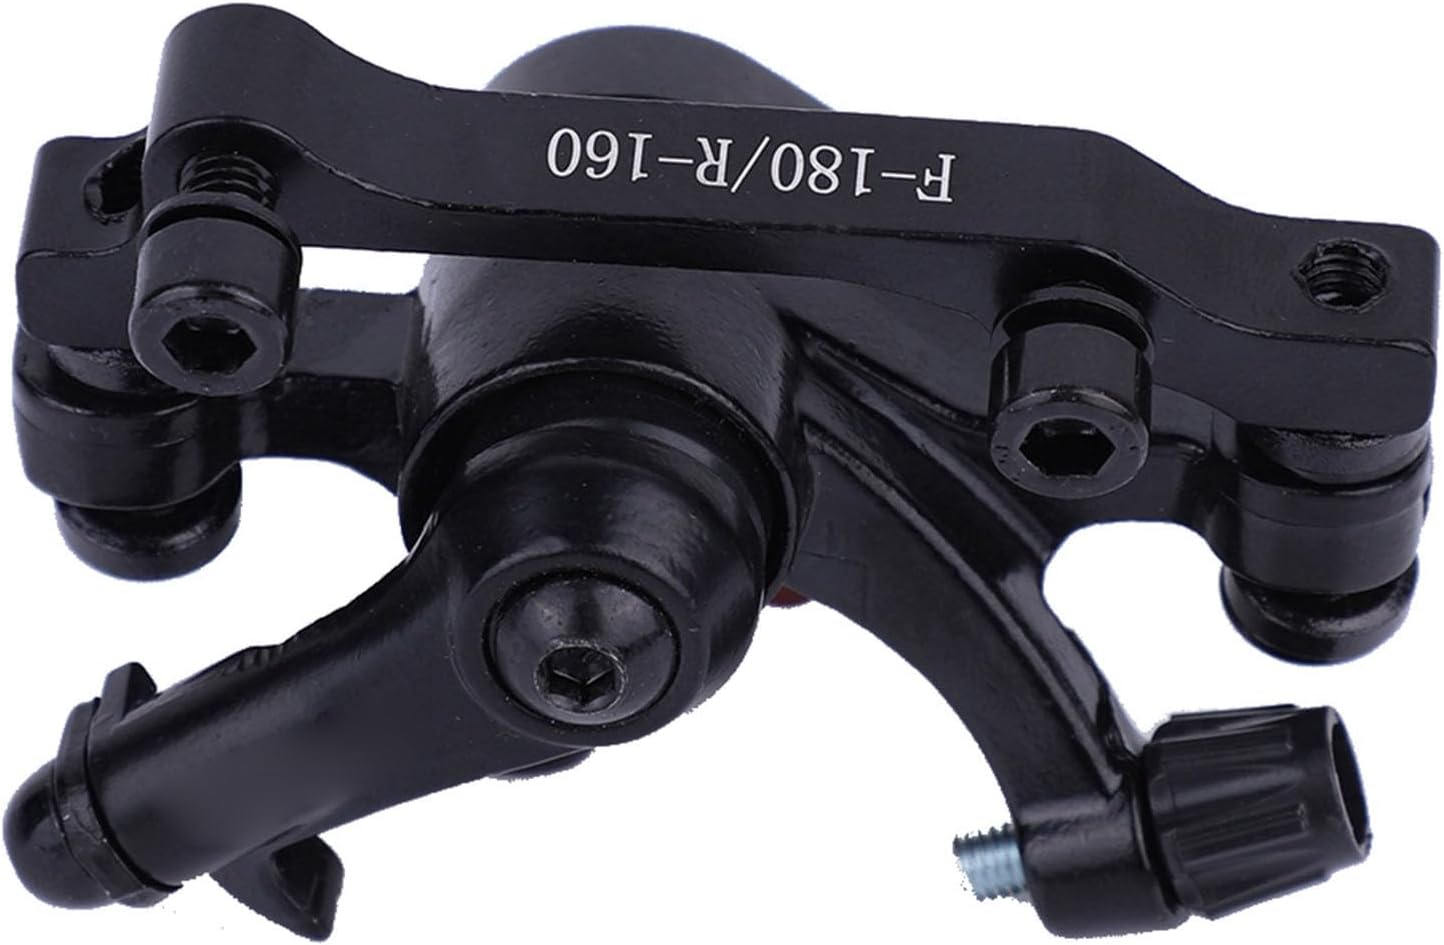
Image: Front view of the Haofy mechanical bicycle disc brake device, showing the caliper and mounting points.
- Install the Rotor: If not already installed, attach the disc rotor to your wheel hub according to your wheel manufacturer's instructions.
- Align the Caliper: Loosen the caliper mounting bolts slightly. Spin the wheel and observe the rotor's position relative to the brake pads. Adjust the caliper position so that the rotor runs centrally between the pads without rubbing.
- Adjust Pad Clearance: Use the adjustment knobs/screws on the caliper to set the left and right pad width, ensuring a small, even gap between the pads and the rotor when the brake is disengaged.
- Tighten Mounting Bolts: Once the caliper is aligned and pad clearance is set, fully tighten the caliper mounting bolts. Refer to your bicycle's specifications for recommended torque values.
- Connect Brake Cable: Route the brake cable from your brake lever to the caliper. Secure the cable to the caliper's pinch bolt, ensuring proper tension. Test the brake lever for firm engagement.

Image: Rear view of the Haofy mechanical bicycle disc brake, highlighting the brake pads and adjustment mechanism.
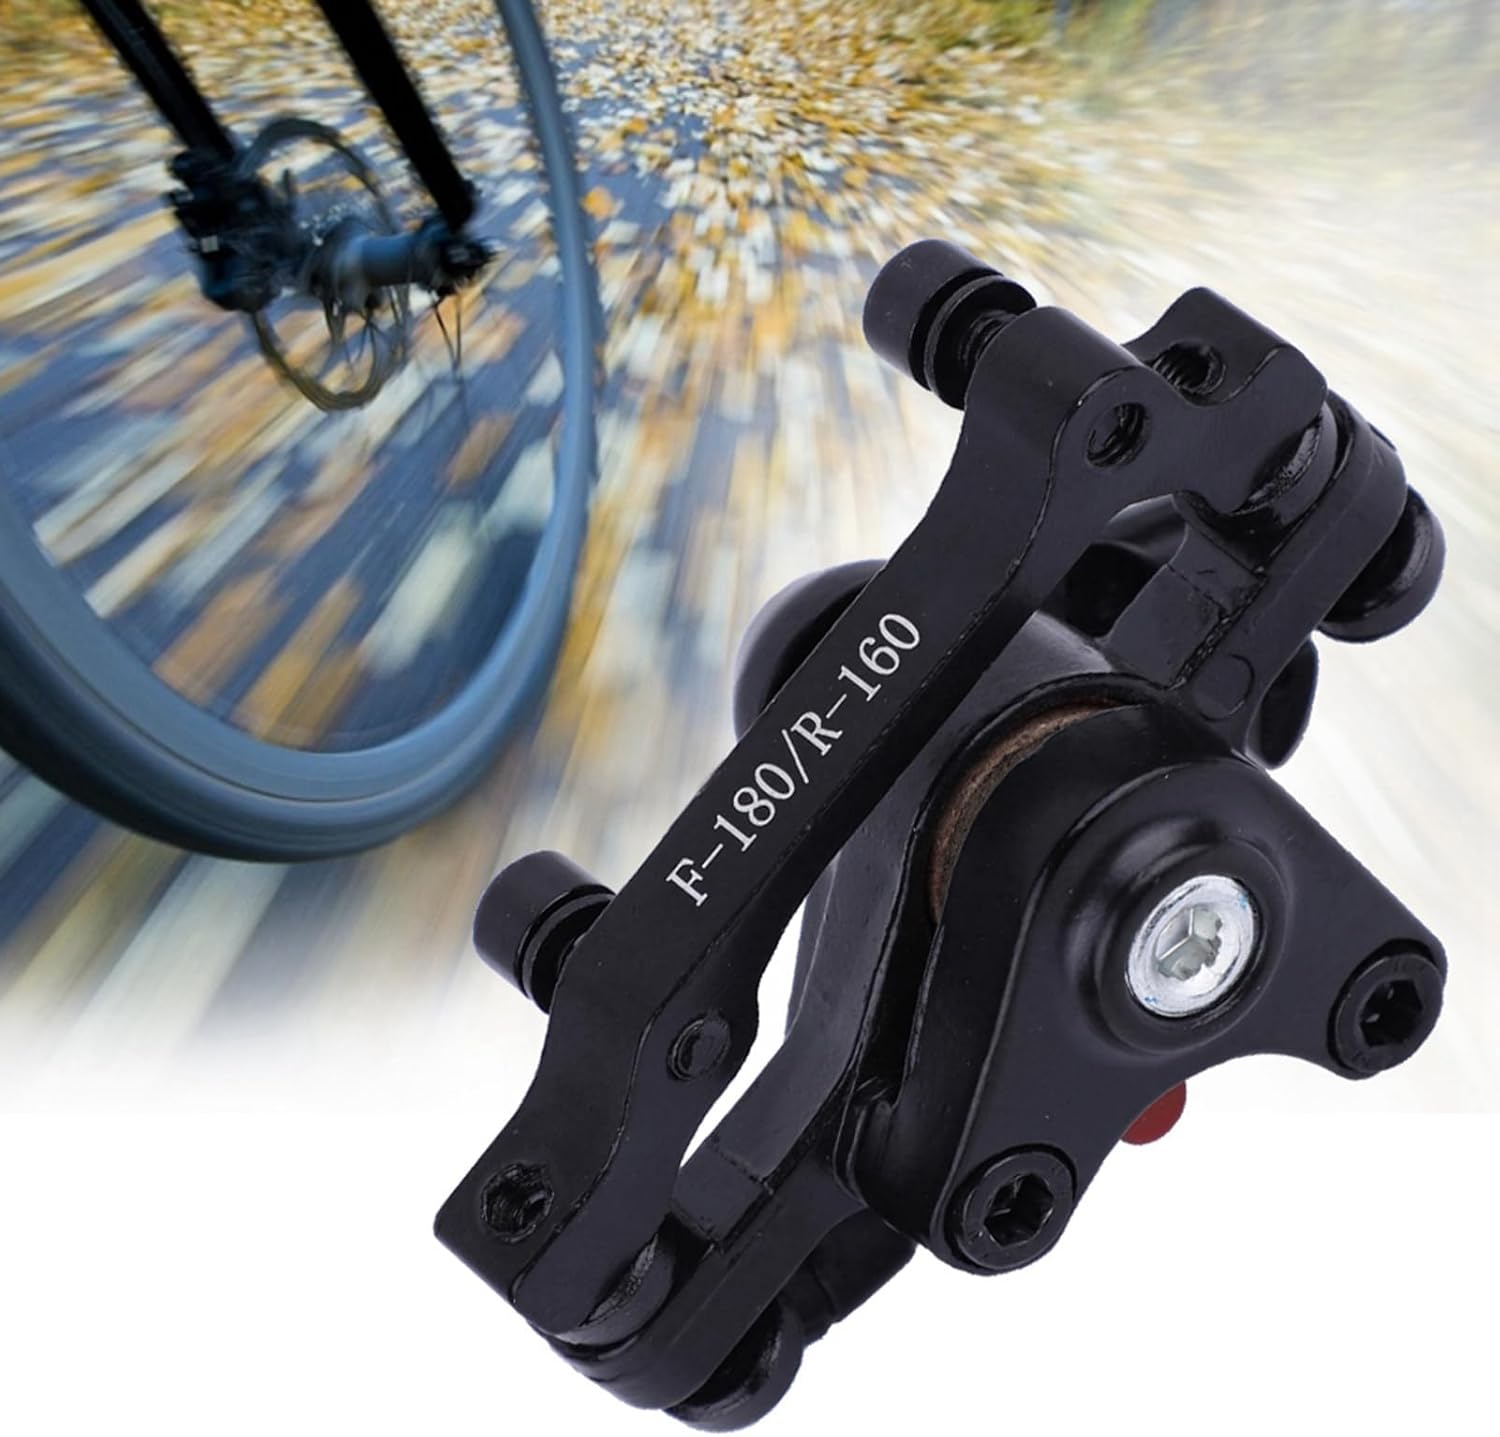
Image: The Haofy mechanical bicycle disc brake installed on a bicycle wheel, demonstrating its position relative to the rotor.
Operating Instructions
The Haofy Mechanical Bicycle Disc Brake provides strong and stable braking control. To operate:
- Brake Lever Engagement: Squeeze the brake lever on your handlebars to engage the brake. The harder you squeeze, the greater the braking force.
- Modulation: Practice modulating your braking force to achieve smooth and controlled stops. Avoid sudden, hard braking, especially on loose surfaces.
- Heat Dissipation: The brake system is designed for excellent heat dissipation, which helps maintain consistent performance during prolonged braking. However, continuous heavy braking can still lead to heat buildup.

Image: The Haofy mechanical bicycle disc brake shown with a cyclist in the background, illustrating its use in a riding environment.
Maintenance
Regular maintenance ensures the longevity and safety of your disc brake system.
- Cleanliness: Keep the brake caliper and rotor clean. Avoid getting oil or grease on the rotor or brake pads, as this can severely reduce braking performance. Use a clean cloth and disc brake cleaner if necessary.
- Pad Wear: Periodically check the brake pads for wear. Replace pads when the friction material is worn down to 1mm or less.
- Cable Inspection: Inspect the brake cable for fraying, rust, or kinks. Replace damaged cables promptly.
- Bolt Tightness: Regularly check all mounting bolts for proper tightness.
- Rotor Condition: Inspect the rotor for bends, cracks, or excessive wear. Replace if damaged.
Troubleshooting
| Problem | Possible Cause | Solution |
|---|---|---|
| Brake rubbing/squealing | Misaligned caliper, bent rotor, contaminated pads/rotor | Re-align caliper, check rotor for trueness, clean pads/rotor with disc brake cleaner. |
| Weak braking power | Worn pads, loose cable, contaminated pads/rotor, improper adjustment | Replace pads, adjust cable tension, clean pads/rotor, adjust pad clearance. |
| Brake lever feels spongy | Loose brake cable, stretched cable | Tighten brake cable, replace stretched cable. |
| Product does not fit my bicycle | Incompatibility with bike frame/fork or rotor size | Verify compatibility with your bicycle's specifications before purchase. Consult a professional if unsure. |
Specifications
- Brand: Haofy
- Model: BB8 F180/R160
- Material: Metal
- Color: Black
- Product Dimensions: Approximately 4.72"L x 4.72"W x 4.72"H
- Number of Pieces: 2 (typically refers to the caliper and mounting hardware, or a set for front/rear if purchased as such)
- Bike Type Compatibility: Mountain Bike
Warranty and Support
For warranty information or technical support, please contact Haofy customer service through the retailer where the product was purchased or visit the official Haofy website. Please have your purchase receipt and product model number available when contacting support.
Ask a question about this manual
Ask about setup, troubleshooting, compatibility, parts, safety, or missing instructions. Manuals+ will review the question and use this page’s manual context to help answer it.