
1. Introduction
Thank you for choosing the ONKRON TME-44B Tilting TV Wall Mount. This manual provides detailed instructions for safe and proper installation, operation, and maintenance of your new TV mount. Please read this manual thoroughly before installation and keep it for future reference. This mount is designed for flat-panel televisions ranging from 26 to 55 inches and weighing up to 45 kg (99.2 lbs), supporting VESA patterns from 75x75 mm to 400x400 mm.
2. Safety Information
Improper installation or use of this product can result in serious injury or damage. Please adhere to the following safety guidelines:
- Weight Capacity: Do not exceed the maximum weight capacity of 45 kg (99.2 lbs). Ensure your TV's weight is within this limit.
- Screen Size: This mount is designed for TVs between 26 and 55 inches. While larger TVs may fit VESA patterns, ensure they do not exceed the weight limit.
- VESA Compatibility: Verify your TV's VESA mounting pattern is between 75x75 mm and 400x400 mm.
- Wall Type: This mount is suitable for installation on solid concrete, brick walls, and wood studs (8" to 16" on center). Do not install on drywall alone without securing to studs.
- Professional Installation: If you are unsure about the installation process or wall type, consult a qualified professional.
- Tools: Use appropriate tools for installation. Ensure all screws are tightened securely but do not overtighten.
- Children: Keep small parts away from children.
3. Package Contents
Before beginning installation, please verify that all parts are present and undamaged. Refer to the image below for a visual guide to the included components.

Image: All components included in the ONKRON TME-44B wall mount package, including the wall plate, TV brackets, spirit level, instruction manual, and various mounting hardware (screws, washers, spacers, anchors, lag bolts).
- Wall Plate (x1)
- TV Brackets (x2)
- Spirit Level (x1)
- Instruction Manual (x1)
- Mounting Hardware Kit:
- M4x12 Screws (x4)
- M5x12 Screws (x4)
- M6x16 Screws (x4)
- M8x16 Screws (x4)
- Ø5mm Washers (x4)
- Ø8mm Washers (x4)
- Spacers (x4)
- 10x50 Concrete Anchors (x4)
- M6x45 Lag Bolts (x4)
4. Setup and Installation
Follow these steps carefully to ensure a secure and stable installation of your TV wall mount.
4.1 Pre-Installation Checks
- Check TV Compatibility: Ensure your TV's size (26-55 inches), weight (max 45 kg), and VESA pattern (75x75 to 400x400 mm) are compatible with the mount.
- Identify Wall Type: Determine if your wall is solid concrete, brick, or wood stud. This will dictate the appropriate hardware and drilling method.

Image: Illustration of compatible wall types: Solid Concrete, Brick Walls, and Wood Studs (8" to 16" spacing).
- Gather Tools: You will need a drill, stud finder (for wood studs), pencil, measuring tape, and a screwdriver.
4.2 Attaching Brackets to TV
- Carefully place your TV face down on a soft, clean surface to prevent scratches.
- Locate the VESA mounting holes on the back of your TV.
- Select the appropriate screws (M4, M5, M6, or M8) and spacers from the hardware kit that fit your TV's mounting holes. Use washers if necessary.
- Attach the two TV brackets to the back of your TV, ensuring they are vertically aligned and securely fastened. The longer arms of the brackets should point downwards.
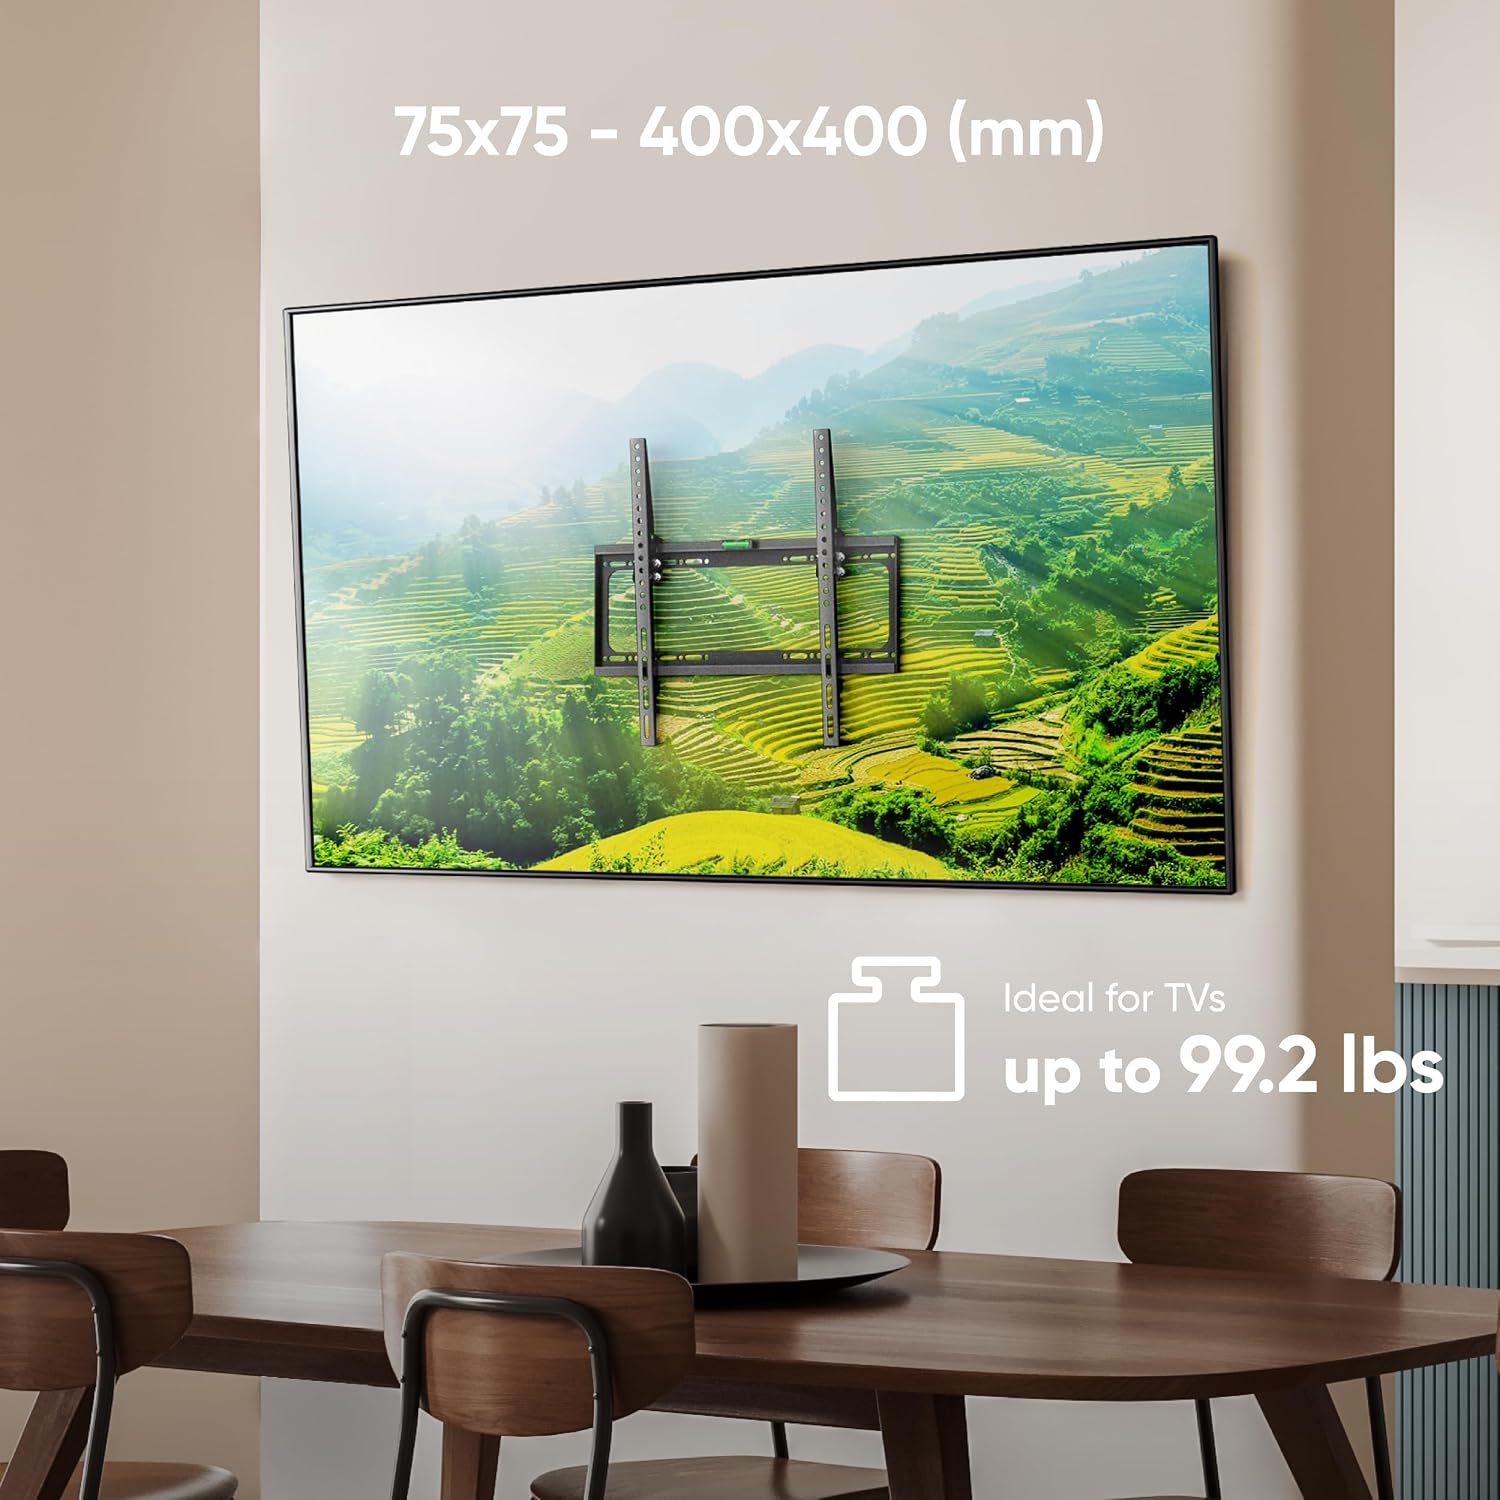
Image: Demonstrates VESA compatibility (75x75 to 400x400 mm) and the maximum weight capacity of 99.2 lbs (45 kg).
4.3 Mounting the Wall Plate
- Determine the desired height for your TV. Mark the drilling points on the wall using the wall plate as a template. For wood studs, use a stud finder to locate the center of the studs and align the wall plate accordingly.
- Drill pilot holes at the marked locations. The size of the drill bit will depend on your wall type and the chosen hardware (e.g., for concrete anchors, use a masonry drill bit).
- Insert the appropriate wall anchors (if applicable, for concrete/brick) into the pilot holes.
- Position the wall plate over the holes and secure it to the wall using the lag bolts. Use the integrated spirit level on the wall plate to ensure it is perfectly horizontal before tightening all bolts.

Image: The ONKRON TME-44B wall mount installed on a wall, ready for a television. Note the integrated spirit level for accurate installation.
- Double-check that the wall plate is securely fastened and level.
4.4 Hanging the TV
- With assistance, carefully lift the TV with the attached brackets and hook the brackets onto the wall plate. Ensure the TV is centered and securely seated on the wall plate.
- Locate the safety screws or locking mechanisms on the bottom of the TV brackets. Tighten these screws to secure the TV to the wall plate and prevent accidental dislodging.
- The mount features an ultra-slim profile, positioning your TV only 25 mm from the wall.

Image: Demonstrates the ultra-slim profile of the ONKRON TME-44B mount, showing the TV positioned just 1 inch (25 mm) from the wall.
5. Operating the Mount (Tilting Feature)
The ONKRON TME-44B mount allows for a tilting adjustment to optimize your viewing angle and reduce glare.
- This mount offers a tilt range from 0° to -12°.
- To adjust the tilt, gently push or pull the bottom of your TV to the desired angle. The friction mechanism will hold the TV in place.
- Adjusting the tilt can help eliminate glare from windows or lights, providing a more comfortable viewing experience.

Image: Illustrates the -12° downward tilting capability of the ONKRON TME-44B TV wall mount, allowing for glare reduction and optimal viewing angles.
6. Maintenance
Regular maintenance ensures the longevity and safe operation of your TV mount.
- Cleaning: Wipe the mount with a soft, dry cloth. Do not use abrasive cleaners or solvents.
- Periodic Checks: Periodically check all screws and bolts to ensure they remain tight. Over time, vibrations or adjustments can cause them to loosen.
- Damage: If any part of the mount appears damaged or worn, do not use it. Contact customer support for assistance.
7. Troubleshooting
If you encounter issues during or after installation, refer to these common solutions.
| Problem | Possible Cause | Solution |
|---|---|---|
| TV is not level after installation. | Wall plate not level during installation. | Loosen wall plate bolts slightly, adjust using the integrated spirit level, then re-tighten securely. |
| TV feels unstable or wobbly. | Screws not fully tightened; incorrect hardware used for wall type; TV exceeds weight limit. | Ensure all screws are securely tightened. Verify correct hardware was used for your wall type. Confirm TV weight is within the 45 kg limit. |
| Cannot attach TV brackets to TV. | Incorrect screw size or VESA pattern mismatch. | Refer to your TV manual for correct VESA screw size. Ensure your TV's VESA pattern is within 75x75 to 400x400 mm. |
8. Specifications
| Feature | Detail |
|---|---|
| Brand | ONKRON |
| Model Number | TME-44B |
| Compatible TV Sizes | 26 - 55 inches |
| Weight Capacity | Up to 45 kg (99.2 lbs) |
| VESA Compatibility | 75x75, 100x100, 200x100, 200x200, 300x200, 300x300, 400x200, 400x300, 400x400 mm |
| Mount Type | Wall Mount |
| Movement Type | Tilting |
| Tilt Angle | 0° to -12° (downward) |
| Distance from Wall | 25 mm (1 inch) |
| Material | Alloy Steel |
| Integrated Features | Spirit Level |
9. Warranty and Support
The ONKRON TME-44B TV mount undergoes multi-level quality control to ensure its reliability and durability. While specific warranty details are not provided in this manual, ONKRON is committed to customer satisfaction.
If you have any questions regarding the installation, operation, or any other aspect of your ONKRON TV wall mount, please do not hesitate to contact our customer support team. Our experts are ready to provide assistance and answer all your questions.
For support, please visit the official ONKRON website or refer to the contact information provided with your purchase documentation.