1. Introduction
This manual provides comprehensive instructions for the safe and efficient use of your Bosch MyMoment TWK2M163 cordless kettle. Designed for comfortable handling and featuring a clear cup indicator, this kettle combines functionality with an attractive design. Please read these instructions carefully before first use and retain them for future reference.
2. Safety Instructions
Always observe the following safety precautions to prevent accidents and damage:
- Read all instructions before using the appliance.
- Do not immerse the kettle, power base, cord, or plug in water or other liquids.
- Ensure the voltage indicated on the appliance corresponds to your local mains voltage before connecting.
- Keep the appliance out of reach of children.
- Do not operate the kettle if the cord or plug is damaged, or if the appliance malfunctions or has been damaged in any way.
- Place the kettle on a firm, flat, heat-resistant surface.
- Do not fill above the maximum level indicator to avoid boiling water overflowing.
- Always close the lid securely before operating.
- Exercise caution when pouring hot water.
- The kettle features triple safety: automatic shut-off, boil-dry protection, and overheat protection.
- Unplug the kettle from the outlet when not in use and before cleaning.
3. Product Overview
Familiarize yourself with the components of your Bosch MyMoment TWK2M163 kettle.

The Bosch MyMoment TWK2M163 cordless kettle, showcasing its sleek black design and the illuminated power switch indicating operation.

An overview highlighting the kettle's key features: the removable limescale filter for clean water, the easy-to-open lid, and the automatic shut-off mechanism for safety.
- Lid: Ergonomic design with easy-open button.
- Spout: Designed for splash-free pouring.
- Limescale Filter: Removable and washable, located behind the spout.
- Water Level Indicator: Transparent window with markings for liters and cups.
- Handle: Ergonomically shaped for comfortable grip.
- Power Switch: Illuminated red indicator light when boiling.
- Concealed Heating Element: Stainless steel base for easy cleaning.
- Power Base: 360° rotational base with cord storage.
4. Setup and First Use
4.1 Unpacking
Carefully remove the kettle and all accessories from the packaging. Dispose of packaging materials responsibly.
4.2 Initial Cleaning
- Before first use, fill the kettle with fresh water up to the MAX mark.
- Boil the water.
- Discard the boiled water.
- Repeat this process two to three times to remove any manufacturing residues.
4.3 Placing the Kettle
Place the power base on a dry, flat, and stable surface. Ensure the power cord is not dangling or in contact with hot surfaces.

The base of the kettle features a practical cord storage solution, allowing the power cable to be neatly wrapped and stored when not in use.
5. Operating Instructions
5.1 Filling the Kettle
- Remove the kettle from its power base.
- Press the button on the handle to open the lid.
- Fill the kettle with the desired amount of fresh water. Observe the water level indicator. Do not fill below the MIN mark or above the MAX mark. The cup indicator helps you boil only the required quantity, saving energy and time.
- Close the lid firmly until it clicks into place.

A hand demonstrating the easy lid opening mechanism, activated by a simple button press, making refilling convenient.
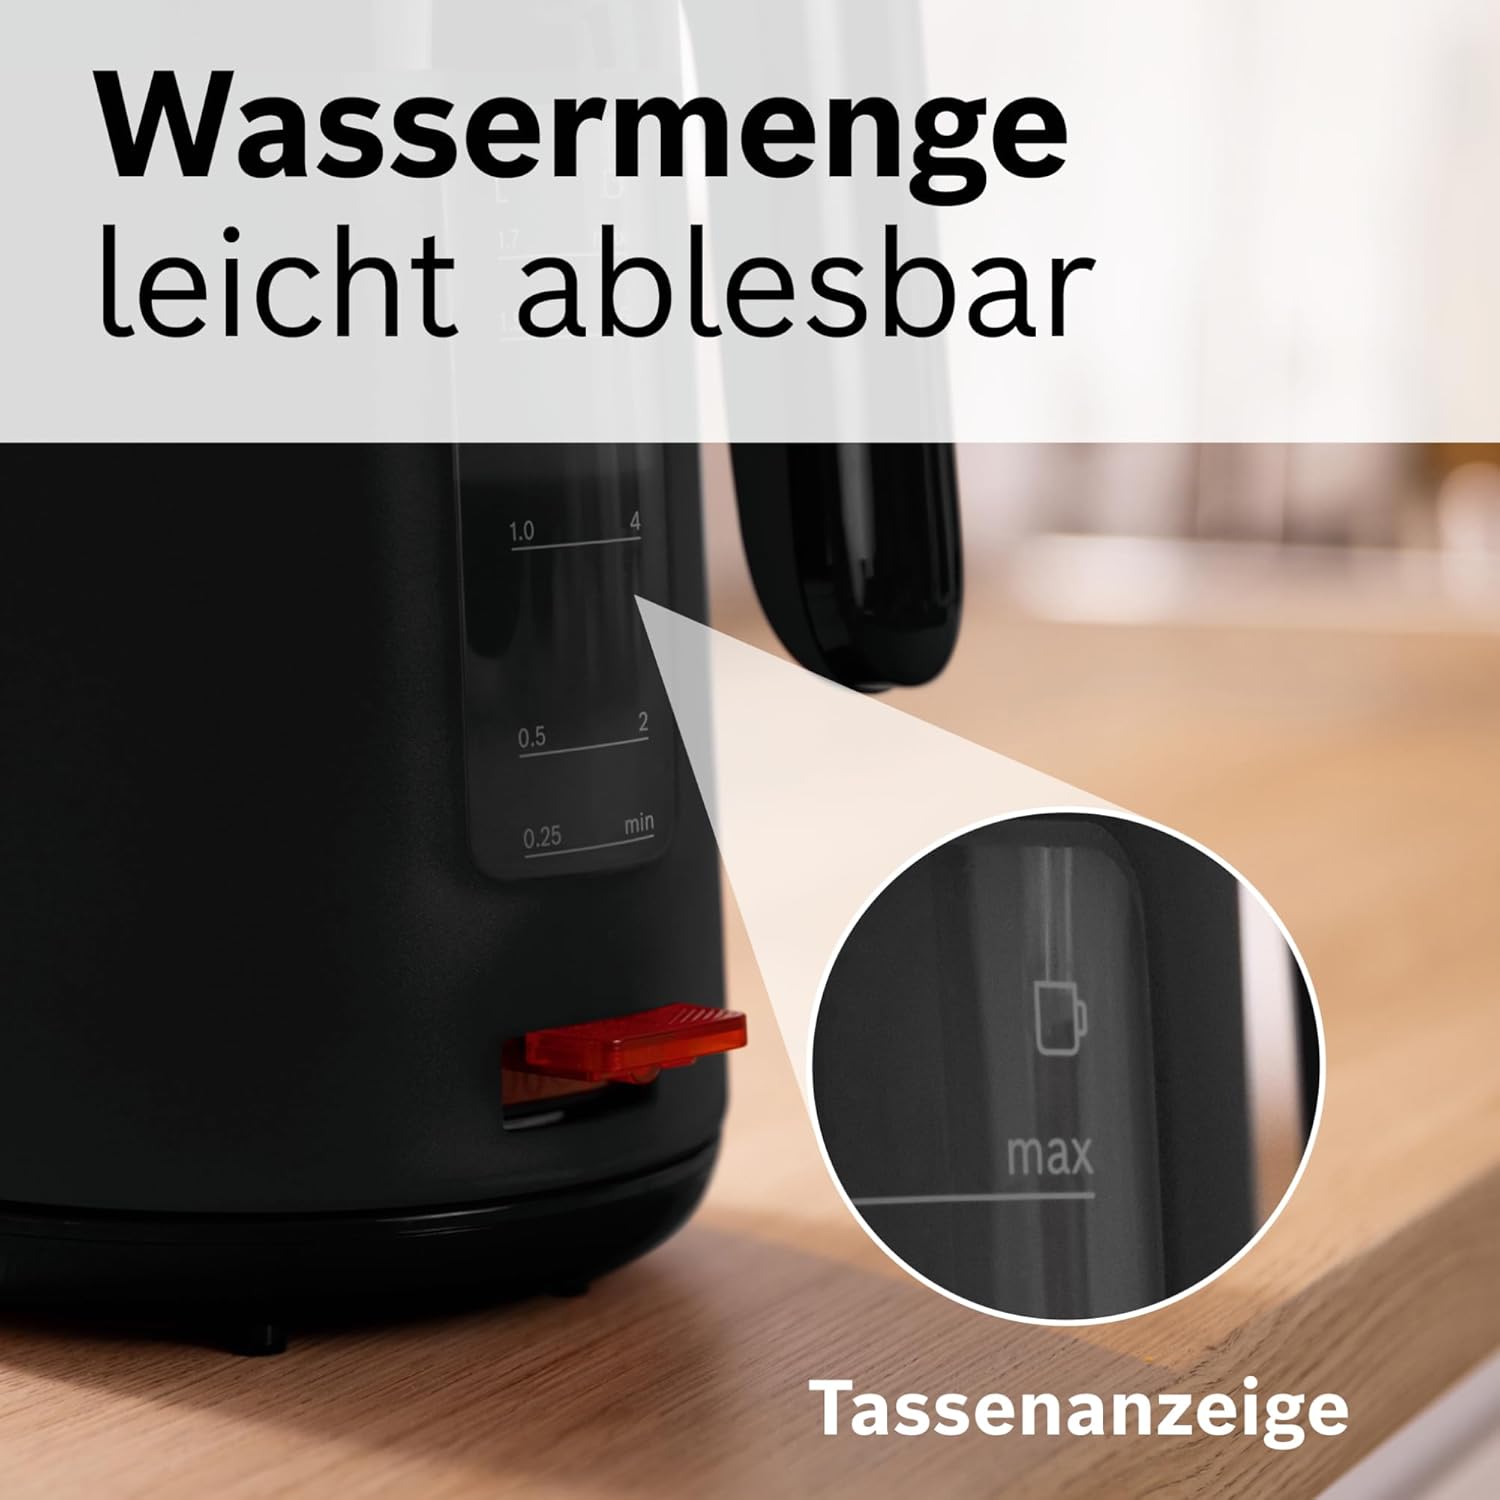
A detailed view of the transparent water level indicator, featuring clear markings for liters and individual cups, allowing precise filling and energy saving.
5.2 Boiling Water
- Place the filled kettle back onto its power base.
- Plug the power cord into a suitable wall outlet.
- Press the power switch down. The indicator light will illuminate, signaling that the kettle is heating.
- The kettle will automatically switch off once the water has boiled. The indicator light will turn off.

A detailed image of the red power switch, located at the base of the kettle, used to initiate the boiling process.
5.3 Pouring Water
Carefully lift the kettle from its base and pour the hot water. The spout is designed for smooth, splash-free pouring.
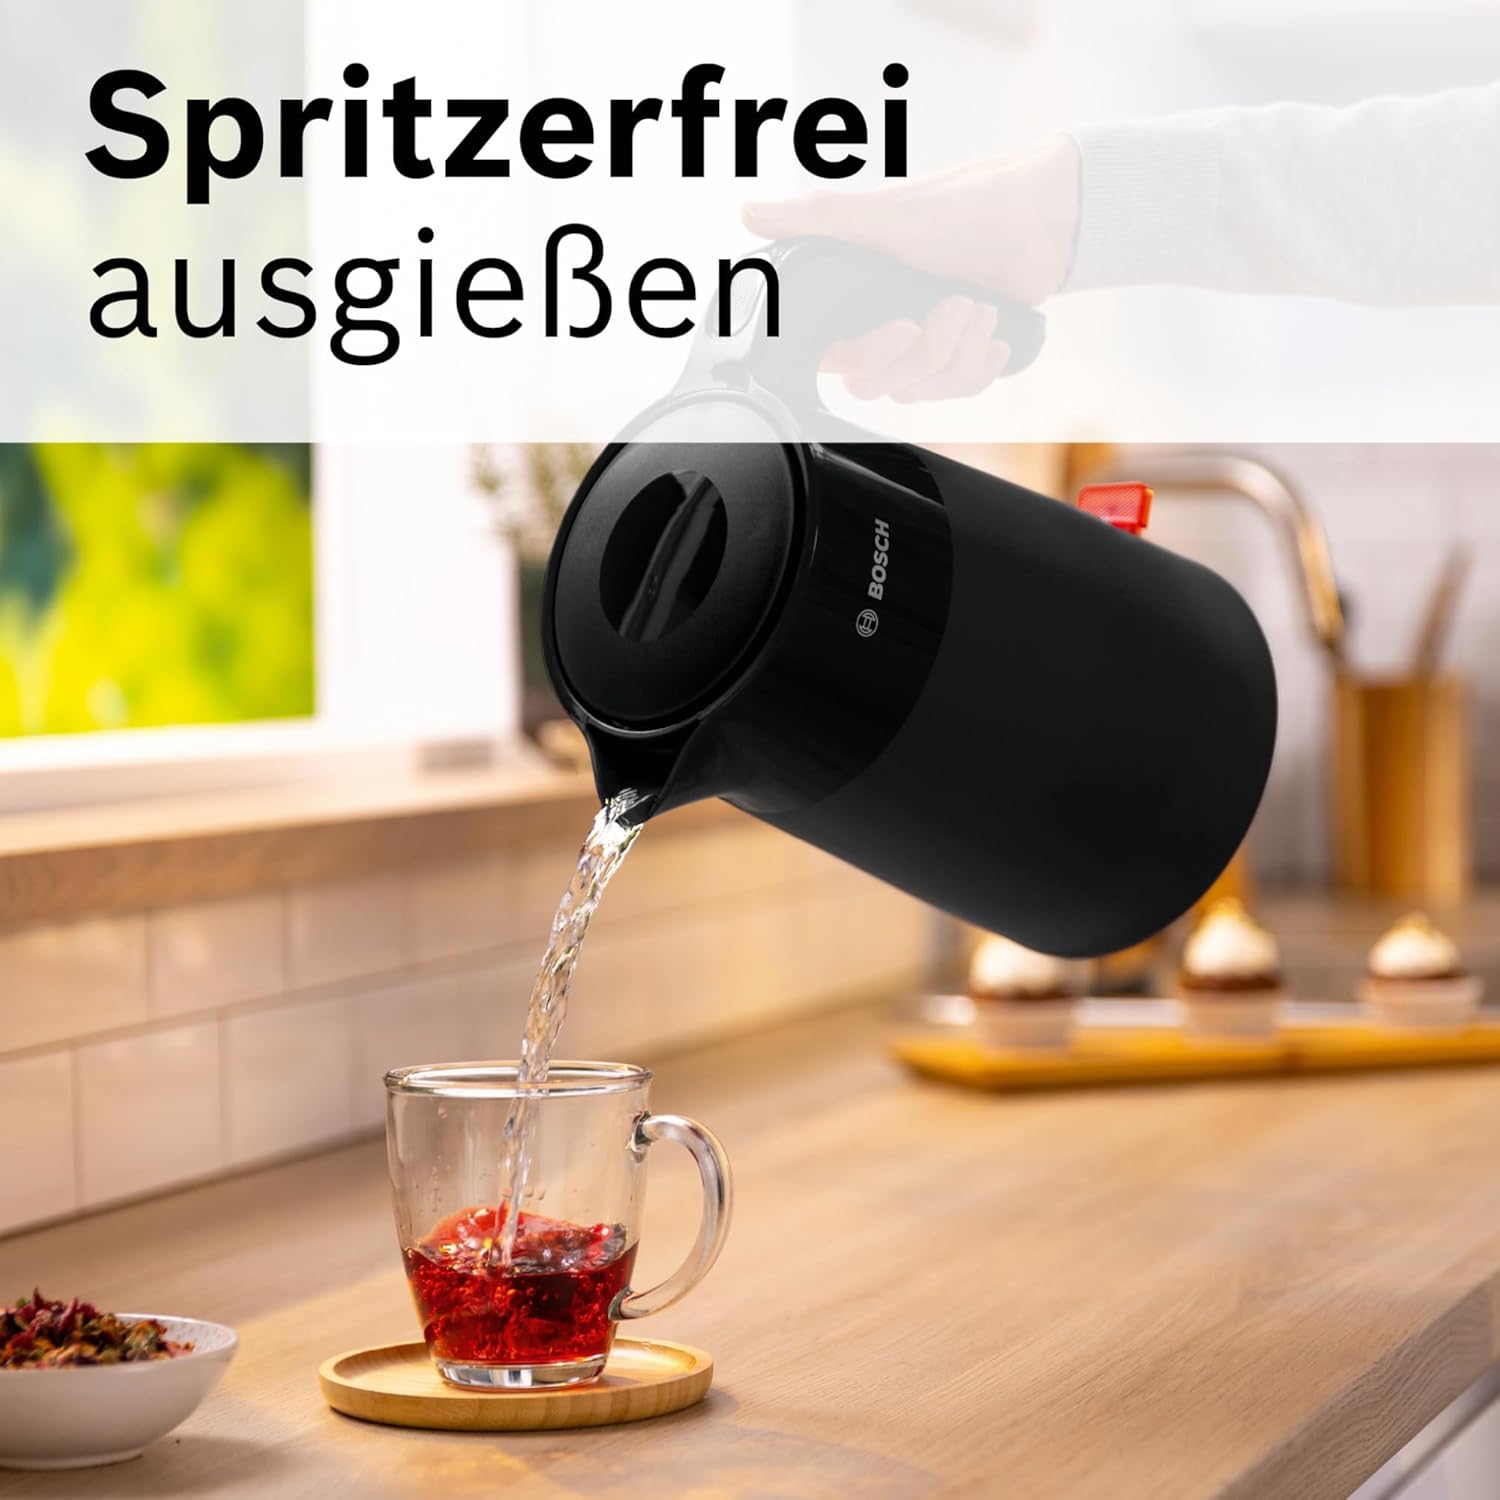
The kettle's spout design ensures a smooth, splash-free pour, as demonstrated by water flowing cleanly into a teacup.
6. Maintenance and Cleaning
Regular cleaning and maintenance will prolong the life of your kettle.
6.1 Exterior Cleaning
- Always unplug the kettle and allow it to cool completely before cleaning.
- Wipe the exterior with a soft, damp cloth. Do not use abrasive cleaners or harsh chemicals.
- Ensure no water enters the electrical components.
6.2 Limescale Filter Cleaning
The removable limescale filter prevents limescale particles from entering your drink.
- Open the lid.
- Carefully remove the filter from its holder behind the spout.
- Rinse the filter under running water or brush it gently to remove limescale deposits.
- Reinsert the clean filter into its holder until it clicks into place.

A hand demonstrating the removal of the internal limescale filter, which is designed for easy access and cleaning.
6.3 Descaling
Regular descaling is essential, especially in hard water areas, to maintain performance and extend the kettle's lifespan. Use a commercially available descaling agent suitable for kettles, following the manufacturer's instructions. Alternatively, you can use a solution of white vinegar and water (1 part vinegar to 2 parts water). Boil the solution, let it stand for an hour, then rinse thoroughly several times with fresh water.
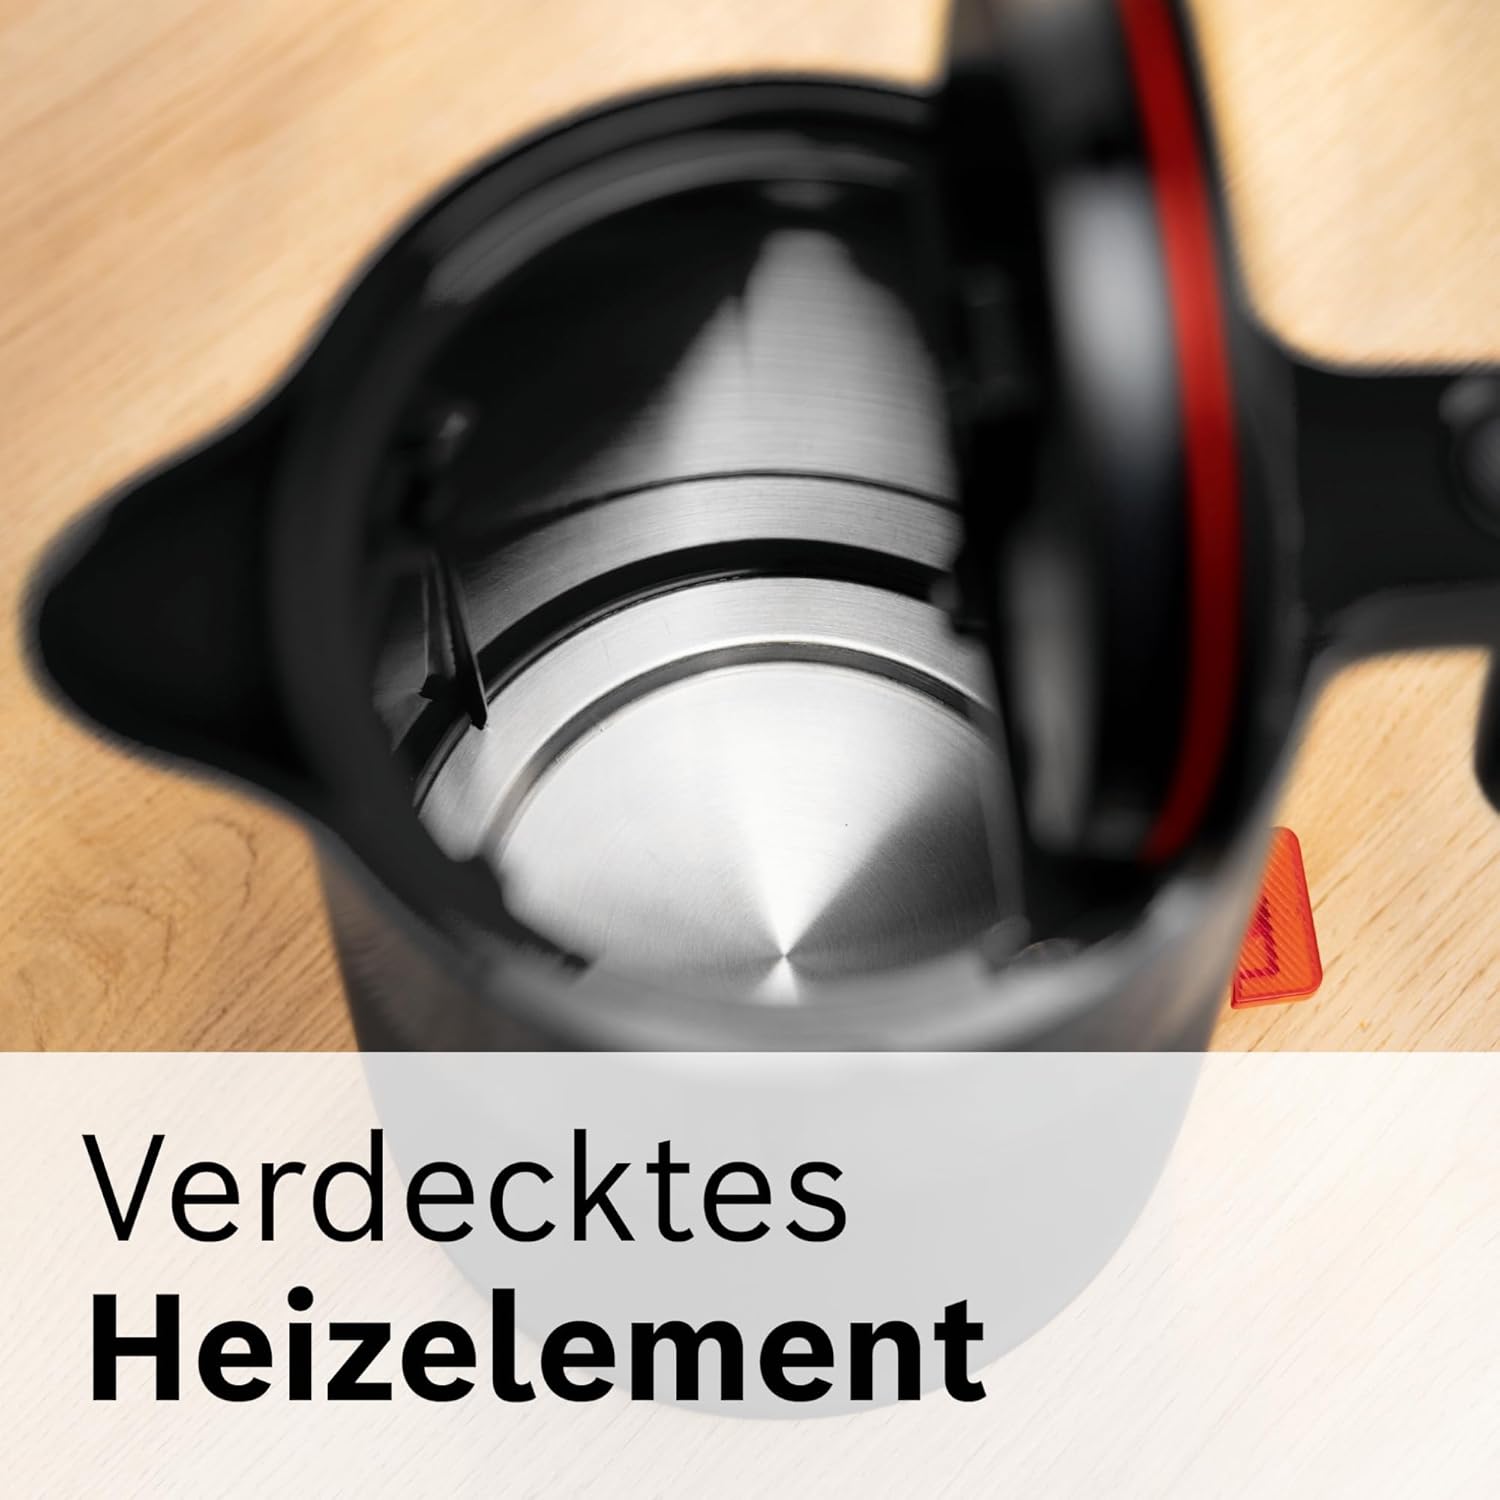
A close-up view of the kettle's interior, revealing the concealed stainless steel heating element, which simplifies cleaning and prevents limescale buildup on the element itself.
7. Troubleshooting
If you encounter issues with your kettle, refer to the following common problems and solutions:
| Problem | Possible Cause | Solution |
|---|---|---|
| Kettle does not switch on. | No power supply; Kettle not properly seated on base; Power switch not pressed. | Check power outlet; Ensure kettle is correctly placed on base; Press the power switch firmly. |
| Water does not boil. | Insufficient water; Kettle has boiled dry (boil-dry protection activated). | Fill with water above MIN level; Allow kettle to cool down before refilling and restarting. |
| Kettle switches off too early. | Excessive limescale buildup. | Descale the kettle as described in Section 6.3. |
| Water tastes metallic or has particles. | New appliance residue; Limescale buildup. | Perform initial cleaning (Section 4.2); Clean or descale the kettle and filter. |
8. Specifications
Technical details for the Bosch MyMoment TWK2M163 kettle:

This image illustrates the physical dimensions of the Bosch MyMoment TWK2M163 kettle, measuring 267mm in height, 237mm in width, and 158mm in depth, providing a clear understanding of its size.
| Feature | Detail |
|---|---|
| Model Number | TWK2M163 |
| Brand | Bosch |
| Capacity | 1.7 Litres |
| Power | 2400 Watts |
| Voltage | 240 Volts |
| Material | Plastic |
| Color | Black |
| Dimensions (L x W x H) | 15.8 x 23.7 x 26.7 cm |
| Weight | 1 Kilogram |
| Noise Level | 1 dB |
| Special Features | Portable, Automatic Shut-off, Boil-dry Protection, Overheat Protection, Removable Limescale Filter, Cup Indicator |
| Spare Parts Availability | 7 Years |
| Country of Origin | China |
9. Warranty and Support
Your Bosch MyMoment TWK2M163 kettle comes with a standard manufacturer's warranty. Please refer to the warranty card included in your product packaging for specific terms and conditions, including warranty period and coverage details. For technical support, spare parts, or service inquiries, please contact Bosch customer service through their official website or the contact information provided in your product documentation. Always have your model number (TWK2M163) and proof of purchase ready when contacting support.


