Introduction
This manual provides essential instructions for the safe and efficient operation, maintenance, and troubleshooting of your BUVAYE YX1819 Portable Air Compressor. Please read this manual thoroughly before using the device and retain it for future reference.
Safety Information
Important Safety Warnings:
- Do not leave the inflator unattended during operation.
- Keep out of reach of children.
- Avoid prolonged exposure to direct sunlight or rain.
- Ensure the air hose is securely connected before inflation.
- Do not over-inflate items; always refer to the manufacturer's recommended pressure.
- The device may become warm during extended use. Allow it to cool down before storing.
- Use only the provided accessories and charging cables.
Package Contents
Verify that all items are present in the package:
- Air inflator (BUVAYE YX1819) x 1
- Long Air hose x 1
- Presta to Schrader adapter x 1
- Ball Needle adapter x 1
- Short Tapered Nozzle x 1
- Long Tapered Nozzle x 1
- USB charging cable x 1
- DC 12V cable x 1
- Storage Bag x 1
- User manual x 1

Product Overview
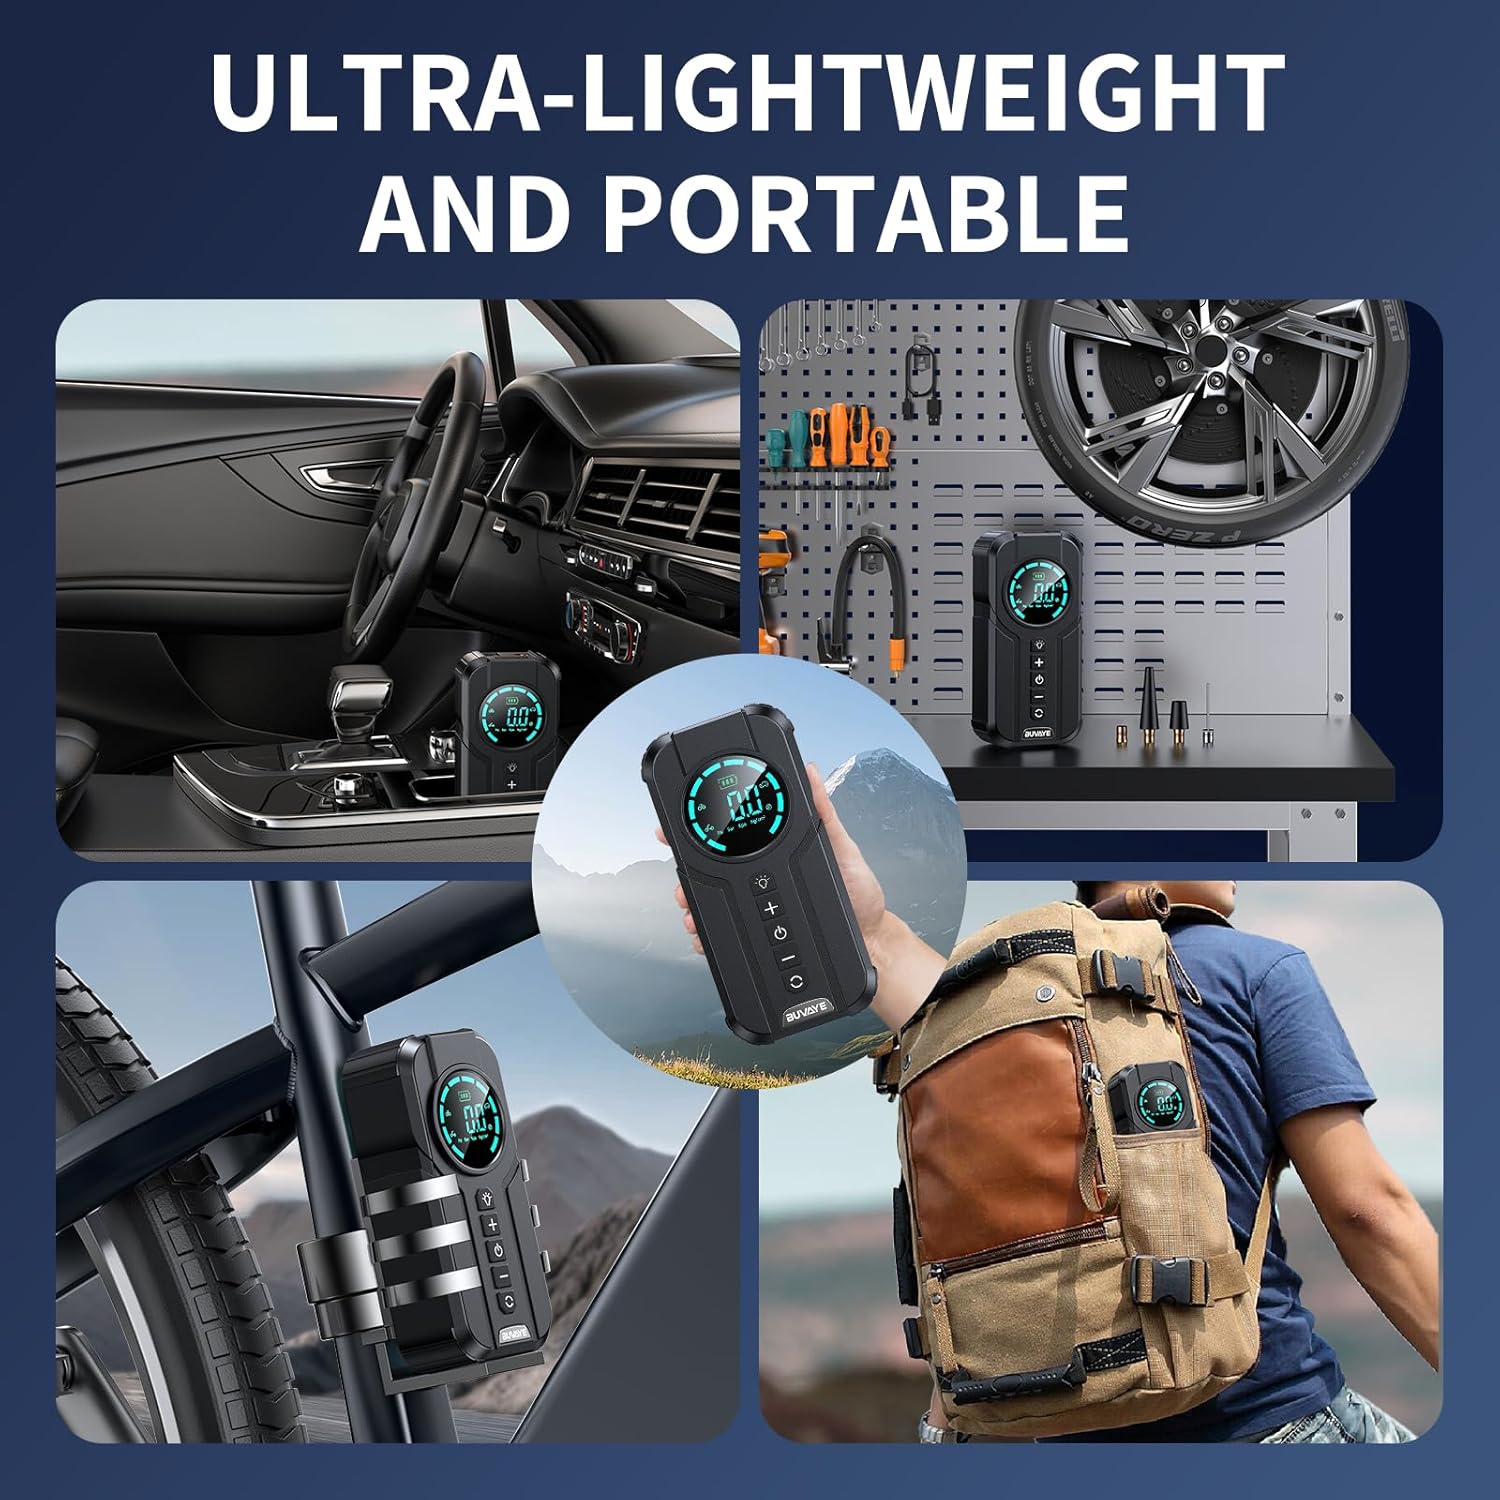
The BUVAYE YX1819 is a portable air compressor designed for inflating various items such as car tires, motorcycle tires, bicycle tires, and sports balls. It features a digital pressure gauge, multiple inflation modes, and an automatic shut-off function.

Component Identification:
- Digital Display: Shows current pressure, target pressure, battery level, and selected mode.
- LED Light: Provides illumination for dark environments.
- "+" Button: Increases target pressure.
- "-" Button: Decreases target pressure.
- Power Button: Turns the device on/off and starts/stops inflation.
- Mode Button: Cycles through preset inflation modes (Car, Motorbike, Bicycle, Ball) and pressure units (PSI, KPA, BAR, KG/CM²).
- Air Hose Connection Port: Where the inflation hose connects.
- USB-C Input: For charging the device.
- USB-A Output: For using the device as a power bank.
Setup
1. Initial Charging:
Before first use, fully charge the air compressor. Connect the provided USB charging cable to the USB-C input port on the device and to a suitable USB power adapter (not included). The battery indicator on the display will show charging status.
2. Connecting the Air Hose:
Screw the long air hose securely onto the air hose connection port of the inflator. Ensure it is tightened to prevent air leakage.
Operating Instructions
1. Powering On/Off:
Press and hold the Power button for 3 seconds to turn the device on. The digital display will illuminate. To turn off, press and hold the Power button again for 3 seconds.
2. Selecting Pressure Units:
After powering on, short press the Mode button to cycle through available pressure units: PSI, KPA, BAR, KG/CM².
3. Choosing Inflation Modes:
Short press the Mode button repeatedly to select one of the four preset inflation modes:
- Car Mode: Default pressure suitable for most car tires.
- Motorbike Mode: Default pressure for motorcycle tires.
- Bicycle Mode: Default pressure for bicycle tires.
- Ball Mode: Default pressure for sports balls.
The selected mode icon will be displayed on the screen.

4. Setting Custom Pressure:
After selecting a mode, or if you prefer a custom pressure, use the "+" and "-" buttons to adjust the target pressure value. The display will show the target pressure blinking. Once set, the value will stop blinking.
5. Starting Inflation:
Remove the valve cap from the item to be inflated. Connect the air hose nozzle securely to the valve stem. If necessary, use the appropriate adapter (Presta, ball needle, tapered nozzle). Press the Power button to begin inflation. The display will show the real-time pressure increasing.

6. Automatic Shut-Off:
The inflator will automatically stop once the preset target pressure is reached. This prevents over-inflation.
7. Using the LED Light:
Short press the LED Light button to cycle through the light modes:
- Bright Mode: For general illumination.
- SOS Mode: Flashing light for emergency signaling.
- Flash Mode: Strobe light for warning or visibility.
Press and hold the LED Light button to turn it off.
8. Using as a Power Bank:
The device can serve as an emergency power source. Connect your digital device (e.g., smartphone) to the USB-A output port using a compatible USB cable. The inflator's internal battery will charge your device.

Maintenance
- Cleaning: Wipe the device with a soft, damp cloth. Do not use harsh chemicals or abrasive cleaners.
- Storage: Store the air compressor and its accessories in the provided storage bag in a cool, dry place, away from direct sunlight and extreme temperatures.
- Battery Care: For optimal battery life, charge the device fully every 3-6 months if not in regular use.
Troubleshooting
| Problem | Possible Cause | Solution |
|---|---|---|
| Device does not turn on. | Low battery or no charge. | Charge the device using the USB-C cable. |
| Inflation is slow or not working. | Air hose not securely connected; incorrect adapter; item valve blocked. | Ensure hose is tightly screwed. Check adapter compatibility. Clear any obstructions in the valve. |
| Device stops before reaching target pressure. | Battery is low. | Recharge the device. |
| Inaccurate pressure reading. | Hose connection loose. | Ensure the hose is tightly connected to both the inflator and the valve stem. |
Specifications
| Feature | Detail |
|---|---|
| Brand | BUVAYE |
| Model Name | YX1819 |
| Maximum Operating Pressure | 150 PSI |
| Air Flow Capacity | 38 Liters Per Minute |
| Power Source | Battery Powered (3 Lithium Ion batteries included) |
| Voltage | 12 Volts |
| Noise Level | 60 dB |
| Special Features | Automatic Shut-Off, Memory Function, Portable Cordless, Pressure Gauge, Quick Inflation |
| Item Weight | 1.9 pounds |
| Package Dimensions | 9.29 x 6.81 x 3.31 inches |
Warranty and Support
BUVAYE offers a 1-year product quality maintenance period. For any product quality issues or inquiries, please contact BUVAYE customer service. They are available to assist you within 24 hours.
For support, please refer to the contact information provided with your purchase or visit the official BUVAYE website.

