Introduction
Thank you for choosing the HOMCOM Computer Desk. This manual provides essential information for the safe assembly, operation, and maintenance of your new desk. Please read these instructions thoroughly before beginning assembly and retain them for future reference.

Image: Front view of the HOMCOM Computer Desk, showcasing its black finish and overall structure.
Safety Information
- Always assemble the desk on a soft, clean surface to prevent scratches.
- Ensure all screws and fasteners are securely tightened before use. Periodically check and re-tighten as needed.
- Do not overload the desk or its shelves. Refer to the specifications section for weight capacities.
- Keep small parts and packaging materials away from children and pets during assembly.
- Use caution when moving the assembled desk to prevent damage or injury.
- Avoid placing hot items directly on the desk surface without protection.
Package Contents
Before assembly, verify that all parts listed below are present and undamaged. If any parts are missing or damaged, please contact customer support.
| Part | Description | Quantity |
|---|---|---|
| Desktop Panel | Main work surface with keyboard tray rails. | 1 |
| Left Storage Unit | Unit with two drawers and an open shelf. | 1 |
| Right Storage Unit | Unit with CPU stand and printer shelf. | 1 |
| Keyboard Tray | Sliding tray for keyboard and mouse. | 1 |
| Hardware Pack | Screws, dowels, cam locks, drawer slides, handles, foot pads. | 1 set |
| Assembly Manual | Printed instructions. | 1 |
Assembly Instructions
Follow these steps carefully for proper assembly. It is recommended to have two people for assembly.
Step 1: Prepare Components
Unpack all components and lay them out on a soft, clean surface. Identify each part using the provided labels and the package contents list.
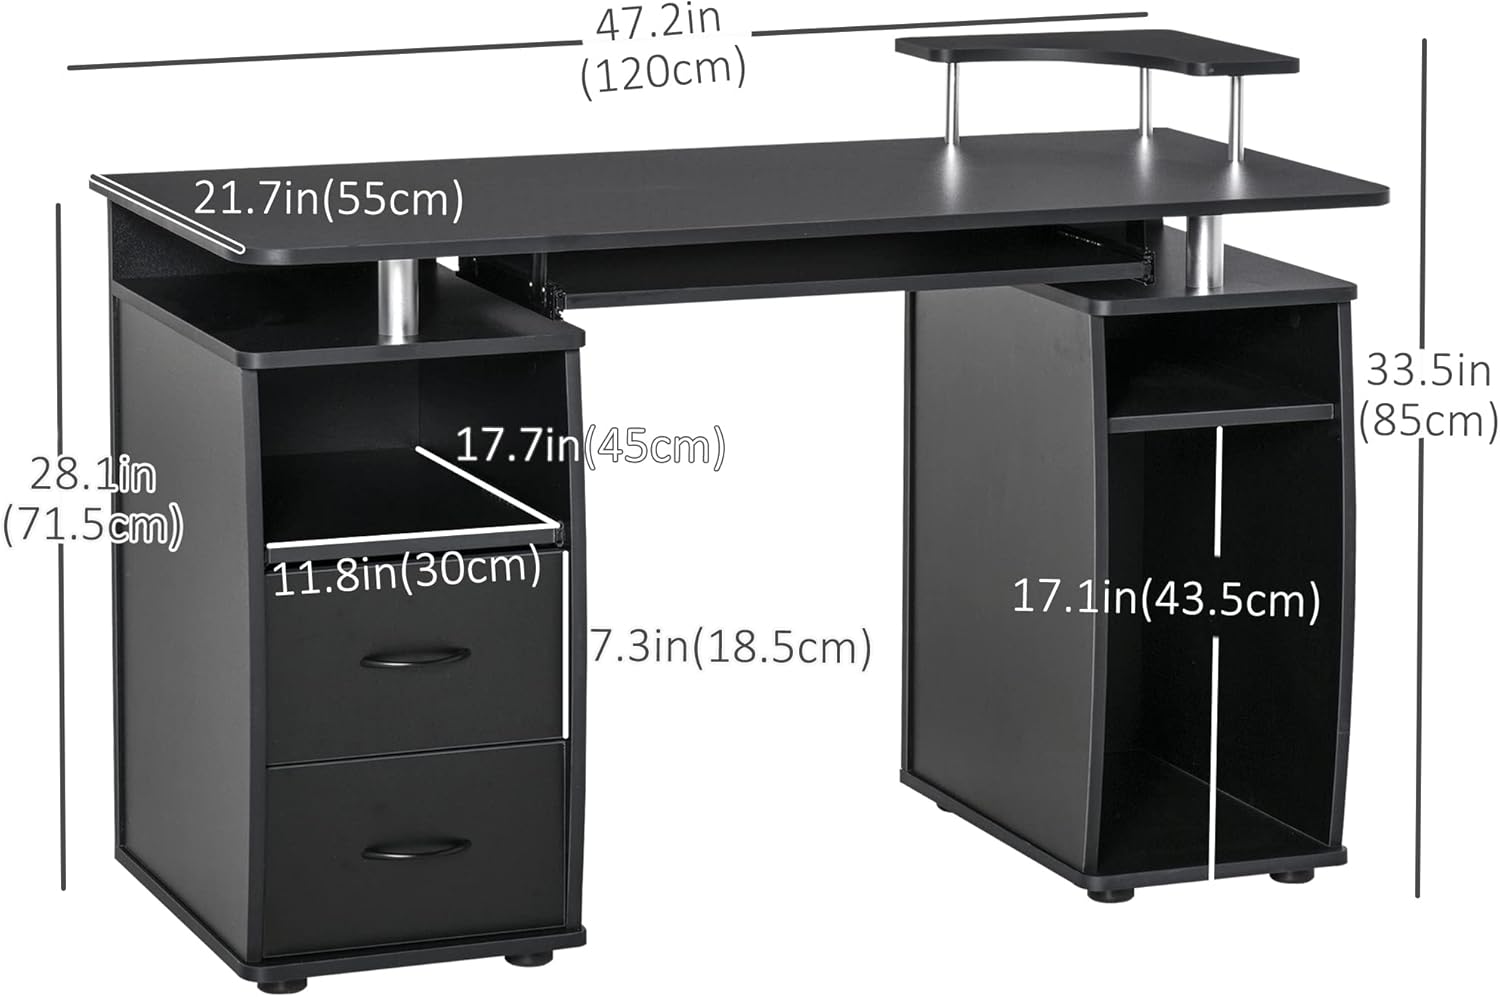
Image: Detailed dimensions of the HOMCOM Computer Desk, showing height, width, and depth of various sections.
Step 2: Assemble Storage Units
Begin by assembling the left and right storage units. Attach side panels to the base and top panels using the provided cam locks and dowels. Ensure all connections are snug.
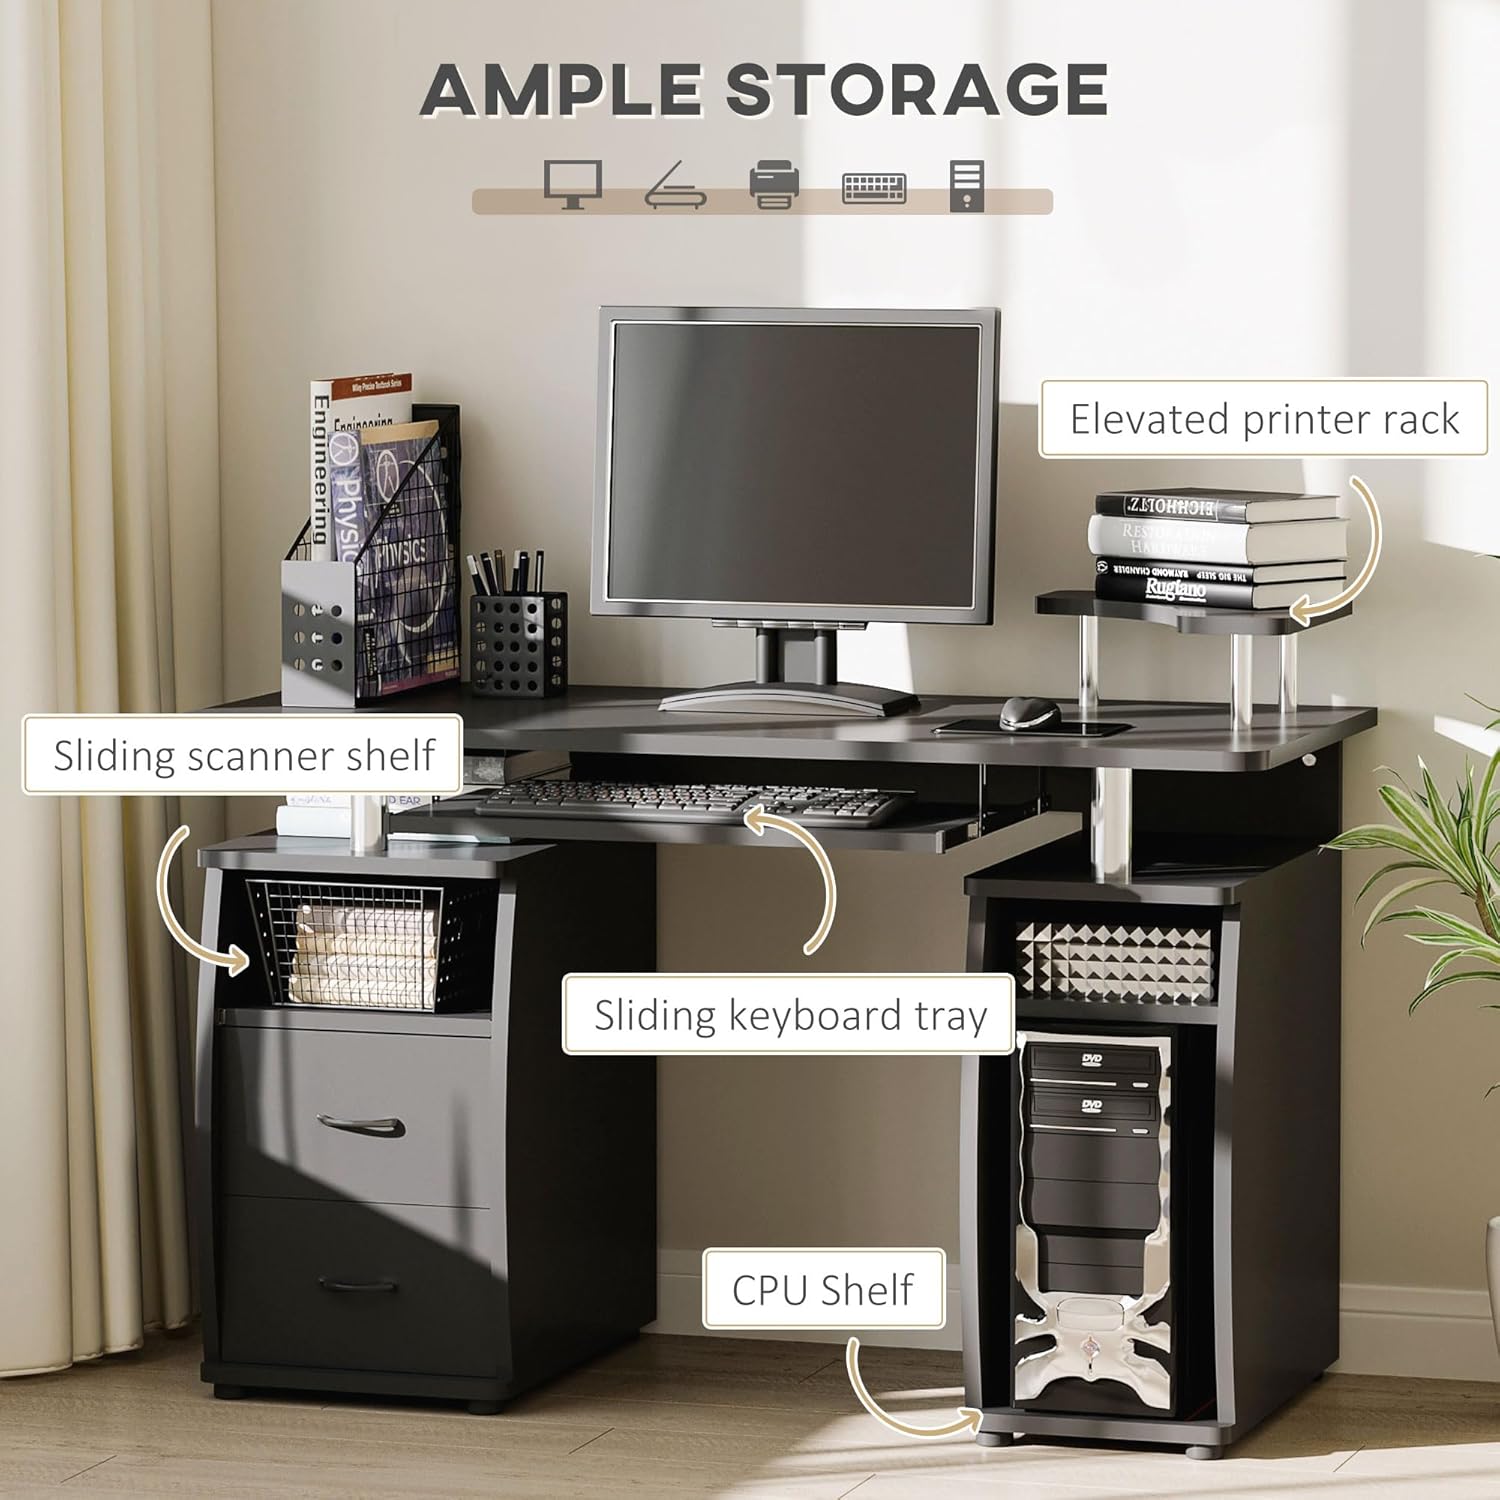
Image: Overview of the desk's ample storage, highlighting the elevated printer rack, sliding scanner shelf, sliding keyboard tray, and CPU shelf.
Step 3: Install Drawers and Keyboard Tray
Assemble the two drawers and install their slides into the left storage unit. Attach the keyboard tray slides to the underside of the main desktop panel, then slide the keyboard tray into place.
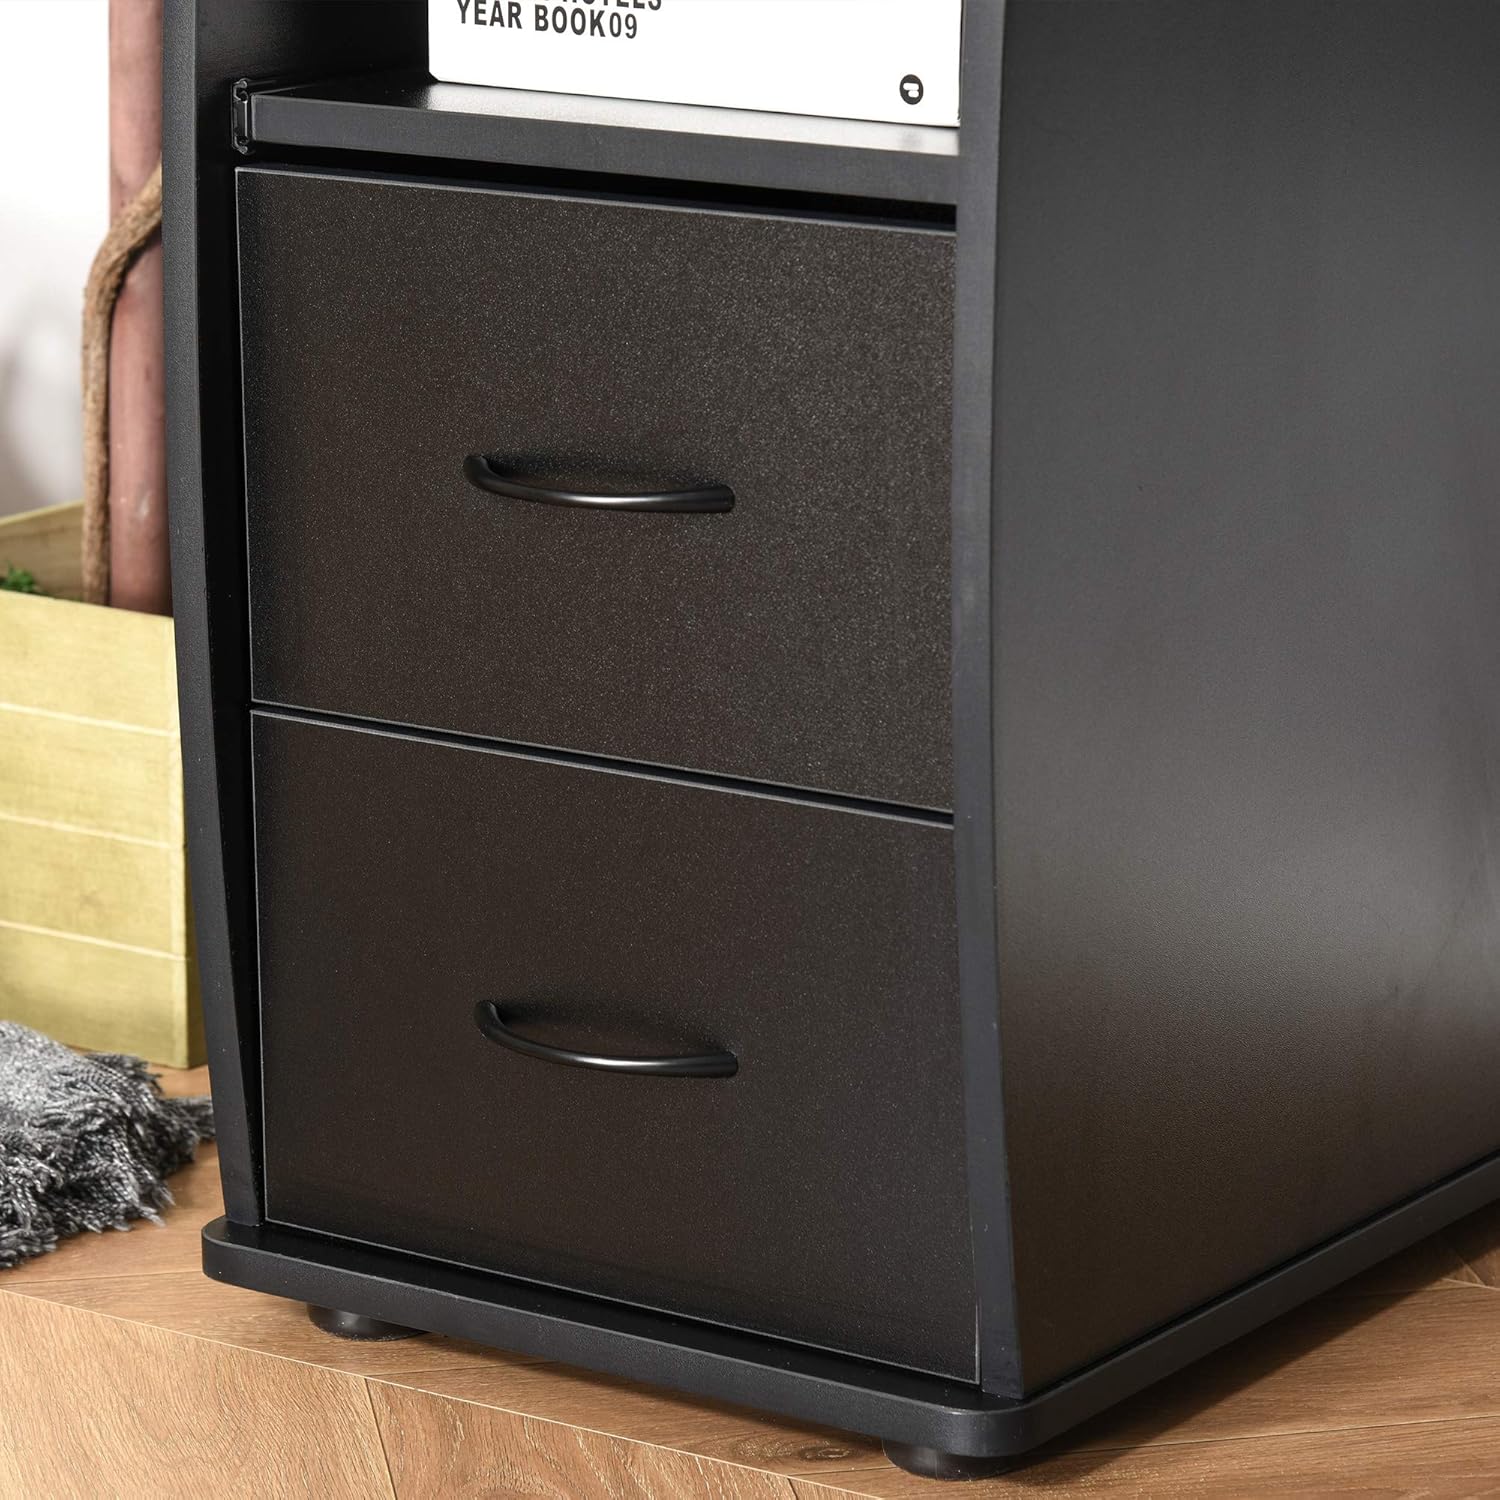
Image: Close-up view of the two pull-out drawers on the left storage unit, showing their handles.
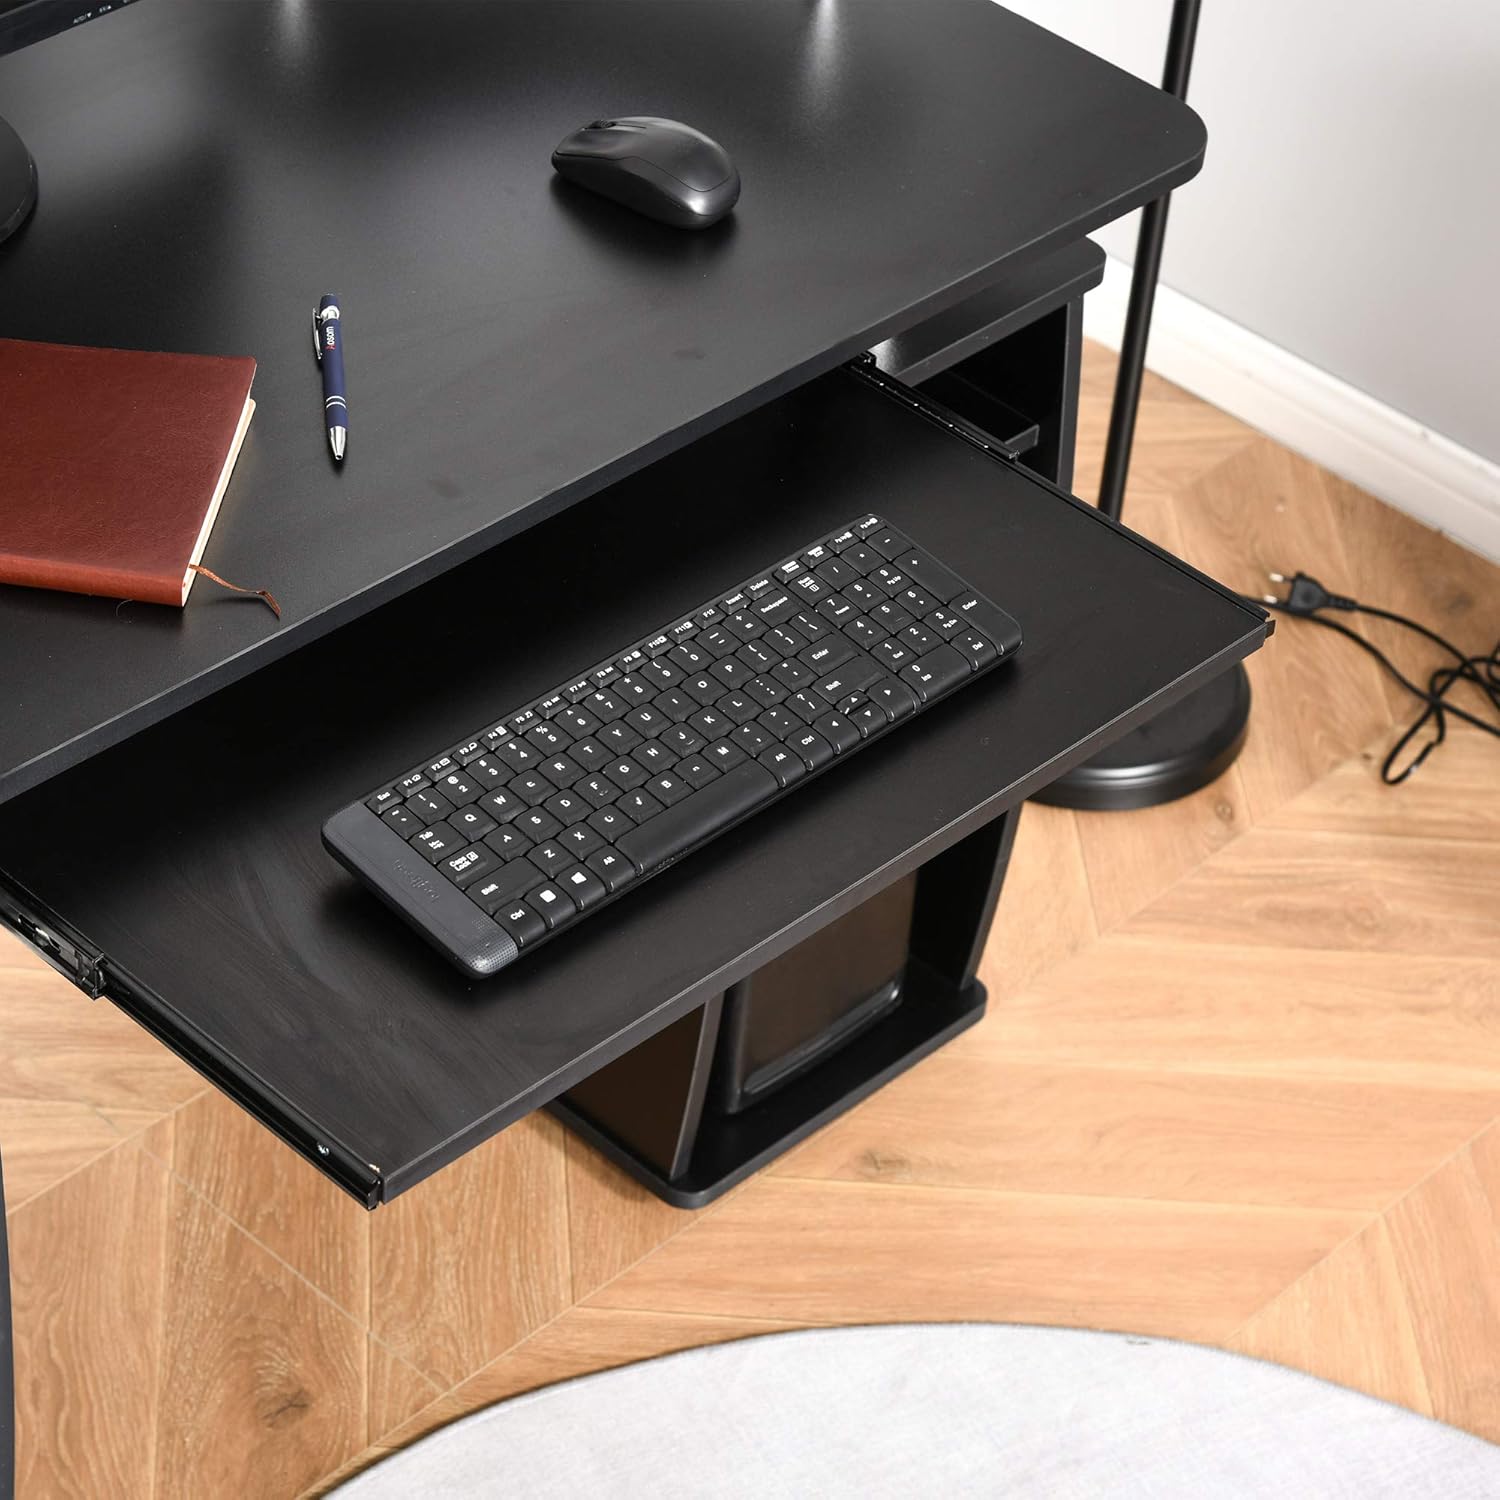
Image: Overhead view of the sliding keyboard tray, extended with a keyboard and mouse on it.
Step 4: Attach Desktop and Finalize
Carefully place the main desktop panel onto the assembled storage units, aligning the pre-drilled holes. Secure the desktop using the remaining hardware. Attach the elevated printer rack to the desktop using the metal standoffs.
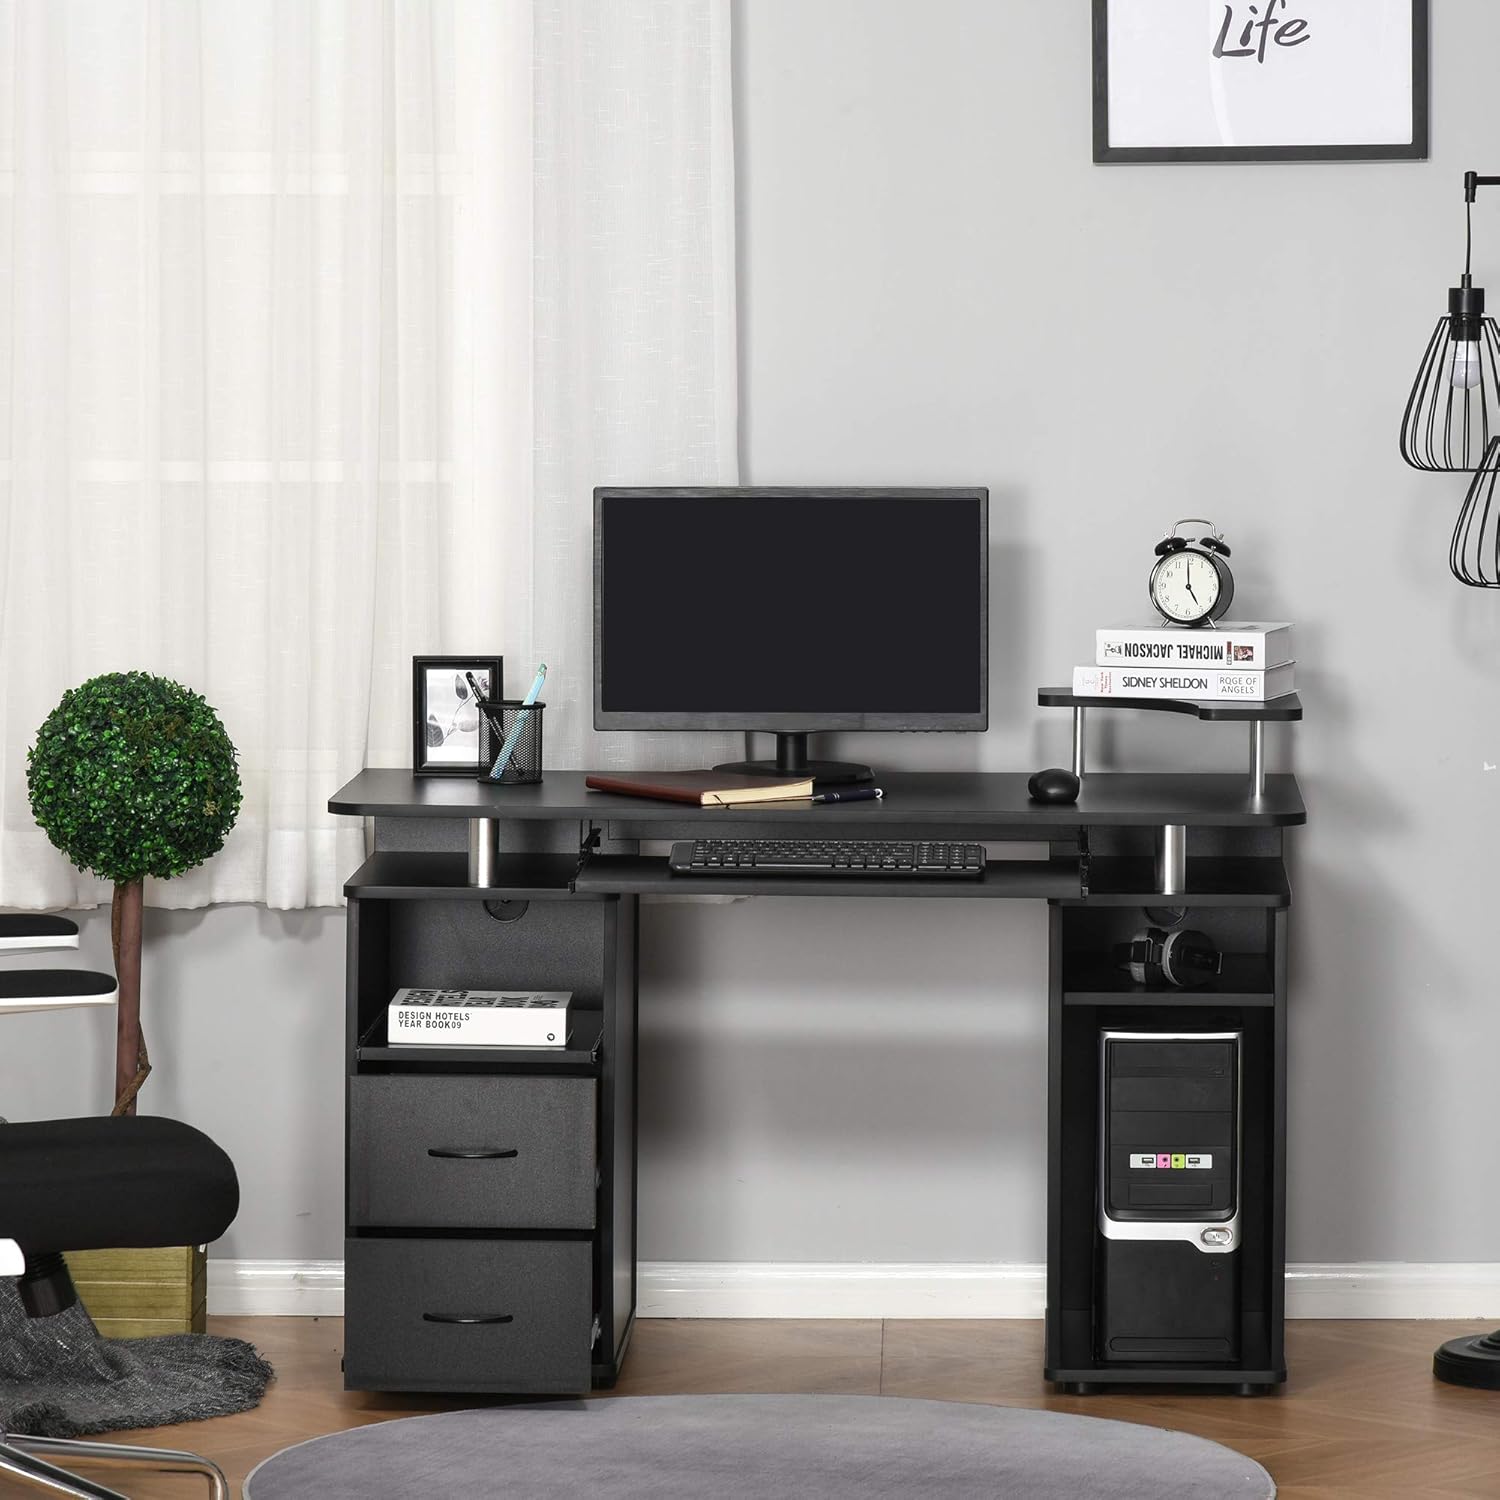
Image: The assembled HOMCOM Computer Desk integrated into a home office environment, complete with a monitor, keyboard, and other accessories.
Operating Instructions
Your HOMCOM Computer Desk is designed for optimal functionality in a home office setting.
- Keyboard Tray: Gently pull the keyboard tray forward to extend it for use. Push it back in when not needed to save space.
- Drawers: Utilize the two pull-out drawers for storing office supplies, documents, or personal items.
- CPU Stand: The dedicated CPU stand on the right unit provides a stable and ventilated space for your computer tower.
- Printer/Scanner Shelf: The elevated shelf on the desktop is ideal for a printer or scanner, keeping it within easy reach. The sliding scanner shelf below the left storage unit offers additional convenience.
- Cable Management: Use the integrated cable management holes to route and organize your power and data cables, maintaining a tidy workspace.
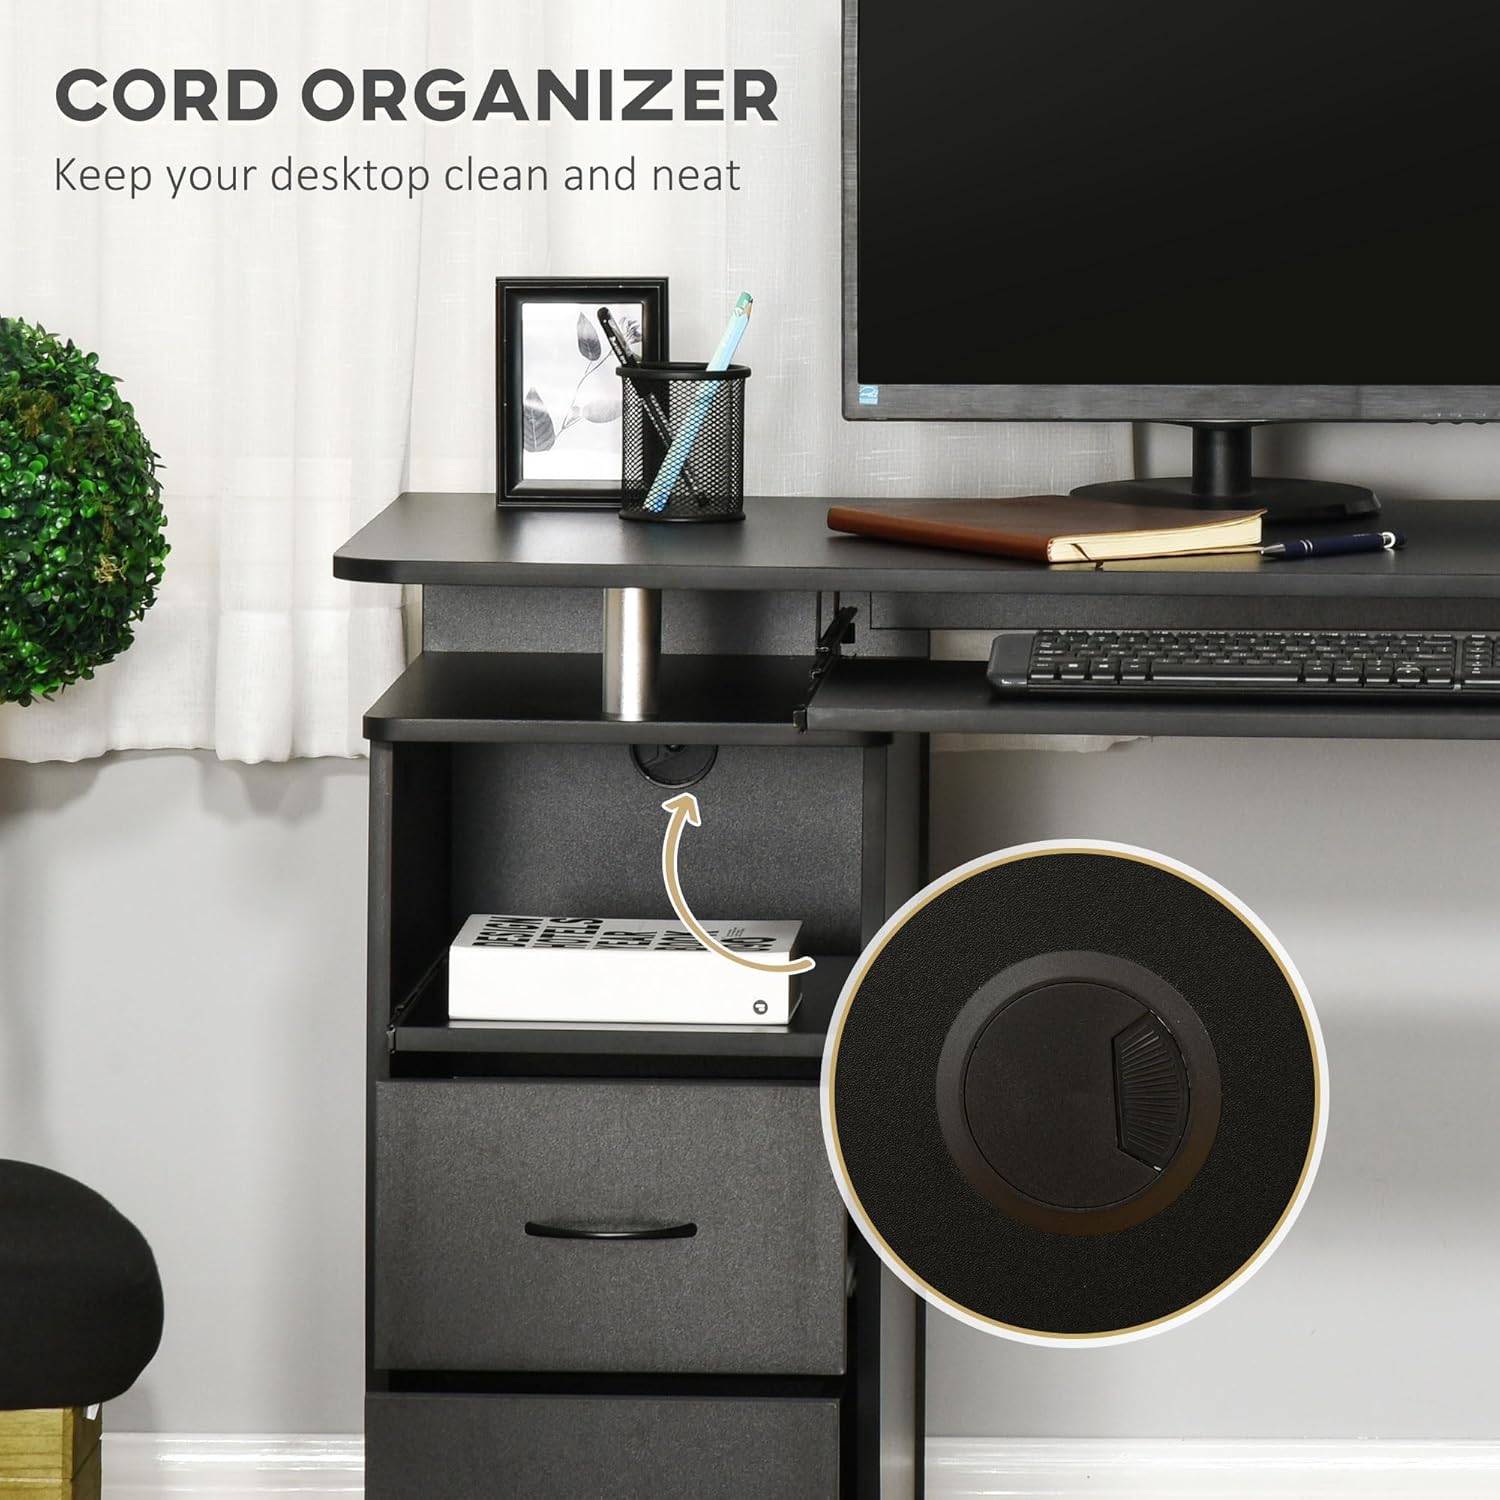
Image: Close-up of the cord organizer feature, showing a cable pass-through hole and a removable cover.
Maintenance
Proper care will extend the life and appearance of your desk.
- Cleaning: Wipe surfaces with a soft, damp cloth. Avoid abrasive cleaners or harsh chemicals that may damage the finish.
- Spills: Clean up spills immediately to prevent staining or damage to the engineered wood.
- Hardware: Periodically check all screws and fasteners to ensure they remain tight. Re-tighten as necessary.
- Sunlight: Avoid prolonged exposure to direct sunlight to prevent fading or discoloration.
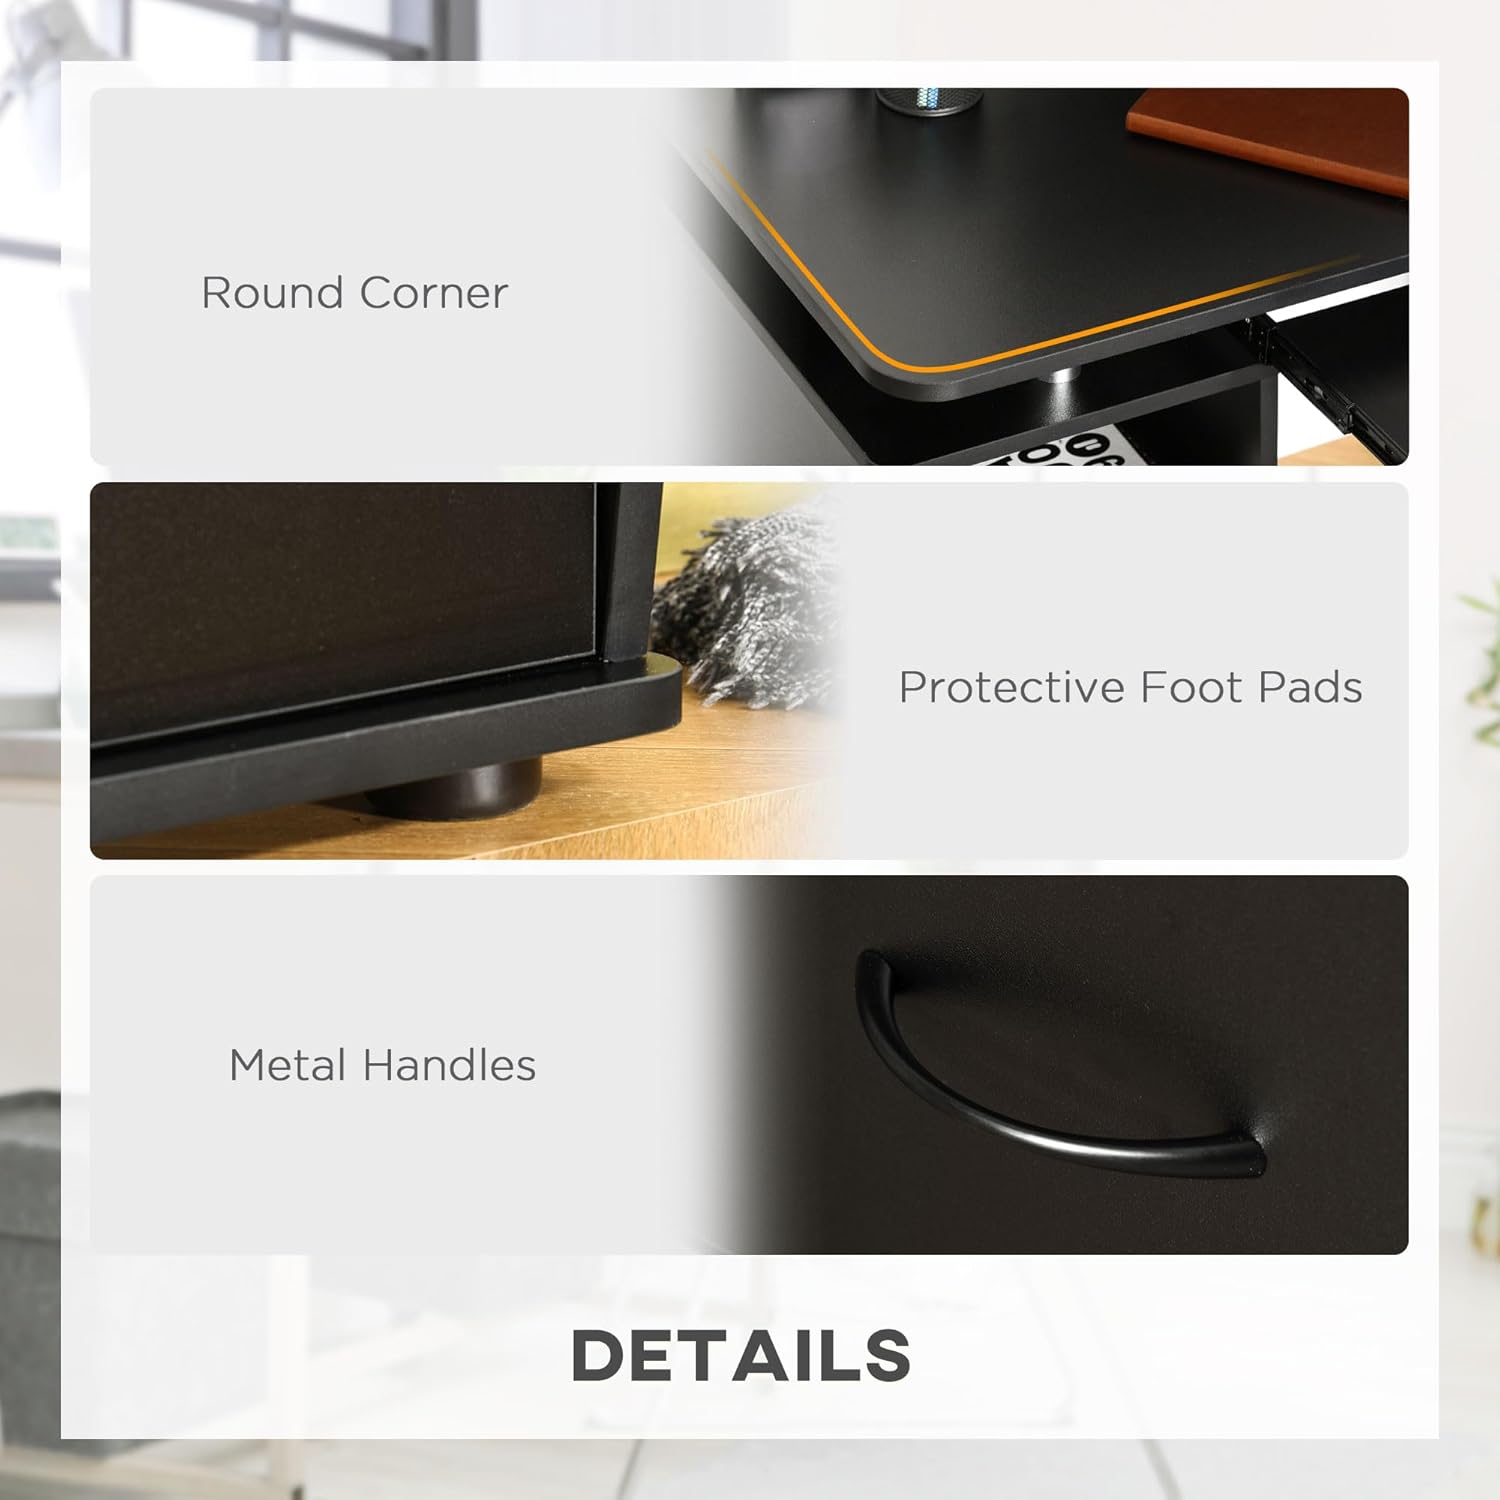
Image: Detailed features of the desk, including rounded corners for safety, protective foot pads for stability, and durable metal handles on the drawers.
Troubleshooting
| Problem | Possible Cause | Solution |
|---|---|---|
| Desk wobbles after assembly. | Loose fasteners or uneven floor. | Ensure all screws and cam locks are fully tightened. Adjust protective foot pads if your floor is uneven. |
| Drawers do not slide smoothly. | Drawer slides misaligned or obstructed. | Check that drawer slides are correctly installed and free of debris. Ensure drawers are not overloaded. |
| Keyboard tray sticks or is difficult to pull out. | Tray slides misaligned or dirty. | Verify that the keyboard tray slides are properly aligned and clean. |
| Parts missing or damaged upon arrival. | Shipping damage or packing error. | Do not proceed with assembly. Contact HOMCOM customer support immediately with your purchase details. |
Specifications
- Brand: HOMCOM
- Model Number: CA920-011V01BK0231
- Colour: Black
- Overall Dimensions: 47.2" W x 21.7" D x 33.5" H (120 x 55 x 85 cm)
- Material: Engineered Wood, Alloy Steel
- Item Weight: 23.9 kg (52.7 lbs)
- Weight Capacity (Overall): 110 lbs / 50 kg
- Special Features: Rounded Edges, Cable Management, Melamine-Coated Surface, Ample Storage
- Assembly Required: Yes
Warranty and Support
HOMCOM products are manufactured to high-quality standards. For warranty information, product support, or to order replacement parts, please contact HOMCOM customer service. Keep your purchase receipt as proof of purchase.
For assistance, please visit the official HOMCOM website or refer to the contact information provided with your purchase.


