1. Introduction
Welcome to your new SportPlus Leg Trainer. This manual provides essential information for the safe and effective use of your mini exercise bike. Please read it thoroughly before initial use and retain it for future reference.
2. Safety Instructions
- Consult a physician before starting any new exercise program.
- Ensure the device is placed on a stable, level surface.
- Maximum user weight: 110 kg. Do not exceed this limit.
- Keep children and pets away from the device during operation.
- Regularly inspect the device for wear and tear. Do not use if damaged.
- Wear appropriate footwear during exercise.
- Adjust pedal straps securely before use.
- Do not stand on the pedals. This device is designed for seated use.
- Unplug the device (if applicable) when not in use or during cleaning.
3. Package Contents
Verify that all components are present:
- SportPlus Leg Trainer main unit
- Pedals (left and right)
- Stabilizer feet
- Instruction manual
- Assembly tools (if required, usually included)
4. Setup and Assembly
- Unpacking: Carefully remove all components from the packaging.

Image: The SportPlus Leg Trainer main unit, showing its compact design and integrated display.
- Attach Stabilizer Feet: Securely attach the front and rear stabilizer feet to the main unit using the provided screws and tools. Ensure they are firmly tightened for stability.

Image: A close-up view of one of the stabilizer feet, highlighting the non-slip cap for secure placement.
- Install Pedals:
- Identify the left (L) and right (R) pedals. The left pedal typically has a left-hand thread (turn counter-clockwise to tighten). The right pedal has a standard right-hand thread (turn clockwise to tighten).
- Screw the pedals into the crank arms. Tighten them firmly with a wrench to prevent loosening during use.

Image: The pedals of the SportPlus Leg Trainer, featuring adjustable straps for secure foot placement.

Image: A detailed view of a single pedal, showing the textured surface and the adjustable strap.
- Insert Batteries: Open the battery compartment on the training computer and insert the required batteries (not included). Close the compartment.

Image: The illuminated LCD display of the training computer, showing time and other metrics.
Your SportPlus Leg Trainer is now ready for use.
5. Operating Instructions
5.1. Using the Training Computer
The integrated training computer displays key workout data.

Image: The training computer interface with 'RESET', 'MODE', and 'SET' buttons.
- MODE: Press to cycle through display functions (Time, Distance, Speed, Calories, Scan).
- RESET: Press and hold to clear all current workout data.
- SET: Used for setting target values (e.g., target time, distance).
5.2. Adjusting Resistance
The SportPlus Leg Trainer features 8 levels of magnetic resistance.

Image: The rotary knob for adjusting the magnetic resistance levels.
- Turn the resistance knob clockwise to increase resistance (higher intensity).
- Turn the resistance knob counter-clockwise to decrease resistance (lower intensity).
5.3. App Connectivity
This device is app-compatible. Refer to the specific app's instructions for pairing and data synchronization via Bluetooth.

Image: A person using the SportPlus Leg Trainer discreetly under a desk while working on a laptop, demonstrating its office compatibility.
6. Maintenance and Care
- Cleaning: Wipe the device with a damp cloth after each use. Do not use abrasive cleaners.
- Storage: Store in a cool, dry place away from direct sunlight. Its compact size (68 x 43 x 35 cm) allows for easy storage.
- Inspection: Periodically check all screws and connections for tightness. Tighten if necessary.
- Battery Replacement: Replace batteries in the training computer when the display becomes dim or unresponsive.
7. Troubleshooting
| Problem | Possible Cause | Solution |
|---|---|---|
| Display not working | Dead batteries; Loose battery connection | Replace batteries; Ensure batteries are correctly inserted |
| Pedals feel loose | Pedals not tightened sufficiently | Retighten pedals with a wrench (remember left-hand thread for left pedal) |
| Device unstable during use | Stabilizer feet not secure; Uneven surface | Ensure stabilizer feet are tightened; Place on a flat, stable surface |
| Resistance not changing | Resistance mechanism issue | Contact customer support |
8. Specifications
- Model: SP-HT-0001-B-iE / SP-HT-0001-W-iE
- Resistance System: Magnetic Brake System
- Resistance Levels: 8
- Maximum User Weight: 110 kg
- Product Dimensions (L x W x H): 68 cm x 43 cm x 35 cm
- Product Weight: 9 kg
- Material: Alloy Steel
- Power Source (Computer): Battery Powered (Batteries not included)
- Connectivity: Bluetooth (App Compatible)
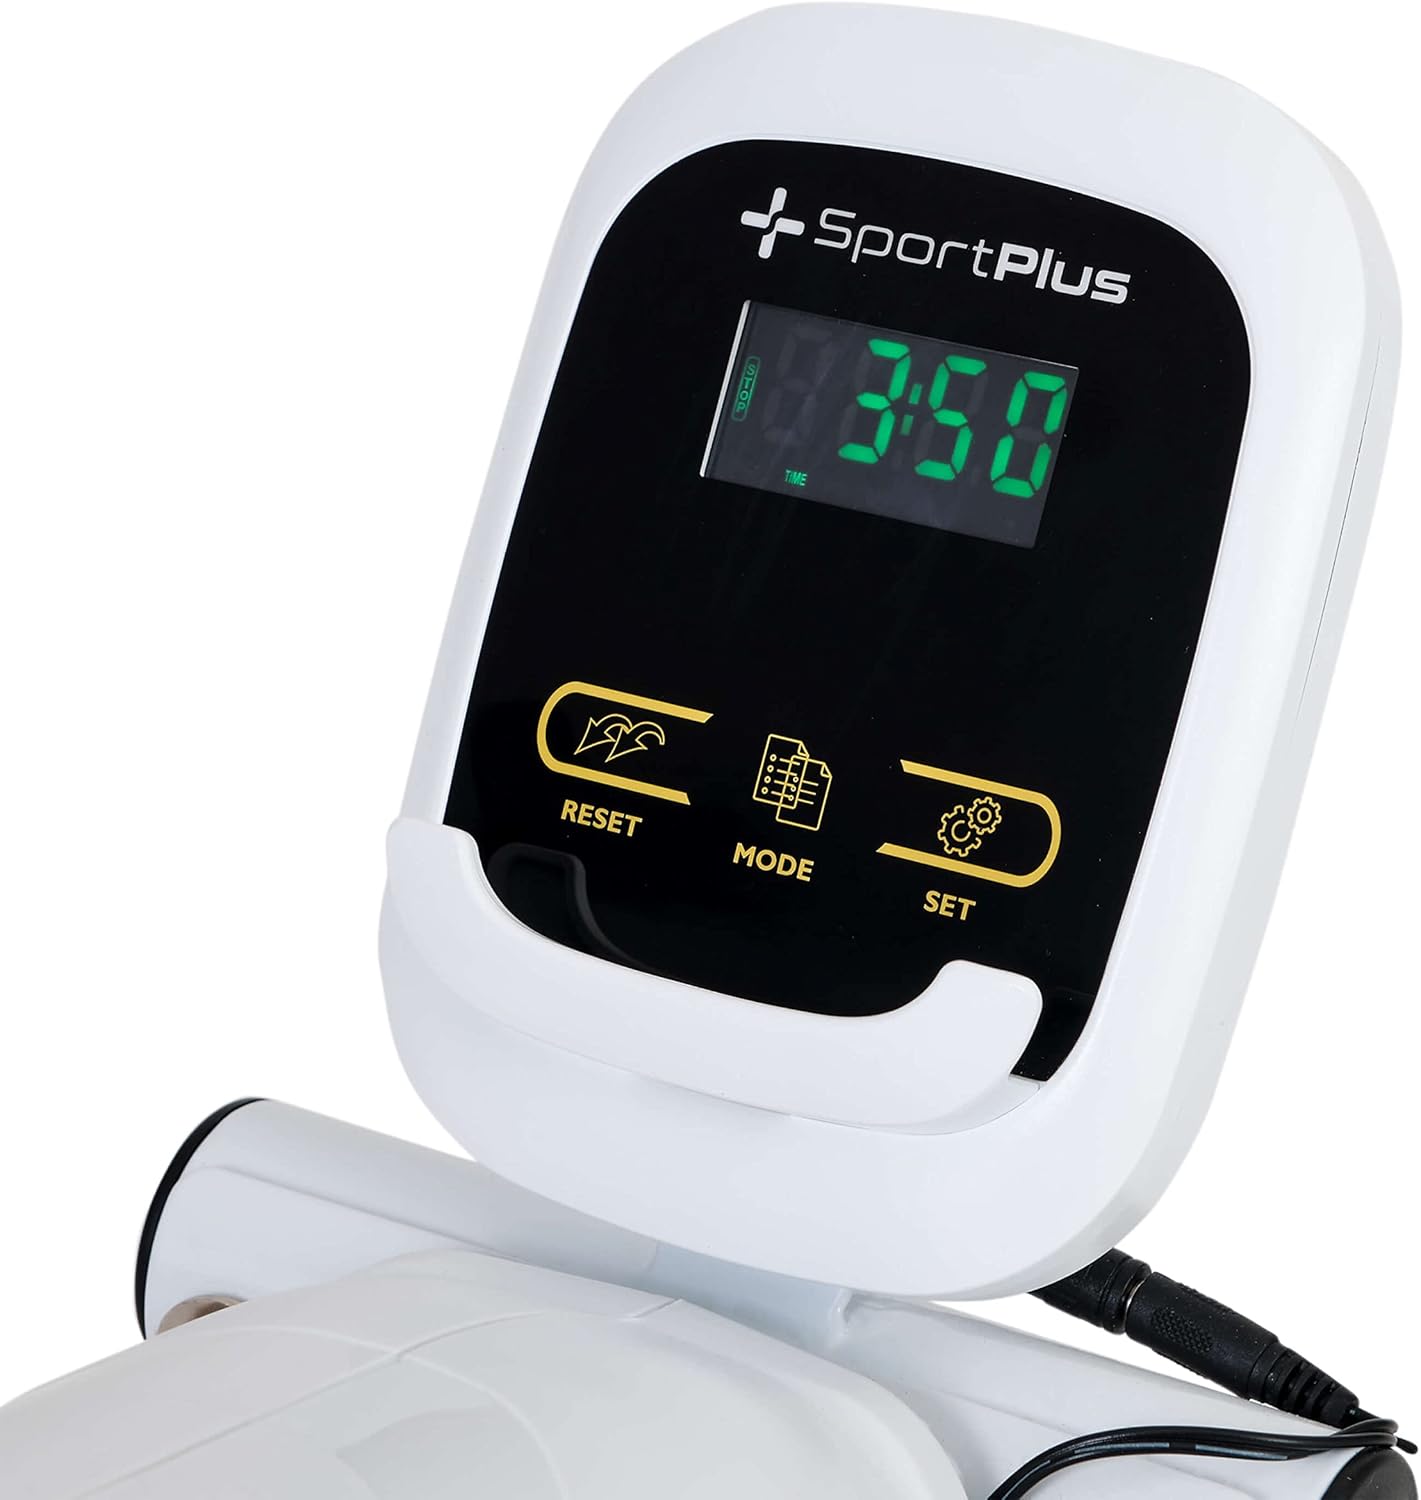
Image: Diagram illustrating the dimensions of the SportPlus Leg Trainer: 68 cm length, 43 cm width, and 35 cm height.
9. Warranty and Support
SportPlus provides a guaranteed spare parts supply. For technical customer service and professional advice, please contact SportPlus in Hamburg.
- Customer Service Hotline: 040 - 7808 9635 (Monday to Friday, 9:00 am to 6:00 pm local time)
- Note: Fees at local tariff; costs for calls from mobile networks may vary.
Mechanical and chemical safety tested according to applicable standards.


