Introduction
Thank you for purchasing the Monstake Automatic Soap Dispenser. This device is designed to provide a hygienic and convenient handwashing experience with its touchless operation and smart features. Please read this manual carefully before use to ensure proper installation, operation, and maintenance.
Safety Information
- Do not immerse the dispenser in water. The device is IPX5 waterproof, meaning it is protected against low-pressure water jets, but not full submersion.
- Avoid using soaps with particles or exfoliating beads, as these can clog the dispenser mechanism.
- Keep out of reach of small children to prevent misuse or accidental ingestion of soap.
- Use only the provided charging cable for recharging.
- Ensure the installation surface is clean and dry before applying the traceless adhesive sticker.
Package Contents
- 1 x Automatic Soap Dispenser
- 1 x Traceless Sticker (for wall mounting)
- 1 x Instruction Manual
- 1 x Charging Cable
Setup Guide
1. Charging the Dispenser
Before first use, fully charge the dispenser. The built-in 2500mAh battery charges in 2-3 hours and can last up to 4 months on a single charge.
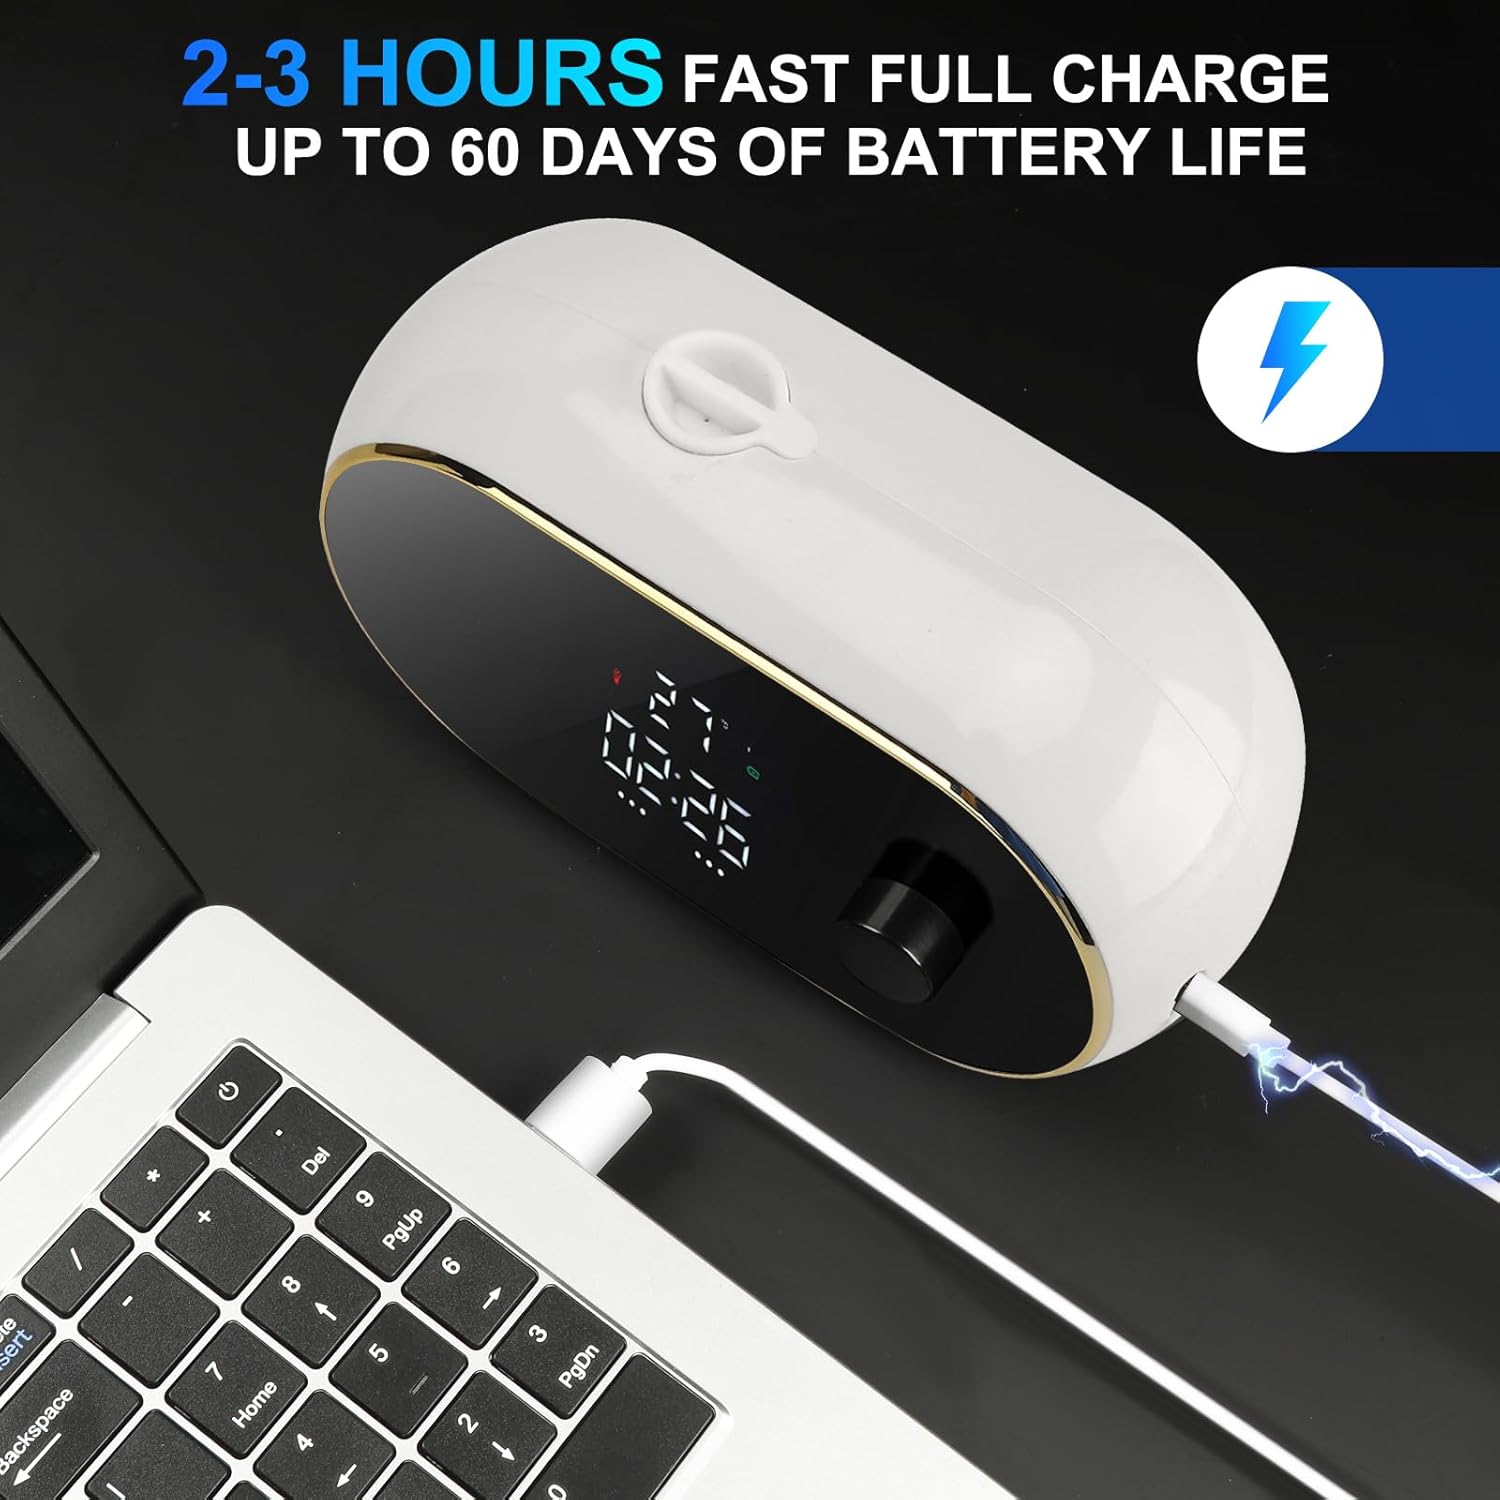
Figure 1: Charging the Monstake Automatic Soap Dispenser. Connect the provided USB charging cable to the dispenser's charging port and a power source.
2. Wall Mounting Installation
The dispenser can be easily wall-mounted using the traceless adhesive sticker, requiring no drilling. Ensure the installation surface is smooth and dry (e.g., tile, marble, glass wall).
- Clean the desired wall surface thoroughly and ensure it is dry.
- Peel off the protective film from the traceless adhesive sticker.
- Firmly press the sticker onto the wall at the desired location. It is recommended to install the dispenser approximately 0.65 ft (20 cm) above the countertop.
- Allow the adhesive to set for at least 24 hours before mounting the dispenser.
- Align the dispenser with the mounting bracket on the sticker and slide it down to secure it in place.

Figure 2: No-drill wall mounting installation using the traceless adhesive sticker. Suitable for smooth and dry wall surfaces.
3. Filling the Dispenser with Soap
The dispenser has a large capacity of 450 ml (16 oz).
- Locate the rubber piece on the top of the dispenser and remove it to reveal the filling port.
- Pour foam soap directly into the dispenser.
- If using gel soap (hand soap, dish soap, body wash), dilute it with water before filling. The recommended dilution ratio is 10-30% gel/liquid soap to 30-70% water. Mix thoroughly.
- Replace the rubber piece securely after filling.

Figure 3: Filling the dispenser with soap. Foam soap can be added directly. Gel soap requires dilution with water (10-30% soap, 30-70% water).
Operating Instructions
1. Power On/Off
Locate the power button on the side of the dispenser. Press and hold to turn the device on or off.
2. Using the Smart Display
The large oval screen provides real-time information:
- Clock Function: Displays the current time (12-hour/24-hour adjustable).
- Temperature Display: Shows real-time temperature (Fahrenheit/Celsius adjustable).
- Foam Level Indicator: Shows the selected foam dispensing level (1-3).
- Battery Status: Indicates remaining battery life.
- Liquid Status: Provides a low liquid reminder.

Figure 4: Full-screen smart display, clear at a glance, showing various indicators.
3. Adjusting Foam Levels
The dispenser offers adjustable foam levels (1-3) to suit your preference. Use the settings button on the side to cycle through the levels:
- Level 1: Foaming for 0.6 seconds.
- Level 2: Foaming for 1.0 seconds.
- Level 3: Foaming for 1.5 seconds.

Figure 5: Adjustable foam levels for customized dispensing.
4. Dispensing Soap
Once powered on and filled, simply place your hand under the sensor located at the bottom of the dispenser. The touchless sensor will activate, and the selected amount of foam will be dispensed.

Figure 6: Touchless operation for hygienic soap dispensing.
Maintenance
Cleaning
To clean the exterior of the dispenser, wipe it with a soft, damp cloth. Do not use abrasive cleaners or solvents. Avoid getting water into the charging port or sensor area.
Soap Compatibility
For optimal performance, use foam soap directly. If using gel soap, ensure it is diluted as per the instructions in the 'Filling the Dispenser with Soap' section. Avoid particle-containing soaps to prevent clogging and damage to the internal mechanism.
Troubleshooting
| Problem | Possible Cause | Solution |
|---|---|---|
| Dispenser not turning on | Low battery | Charge the dispenser fully (2-3 hours). |
| No foam dispensed | Soap tank empty or clogged nozzle | Refill the soap tank. Check for clogs and clean the nozzle if necessary. Ensure gel soap is properly diluted. |
| Inconsistent foam dispensing | Incorrect soap dilution or air in pump | Adjust soap-to-water ratio. Run the dispenser a few times to clear air bubbles. |
| Sensor not responding | Obstruction or dirty sensor | Ensure nothing is blocking the sensor. Clean the sensor window with a soft cloth. |
| Display not working | Low battery or device off | Charge the dispenser. Press the power button to turn on the display. |
Specifications
| Feature | Detail |
|---|---|
| Model Number | w2 |
| Color | Oval Foam White |
| Material | Plastic |
| Product Dimensions | 6.69"L x 2.75"W x 3.54"H |
| Liquid Volume | 450 ml / 16 oz |
| Battery Capacity | 2500mAh |
| Charging Time | 2-3 hours |
| Battery Life | Up to 4 months |
| Waterproof Rating | IPX5 |
| Item Weight | 1.08 pounds |
Warranty and Support
Monstake provides a one-year warranty service, including replacement. For any support inquiries or to claim warranty service, please contact the after-sales team through Amazon or refer to the contact information provided on the after-sales card included in your package.
For further assistance, visit the official Monstake Store on Amazon: Monstake Store


