1. Introduction
This manual provides essential instructions for the safe operation, setup, maintenance, and troubleshooting of your INGCO ING-MMA1302 Inverter MMA Welding Machine. Please read this manual thoroughly before using the equipment to ensure proper function and to prevent injury or damage.

Figure 1: INGCO ING-MMA1302 Welding Machine and included accessories, including the welding mask, electrode holder, and ground clamp.
2. Safety Instructions
Always prioritize safety when operating welding equipment. Failure to follow these instructions can result in serious injury or death.
- Electric Shock: Welding current can cause fatal electric shock. Ensure proper grounding. Do not touch live electrical parts. Wear dry welding gloves.
- Fumes and Gases: Welding produces fumes and gases that can be hazardous to health. Work in a well-ventilated area. Use a fume extractor if necessary.
- Arc Rays: Arc rays can burn eyes and skin. Wear a welding helmet with appropriate shade filter and protective clothing.
- Fire and Explosion: Welding sparks and hot metal can cause fire or explosions. Keep flammable materials away from the welding area. Have a fire extinguisher readily available.
- Hot Parts: Welded parts and equipment can be hot. Allow them to cool before handling.
- Pacemakers: Individuals with pacemakers should consult their doctor before welding.

Figure 2: The included welding mask, essential for eye and face protection from arc rays and sparks.
3. Product Components
Familiarize yourself with the main parts of your INGCO ING-MMA1302 welding machine.
- Welding Machine Unit (Inverter)
- Electrode Holder with Cable
- Ground Clamp with Cable
- Welding Mask
- Wire Brush/Hammer
- Power Cord
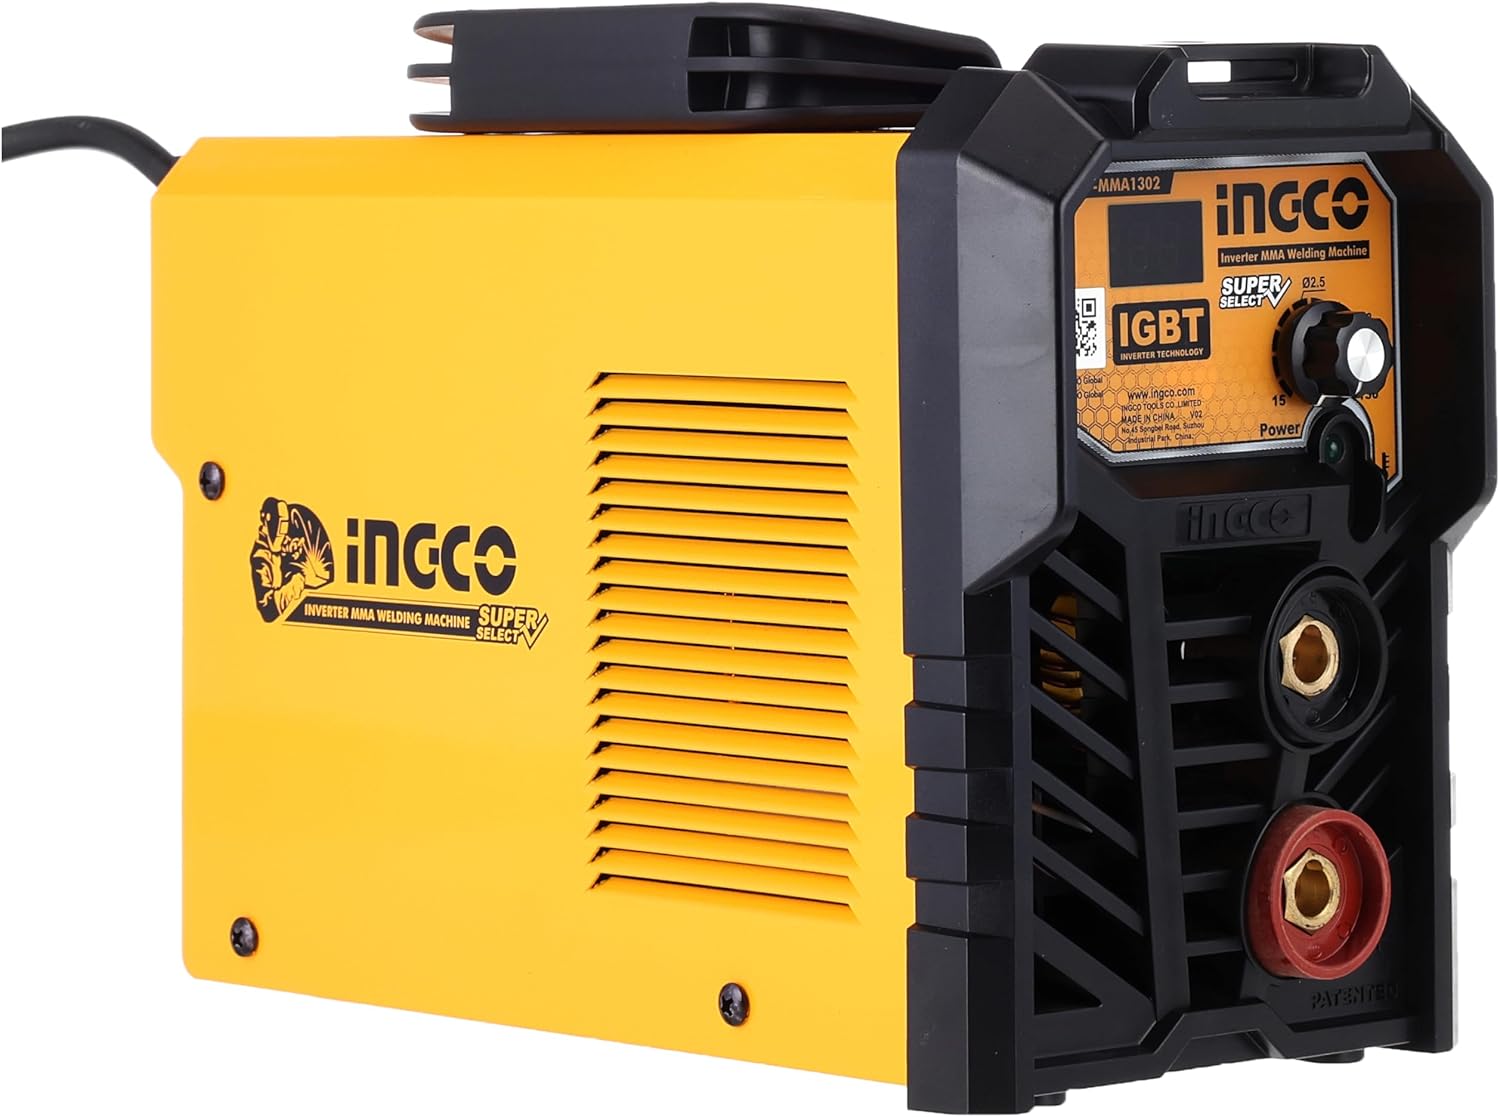
Figure 3: Front panel of the welding machine, showing the current adjustment knob and output terminals.
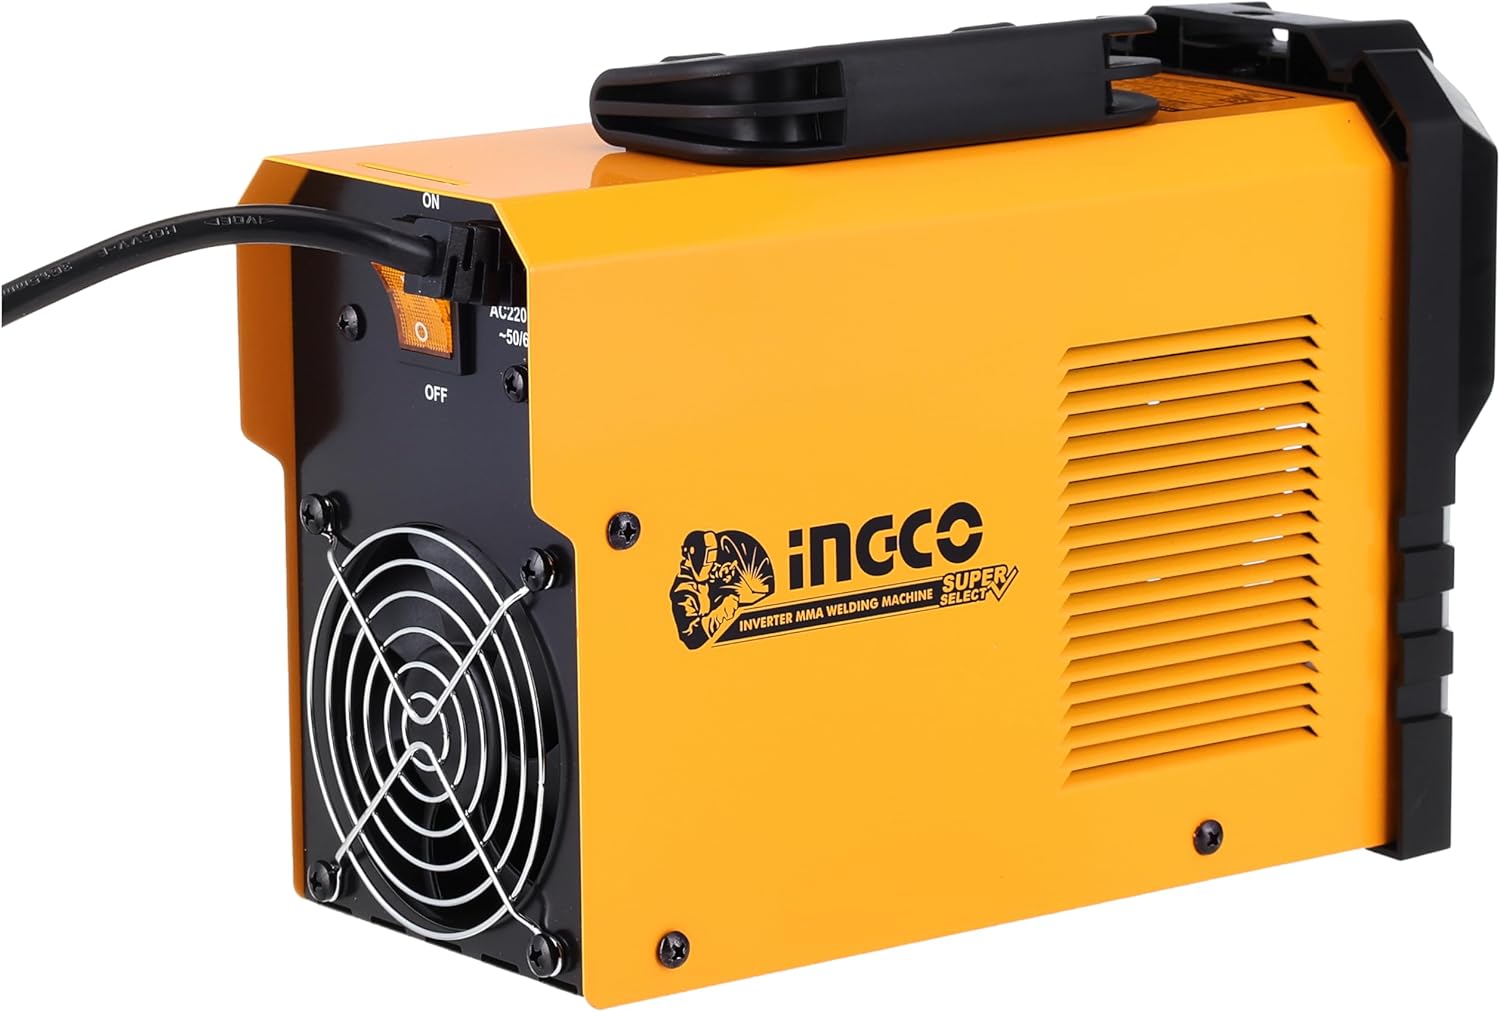
Figure 4: Rear panel of the welding machine, featuring the power switch and cooling fan.
4. Setup Instructions
Follow these steps to set up your welding machine for operation.
- Placement: Place the welding machine on a stable, level surface in a well-ventilated area, away from moisture and flammable materials.
- Power Connection: Ensure the power switch is in the OFF position. Connect the machine's power cord to a suitable power outlet. The ING-MMA1302 typically requires a 220-240V AC, 50/60Hz power supply. Verify your power source meets these requirements.
- Ground Clamp Connection: Connect the ground clamp cable to the negative (-) output terminal on the front panel of the welding machine. Securely attach the ground clamp to the workpiece or a clean, bare metal part of the welding table. Ensure good electrical contact.
- Electrode Holder Connection: Connect the electrode holder cable to the positive (+) output terminal on the front panel. Insert a suitable welding electrode into the electrode holder.
- Electrode Selection: Choose an electrode appropriate for the material thickness and type you intend to weld. Refer to electrode manufacturer guidelines for current settings.
5. Operating Instructions
Before operating, ensure all safety precautions are understood and followed.
- Power On: Turn the power switch to the ON position. The machine's indicator light should illuminate.
- Current Adjustment: Use the current adjustment knob on the front panel to set the desired welding amperage. Start with a lower setting and adjust as needed based on electrode type, material thickness, and desired penetration.
- Protective Gear: Put on your welding helmet, gloves, and other protective clothing.
- Striking an Arc:
- Scratch Start: Gently scratch the electrode tip against the workpiece like striking a match. As soon as the arc ignites, lift the electrode slightly to maintain a consistent arc length.
- Tap Start: Tap the electrode tip onto the workpiece and quickly lift it to establish the arc.
- Welding: Maintain a consistent arc length and travel speed. Move the electrode steadily along the joint, ensuring proper fusion and bead formation.
- Stopping: To stop welding, simply break the arc by lifting the electrode from the workpiece.
- Power Off: After completing your work, turn the power switch to the OFF position and disconnect the machine from the power supply.
6. Maintenance
Regular maintenance ensures the longevity and safe operation of your welding machine.
- Cleaning: Periodically clean the machine's exterior with a dry cloth. Use compressed air to blow out dust and debris from the cooling vents. Ensure the machine is unplugged before cleaning.
- Cable Inspection: Regularly inspect all cables (power, electrode, ground) for cuts, fraying, or damaged insulation. Replace damaged cables immediately.
- Terminal Connections: Check that all cable connections to the machine are tight and free from corrosion.
- Fan Operation: Ensure the cooling fan operates freely and is not obstructed.
- Storage: Store the welding machine in a dry, clean environment when not in use.
7. Troubleshooting
This section addresses common issues you might encounter.
| Problem | Possible Cause | Solution |
|---|---|---|
| Machine does not power on. | No power from outlet; power cord damaged; internal fuse blown. | Check power outlet; inspect power cord; consult qualified technician for fuse replacement. |
| No arc or weak arc. | Poor ground connection; incorrect current setting; damp electrode; faulty electrode holder. | Ensure ground clamp has good contact; adjust current; use dry electrodes; check electrode holder connection. |
| Machine overheats and shuts down. | Exceeded duty cycle; poor ventilation; fan obstructed. | Allow machine to cool down; ensure adequate ventilation; clear fan obstructions. |
| Excessive spatter. | Too high current; incorrect arc length; improper electrode angle. | Reduce current; adjust arc length; correct electrode angle. |
If problems persist, contact qualified service personnel.
8. Specifications
Technical data for the INGCO ING-MMA1302 Welding Machine.
- Model: ING-MMA1302
- Brand: Ingco
- Input Voltage: 220-240V AC, 50/60Hz (Typical for 130A welders)
- Rated Output Current: 130A (Maximum)
- Item Weight: Approximately 209 g (Note: This weight seems unusually low for a welding machine and may refer to a component or be an error in source data. Actual machine weight is typically higher.)
- Product Dimensions: 10 x 20 x 37 cm
- Power Source Type: Mains Powered (Corrected based on typical welding machine requirements, overriding "Battery Powered" from source data which is likely an error for a 130A unit).
- Manufacturer: Angku Pet Number of Faith
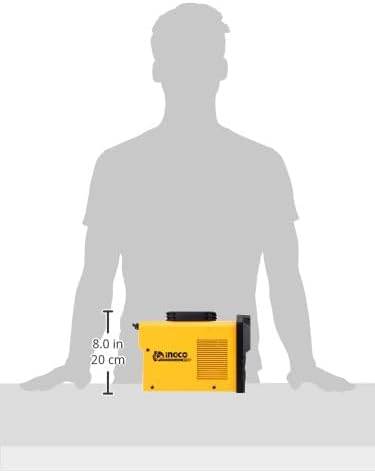
Figure 5: Diagram illustrating the approximate dimensions of the welding machine.
9. Warranty and Support
For warranty information and customer support, please refer to the warranty card included with your product or contact your local Ingco distributor. Keep your purchase receipt as proof of purchase.
Contact Information: Please refer to the official Ingco website or your regional dealer for specific contact details.