1. Product Overview
The TCNEWCL 8K 60Hz HDMI KVM Switch allows you to control two computers using a single set of peripherals (keyboard, mouse, etc.) and one high-definition display. This device is designed for efficiency, enabling seamless switching between systems without the need to constantly re-plug cables. It supports high-resolution video and high-speed data transfer, making it suitable for various computing environments.
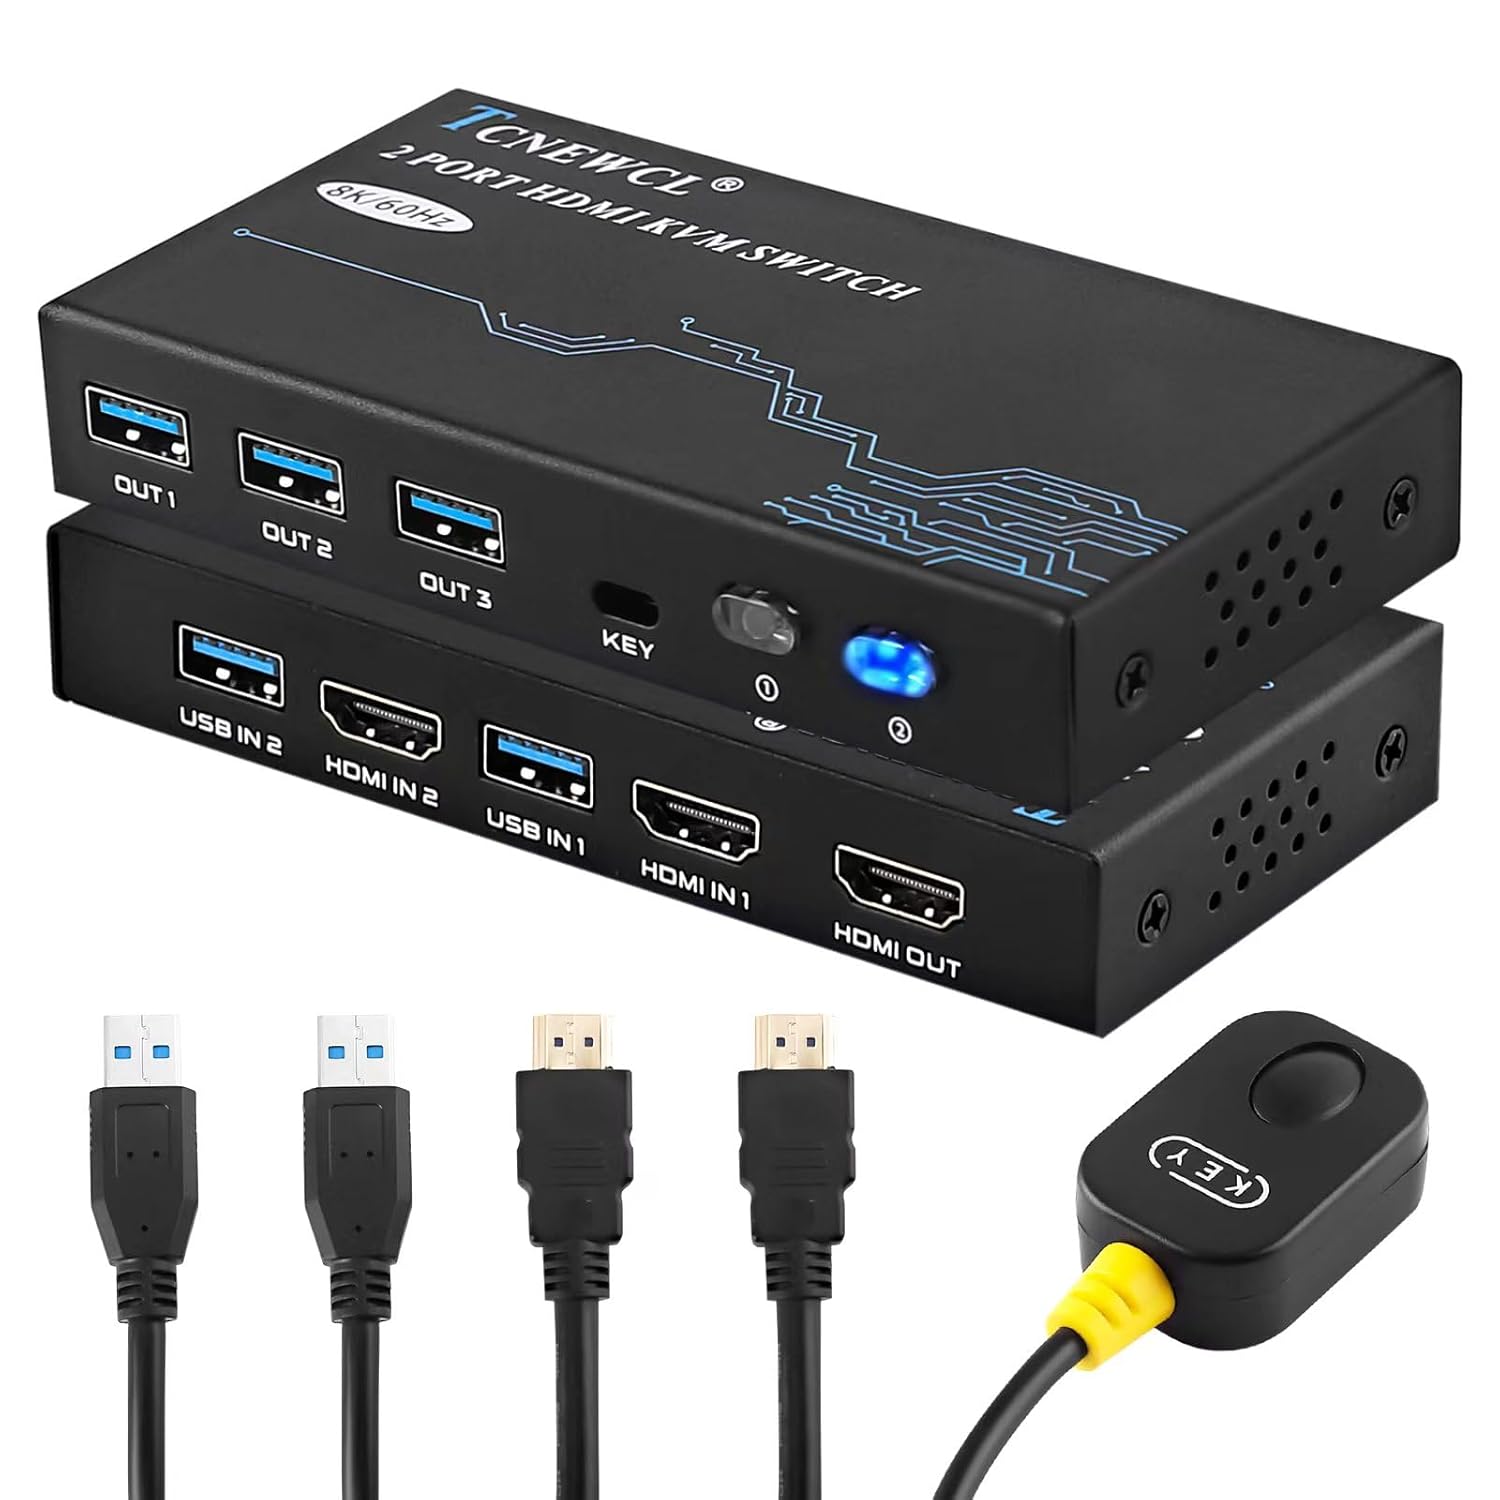
Image 1.1: The TCNEWCL 8K 60Hz HDMI KVM Switch, showcasing the main unit, included HDMI 2.1 and USB 3.0 cables, and the wired desktop controller.
2. Package Contents
Please verify that all items are present in your package:
- 1x TCNEWCL 8K 60Hz HDMI KVM Switch (Model KS608T)
- 2x HDMI 2.1 Cables
- 2x USB 3.0 Cables
- 1x Wired Desktop Controller
- 1x User Manual (this document)
3. Features and Specifications
3.1 Key Features
- 2-Port KVM Functionality: Control two computers with one monitor, keyboard, and mouse.
- HDMI 2.1 Support: Delivers ultra-high-definition video.
- High Resolution: Supports up to 8K (7680x4320) at 60Hz and 4K (3840x2160) at 120Hz.
- Advanced Video Features: Compatible with HDR, 3D effects, and HDCP2.2.
- Superior Audio Support: Includes Dolby Atmos, DTS X, Dolby TrueHD, DTS-HD Master Audio.
- USB 3.0 Connectivity: Provides high-speed data transfer up to 5Gbps for peripherals, backward compatible with USB 2.0/1.1/1.0.
- Easy Switching: Switch between connected PCs using the front panel button or the included wired desktop controller.
- Wide Compatibility: Works with Windows, Linux, Mac OS, Chrome OS, and gaming consoles like Xbox One X, PS4, and Blu-ray players.
- Plug & Play: No drivers or external power supply required for basic operation.
3.2 Technical Specifications
| Model Number | KS608T |
| HDMI Version | HDMI 2.1 |
| Max Resolution | 8K@60Hz, 4K@120Hz |
| USB Version | USB 3.0 |
| USB Transfer Speed | 5Gbps |
| Operating Voltage | 5 Volts |
| Operating Current | 1 A |
| Material | Metal |
| Dimensions (L x W x H) | 13 x 6.5 x 2 cm |
| Weight | 690 grams |

Image 3.1: Visual representation of supported resolutions (8K, 4K, 1080P) and HDMI 2.1 bandwidth capabilities.
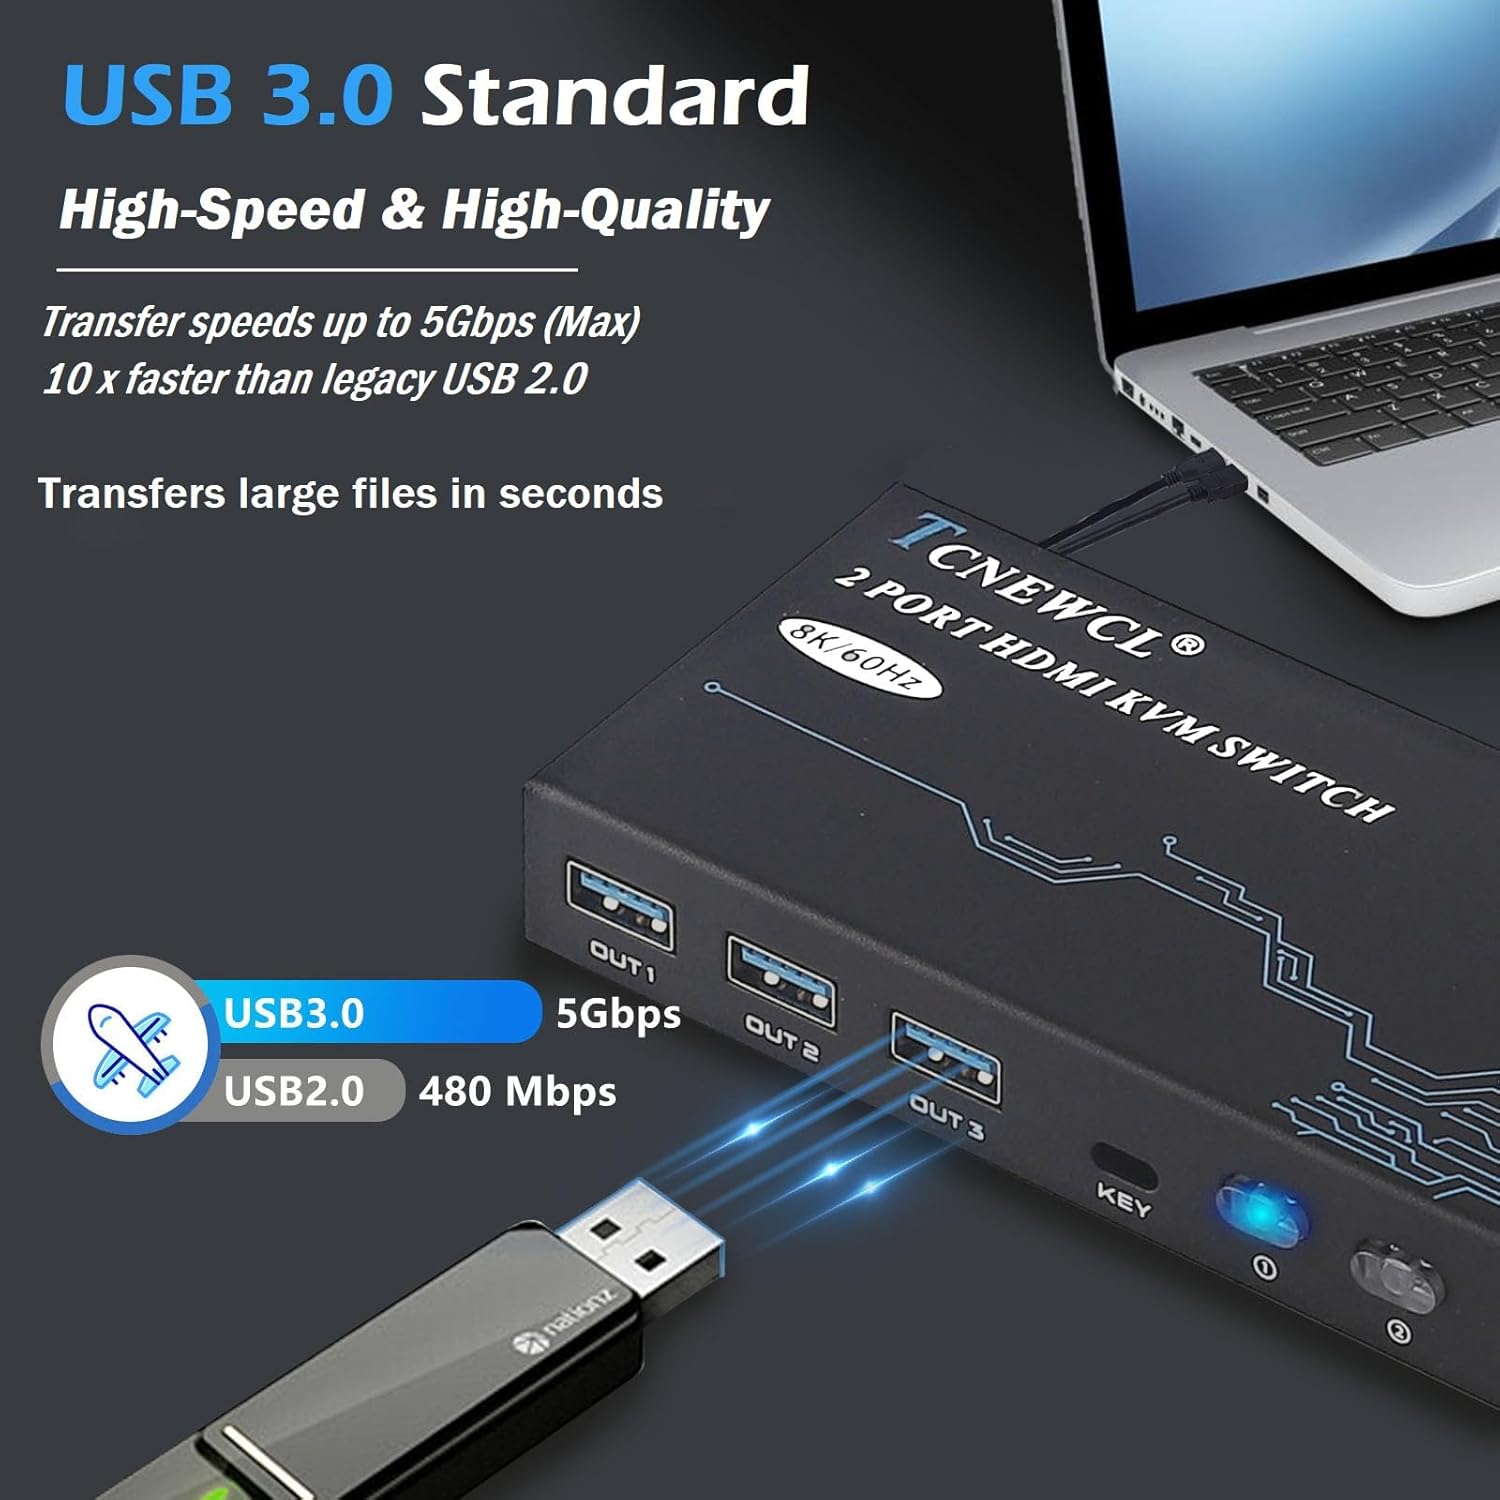
Image 3.2: Illustration of USB 3.0 high-speed data transfer at 5Gbps, significantly faster than USB 2.0.
4. Setup Instructions
Follow these steps to connect your KVM switch:
- Connect Monitor: Connect your monitor to the 'HDMI OUT' port on the KVM switch using an HDMI 2.1 cable.
- Connect Computers:
- For PC 1: Connect its HDMI output to 'HDMI IN 1' on the KVM switch and its USB output to 'USB IN 1'.
- For PC 2: Connect its HDMI output to 'HDMI IN 2' on the KVM switch and its USB output to 'USB IN 2'.
Note: For optimal performance, ensure HDMI 2.1 cables used for input are less than 3 meters in length.
- Connect Peripherals: Connect your keyboard, mouse, and other USB 3.0 peripherals (e.g., USB drive, printer) to the 'OUT 1', 'OUT 2', 'OUT 3' USB ports on the KVM switch.
- Connect Wired Remote (Optional): Plug the wired desktop controller into the 'KEY' port on the KVM switch.
- Power On: Ensure all connected devices (computers, monitor) are powered on. The KVM switch is Plug & Play and typically does not require an external power adapter.
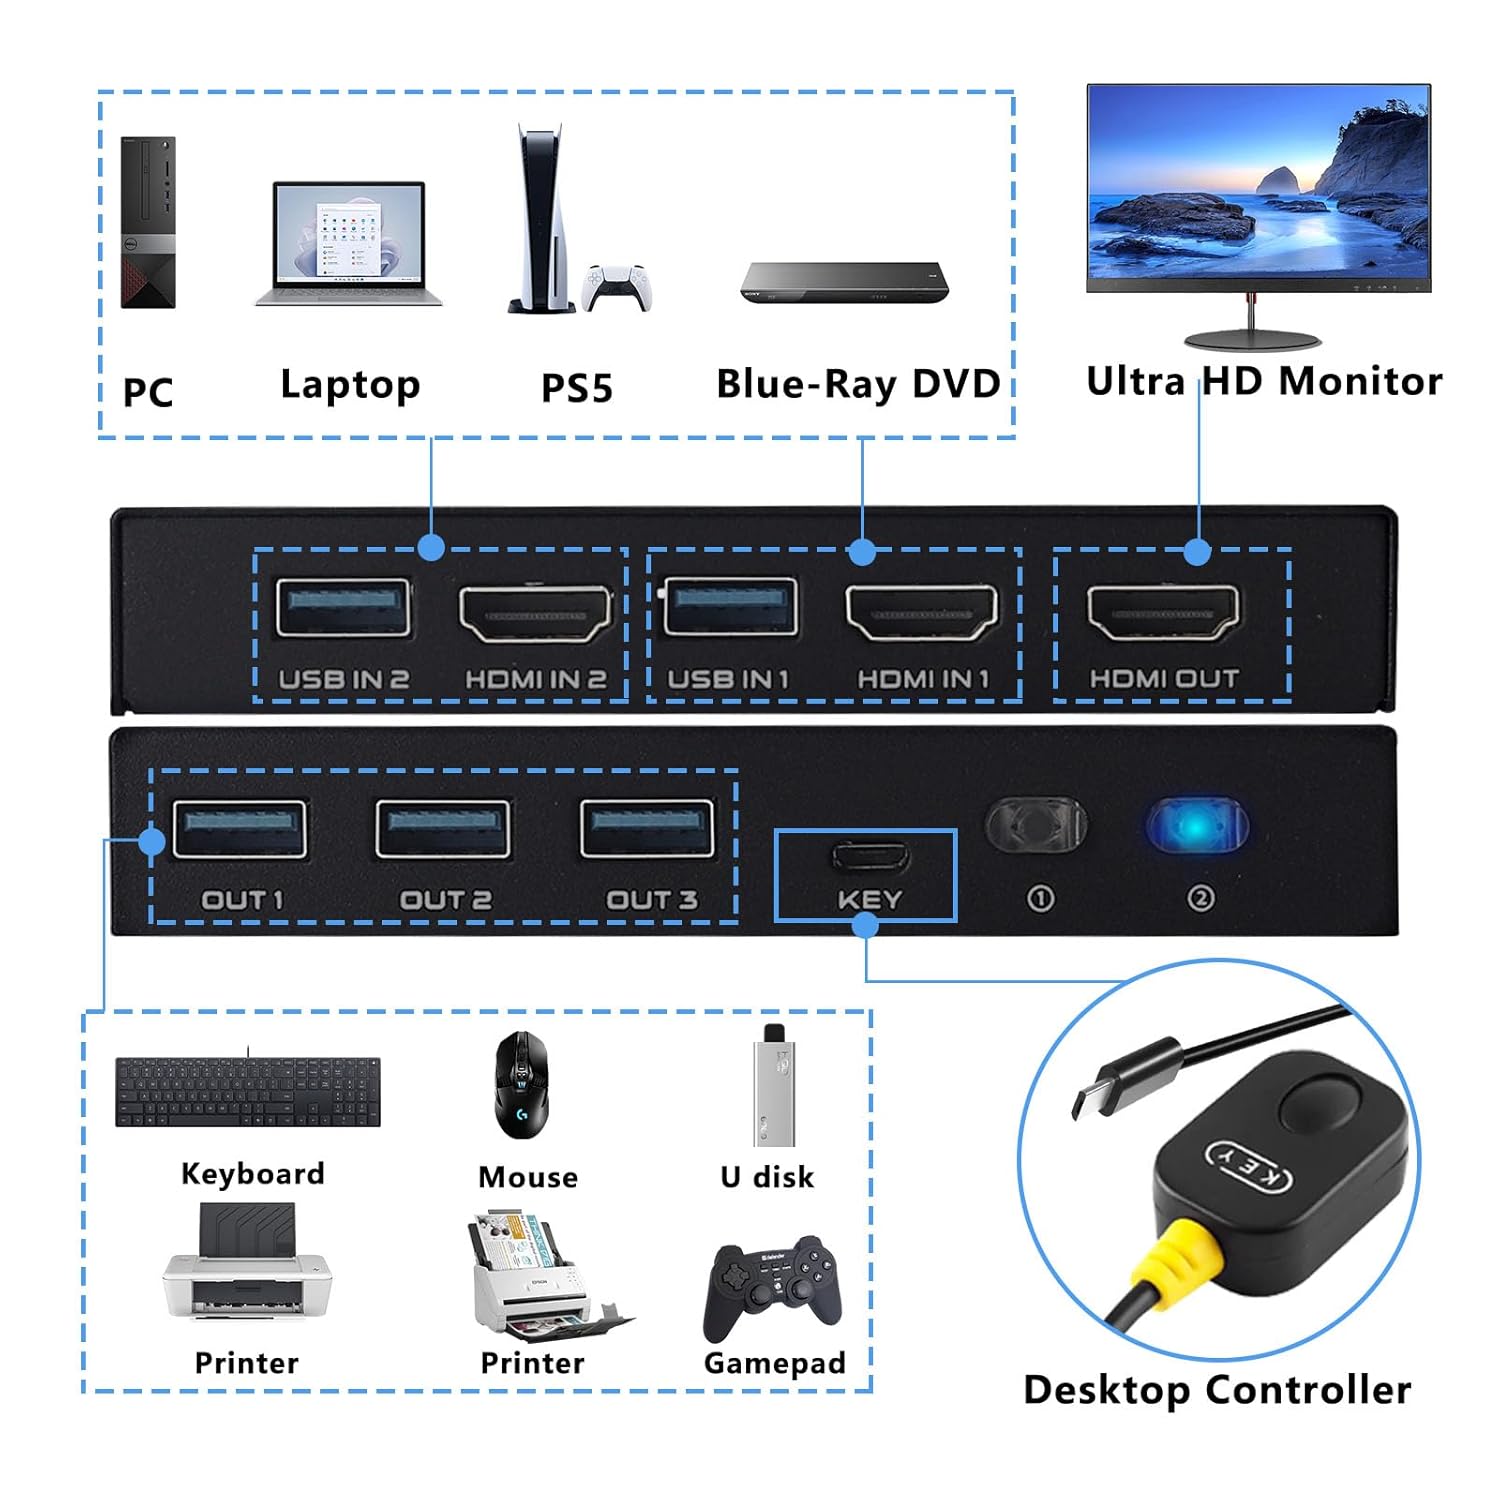
Image 4.1: Detailed connection diagram illustrating how to connect PCs, monitor, and various USB peripherals to the KVM switch.
5. Operating Instructions
Once connected, operating the KVM switch is straightforward:
- Switching Between PCs: You have two methods to switch between the connected computers:
- Front Panel Button: Press the 'KEY' button on the front panel of the KVM switch to cycle between PC 1 and PC 2.
- Wired Desktop Controller: Press the button on the wired remote control to switch between PC 1 and PC 2.
- LED Indicator: The LED indicator on the KVM switch will illuminate to show which PC is currently selected and active.

Image 5.1: Illustration of the two available switching methods: the physical button on the KVM unit and the external wired controller.
6. Troubleshooting
If you encounter issues, please refer to the following common troubleshooting steps:
- No Display on Monitor:
- Ensure all HDMI cables are securely connected to both the KVM switch and your devices.
- Verify that the monitor is powered on and set to the correct HDMI input.
- Try using different HDMI cables, especially if experiencing issues with 8K or 4K@120Hz resolutions. Ensure HDMI 2.1 cables are used and are within the recommended length (less than 3 meters).
- Restart the connected computers and the KVM switch.
- Keyboard/Mouse Not Responding:
- Check that the USB 3.0 cables from your computers are securely connected to the 'USB IN' ports on the KVM switch.
- Ensure your keyboard and mouse are connected to the 'OUT' USB ports on the KVM switch.
- Try connecting the keyboard/mouse directly to the computer to confirm they are functional.
- Some specialized gaming keyboards/mice with high power requirements or custom drivers may not function optimally through a KVM. Try a standard keyboard/mouse to isolate the issue.
- Intermittent Connection/Flickering Screen:
- This can often be caused by poor quality or excessively long HDMI cables. Replace with certified HDMI 2.1 cables of appropriate length.
- Ensure there are no strong electromagnetic interference sources nearby.
- Switching Not Working:
- Verify the wired desktop controller is properly plugged into the 'KEY' port.
- Ensure the KVM switch has power (indicated by the LED).
7. Safety Information
Please read and follow these safety guidelines to ensure safe operation and prolong the life of your device:
- Do not expose the device to water, moisture, or extreme temperatures.
- Avoid placing the device near heat sources or in direct sunlight.
- Do not attempt to open or modify the device. This may void the warranty and pose a safety risk.
- Use only the provided or recommended cables.
- Keep the device away from children.
- Ensure proper ventilation around the device to prevent overheating.
8. Warranty and Support
TCNEWCL products are designed for reliability and performance. For specific warranty details, please refer to the warranty card included with your purchase or contact TCNEWCL customer support.
For technical assistance or support, please visit the official TCNEWCL website or contact their customer service department. Please have your model number (KS608T) and purchase information ready when seeking support.
