Introduction
This manual provides comprehensive instructions for the installation, operation, and maintenance of your Vixen Horns Heavy Duty Onboard Air Compressor, Model VXC8301PROB. This 12V compressor is designed for various automotive applications, including powering train horns, air suspension systems, tire inflation, and air tools. Please read this manual thoroughly before installation and use to ensure proper function and safety.
Safety Information
Adherence to safety guidelines is crucial during installation and operation. Failure to follow these instructions may result in injury or damage to the product or vehicle.
- Electrical Safety: Always disconnect the vehicle's battery before performing any electrical work. Ensure all wiring connections are secure and properly insulated. Use the provided 40A in-line fuse to protect the circuit.
- Heat Warning: The compressor and its fittings can become extremely hot during and immediately after operation. Avoid touching these components with bare hands to prevent burns. Allow the compressor to cool for approximately 30 minutes before handling or servicing.
- Pressure Safety: Never exceed the maximum operating pressure of 200 PSI. Ensure all air lines and connections are rated for the system's pressure.
- Ventilation: Install the compressor in a well-ventilated area to prevent overheating.
- Eye Protection: Always wear appropriate eye protection when working with air tools or compressed air systems.
- Children and Pets: Keep children and pets away from the compressor during operation and installation.
Package Contents
Verify that all components listed below are present in your package:
- Vixen Horns Heavy Duty Air Compressor (VXC8301PROB)
- 3/8" NPT Stainless Steel Braided Leader Hose with 3/8" NPT Check Valve
- Intake Air Filter with Remote Installation Kit
- Insulated Wiring with Connectors
- 40A In-line Fuse with Waterproof Holder
- Mounting Hardware (bolts, washers, nuts)

Image: Vixen Horns VXC8301PROB Air Compressor with all included accessories, including the compressor unit, braided leader hose, remote air filter kit, fuse, and mounting hardware.
Setup and Installation
Follow these steps for proper installation of your air compressor system.
1. Mounting the Compressor
- Select a secure, dry, and well-ventilated location for mounting the compressor. Ensure it is protected from direct exposure to water and excessive heat.
- Use the provided mounting hardware (bolts, washers, nuts) to firmly attach the compressor to a stable surface in your vehicle.

Image: Close-up of the black mounting bolts, washers, and nuts included with the compressor.
2. Connecting the Leader Hose
- Attach the stainless steel braided leader hose to the compressor's air outlet. Ensure a tight, leak-free connection.
- The leader hose includes a 3/8" NPT check valve. This valve prevents air from flowing back into the compressor from the air tank, extending the compressor's lifespan.
- Connect the other end of the leader hose to your air tank or air system's inlet.

Image: Detailed view of the stainless steel braided leader hose, highlighting the inline check valve with 'Swivel' and 'inline check valve' labels.
3. Installing the Remote Air Filter Kit
- The remote-mount air filter kit allows you to relocate the air intake to an area less exposed to dust and moisture. This improves compressor performance and longevity.
- Connect the air intake hose from the compressor to the remote filter housing.
- Mount the remote filter housing in a clean, dry location, away from engine heat and road spray.

Image: Components of the remote air filter kit, including the air hose, filter housing, and mounting clips.
4. Electrical Connections
- Ensure the vehicle's battery is disconnected before proceeding.
- Connect the positive (+) wire from the compressor to a fused 12V power source. Use the provided 40A in-line fuse with its waterproof holder.
- Connect the negative (-) wire from the compressor to a suitable chassis ground point.
- It is recommended to use a pressure switch (not included) to automatically control the compressor based on the air tank pressure. Wire the pressure switch into the positive power line to the compressor.
- Once all connections are secure, reconnect the vehicle's battery.
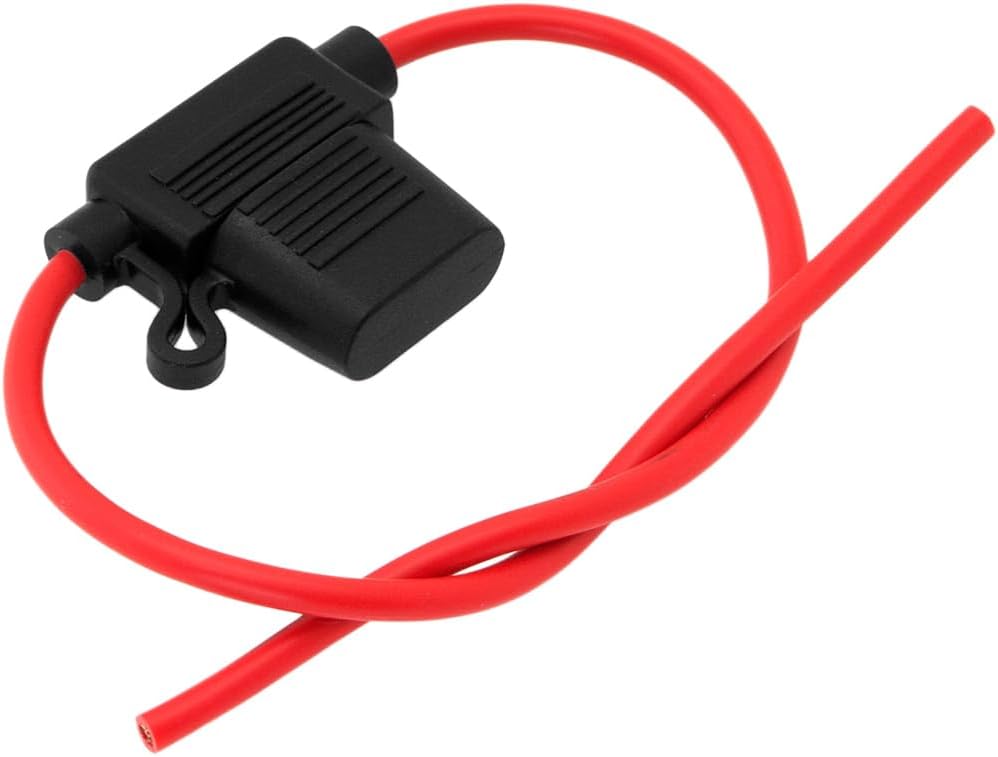
Image: The 40A in-line fuse with its red wiring and waterproof holder.
Operation
Once properly installed, your Vixen Horns air compressor is ready for use.
- Powering On: If using a pressure switch, the compressor will activate automatically when the air tank pressure drops below the set threshold. If manually controlled, activate the power switch connected to the compressor.
- Thermal Overload Protection: The compressor is equipped with a thermal overload protector switch. If the unit overheats, this switch will automatically shut off the compressor to prevent damage. If this occurs, allow the compressor to cool down for approximately 30 minutes before attempting to restart it.
- Applications: The compressor is suitable for rapidly filling air tanks for various applications, including train horns, air suspension systems, tire inflation, and powering small air tools.
- Duty Cycle: This compressor features a 100% duty cycle at 100 PSI (13.8V), meaning it can run continuously at this pressure without needing to cool down.
Maintenance
The Vixen Horns VXC8301PROB compressor is designed for minimal maintenance.
- Sealed Design: The compressor features a sealed design for optimal protection against environmental elements.
- Lubrication: The pump's cylinder is permanently lubricated and requires no future lubrication.
- Air Filter: Periodically inspect the remote air filter element. Clean or replace it if it appears dirty or clogged to ensure optimal airflow and prevent damage to the compressor.
- Connections: Regularly check all air line and electrical connections for tightness and signs of wear or damage.
Troubleshooting
If you encounter issues with your compressor, refer to the following common troubleshooting steps:
| Problem | Possible Cause | Solution |
|---|---|---|
| Compressor does not turn on | No power, blown fuse, loose electrical connection, faulty pressure switch. | Check battery connections. Inspect and replace the 40A fuse if blown. Verify all wiring connections are secure. Test pressure switch functionality. |
| Compressor runs but does not build pressure | Air leak in the system, faulty check valve, clogged air filter. | Check all air line connections for leaks. Inspect the check valve for proper operation. Clean or replace the air filter element. |
| Compressor overheats and shuts off | Excessive run time, poor ventilation, high ambient temperature. | Allow compressor to cool for 30 minutes. Ensure adequate airflow around the compressor. Reduce continuous run time if possible. |
| Unusual noise during operation | Loose mounting, internal component issue. | Check mounting bolts for tightness. If noise persists, contact customer support. |
Specifications
- Model Name: VXC8301PROB
- Brand: Vixen Horns
- Voltage: 12 Volts
- Maximum Operating Pressure: 200 PSI
- Air Flow Capacity: 1.75 Cubic Feet Per Minute (CFM)
- Motor Horsepower: 276 Watts
- Noise Level: 74 Decibels
- Duty Cycle: 100% (at 100 PSI, 13.8V)
- Material: Stainless Steel (leader hose)
- Item Weight: 11 Pounds
- Product Dimensions: 12"L x 16"W x 11"H (Note: These dimensions seem to be for the package, not the compressor itself. Refer to product images for actual compressor size.)
- Hose Length: 10 Feet (leader hose)
- Special Feature: Remote-Mount Air Filter Kit
- UPC: 636967114711
Warranty Information
Vixen Horns warrants this product to be free from defects in workmanship and materials for a period of one (1) year following the date of purchase. This warranty covers manufacturing defects under normal use. It does not cover damage resulting from improper installation, misuse, abuse, neglect, accident, or unauthorized repairs or modifications. Please retain your proof of purchase for warranty claims.
Support
For technical assistance, warranty claims, or further inquiries regarding your Vixen Horns air compressor, please contact Vixen Horns customer support through their official website or the retailer where the product was purchased. Provide your model number (VXC8301PROB) and proof of purchase when seeking support.