
1. Introduction
Thank you for choosing DURLK Rechargeable Walkie Talkies. This manual provides essential information for the safe and efficient operation of your device. Please read it thoroughly before use and retain it for future reference.

Image: Three DURLK walkie talkies in green, orange, and blue, highlighting their rechargeable nature and included charging cable.
These walkie talkies are designed for reliable two-way communication, featuring a long-range capability, clear sound, and multiple functions suitable for various outdoor activities and family use.

Image: Diverse usage scenarios for the walkie talkies, emphasizing their versatility.
2. Package Contents
Ensure all items are present and in good condition upon unpacking:
- 3 x DURLK Rechargeable Walkie Talkies
- 3 x Belt Clips
- 1 x 3-in-1 USB Type-C Charging Cable
- 1 x User Manual
3. Product Overview
Familiarize yourself with the components and controls of your walkie talkie:
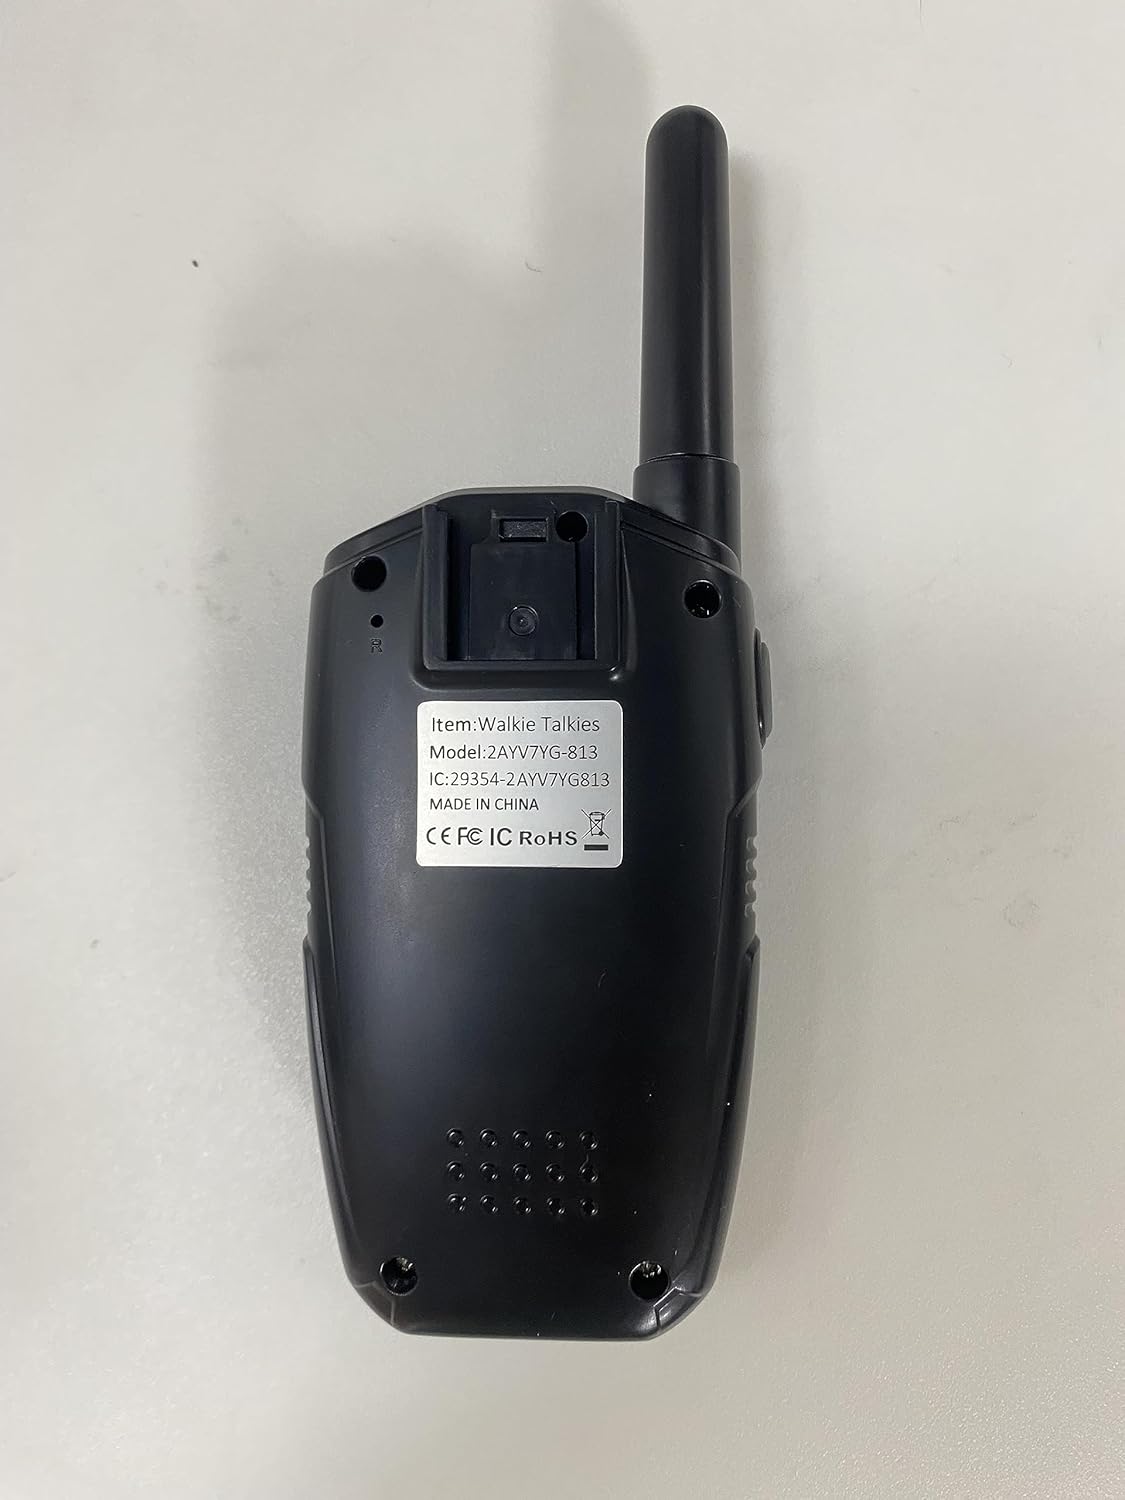
Image: Detailed diagram of the walkie talkie's external features and controls.
- Antenna: For transmitting and receiving signals.
- LED Flashlight: Provides illumination.
- Type-C Charging Port: For recharging the internal battery.
- PTT Button (Push-to-Talk): Press and hold to transmit your voice.
- Remove Belt Clip: Mechanism to detach the belt clip.
- LCD Display: Shows channel, sub-code, battery status, and other indicators.
- Flashlight Button (LAMP): Activates the LED flashlight.
- Menu/Lock Button: Accesses menu settings and locks/unlocks the keypad.
- Up Button (▲): Navigates menu options or increases values.
- Power/Call Button (ON/C): Long press to power on/off; short press to send a call tone.
- Down Button (▼): Navigates menu options or decreases values.
- MON Button (Monitor): Temporarily disables squelch to listen for weak signals.
- Sound Speaker: Outputs received audio.
4. Setup
4.1. Battery Charging
Your DURLK walkie talkies are equipped with built-in 1200mAh Li-ion batteries. For optimal performance, fully charge the devices before first use.
- Connect the 3-in-1 USB Type-C charging cable to a compatible USB power source (e.g., wall adapter, power bank, computer USB port).
- Plug the Type-C connectors into the charging ports on each walkie talkie.
- The battery indicator on the LCD display will show charging status.
- Charging typically takes approximately 2 hours for a full charge, providing up to 3-4 days of standby time or 24 hours of work time.

Image: Walkie talkies being charged simultaneously with the included 3-in-1 Type-C cable.
Video: A DURLK seller video demonstrating the charging process and features of the walkie talkies.
4.2. Attaching Belt Clip
To attach the belt clip, align it with the designated slots on the back of the walkie talkie and push it down until it clicks securely into place.
5. Operating Instructions

Image: Quick visual guide on basic walkie talkie operation.
5.1. Power On/Off
- To Power On: Press and hold the Power/Call (ON/C) button for approximately 3 seconds until the display lights up.
- To Power Off: Press and hold the Power/Call (ON/C) button for approximately 3 seconds until the display turns off.
5.2. Channel Selection
Your walkie talkies have 22 main channels. To communicate, all devices must be set to the same main channel.
- Press the Menu/Lock button once. The channel number on the LCD will flash.
- Use the Up (▲) or Down (▼) buttons to select your desired channel (1-22).
- Press the PTT button to confirm the channel selection.
5.3. Sub-Channel (Interference Eliminator Code) Setting
The walkie talkies feature 121 interference eliminator codes (CTCSS/DCS) to minimize interference from other radios. For private communication, ensure all devices are on the same main channel and sub-channel.
- After setting the main channel, press the Menu/Lock button again. The sub-channel code will flash.
- Use the Up (▲) or Down (▼) buttons to select your desired sub-channel (0-121).
- Press the PTT button to confirm the sub-channel selection.
5.4. Talking (PTT Button)
- To transmit your voice, press and hold the PTT button located on the side of the walkie talkie. Speak clearly into the microphone.
- Release the PTT button to listen for a response.
5.5. Volume Adjustment
Adjust the speaker volume using the Up (▲) and Down (▼) buttons when not in menu mode.
5.6. VOX (Voice Activated Transmission)
VOX mode allows hands-free operation. When activated, the walkie talkie will automatically transmit when it detects your voice.
- Press the Menu/Lock button repeatedly until the VOX setting appears on the LCD.
- Use the Up (▲) or Down (▼) buttons to select the desired VOX sensitivity level (1-3) or turn it off (OF).
- Press the PTT button to confirm.
5.7. Keypad Lock
To prevent accidental changes to settings, you can lock the keypad.
- Press and hold the Menu/Lock button for 3 seconds. A lock icon will appear on the LCD.
- To unlock, press and hold the Menu/Lock button again for 3 seconds.
5.8. LED Flashlight
The built-in LED flashlight can be used for illumination in low-light conditions or as an emergency signal.
- Press the LAMP button once to turn the flashlight on.
- Press the LAMP button again to turn it off.
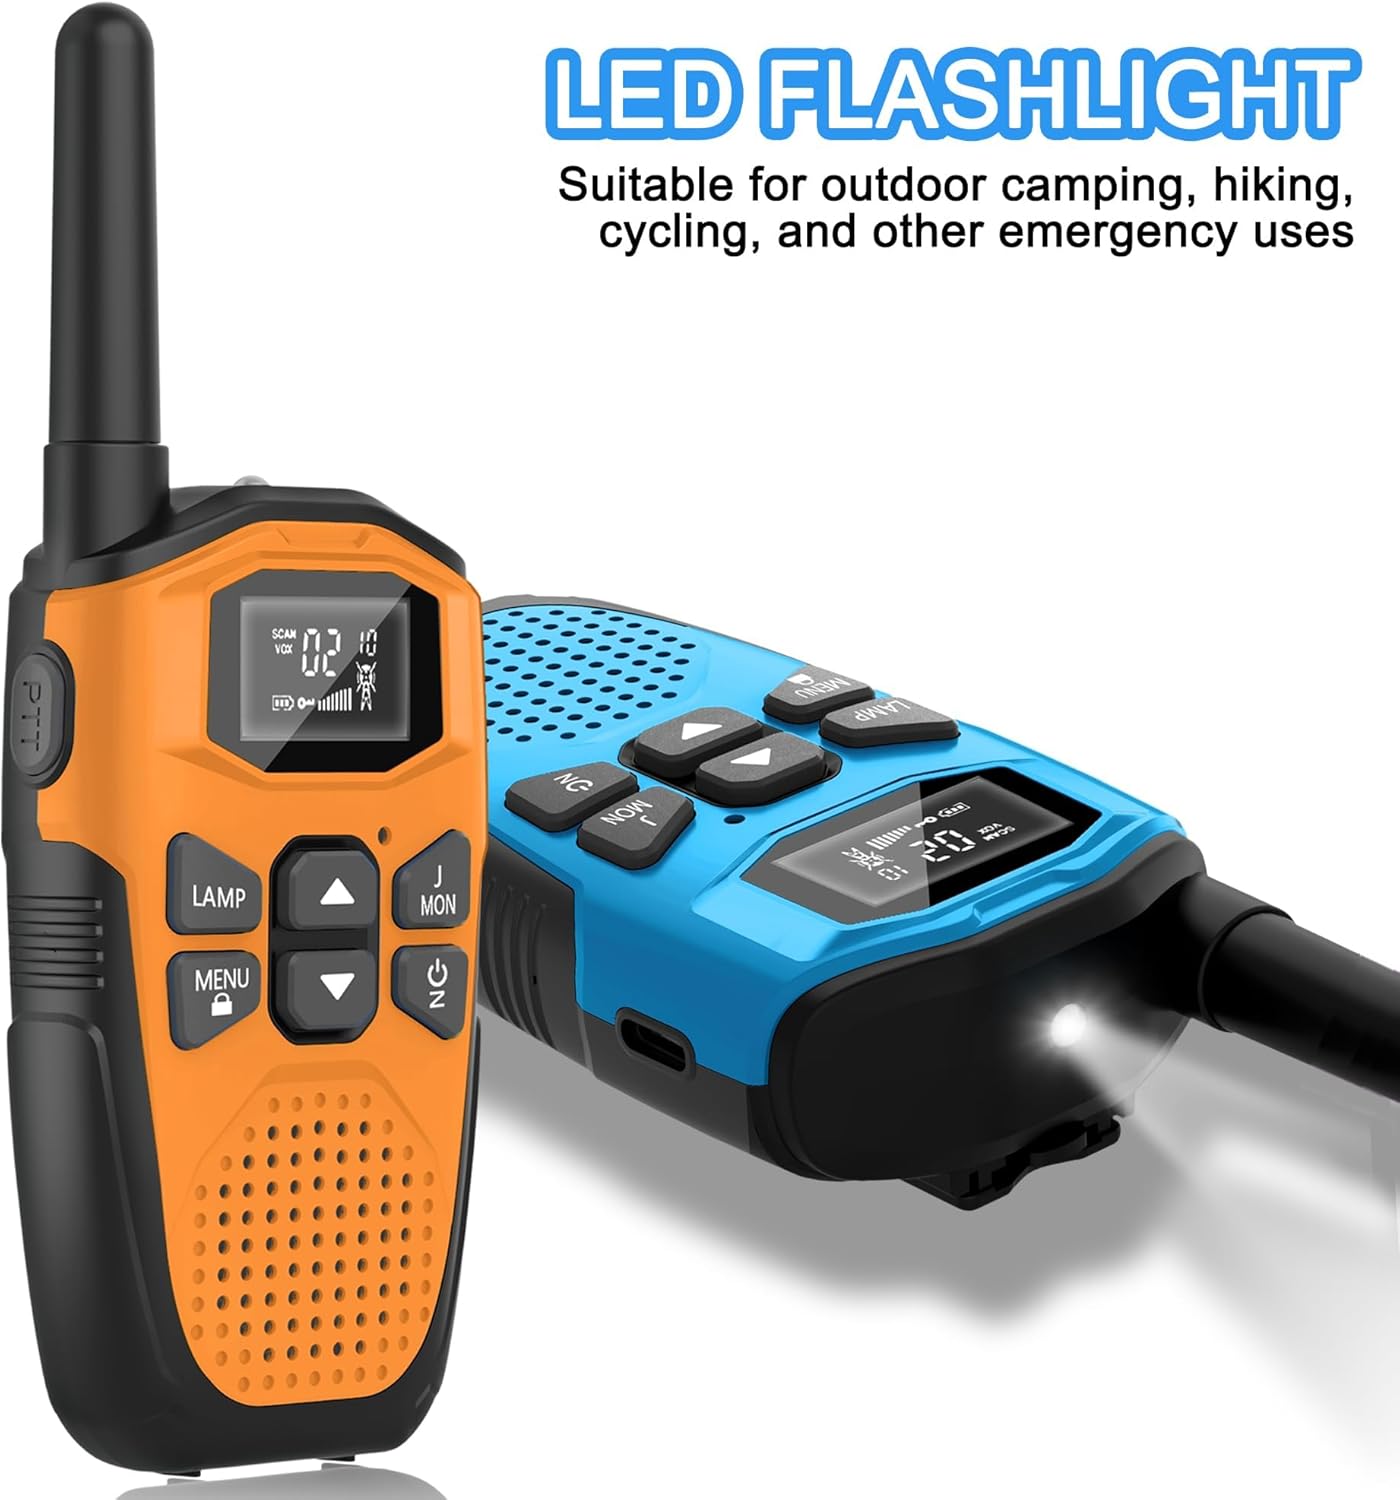
Image: Walkie talkie with its LED flashlight activated.
5.9. Call Tone
To alert other users on the same channel, you can send a call tone.
- Short press the Power/Call (ON/C) button to send a call tone.
5.10. Scanning
The scan function allows you to find active channels.
- Press the MON button once to activate scanning. The walkie talkie will scan through channels until it finds an active one.
- Press the MON button again to stop scanning.
5.11. Auto Power Saving
The device automatically enters power-saving mode after a period of inactivity to conserve battery life.
5.12. Low Battery Alert
When the battery level is low, a low battery icon will flash on the LCD display, and an audible alert may sound. Recharge the walkie talkie promptly.
6. Range Information
The effective communication range of your DURLK walkie talkies varies depending on terrain and conditions:
- Open Areas (e.g., rural areas, suburbs, seaside with no obstructions): Up to 3 km (approximately 1.86 miles).
- Cities or Towns (with buildings and obstructions): Up to 1.5 km (approximately 0.93 miles).

Image: Visual representation of walkie talkie range in various environments.
7. Maintenance
- Cleaning: Use a soft, damp cloth to clean the exterior of the walkie talkie. Do not use harsh chemicals or abrasive cleaners.
- Battery Care: Avoid fully discharging the battery frequently. Recharge the devices regularly, even if not in use, to maintain battery health. Store in a cool, dry place.
- Storage: When storing for extended periods, ensure the battery is partially charged (around 50%) and store in a cool, dry environment.
8. Troubleshooting
| Problem | Possible Cause | Solution |
|---|---|---|
| No power | Low or depleted battery | Charge the walkie talkie fully. |
| Cannot communicate with other units | Different channels or sub-codes | Ensure all walkie talkies are on the same main channel and sub-code. |
| Poor sound quality/static | Out of range, obstructions, or interference | Move closer to the other unit, reduce obstructions, or change to a different channel/sub-code. |
| Keypad unresponsive | Keypad is locked | Unlock the keypad by pressing and holding the Menu/Lock button for 3 seconds. |
9. Specifications
- Model: 2AYV7YG-813
- Brand: DURLK
- Channels: 22 FRS Channels
- Sub-Codes: 121 (CTCSS/DCS)
- Battery: Built-in 1200mAh Li-ion (Rechargeable)
- Charging: USB Type-C
- Standby Time: Up to 96 hours (4 days)
- Work Time: Up to 24 hours
- Max Talking Range: Up to 5 km (open areas), 1.5 km (cities/towns)
- Special Features: Automatic Squelch, Keypad Lock, LED Flashlight, VOX (Hands-Free), Auto Scan, Auto Power Saving, Low Battery Alert, Drop-Protection, Water Resistant
- Display Type: LCD with Backlight
- Item Weight: 90 Grams

Image: Back of the walkie talkie displaying model information.
10. Warranty and Support
DURLK products are manufactured with quality and performance in mind. For warranty information, technical support, or customer service inquiries, please refer to the contact details provided on the product packaging or visit the official DURLK website.
Please retain your proof of purchase for any warranty claims.