1. Introduction
This manual provides essential information for the safe and effective use of your JVD Professional 1875W ALTEO PLUS Hair Dryer. Please read all instructions carefully before operating the appliance and retain this manual for future reference.
Important Safety Instructions
- Always unplug the appliance immediately after use.
- Do not use while bathing or in a shower.
- Do not place or store the appliance where it can fall or be pulled into a tub or sink.
- Do not place in or drop into water or other liquid.
- If the appliance falls into water, unplug it immediately. Do not reach into the water.
- Close supervision is necessary when this appliance is used by, on, or near children or individuals with certain disabilities.
- Use this appliance only for its intended use as described in this manual. Do not use attachments not recommended by the manufacturer.
- Never operate this appliance if it has a damaged cord or plug, if it is not working properly, or if it has been dropped or damaged, or dropped into water.
- Keep the cord away from heated surfaces. Do not wrap the cord around the appliance.
- Never block the air openings of the appliance or place it on a soft surface, such as a bed or couch, where the air openings may be blocked. Keep the air openings free of lint, hair, and the like.
- Never use while sleeping.
- Never drop or insert any object into any opening.
- Do not use outdoors or operate where aerosol (spray) products are being used or where oxygen is being administered.
- Do not use an extension cord with this appliance.
- Do not direct hot air towards eyes or other heat-sensitive areas.
- Attachments may be hot during use. Allow them to cool before handling.
- Do not place the appliance on any surface while it is operating.
- While using the appliance, keep your hair away from the air inlets.
2. Product Overview
Components
- Air Inlet Grille
- Air Outlet Nozzle
- Temperature Control Switch
- Airflow Control Switch
- Cold Shot Button
- LighTouch Handle
- Coiled Power Cord
Key Features
- Fast Drying Performance: Powerful 1875W motor for quick and efficient drying.
- LighTouch Handle: Patented ergonomic design for comfortable handling during extended use.
- Ionic Technology: In-built negative ionizer for smooth, frizz-free, and shiny hair.
- Adjustable Settings: 2 airflow options and 3 temperature settings, including a cold shot for versatile styling.
- Easy Maintenance: Removable nozzle and back filter for easy cleaning and maintenance.
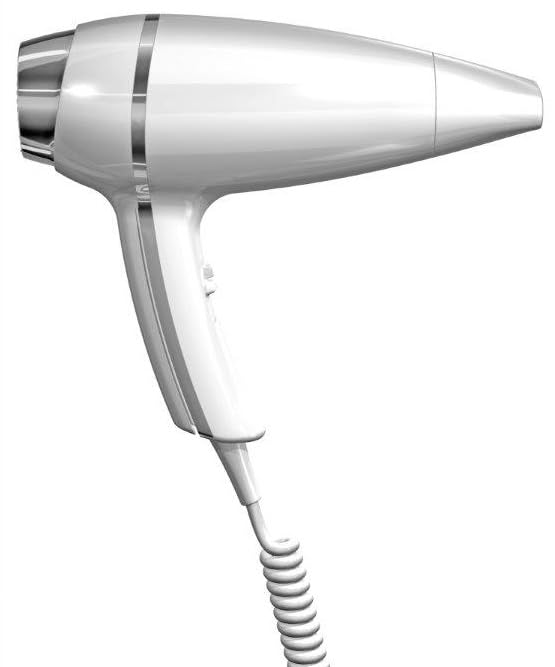
An image showing the JVD Professional 1875W Hair Dryer. It features a white body, a LighTouch ergonomic handle, and a coiled power cord. The design includes a metallic accent band near the rear of the dryer.
3. Setup
Unpacking
Carefully remove the hair dryer and all accessories from the packaging. Inspect the appliance for any signs of damage. If any damage is found, do not use the appliance and contact customer support.
Power Connection
- Ensure your hands are dry before handling the plug.
- Plug the coiled power cord into a standard electrical outlet (1875W, 220-240V, 50/60Hz).
- Verify that the voltage indicated on the appliance matches your local power supply.
4. Operating Instructions
Powering On/Off
To turn the hair dryer on, slide the airflow control switch to your desired setting. To turn it off, slide the switch to the '0' (off) position.
Airflow and Temperature Settings
The hair dryer features separate controls for airflow and temperature:
- Airflow Control: Use the switch on the handle to select between 2 airflow options (low, high).
- Temperature Control: Use the separate switch to select from 3 temperature settings (cool, warm, hot).
Adjust these settings according to your hair type and desired styling results. Lower heat and airflow are suitable for fine or damaged hair, while higher settings are for thick or coarse hair.
Cold Shot Function
Press and hold the Cold Shot button to deliver a burst of cool air. This helps to set your hairstyle and add shine by closing the hair cuticles.
5. Maintenance
Regular maintenance ensures optimal performance and extends the lifespan of your hair dryer.
Cleaning the Air Filter
- Ensure the hair dryer is unplugged and completely cool.
- Gently twist or pull off the rear air inlet grille (filter cover).
- Remove any accumulated lint, dust, or hair from the filter using a soft brush or cloth.
- Reattach the air inlet grille securely.
Clean the filter regularly, especially if you notice a decrease in airflow or increased noise.
Cleaning the Nozzle
The nozzle can be removed for cleaning. Wipe it with a damp cloth to remove any product residue. Ensure it is completely dry before reattaching.
Storage
When not in use, unplug the appliance. Allow it to cool and store it in a dry location, out of reach of children. Do not wrap the power cord tightly around the appliance, as this can damage the cord.
6. Troubleshooting
If you encounter issues with your hair dryer, refer to the table below for common problems and solutions.
| Problem | Possible Cause | Solution |
|---|---|---|
| Hair dryer does not turn on. | No power supply. Power cord damaged. | Check if the plug is securely inserted into the outlet. Inspect the power cord for damage. If damaged, do not use and contact support. |
| Weak airflow. | Air inlet filter is blocked. | Clean the air inlet filter as described in the Maintenance section. |
| Hair dryer overheats and shuts off. | Air inlet/outlet blocked. Overuse. | Unplug the dryer, allow it to cool. Clean the air filter. Ensure air vents are clear. Reduce usage time. |
| Unusual noise during operation. | Foreign object in air inlet. Motor issue. | Unplug and check the air inlet for obstructions. If noise persists, contact support. |
7. Specifications
| Feature | Detail |
|---|---|
| Model Number | ALTEO PLUS 1875 W (REF 8 22 1043 / REF 8 22 1044) |
| Power | 1875W |
| Power Source | Corded Electric |
| Special Feature | Ionic Technology |
| Material | Plastic |
| Color | White |
| Product Dimensions (LxWxH) | 20.8 x 8.8 x 22 cm |
| Manufacturer | A H International |
8. Warranty and Support
For information regarding warranty coverage, service, or technical support, please refer to the warranty card included with your product or contact the retailer where the product was purchased. Keep your proof of purchase for warranty claims.


