1. Product Overview
The GOWENIC L8 Back Clip On Conference Camera is a compact, portable video recording device designed for various applications including meetings, lectures, outdoor activities, and evidence gathering. It features 1080P high-definition video recording, a wide-angle lens, motion detection, and night vision capabilities.

Figure 1: GOWENIC L8 Back Clip On Conference Camera. This image displays the compact design of the camera with its integrated back clip, suitable for discreet placement or wearing.
2. What's in the Box
Verify that all components are present upon unboxing:
- GOWENIC L8 Back Clip On Conference Camera
- USB Charging Cable
- User Manual (this document)

Figure 2: Package Contents. The image shows the GOWENIC L8 camera, a USB charging cable, and a USB adapter, representing the typical items included in the product package.
3. Product Components and Controls
Familiarize yourself with the camera's physical features and controls:
- Lens: 180-degree wide-angle lens for capturing broad views.
- Indicator Lights: Provide status feedback (e.g., recording, charging).
- Power Button: Turns the device on/off.
- Mode Button: Switches between video, photo, and audio recording modes.
- Record Button: Initiates and stops recording.
- USB Port: For charging and data transfer.
- MicroSD Card Slot: For memory expansion (supports up to 64GB).
- Back Clip: Allows for easy attachment to clothing or surfaces.

Figure 3: Camera Front View. A detailed view of the camera's front, highlighting the lens and control buttons for operation.

Figure 4: Camera USB Port. This image shows the Micro USB port located on the camera, used for charging and connecting to a computer.
4. Setup
4.1 Charging the Battery
Before first use, fully charge the camera's internal 800mAh lithium battery. A full charge provides approximately 600 minutes of continuous recording time.
- Connect the camera to a USB power source (e.g., computer, wall adapter) using the provided USB cable.
- The indicator light will show charging status (refer to specific light behavior in the camera's quick start guide if available).
- Once fully charged, disconnect the camera. The camera supports recording while charging.
4.2 Inserting a Memory Card
The camera requires a MicroSD card (not included) for storing recordings. It supports cards up to 64GB.
- Ensure the camera is powered off.
- Locate the MicroSD card slot on the camera.
- Gently insert the MicroSD card into the slot until it clicks into place. Ensure the card is oriented correctly.
- To remove, gently push the card in again until it springs out.
Note: It is recommended to format the MicroSD card before first use with the camera to ensure optimal performance. Refer to the "Operating Instructions" section for formatting steps if available, or format via a computer.
4.3 Powering On/Off
- To Power On: Press and hold the Power button for a few seconds until the indicator light illuminates.
- To Power Off: Press and hold the Power button for a few seconds until the indicator light turns off.
5. Operating Instructions
5.1 Video Recording (1080P)
The camera records video in 1080P resolution with a 180-degree wide-angle view.
- Ensure the camera is powered on and in video mode (check indicator light). If not, press the Mode button to switch to video mode.
- Press the Record button once to start video recording. The indicator light will change to confirm recording is active.
- Press the Record button again to stop recording. The video file will be saved to the MicroSD card.

Figure 5: High Definition 1080P Recording. The camera is shown in a meeting environment, illustrating its capability to capture clear, detailed video in 1080P resolution.
5.2 Loop Recording
The camera supports loop recording, which automatically overwrites the oldest files when the memory card is full.
- This feature is typically enabled by default. Consult the camera's specific settings if you need to disable or adjust loop recording parameters.
- Recordings are saved in segments (e.g., 5-minute intervals) to prevent data loss in case of power interruption.
5.3 Motion Detection Recording
The camera can automatically start recording when motion is detected, saving power and storage space.
- Power on the camera.
- Switch to motion detection mode (refer to specific button presses in the camera's quick start guide).
- When motion is detected, the camera will automatically record for 5 minutes, save the footage, and then return to standby, ready to detect further motion.
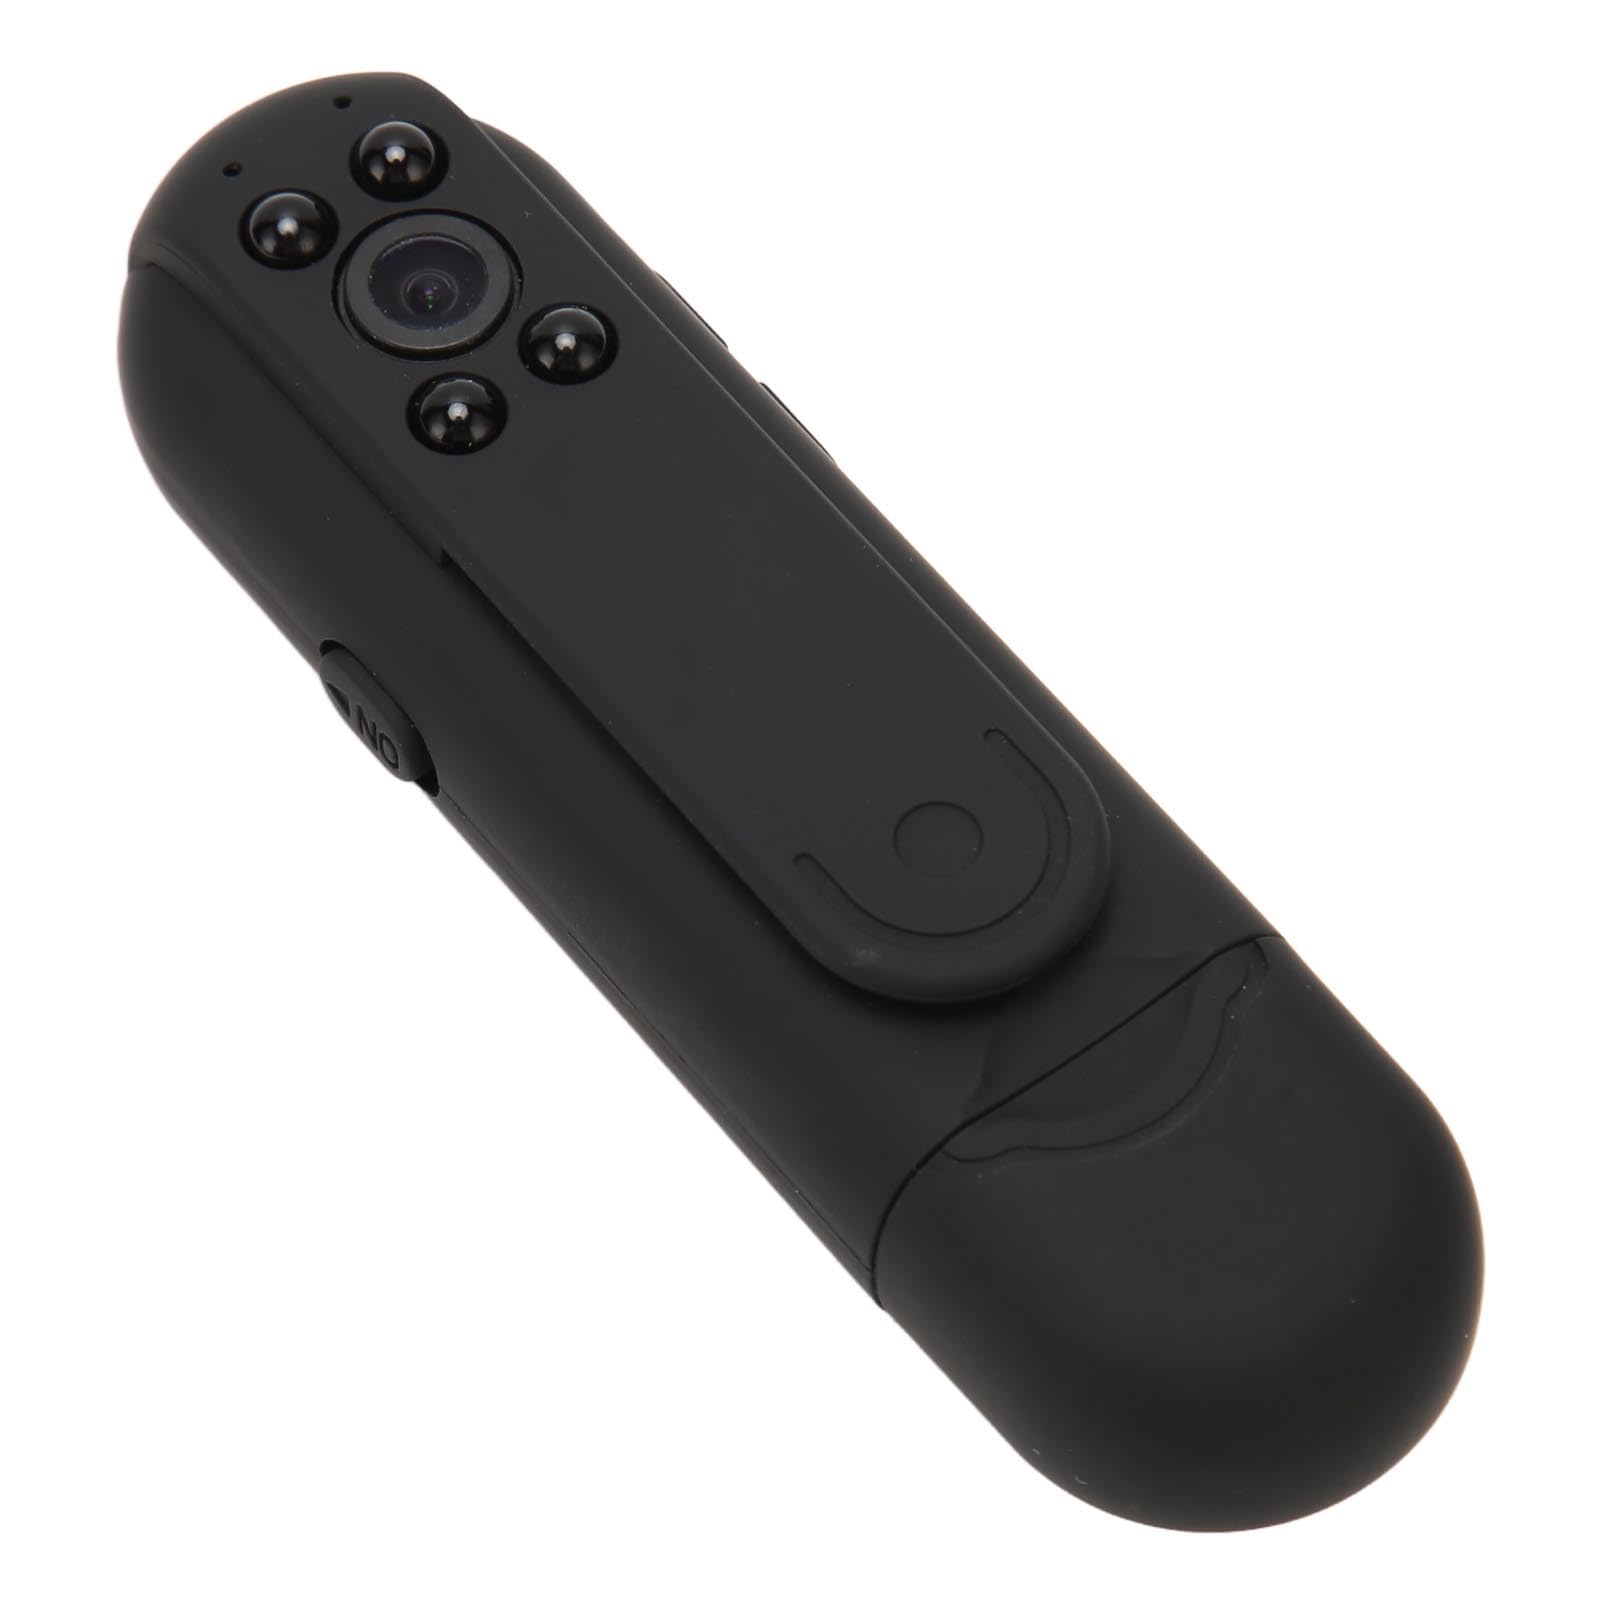
Figure 6: Motion Detection and Night Vision. This image illustrates the camera's ability to detect motion and record in low-light conditions, with its night vision lights.
5.4 Night Vision
The camera is equipped with built-in night vision lights for recording in low-light or dark environments.
- Night vision typically activates automatically in low light conditions.
- The night vision lights are designed to be silent and discreet.
5.5 Taking Photos
- Power on the camera.
- Press the Mode button to switch to photo mode (check indicator light).
- Press the Record button once to take a photo. The image will be saved to the MicroSD card.
5.6 Audio Recording
The camera can also record audio independently.
- Power on the camera.
- Press the Mode button to switch to audio recording mode (check indicator light).
- Press the Record button once to start audio recording.
- Press the Record button again to stop recording. The audio file will be saved.
5.7 Connecting to a Computer
To access recorded files or charge the camera:
- Ensure the camera is powered off.
- Connect the camera to your computer using the provided USB cable.
- The camera will be recognized as a removable disk. You can then browse, copy, or delete files from the MicroSD card.
5.8 Setting Time Stamp
The camera supports time stamping on recordings. The method for setting the time stamp usually involves creating a specific text file on the MicroSD card with the current date and time. Refer to the camera's quick start guide for precise instructions on how to create and apply the time stamp file.
6. Maintenance
- Cleaning: Use a soft, dry cloth to clean the camera body. For the lens, use a specialized lens cleaning cloth and solution. Avoid abrasive materials or harsh chemicals.
- Storage: Store the camera in a cool, dry place away from direct sunlight and extreme temperatures. If storing for extended periods, ensure the battery is partially charged (around 50%) to prolong its lifespan.
- Battery Care: Avoid fully discharging the battery frequently. Charge the camera regularly even if not in use to maintain battery health.
- Firmware Updates: Check the manufacturer's website periodically for any available firmware updates that may improve performance or add features.
7. Troubleshooting
| Problem | Possible Cause | Solution |
|---|---|---|
| Camera does not power on. | Low battery; device malfunction. | Charge the battery fully. If problem persists, contact support. |
| Cannot record video/photo. | No MicroSD card; MicroSD card full or corrupted; incorrect mode. | Insert a MicroSD card. Check card capacity and format if necessary. Ensure camera is in the correct recording mode. |
| Poor video quality. | Dirty lens; low light conditions; camera movement. | Clean the lens. Ensure adequate lighting or use night vision. Stabilize the camera during recording. |
| Computer does not recognize camera. | Loose USB connection; camera not powered off; driver issue. | Ensure USB cable is securely connected. Power off the camera before connecting. Try a different USB port or cable. |
8. Specifications
| Feature | Detail |
|---|---|
| Model Name | L8 (GOWENICev1i0fx27g) |
| Video Capture Resolution | 1080p |
| Video Capture Format | MOV |
| Lens Type | 180-degree Wide Angle |
| Special Feature | Night Vision, Motion Detection, Loop Recording |
| Battery Capacity | 800mAh Lithium Battery |
| Recording Time | Up to 600 minutes (approx. 10 hours) |
| Memory Expansion | MicroSD card, supports up to 64GB |
| Connectivity Technology | USB |
| Item Weight | 4.6 ounces |
9. Warranty and Support
GOWENIC products are designed for reliability and performance. For warranty information, technical support, or service inquiries, please refer to the contact details provided on the product packaging or visit the official GOWENIC website.
Please retain your proof of purchase for warranty claims.