
VEVOR ET1611
Contents
VEVOR 20V Cordless Pole Hedge Trimmer User Manual
Model: ET1611
Brand: VEVOR
1. Safety Information
Your safety and the safety of others are very important. Please read and understand all safety instructions before operating this tool.
General Safety Warnings
- Always wear appropriate personal protective equipment (PPE) including safety glasses, gloves, and hearing protection when operating the hedge trimmer.
- Keep hands, face, and feet away from the blades.
- Ensure the work area is clear of debris, children, and bystanders.
- Do not operate the trimmer in wet conditions or near power lines.
- Before performing any maintenance, cleaning, or storage, always remove the battery pack.
- Users need to press two buttons simultaneously to start the trimmer. This dual-switch design reduces the risk of accidental activation and enhances user safety.
- Store the blade in the included protective cover when not in use to prevent scratches and ensure waterproof and rustproof protection.
2. Product Overview
The VEVOR 20V Cordless Pole Hedge Trimmer is designed for efficient and convenient trimming of hedges, shrubs, and high branches. It features an 18-inch double-edged steel blade and a telescoping design for extended reach.
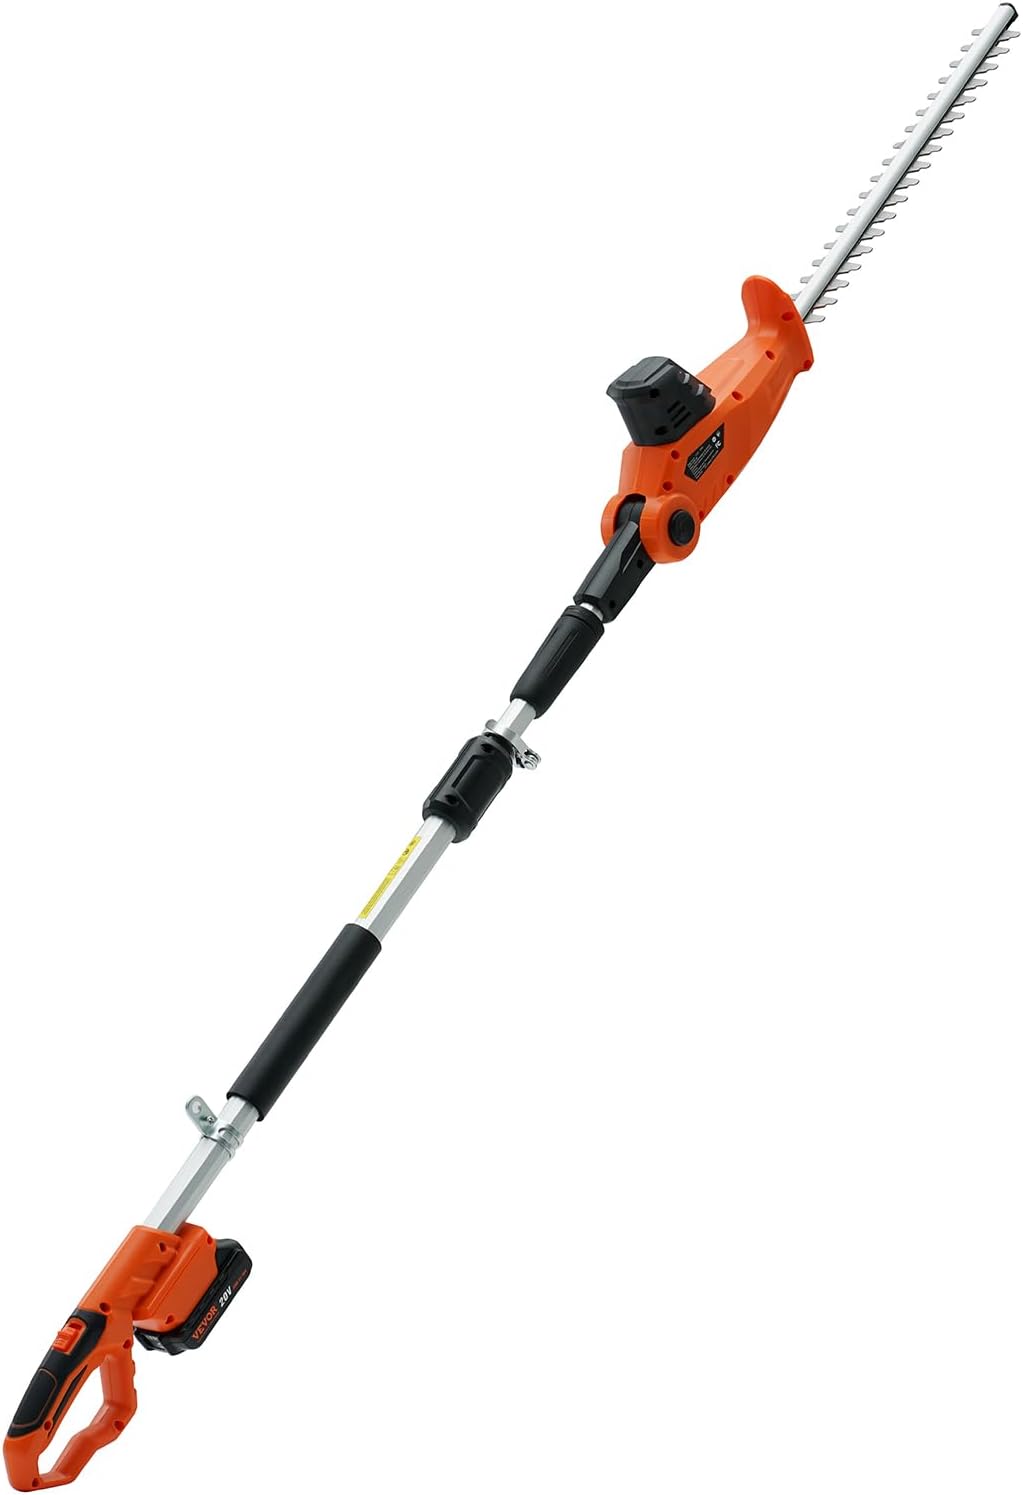
Figure 2.1: VEVOR 20V Cordless Pole Hedge Trimmer, showing its full extended form.
Key Features:
- 2-in-1 Hedge Trimmer: Adjustable height range of 74-94 inches (188-239 cm) for trimming at various heights.
- Clean Cutting Effect: 18-inch hardened steel blade with a 5/8 inch cutting thickness. High-power pure copper motor reaches up to 17,500 RPM.
- Lightweight and Flexible: Trimmer head rotates from 30° to 150° with five adjustable angles. Lightweight body and shoulder strap for stability.
- Long-lasting Working Time: Includes a 20V, 2.0Ah high-capacity battery and a fast charger. 1 hour charging time provides extended operation.
- Double Safety Switches: Equipped with both a main handle switch and a sub-handle switch for secure operation. Releasing either switch immediately stops the blade.

Figure 2.2: Diagram highlighting key components and features such as the sub handle switch, 5/8 inch cutting capacity, dual action hardened steel blade, safety lock, easy installation, and double safety switch.

Figure 2.3: Close-up of the 18-inch dual-action cutting blade, demonstrating its sharpness and 5/8 inch cutting capacity, with before and after trimming examples.
3. Setup
3.1 Charging the Battery
Before first use, fully charge the 20V 2.0Ah battery. Connect the 21V fast charger to a power outlet and then connect the battery to the charger. A full charge typically takes approximately 1 hour.

Figure 3.1: The 20V 2.0Ah battery and 21V fast charger, illustrating the long battery life after a 1-hour charge.
3.2 Assembly
The hedge trimmer features a modular design for easy assembly. Simply align the two pole sections and tighten them securely. No additional tools are required for this step.

Figure 3.2: Detailed view of the product dimensions and package content, including the hedge trimmer, blade cover, battery, and charger, which aids in assembly understanding.
3.3 Attaching the Shoulder Strap
Attach the provided shoulder strap to the designated points on the trimmer. Adjust the strap length for comfortable and balanced operation, especially when working at elevated positions.
4. Operating Instructions
4.1 Adjusting Length and Angle
The trimmer's extendable pole allows for an adjustable length from 74 to 94 inches (188-239 cm). To adjust, loosen the locking mechanism on the pole, extend or retract to the desired length, and then securely tighten the lock.

Figure 4.1: A user demonstrating the extended reach of the hedge trimmer, capable of reaching up to 94 inches for high branches.
The trimmer head can be adjusted to five different angles, ranging from 30° to 150°. This flexibility allows for various trimming tasks, including high reach, flat surface trimming, spherical trimming, and lawn trimming.

Figure 4.2: Illustration of the 30-150° adjustable angle feature of the trimmer head, showing its versatility for different trimming environments.
4.2 Starting and Stopping the Trimmer
To start the trimmer, ensure the battery is properly inserted. Press and hold both the main handle switch and the sub-handle switch simultaneously. The blade will begin to operate. To stop the trimmer, simply release either switch, and the blade will immediately cease movement.

Figure 4.3: A user actively trimming a hedge with the VEVOR cordless pole hedge trimmer, demonstrating its practical application.
4.3 Trimming Techniques
- For best results, use a sweeping motion, cutting small amounts of material at a time.
- Avoid forcing the blade through thick branches. If the blade jams, release the switches immediately and clear the obstruction.
- When trimming high branches, maintain a stable stance and use the shoulder strap for better control and reduced fatigue.
5. Maintenance
5.1 Blade Care
- After each use, clean the blades of sap and debris using a stiff brush and a suitable cleaning solution.
- Periodically lubricate the blades with light machine oil to ensure smooth operation and prevent rust.
- Always store the blade in its protective cover when not in use.

Figure 5.1: The VEVOR hedge trimmer with its protective blade cover, emphasizing safe storage.
5.2 Battery and Charger Care
- Store the battery in a cool, dry place away from direct sunlight and extreme temperatures.
- Do not expose the battery or charger to water or moisture.
- If the battery will not be used for an extended period, charge it partially (around 50%) before storage.
5.3 General Cleaning and Storage
- Wipe down the body of the trimmer with a damp cloth. Do not use harsh chemicals or abrasive cleaners.
- Store the trimmer in a secure, dry location, out of reach of children.
6. Troubleshooting
6.1 Trimmer Not Starting
- Check Battery: Ensure the battery is fully charged and properly inserted into the tool.
- Safety Switches: Confirm that both the main handle switch and the sub-handle switch are being pressed simultaneously.
- Obstruction: Check for any debris or material jamming the blades. Remove the battery before inspecting.
6.2 Blades Not Cutting Effectively
- Blade Cleanliness: Clean the blades of any accumulated sap or debris.
- Blade Sharpness: If blades are dull, they may need sharpening or replacement. Consult a qualified service technician.
- Overload: Avoid trying to cut branches thicker than the recommended 5/8 inch capacity.
6.3 Battery Not Charging
- Charger Connection: Ensure the charger is securely plugged into a working power outlet and the battery is correctly seated in the charger.
- Battery Condition: If the battery is old or damaged, it may need replacement.
- Temperature: Ensure the battery and charger are within the recommended operating temperature range.
7. Specifications
| Specification | Value |
|---|---|
| Item Model Number | ET1611 |
| Net Weight | 7.9 lbs / 3.58 kg |
| Product Dimensions | 34.45±0.4 x 3.94±0.2 x 5.91±0.2 inch / 875±10 x 100±6 x 150±6 mm |
| Extendable Length | 74-94 inch / 188-239 cm |
| Blade Length | 18 inches |
| Cutting Thickness | 5/8 inch |
| Motor Speed | Up to 17,500 RPM |
| Battery Type | 20V 2.0Ah Lithium Metal |
| Charger Type | 21V Fast Charger |
| Adjustable Head Angle | 30° to 150° (5 positions) |
| Material | Double-edged steel (blade) |
| Color | Orange |
| UPC | 840349926681 |
8. Warranty and Support
For warranty information and customer support, please refer to the documentation included with your product or visit the official VEVOR website. Keep your purchase receipt as proof of purchase for any warranty claims.
If you encounter any issues not covered in this manual, please contact VEVOR customer service for assistance.
Ask a question about this manual
Ask about setup, troubleshooting, compatibility, parts, safety, or missing instructions. Manuals+ will review the question and use this page’s manual context to help answer it.