
Introduction
This manual provides detailed instructions for the installation, operation, and maintenance of your Tosuny 15.7-inch Magnetic ARGB 5V Aura Sync PC LED Light Strip. Please read this manual thoroughly before use to ensure proper functionality and safety.
Safety Information
- Ensure your computer's power is off and unplugged before installation.
- Handle the LED strip carefully to avoid damage to the LEDs or wiring.
- Connect the LED strip only to a compatible 5V ARGB header on your motherboard. Connecting to a 12V RGB header will damage the product.
- Do not expose the product to water or excessive moisture. This product is not waterproof.
- Keep out of reach of children.
Package Contents
Verify that all items are present in your package:
- 1 x Tosuny 15.7-inch Magnetic ARGB PC LED Light Strip
- 1 x 500mm Power Cord with connectors
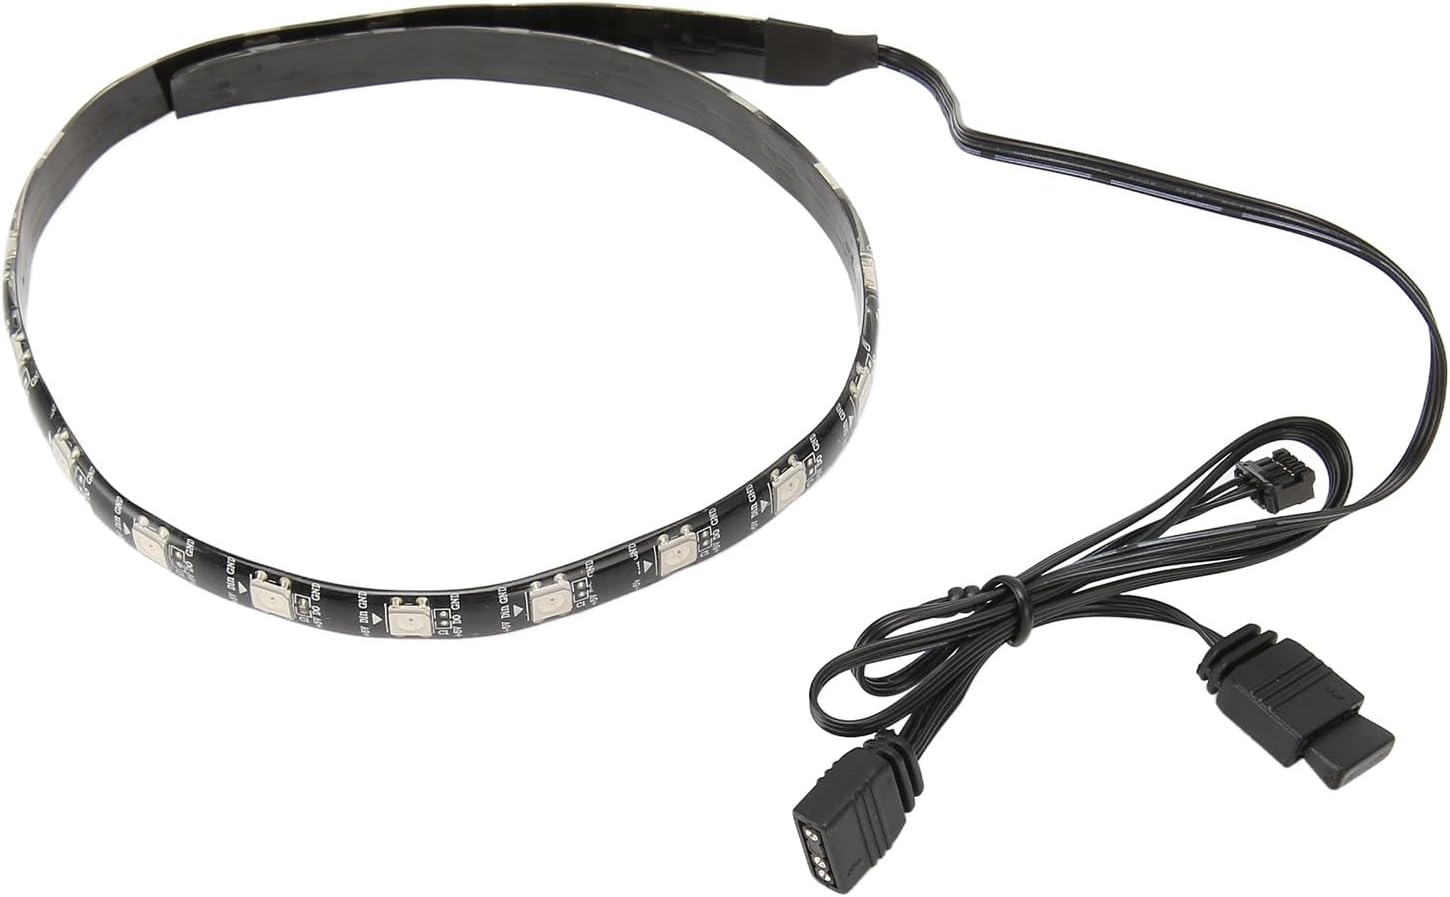
Image: The Tosuny Magnetic ARGB PC LED Light Strip shown with its included 500mm power cord and various connectors, illustrating all components in the package.
Setup and Installation
- Prepare your PC: Power off your computer and unplug it from the wall outlet. Open your PC case to access the interior.
- Identify ARGB Header: Locate a 5V ARGB (Addressable RGB) header on your motherboard. This is typically a 3-pin header labeled 'ADD_HEADER', 'ARGB', or '5V-D-G'. Do not connect to a 12V RGB header.

Image: A computer case interior showcasing the Tosuny ARGB LED strip installed and connected to a 5V ARGB header on the motherboard, demonstrating proper connection for Aura Sync functionality.
- Position the LED Strip: The Tosuny LED strip features multiple built-in magnets for easy attachment to any ferrous surface within your PC chassis. Carefully place the strip in your desired location inside the case. The flexible design allows for various placements.

Image: A close-up view of the Tosuny LED strip, highlighting the integrated magnets on its underside, which facilitate easy and secure attachment to a PC chassis.
- Connect the Power Cord: Connect one end of the 500mm power cord to the LED strip. Then, connect the other end of the power cord to the 5V ARGB header on your motherboard. Ensure the connection is secure and correctly oriented.
- Cable Management: Route the cables neatly to avoid interference with other components and to maintain good airflow within your PC case.
- Close PC Case: Once all connections are secure and cables are managed, close your PC case.
Operating Instructions
The Tosuny ARGB LED Light Strip is designed for software control via your motherboard's 5V ARGB Aura Sync software. This allows for extensive customization of lighting effects.
- Power On PC: Plug in your computer and power it on.
- Install Motherboard Software: If not already installed, download and install the appropriate ARGB control software for your motherboard (e.g., ASUS Aura Sync, MSI Mystic Light, Gigabyte RGB Fusion, ASRock Polychrome Sync). Refer to your motherboard's manual or manufacturer's website for the correct software.
- Customize Lighting: Open the ARGB control software. The Tosuny LED strip should be detected as an addressable RGB device. You can now:
- Select from 365 pre-programmed lighting effects.
- Choose from 16 million customizable colors.
- Synchronize lighting with other ARGB components in your system.

Image: The Tosuny LED strip illuminated with a solid warm yellow color, demonstrating one of the many possible lighting effects and customizable colors.

Image: A collage of six images showing the Tosuny LED strip displaying different solid colors including red, green, blue, pink, white, and light blue, illustrating the wide range of color customization options.
Maintenance
The Tosuny LED Light Strip requires minimal maintenance.
- Cleaning: If dust accumulates on the strip, gently wipe it with a soft, dry, anti-static cloth. Do not use liquid cleaners or abrasive materials.
- Inspection: Periodically check the connections to ensure they remain secure.
- Storage: If removing the strip for storage, ensure it is clean and stored in a dry, cool place away from direct sunlight.
Troubleshooting
If you encounter issues with your LED light strip, refer to the following common problems and solutions:
| Problem | Possible Cause | Solution |
|---|---|---|
| LED strip does not light up. | Incorrect connection, loose cable, incompatible header, software issue. | Ensure the strip is securely connected to a 5V ARGB header. Check if the motherboard ARGB software is running and the strip is enabled. Restart your PC. |
| Colors are incorrect or flickering. | Software settings, loose connection. | Verify color settings in your motherboard's ARGB software. Ensure the connection to the motherboard header is firm. Update motherboard drivers and ARGB software. |
| Strip is not detected by software. | Incorrect connection, outdated software/drivers. | Confirm connection to a 5V ARGB header. Update your motherboard's BIOS, chipset drivers, and ARGB control software to the latest versions. |
Specifications
| Feature | Detail |
|---|---|
| Model Number | Tosunyecmf795y2h |
| Length | Approx. 15.7 inches (40 cm) |
| Power Cord Length | Approx. 19.7 inches (500 mm) |
| Voltage | 5V DC |
| Connectivity | 5V ARGB (Addressable RGB) Aura Sync |
| Light Type | LED |
| Material | LED, PVC |
| Attachment | Magnetic |
| Light Effects | 365 modes, 16 million customizable colors |
| Usage Environment | Indoor |
Warranty and Support
For warranty information or technical support, please refer to the retailer where you purchased this product or visit the official Tosuny website. Keep your proof of purchase for any warranty claims.