
1. Introduction
The CHI Original 1-inch Digital Ceramic Hair Straightener in Black is designed to transform your hair styling routine. This professional-grade tool features advanced digital technology and ceramic plates, providing precision and versatility for achieving salon-quality results. It is suitable for creating sleek straight hair, bouncy curls, or waves efficiently and effectively.

Image 1.1: The CHI Original Digital Ceramic Hair Straightener in Black.
2. Safety Information
Please read all safety instructions carefully before using this appliance. Failure to follow these instructions may result in electric shock, fire, or personal injury.
- Burn Hazard: Surfaces of the straightener become extremely hot during use. Avoid direct contact with skin, especially the scalp, ears, and neck. Use caution when handling.
- Electric Shock Risk: Keep the appliance away from water. Do not use it near bathtubs, sinks, showers, or any other water sources. If the appliance falls into water, do not reach for it. Unplug it immediately.
- Fire Risk: Unplug the appliance when not in use. Do not leave it unattended when plugged into an electrical outlet. Ensure the straightener is placed on a heat-resistant surface when hot.
- Children: Keep this appliance out of reach of children.
- Auto Shut-off: This product is equipped with an automatic shut-off feature for added safety.
- Always inspect the cord for damage before use. Do not use if the cord is damaged.
- Do not wrap the cord around the appliance when storing, as this can damage the cord.
3. Setup
- Unpack: Carefully remove the hair straightener from its packaging. Retain the packaging for future storage or transport.
- Inspect: Check the appliance for any visible damage. Ensure the ceramic plates are clean and free from debris.
- Placement: Place the straightener on a flat, heat-resistant surface, away from water and flammable materials.
- Plug In: Insert the power cord into a standard electrical outlet.

Image 3.1: The digital display and controls for temperature adjustment.
4. Operating Instructions
4.1 Powering On and Temperature Adjustment
- Power On: Press and hold the power button until the digital display illuminates.
- Select Temperature: Use the '+' and '-' buttons to adjust the temperature. The digital display will show the selected temperature. The maximum temperature setting is 425°F.
- Heat Up: Allow the straightener to heat up to the desired temperature. The fast heat-up design ensures it reaches temperature quickly.
4.2 Hair Preparation and Styling
- Prepare Hair: Ensure hair is clean, dry, and free of tangles. Apply a heat protectant spray evenly throughout your hair.
- Section Hair: Divide your hair into one to two-inch sections using clips.
- Straightening: Take one section of hair and place it between the ceramic plates, close to the roots. Gently clamp the plates together and glide the straightener down the length of the hair in a fluid, continuous motion. Avoid holding the straightener in one place for too long to prevent heat damage.
- Curling/Waving: For curls or waves, clamp a section of hair near the roots, then rotate the straightener 180 degrees as you slowly glide it down the hair shaft. The curved floating plates facilitate various styling techniques.
- Repeat: Continue with remaining sections until desired style is achieved.

Image 4.1: Demonstrating hair styling with the straightener.
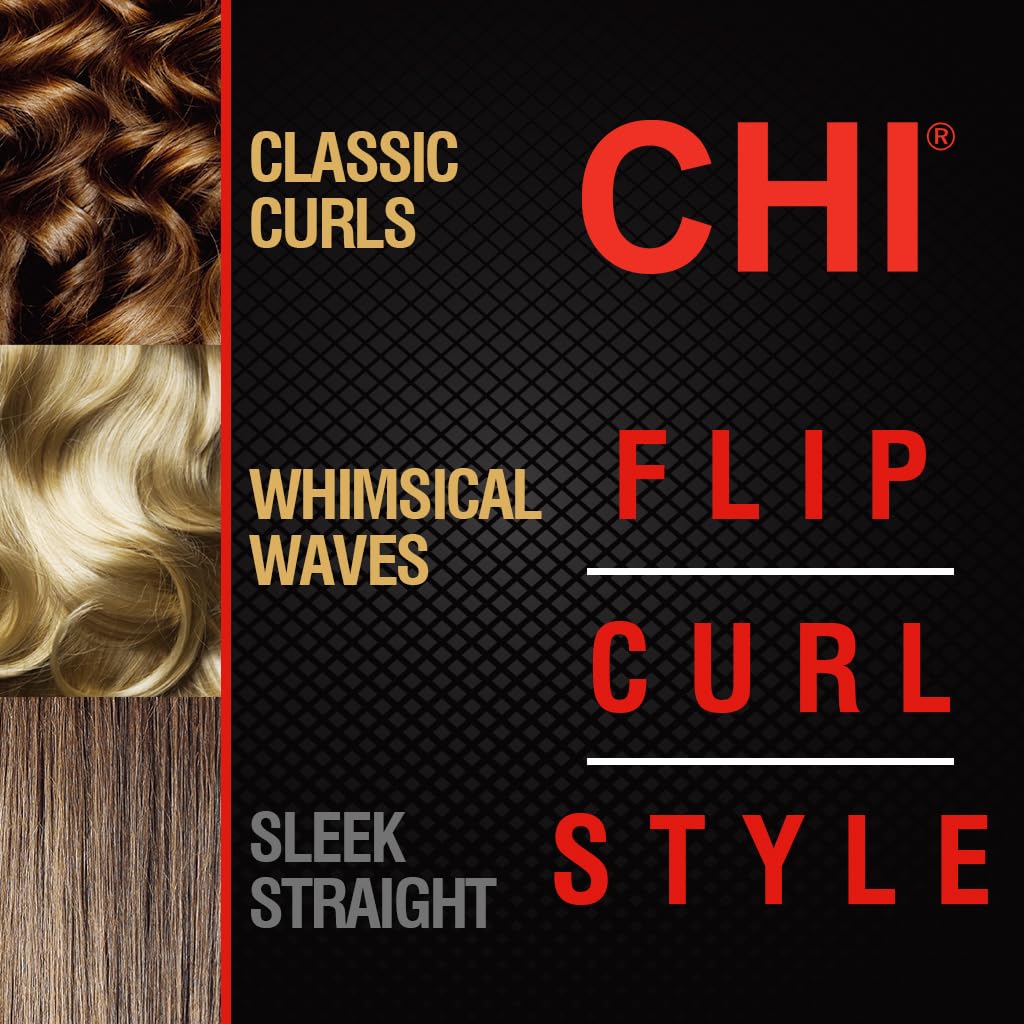
Image 4.2: Versatile styling options from straight to curly.
4.3 Product Overview Video
Video 4.1: An official product overview demonstrating key features and usage of the CHI Digital Ceramic Hair Straightener.
5. Maintenance
5.1 Cleaning
- Unplug and Cool: Always unplug the straightener from the power outlet and allow it to cool completely before cleaning.
- Wipe Plates: Use a soft, damp cloth to gently wipe the ceramic plates. Do not use abrasive cleaners or harsh chemicals, as these can damage the ceramic coating.
- Clean Exterior: Wipe the exterior of the appliance with a soft, dry cloth.
- Dry Thoroughly: Ensure all parts are completely dry before storing or next use.
5.2 Storage
- Store the cooled straightener in a dry, safe place, away from moisture and extreme temperatures.
- Do not wrap the power cord tightly around the appliance, as this can cause damage to the cord over time.
6. Troubleshooting
| Problem | Possible Cause | Solution |
|---|---|---|
| Straightener does not turn on. | Not plugged in correctly, power outlet issue, or internal fault. | Ensure the power cord is securely plugged into a working electrical outlet. Test the outlet with another appliance. If the problem persists, contact customer support. |
| Straightener is not heating up. | Temperature setting too low, internal heating element issue. | Check the digital display to ensure a desired temperature is set. Allow sufficient time for heating. If no heat is detected, contact customer support. |
| Hair is snagging or pulling. | Hair not properly detangled, product buildup on plates, or damaged plates. | Ensure hair is thoroughly detangled before styling. Clean the ceramic plates as per maintenance instructions. If plates appear damaged, discontinue use and contact customer support. |
| Auto shut-off activates too soon. | Normal operation (safety feature) or power fluctuation. | The auto shut-off is a safety feature. If it occurs frequently during active use, ensure a stable power supply. |
7. Specifications
| Feature | Detail |
|---|---|
| Brand | CHI |
| Model Name | Digital Ceramic Hairstyling Iron |
| Model Number | CA1032A |
| Plate Size | 1 inch |
| Plate Material | Ceramic |
| Max Temperature | 425 °F |
| Power Source | Corded Electric |
| Product Dimensions | 4.7 x 2.8 x 2.8 inches |
| Item Weight | 1.54 pounds |
| Hair Type Compatibility | All hair types |
| Special Features | Digital temperature control, Even heat distribution, Frizz control, Auto shut-off |
8. Warranty & Support
For warranty information and customer support, please refer to the documentation included with your product or visit the official CHI website. You can also visit the CHI Store on Amazon for additional product details and support resources.
Keep your purchase receipt as proof of purchase for any warranty claims.