
1. Product Overview
The STOCKER Geyser Mini Nebulizer is a compact and lightweight 2-liter Li-Ion battery-powered sprayer designed for efficient and homogeneous distribution of liquids. It operates at 2.5 bar pressure and features two ultra-fine atomizing nozzles, making it suitable for various applications, including pest control. Its modern design and portability ensure ease of use in different environments.
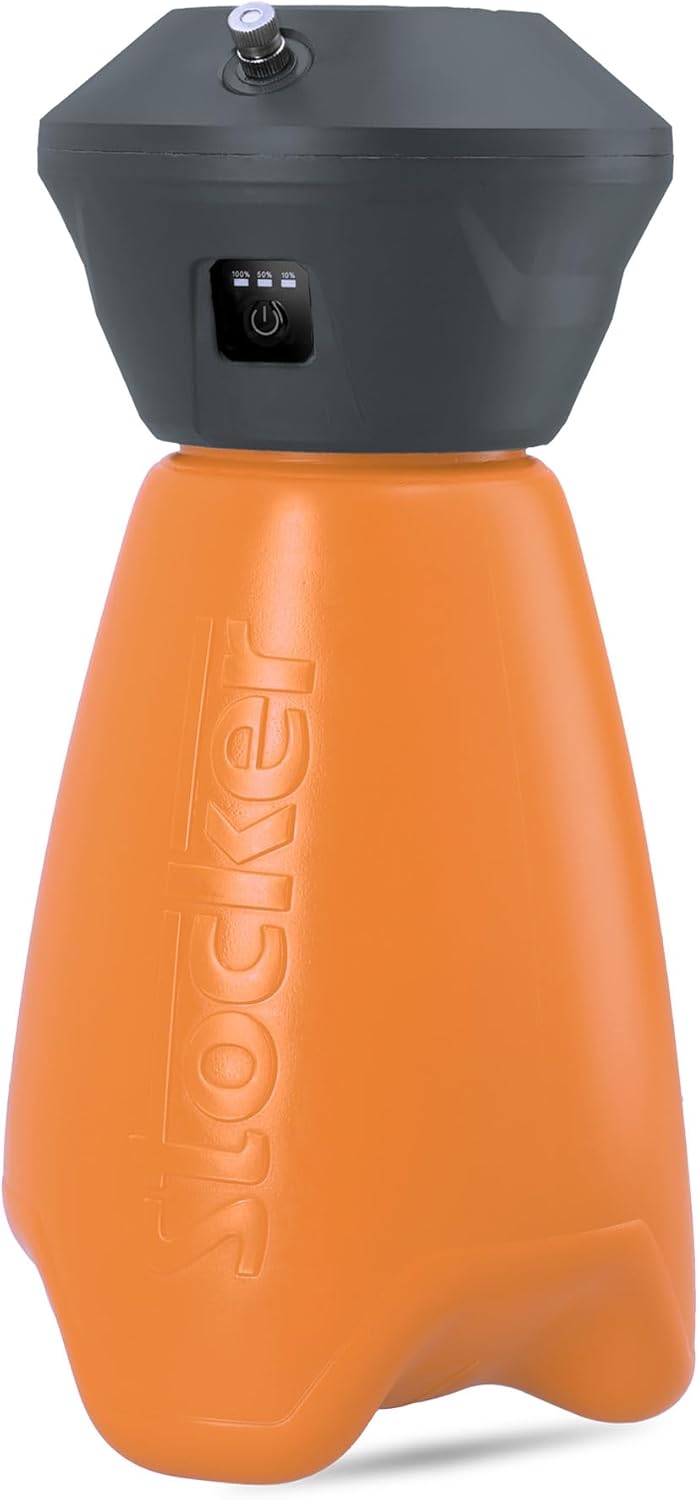
Figure 1.1: The STOCKER Geyser Mini Nebulizer 2L, showcasing its compact design and orange base.
2. Safety Information
Read all instructions carefully before using the nebulizer. Failure to follow safety guidelines may result in injury or damage to the product.
- Personal Protective Equipment: Always wear appropriate personal protective equipment (PPE) such as gloves, eye protection, and a mask when handling and spraying chemicals.
- Chemical Handling: Follow the instructions and safety warnings provided by the manufacturer of the liquid being sprayed. Do not mix incompatible chemicals.
- Ventilation: Use the nebulizer in well-ventilated areas. Avoid inhaling the spray mist.
- Battery Safety: Use only the provided USB charging cable. Do not expose the battery to extreme temperatures, direct sunlight, or moisture. Do not attempt to open or modify the battery pack.
- Children and Pets: Keep the nebulizer and any sprayed areas out of reach of children and pets.
- Storage: Store the nebulizer in a cool, dry place, away from direct sunlight and freezing temperatures. Ensure the tank is empty and clean before storage.
- Electrical Safety: Do not immerse the nebulizer's electrical components in water. Disconnect from power before cleaning or maintenance.
3. Setup
3.1 Unboxing and Components
Carefully remove all components from the packaging. Verify that all parts are present according to the packing list.

Figure 3.1: Packaging contents, including the nebulizer unit, two nozzles, and a USB charging cable.
3.2 Charging the Battery
The nebulizer is equipped with a 3.6V Li-Ion rechargeable battery. Before first use, fully charge the battery.
- Locate the charging port on the nebulizer unit.
- Connect the provided USB charging cable to the nebulizer and to a suitable USB power adapter (not included).
- Allow the unit to charge until the battery indicator shows a full charge.
Note: A full charge ensures optimal performance and battery life.
3.3 Filling the Tank
The nebulizer has a 2-liter tank capacity. Ensure the unit is turned off before filling.
- Unscrew the top section of the nebulizer from the base.
- Carefully pour the desired liquid (e.g., pest control solution) into the 2-liter tank. Do not overfill.
- Securely screw the top section back onto the base, ensuring a tight seal to prevent leaks.

Figure 3.2: Close-up view of the two ultra-fine atomizing nozzles on the nebulizer head.
4. Operating Instructions
4.1 Powering On and Off
To power on the nebulizer, press and hold the power button located on the unit until the indicator light illuminates. To power off, press and hold the power button again until the light turns off.

Figure 4.1: A user demonstrating interaction with the nebulizer's control panel.
4.2 Timer Functions
The nebulizer features two timer intervals for automated operation:
- 3-Hour Interval: Activates with a single beep (1 bip). The nebulizer will spray for a set duration, then pause for 3 hours before repeating the cycle.
- 12-Hour Interval: Activates with a double beep (2 bip). The nebulizer will spray for a set duration, then pause for 12 hours before repeating the cycle.
A 30-second acoustic signal will precede the start of each spraying cycle, allowing users to move away from the area.
4.3 Spraying Operation
Once powered on and a timer interval is selected, the nebulizer will begin its operation. The two ultra-fine nozzles ensure homogeneous distribution of the liquid.

Figure 4.2: The nebulizer actively spraying a fine mist, demonstrating its coverage.
Position the nebulizer in the desired area, ensuring the spray can reach the target zone effectively. The unit is designed for optimal portability, allowing flexible placement.
4.4 Official Product Video
Video 4.1: An official video demonstrating the "Geyser System Nebulizers" in operation, showcasing their features and application.
5. Maintenance
5.1 Cleaning the Tank and Nozzles
Regular cleaning is essential to prevent clogging and ensure efficient operation.
- After each use, especially when using aggressive chemicals, empty any remaining liquid from the tank.
- Rinse the tank thoroughly with clean water. For stubborn residues, use a mild detergent and rinse multiple times.
- Remove the nozzles and clean them with a soft brush or by flushing with water to clear any blockages. The nebulizer is designed to be compatible with aggressive products due to FPM gaskets.
- Allow all components to air dry completely before reassembling or storing.
5.2 Battery Care and Storage
Proper battery care extends its lifespan.
- Recharge the battery regularly, even if the nebulizer is not in frequent use, to maintain its charge level.
- Avoid completely draining the battery before recharging.
- Store the nebulizer in a cool, dry place, ideally with the battery partially charged (around 50%). Avoid extreme heat or cold, which can degrade battery performance.
6. Troubleshooting
| Problem | Possible Cause | Solution |
|---|---|---|
| Nebulizer does not turn on. | Battery is discharged. | Charge the battery using the provided USB cable. |
| No spray or weak spray. |
|
|
| Battery not charging. |
|
|
| Unit leaks. | Tank not properly sealed. | Ensure the top section is securely screwed onto the base. Check gaskets for damage. |
7. Technical Specifications
- Brand: STOCKER
- Model Number: 409
- Product Type: Electric Nebulizer
- Tank Capacity: 2 Liters
- Operating Pressure: 2.5 Bar
- Battery Type: Li-Ion
- Battery Voltage: 3.6 V
- Battery Capacity: 2.5 Ah
- Water Flow: 0.08 Liters per minute
- Dimensions (LxWxH): 9.6 x 39 x 31 cm
- Item Weight: 602 Grams
- Material: Plastic
- Color: Orange
- Nozzles: Two ultra-fine atomizing nozzles
- Gaskets: FPM (suitable for aggressive products)
8. Warranty Information
This STOCKER product is covered by a standard manufacturer's warranty against defects in materials and workmanship. The specific terms and duration of the warranty may vary by region and retailer. Please retain your proof of purchase for any warranty claims.
For detailed warranty information, please refer to the documentation included with your purchase or contact STOCKER customer support.
9. Customer Support
Should you encounter any issues not covered in this manual or require further assistance, please contact STOCKER customer support.
- Manufacturer: Stocker Srl
- Website: www.stocker.it (Note: This is a placeholder URL, please refer to official product documentation for actual support contact details.)
- Contact: Refer to the official STOCKER website or product packaging for the most up-to-date contact information.


