
VONLUCE CFN130900
VONLUCE 52-Inch Ceiling Fan with Light and Remote
Model: CFN130900
Introduction
This manual provides detailed instructions for the safe installation, operation, and maintenance of your VONLUCE 52-inch Ceiling Fan with Light and Remote. Please read this manual thoroughly before installation and retain it for future reference.
Important Safety Instructions
- Always disconnect power at the main circuit breaker before installation or servicing.
- Ensure all electrical connections comply with local codes and ordinances.
- The fan must be mounted to a ceiling joist or support structure capable of supporting at least 35 lbs (15.9 kg).
- Do not bend blade holders during installation or cleaning.
- Keep children away from the fan when it is operating.
- This fan is suitable for indoor and damp outdoor locations (not exposed to direct rain).
Package Contents
Verify that all components are present before beginning installation. If any parts are missing or damaged, contact customer service.

Image: Diagram showing the package contents including fan blades, mounting bracket, motor assembly, downrods, LED light kit, shade, remote control, and accessory pack.
- Fan Blades (x3)
- Mounting Bracket (x1)
- Fan Motor Assembly (x1)
- 5" Downrod (x1)
- 10" Downrod (x1)
- Canopy (x1)
- Coupling Cover (x1)
- LED Light Kit (x1)
- Shade (x1)
- Remote Control (x1)
- Accessory Pack (x1)
- Instructions (x1)
Specifications
| Model | CFN130900 |
| Brand | VONLUCE |
| Blade Length | 52 Inches |
| Number of Blades | 3 |
| Material | Wood (Walnut) |
| Motor Type | DC Motor |
| Fan Speeds | 6 |
| Light Color Temperature | 3000K (Warm White), 4500K (Neutral White), 6500K (Cool White) |
| Noise Level | <35 dB |
| Control Method | Remote Control |
| Timer Functions | 1H, 2H, 4H, 8H |
| Indoor/Outdoor Usage | Indoor, Outdoor (Damp-rated, not exposed to direct rain) |
| Wattage | 45 watts |
| Air Flow Capacity | 6895 Cubic Feet Per Minute |

Image: Table showing noise levels at different fan speeds, confirming ultra-quiet operation.
Installation and Setup
1. Pre-Installation Considerations
- Power Disconnection: Before starting, ensure the power is turned off at the circuit breaker to prevent electrical shock.
- Mounting Location: The fan must be installed in a location where the blades are at least 7 feet (2.1 meters) from the floor and have at least 30 inches (76 cm) clearance from any walls or obstructions.
- Ceiling Support: The outlet box and support structure must be securely mounted and capable of supporting a minimum of 35 lbs (15.9 kg).
2. Mounting Options
This fan supports both flat and vaulted ceilings (up to 10 degrees slope) and includes 5-inch and 10-inch downrods for customizable installation height.

Image: Illustrations demonstrating installation with 5-inch downrod, 10-inch downrod, and on sloped ceilings.
3. Assembly Steps (General Overview)
- Secure Mounting Bracket: Attach the mounting bracket to the ceiling outlet box.
- Assemble Downrod: Insert the chosen downrod into the canopy and feed the wires through.
- Attach Fan Motor Assembly: Connect the downrod to the fan motor assembly.
- Hang Fan: Carefully lift the fan assembly and hang it on the mounting bracket.
- Electrical Connections: Connect the fan's electrical wires to the household wiring according to the wiring diagram in the full instruction manual. Ensure the receiver for the remote control is properly installed.
- Attach Blades: Securely attach the fan blades to the motor housing.
- Install Light Kit: Connect and install the LED light kit and shade.
- Restore Power: Once all connections are secure and components are assembled, restore power at the circuit breaker.
Operation
Your VONLUCE ceiling fan is operated using the included remote control. Ensure the remote has working AAA batteries (not included).

Image: Diagram illustrating the buttons and functions of the remote control, including power, fan speed, reverse, timer, and light controls.
Remote Control Functions:
- Power On/Off: Turns the fan and light on or off.
- Fan Speed (1-6): Adjusts the fan speed from gentle breeze (1-2) to strong cooling air (5-6).
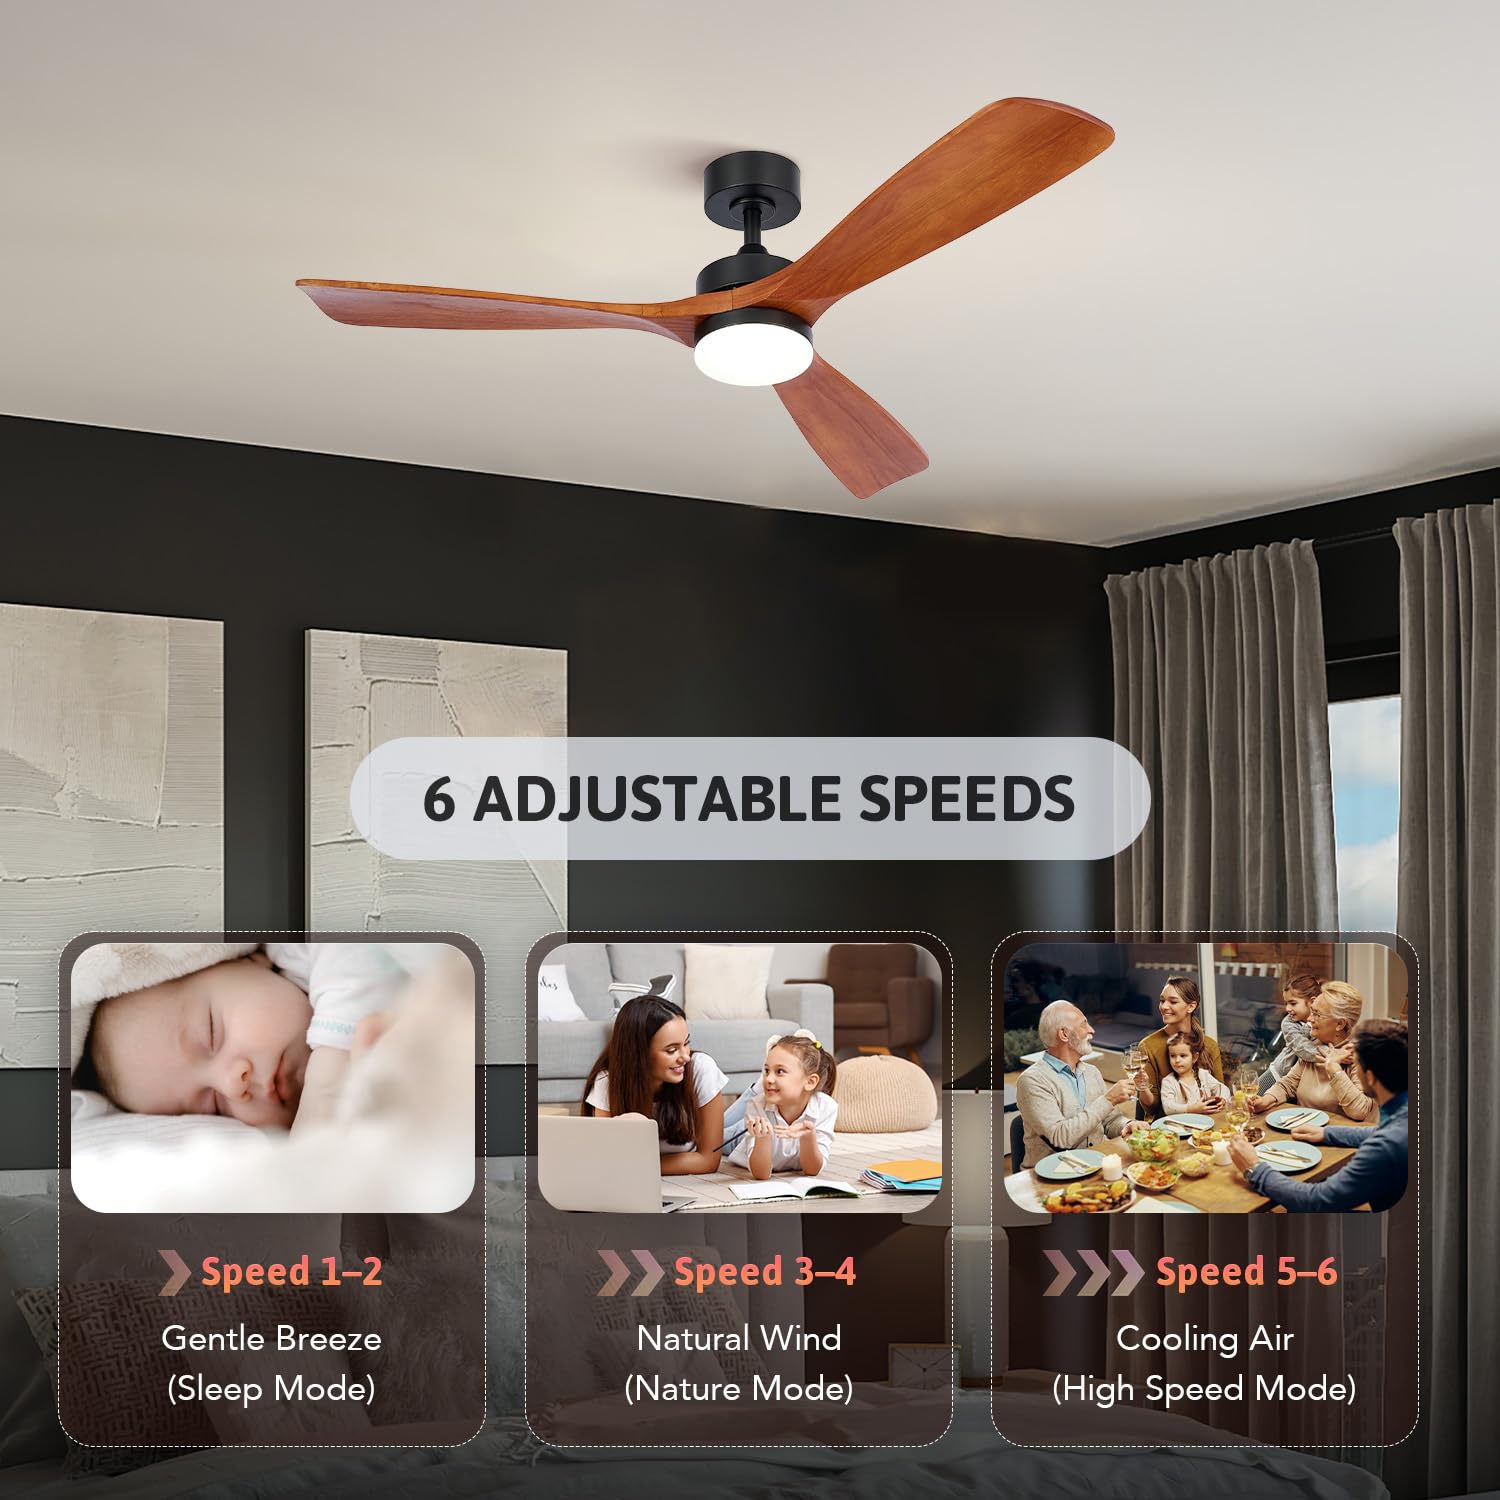
Image: Visual representation of the 6 fan speeds, categorized into gentle breeze, natural wind, and cooling air.
- Reverse Fan Direction (F/R): Changes the direction of blade rotation for summer (downward airflow) or winter (upward airflow).

Image: Illustration showing airflow direction for cooling in summer and warming in winter.
- Timer (1H, 2H, 4H, 8H): Sets the fan to turn off automatically after the selected duration.
- Light On/Off: Turns the LED light on or off.
- Light Color Temperature (3000K/4500K/6500K): Cycles through warm white, neutral white, and cool white light settings. The fan features a memory function that remembers the last light setting after 10 seconds of operation.

Image: Depiction of the three adjustable LED light color temperatures: 3000K Warm White, 4500K Neutral White, and 6500K Cool White.
- Nature Mode: Hold the "Nature Mode" button (often combined with a fan speed button or a dedicated button) for 5 seconds to activate a fluctuating fan speed that simulates natural breezes.
- Mute Fan: The fan operates at a whisper-quiet level, typically below 35dB.
Maintenance
- Cleaning: To clean the fan, wipe with a soft, damp cloth. Do not use abrasive cleaners or solvents.
- Blade Care: The wood blades are hand-finished and lacquered. Avoid harsh chemicals that could damage the finish.
- Tighten Fasteners: Periodically check and tighten all screws and fasteners to ensure safe operation.
- No Lubrication Required: The motor is permanently lubricated and does not require oiling.
Troubleshooting
| Problem | Possible Cause | Solution |
|---|---|---|
| Fan does not start |
|
|
| Fan wobbles |
|
|
| Light does not work |
|
|
| Remote control not working |
|
|
Warranty and Customer Support
VONLUCE products are designed for quality and reliability. For warranty information, technical assistance, or to report missing/damaged parts, please contact VONLUCE customer support. Refer to the product packaging or the official VONLUCE website for contact details.
Online Support: Visit the VONLUCE Store on Amazon
Related documentsCFN130900


Ask a question about this manual
Ask about setup, troubleshooting, compatibility, parts, safety, or missing instructions. Manuals+ will review the question and use this page’s manual context to help answer it.