1. Introduction
This manual provides detailed instructions for the installation, operation, and maintenance of your Fockety Solar Light Control Panel. This device is designed to power and control solar string lights, offering automatic light sensing, multiple lighting modes, and convenient remote control functionality. Please read this manual thoroughly before use to ensure proper function and longevity of your product.
2. Safety Information
- Ensure the solar panel is installed in a location that receives direct sunlight for optimal charging.
- Do not attempt to open or modify the control panel or battery compartment, as this may void the warranty and pose a safety risk.
- Keep the device away from extreme temperatures, open flames, and corrosive substances.
- This product is designed for outdoor use and is waterproof, but avoid submerging it in water.
- Dispose of batteries according to local regulations.
3. Package Contents
Verify that all components are present in your package:

Figure 3.1: All components included in the Fockety Solar Light Control Panel package.
- Solar Panel with Integrated Control Box
- Remote Control
- Ground Stake
- Wall Mount Bracket
- USB Charging Cable
- Connection Wire for Lights
- Mounting Screws and Wall Anchors
4. Product Overview
Familiarize yourself with the main parts of your solar light control panel:
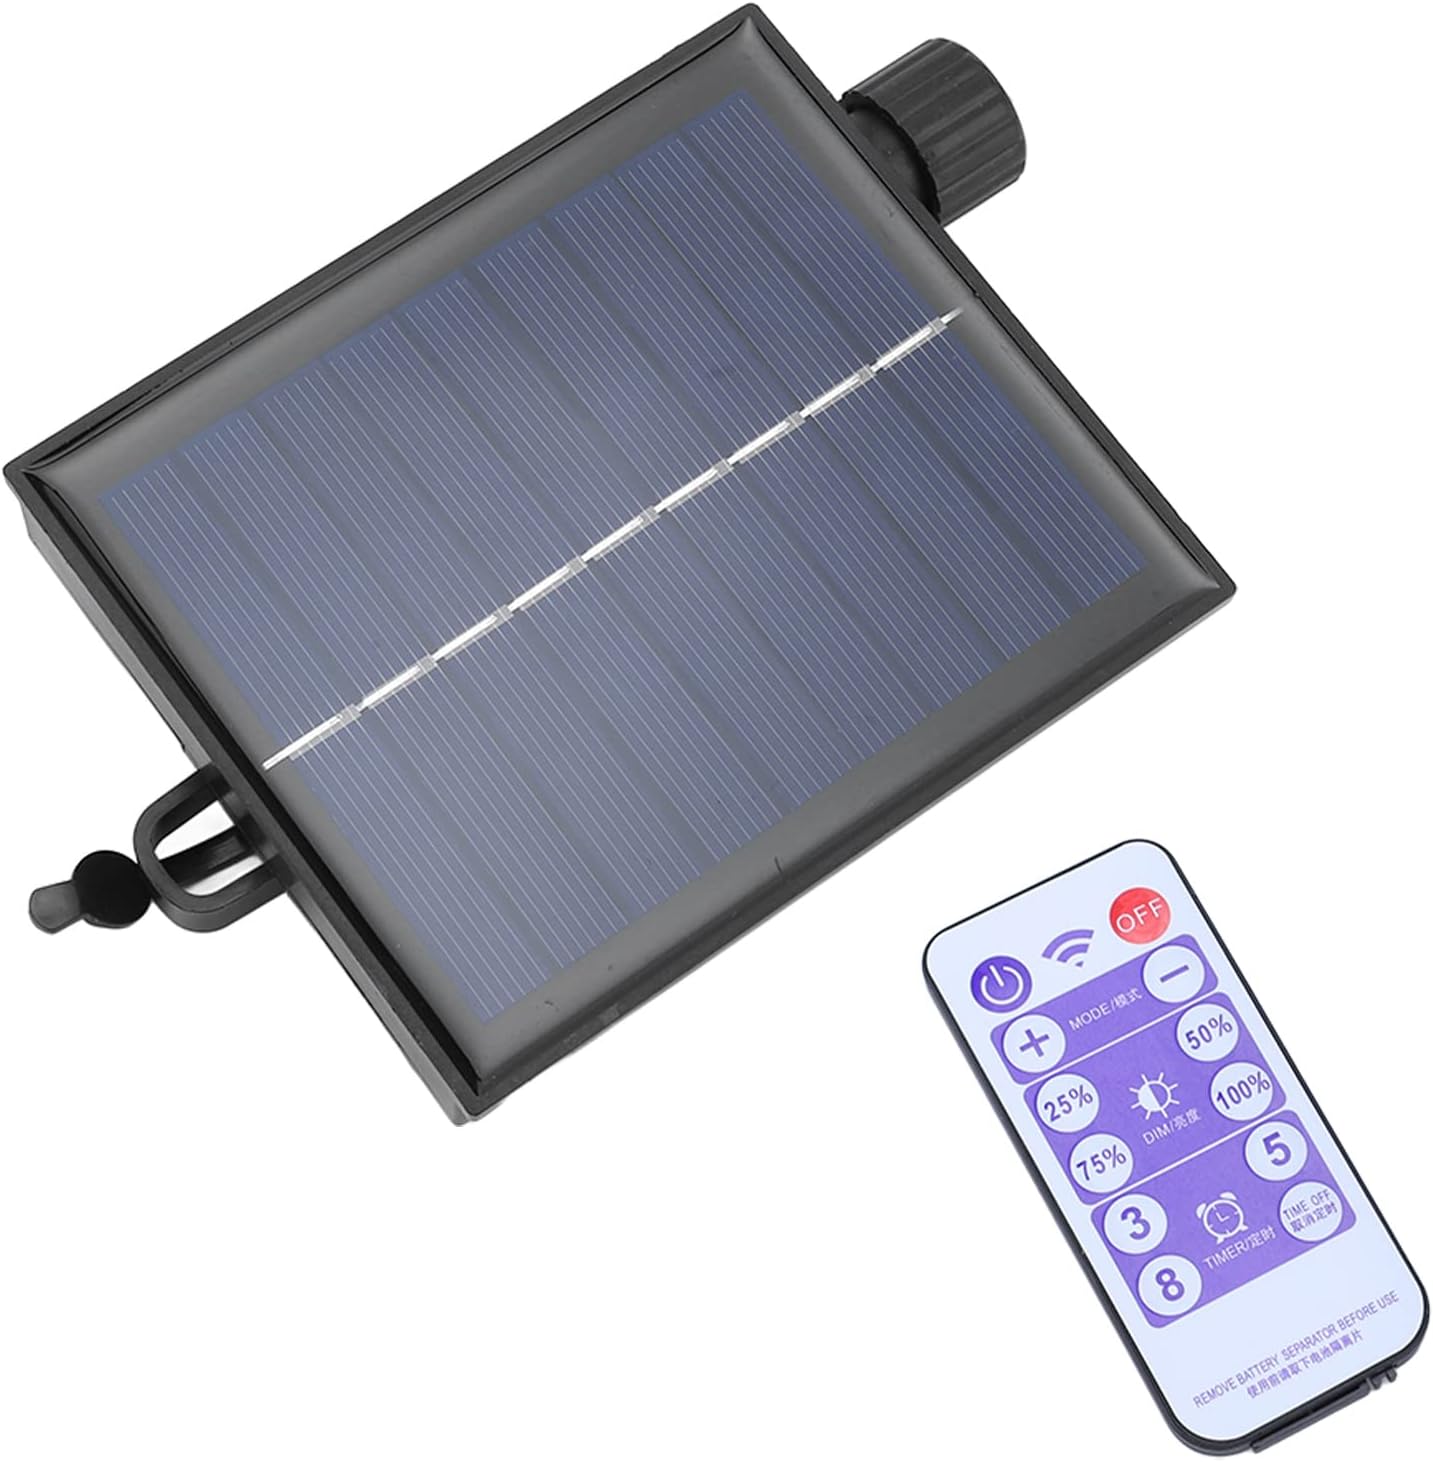
Figure 4.1: Fockety Solar Light Control Panel and Remote Control.
4.1 Solar Panel

Figure 4.2: Detail of the Solar Panel.
The solar panel converts sunlight into electrical energy, which is stored in the internal lithium battery. Ensure the panel surface is clean and free from obstructions for efficient charging.
4.2 Control Box

Figure 4.3: Underside of the Control Box with indicators and buttons.
The control box houses the battery, charging circuit, and output connections for your string lights. It features indicator lights for output and charging status, along with manual control buttons.
4.3 Remote Control

Figure 4.4: Detail of the Remote Control.
The remote control allows you to conveniently power the lights on/off, change lighting modes, adjust brightness, and set timer functions from a distance.
5. Setup and Installation
Follow these steps to set up your solar light control panel:

Figure 5.1: Application scenario of the solar light control panel with various string lights.
- Choose a Location: Select an outdoor location for the solar panel that receives at least 6-8 hours of direct sunlight daily. Avoid shaded areas.
- Mount the Solar Panel:
- Ground Installation: Attach the ground stake to the back of the solar panel unit. Insert the stake firmly into the ground in your chosen sunny spot.
- Wall Installation: Use the wall mount bracket and the provided screws and anchors to securely attach the solar panel to a wall or fence. Ensure it is angled towards the sun.

Figure 5.2: Mounting screws and wall anchors.
- Connect Your Lights: Plug the connection wire from your solar string lights into the 'OUT' port on the control box. Ensure a secure connection. This circuit board is compatible with 100LED or 200LED solar string lights, gypsophila solar string lights, and similar lamps.
- Initial Charge: Allow the solar panel to charge for at least 6-8 hours in direct sunlight before first use. The 'CHARGING' indicator light on the control box will illuminate during charging.
6. Operating Instructions
6.1 Automatic Light Control
The Fockety Solar Light Control Panel features an automatic light-sensing function. It will:
- Automatically recharge the internal battery during the day when exposed to sunlight.
- Automatically turn on the connected string lights when it gets dark.
- Automatically turn off the connected string lights when it gets light again (or when the battery is depleted).
6.2 Using the Remote Control
The remote control provides convenient access to various functions:

Figure 6.1: Solar Panel with Remote Control.
- ON/OFF Button: Press to manually turn the lights on or off.
- MODE / 模式 Button: Cycles through the 8 available lighting modes.
- DIM / 调光 Buttons (25%, 50%, 75%, 100%): Adjusts the brightness level of the lights.
- TIMER / 定时 Buttons (3H, 5H, 8H): Sets a timer for the lights to stay on for 3, 5, or 8 hours respectively, after which they will turn off automatically.
- TIME OFF Button: Deactivates any active timer setting.
Note: Before first use, remove the plastic battery separator tab from the remote control.
6.3 Lighting Modes
The controller offers 8 distinct lighting modes. Press the 'MODE' button on the remote or the control box to cycle through them:
- Combination
- In Waves
- Sequential
- Slo-Glo
- Chasing/Flash
- Slow Fade
- Twinkle/Flash
- Steady On
7. Maintenance
- Cleaning the Solar Panel: Regularly wipe the solar panel surface with a soft, damp cloth to remove dust, dirt, or debris. A clean panel ensures maximum charging efficiency.
- Battery Life: The integrated lithium battery can be fully charged in approximately one hour on a sunny day and provides 14-40 hours of operation when fully charged, depending on the selected brightness and mode.
- Winter Care: During prolonged periods of low sunlight or heavy snow, consider bringing the unit indoors or clearing snow from the panel to maintain battery health.
8. Troubleshooting
| Problem | Possible Cause | Solution |
|---|---|---|
| Lights do not turn on at night. | 1. Insufficient sunlight for charging. 2. Battery is depleted. 3. Solar panel is dirty. 4. Lights are manually turned off. | 1. Relocate the solar panel to a sunnier spot. 2. Allow 1-2 days for full charge. 3. Clean the solar panel surface. 4. Press the ON button on the remote or control box. |
| Lights are dim or flicker. | 1. Low battery charge. 2. Dimmer setting is low. | 1. Ensure adequate sunlight for charging. 2. Use the remote to increase brightness (25%, 50%, 75%, 100%). |
| Remote control not working. | 1. Battery tab not removed. 2. Remote battery is dead. 3. Obstruction between remote and control box. | 1. Remove the plastic battery separator tab. 2. Replace the remote control battery. 3. Ensure clear line of sight to the control box. |
| Lights turn off too soon. | 1. Timer function is active. 2. Insufficient battery charge. | 1. Press the 'TIME OFF' button on the remote. 2. Ensure the solar panel receives full sunlight for charging. |
9. Specifications
- Brand: Fockety
- Model: Focketyptcmq0o8s4-12
- Product Dimensions: 17 x 10 x 6 cm
- Item Weight: 240 grams
- Control Type: Light-controlled automatic on/off, Remote Control
- Lighting Modes: 8 modes
- Brightness Levels: 25%, 50%, 75%, 100%
- Timer Functions: 3H, 5H, 8H
- Battery Life: 14-40 hours (fully charged)
- Compatibility: 100LED or 200LED solar string lights, gypsophila solar string lights, and similar lamps.
10. Warranty and Support
This Fockety product is manufactured with high-quality materials and undergoes strict quality control. For any questions, technical support, or warranty claims, please contact your retailer or the manufacturer directly. Please retain your proof of purchase for warranty purposes.


