
1. Introduction
Thank you for choosing the VisionOwl 18.5 Inch Portable Monitor. This manual provides essential information for setting up, operating, and maintaining your new monitor. Please read it thoroughly before use and retain it for future reference.
1.1 Package Contents
- 1 × VisionOwl 18.5 Inch Portable Monitor
- 1 x Sleeve Case
- 2 × USB-C to USB-C cable (full-featured)
- 1 × HDMI cable (for video only)
- 1 × Power Adapter
- 1 × User Manual
2. Setup and Connection
The VisionOwl portable monitor offers versatile connectivity options for various devices. Ensure your device supports the necessary output for display.
2.1 USB-C Cable Connection (Single Cable Solution)
For devices with a full-featured USB-C port (supporting Thunderbolt 3/4/5 or DisplayPort Alt Mode), a single USB-C to USB-C cable can provide both video signal and power.
- Connect one end of the full-featured USB-C to USB-C cable to your device's compatible USB-C port.
- Connect the other end of the USB-C to USB-C cable to either of the USB-C ports on the VisionOwl monitor.
- If the monitor does not power on or the screen is dim, connect the original 30W power adapter to the other USB-C port on the monitor for sufficient power supply. Manually adjust brightness if needed.

2.2 HDMI Cable + Power Cable Connection
For devices without a full-featured USB-C port, use an HDMI cable for video and a USB-C to USB-A cable with the power adapter for power.
- Connect one end of the HDMI cable to your device's HDMI output.
- Connect the other end of the HDMI cable to the HDMI port on the VisionOwl monitor.
- Connect the provided power adapter to one of the USB-C ports on the monitor using a USB-C to USB-A cable (or the provided USB-C to USB-C cable if using a USB-A power source).

2.3 Connecting to Gaming Consoles (PS5, Xbox)
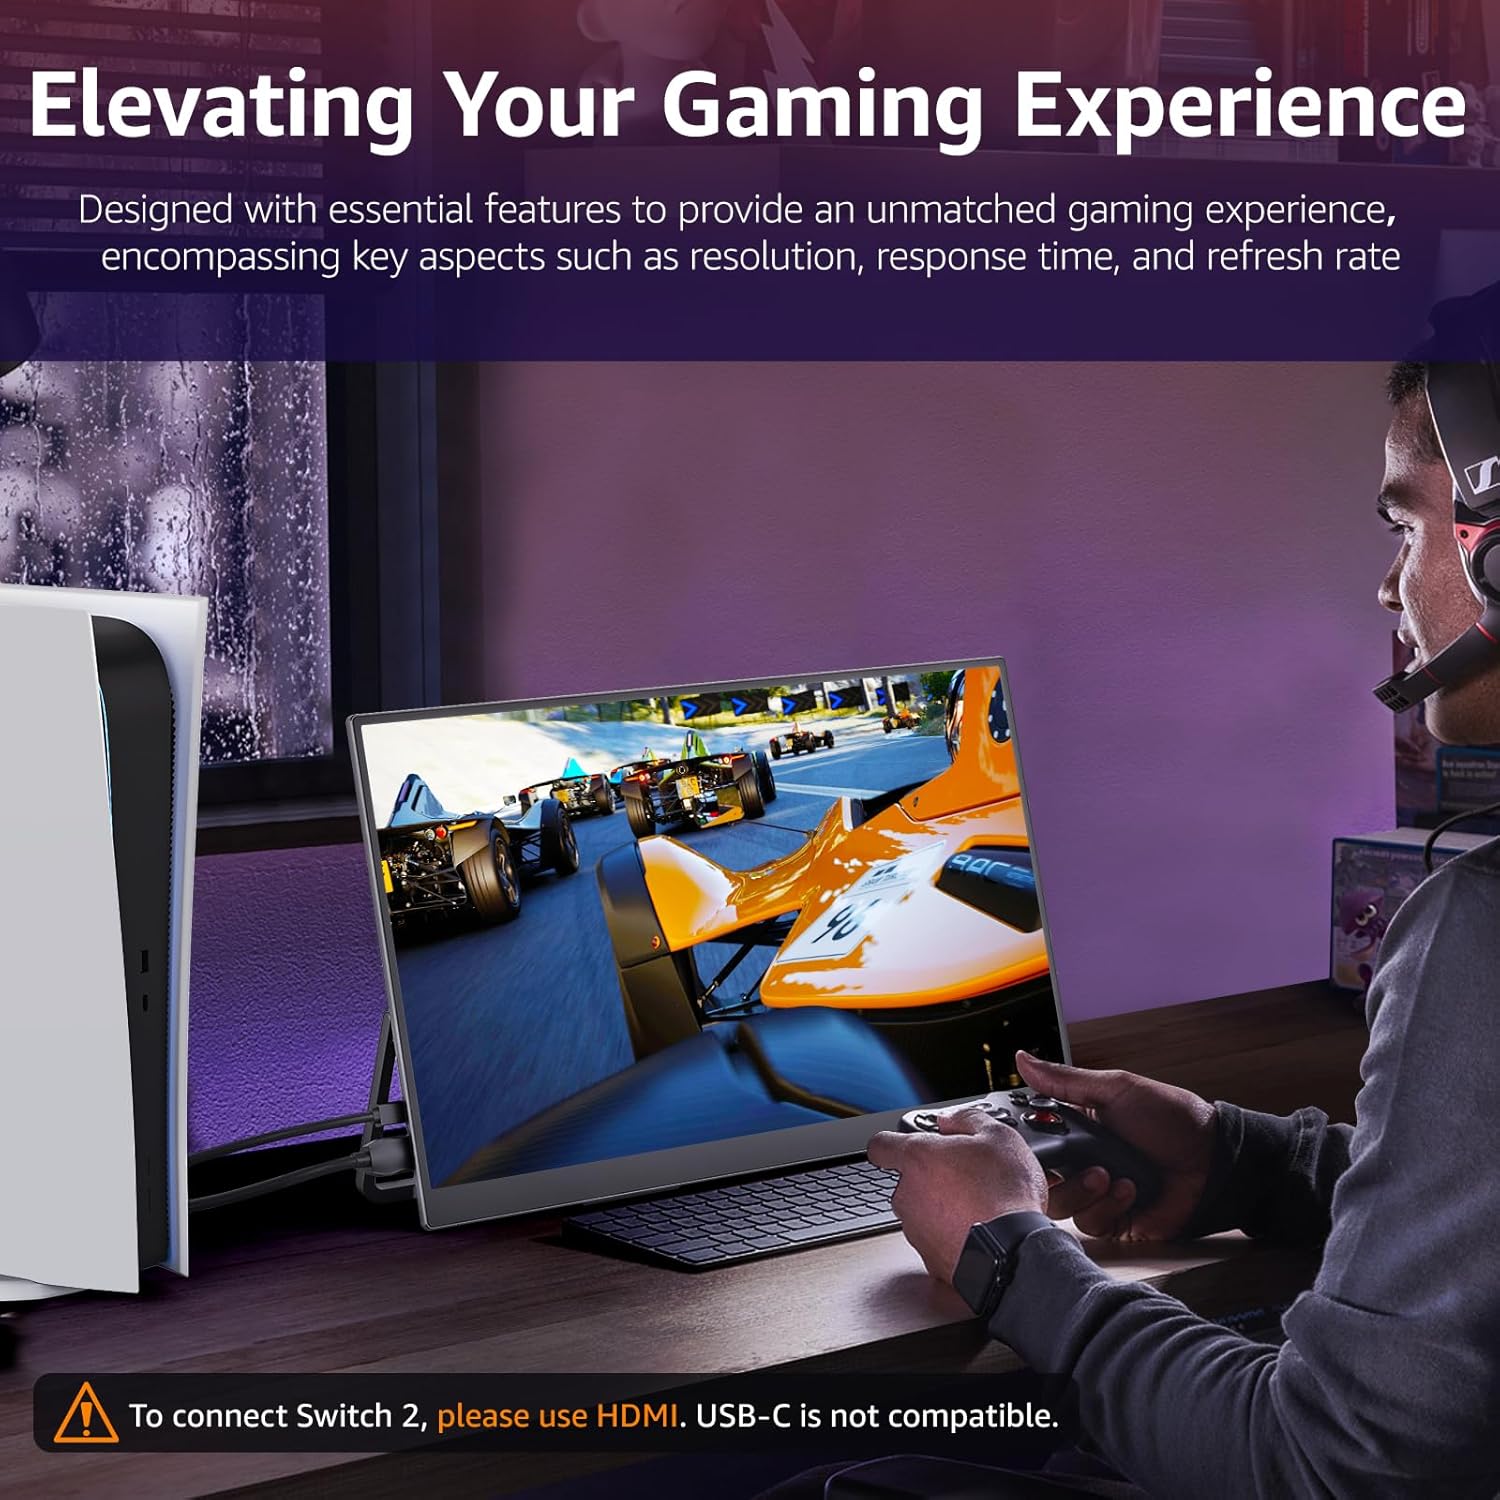
Connect gaming consoles using the HDMI cable for video and the power adapter for monitor power. For Nintendo Switch, use HDMI as USB-C is not compatible.
3. Operating Instructions
3.1 Monitor Controls
The monitor features intuitive controls for easy navigation and adjustment:
- Power/Exit Button: Press to turn on/off the monitor. Short press to exit menu.
- Menu/Enter Button: Press to access the On-Screen Display (OSD) menu. Use to confirm selections within the menu.
- Up/Down Buttons (+/-): Navigate through menu options. Short press for quick brightness/volume adjustment.
- Audio Jack: For connecting external headphones or speakers.

3.2 Display Settings
Access the OSD menu to customize display settings:
- Brightness/Contrast: Adjust screen brightness (320 Candela) and contrast (1200:1).
- Color Settings: Fine-tune color temperature, tone, and saturation.
- HDR Mode: Enable HDR for enhanced dynamic range.
- Low Blue Light: Activate to reduce eye strain during prolonged use.
- Game Crosshair: Customize crosshairs for improved FPS gaming experience.

3.3 Display Modes
Depending on your connected device, you can configure the monitor for various display modes:
- Extend Mode: Expand your desktop workspace across both screens.
- Mirror Mode: Duplicate your primary screen's content onto the portable monitor.

4. Key Features
4.1 18.5-inch FHD IPS Display
Experience a larger viewing area with the 18.5-inch 1080p Full HD IPS screen, offering wide 178-degree viewing angles and vibrant visuals.

4.2 100Hz High Refresh Rate
Enjoy smoother visuals and reduced motion blur with a 100Hz refresh rate, ideal for gaming and fast-paced content. The display features 125% sRGB (88% NTSC) and 8-bit color depth with 16.7 million colors for accurate and vivid color reproduction.

4.3 Integrated Kickstand and VESA Mountable
The monitor includes a built-in metal kickstand for flexible positioning. For permanent setups, it is VESA mountable (75x75mm) allowing for wall or arm mounting.

4.4 Built-in Speakers
The monitor is equipped with built-in speakers for audio output, enhancing your multimedia experience.
5. Maintenance and Care
- Clean the screen with a soft, lint-free cloth. Avoid using harsh chemicals or abrasive materials.
- Keep the monitor away from direct sunlight, heat sources, and excessive moisture.
- Store the monitor in its sleeve case when not in use or during travel to protect it from scratches and impacts.
6. Troubleshooting
6.1 No Signal / Black Screen
- Ensure all cables (USB-C or HDMI + Power) are securely connected.
- Verify that your device's USB-C port supports video output (DisplayPort Alt Mode/Thunderbolt).
- Confirm your device's display settings are configured to extend or duplicate the display.
- Try connecting the monitor to a different device or using different cables to rule out cable or device issues.
6.2 Screen Flickering or Dimness
- Ensure the monitor is receiving sufficient power. Connect the provided power adapter if using a single USB-C cable.
- Adjust the brightness setting in the OSD menu.
- Check for any loose cable connections.
6.3 No Audio
- Check the volume settings on both the monitor and your connected device.
- Ensure external headphones/speakers are properly connected to the audio jack.
- Verify that the audio output on your device is set to the VisionOwl monitor.
7. Specifications
| Feature | Detail |
|---|---|
| Brand | VisionOwl |
| Model Number | Y185LS |
| Screen Size | 18.5 Inches |
| Resolution | FHD 1080p (1920 x 1080) |
| Display Type | IPS LCD |
| Aspect Ratio | 16:9 |
| Refresh Rate | 100 Hz |
| Response Time | 3 Milliseconds |
| Brightness | 320 Candela |
| Contrast Ratio | 1200:1 |
| Viewing Angle | 178 Degrees |
| Color Gamut | 125% sRGB (88% NTSC) |
| Screen Surface | Matte |
| Connectivity | 2x USB-C (Full-featured), 1x HDMI, 1x 3.5mm Audio Jack |
| Additional Features | Built-in Speakers, Built-in Kickstand, VESA Mountable (75x75mm), HDR, FreeSync, Blue Light Filter |
| Item Weight | 2.6 Pounds |
| Dimensions (D x W x H) | 0.55"D x 16.6"W x 10.1"H |
8. Warranty and Support
8.1 Warranty Information
The VisionOwl Portable Monitor comes with a 2-Year Warranty. Please refer to the warranty card included in your package for registration details and terms.
8.2 Customer Support
If you encounter any issues or have questions regarding your portable monitor, please do not hesitate to contact VisionOwl customer service. We are committed to providing excellent support.
- Email: support@upperizon.com
- Phone: +1-888-666-0082 (24/7)