
1. Introduction
Thank you for choosing the SANSUI 24-inch Eye Care 1080P FHD 100Hz Monitor. This manual provides essential information for setting up, operating, maintaining, and troubleshooting your new monitor. Please read this manual thoroughly before use to ensure proper functionality and to maximize your viewing experience.
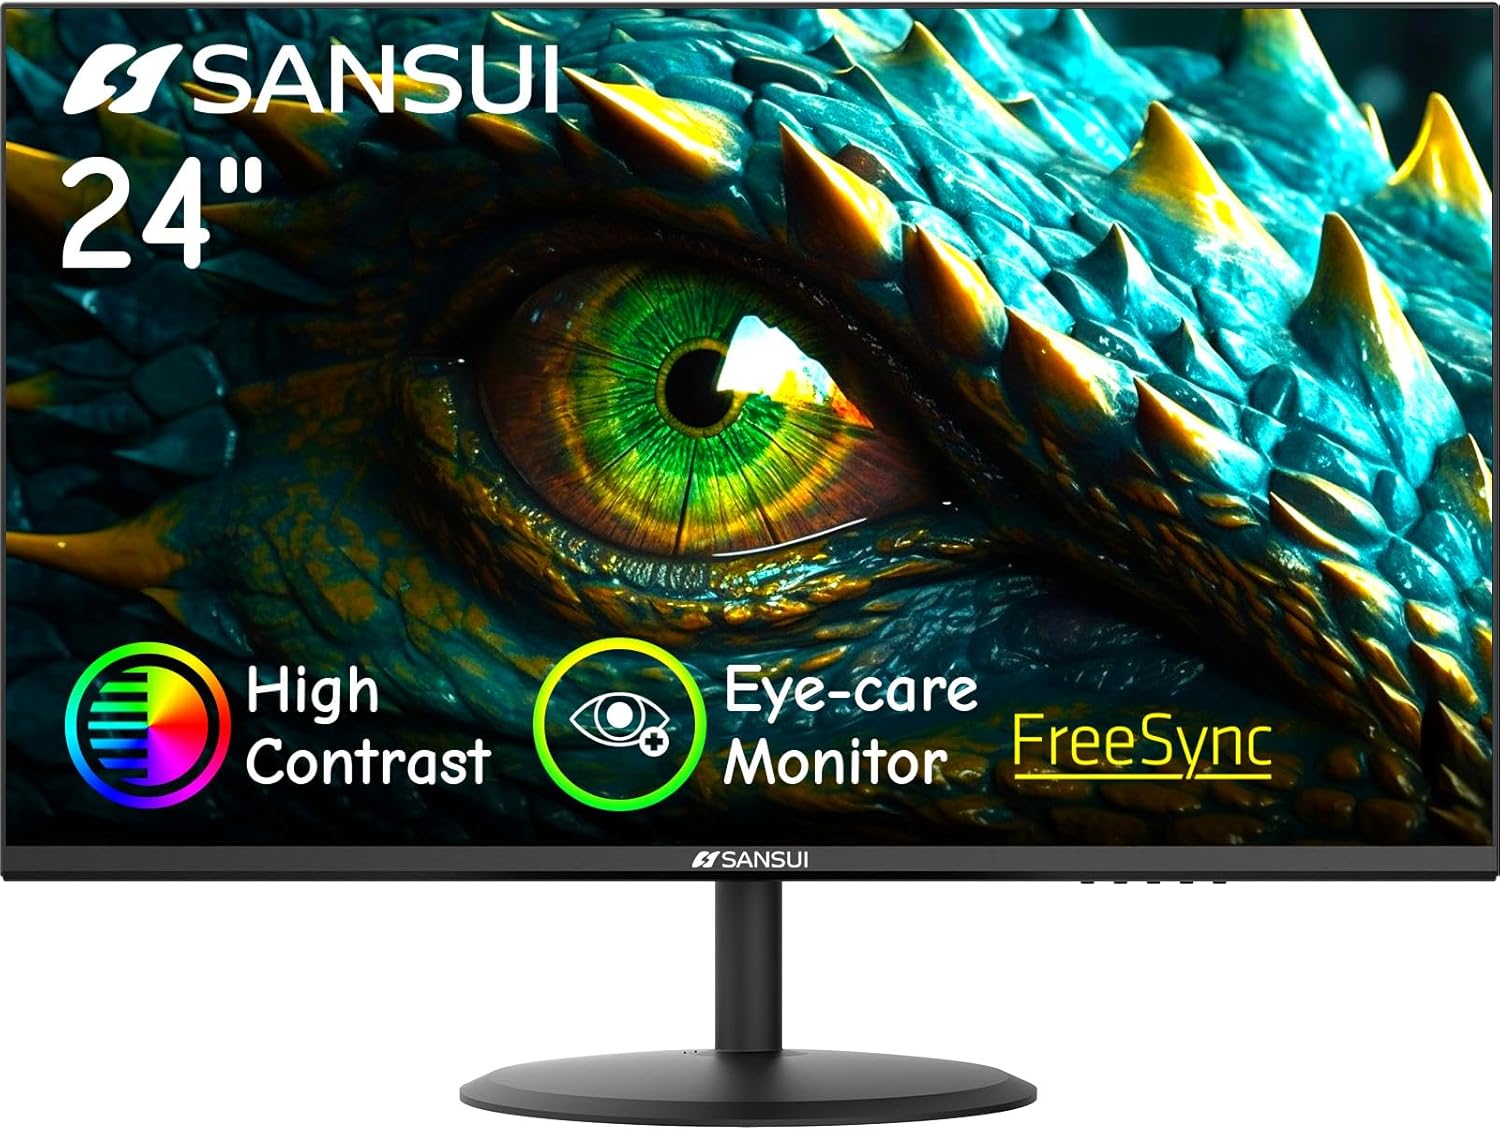
Front view of the SANSUI 24-inch Eye Care 1080P FHD 100Hz Monitor.
2. Safety Information
To ensure safe operation and prevent damage, please observe the following safety precautions:
- Do not expose the monitor to rain or moisture to avoid fire or electric shock.
- Do not open the monitor casing. There are no user-serviceable parts inside. Refer all servicing to qualified personnel.
- Place the monitor on a stable, flat surface to prevent it from falling.
- Ensure proper ventilation around the monitor. Do not block ventilation openings.
- Use only the power adapter supplied with the monitor.
- Disconnect the power plug from the outlet if the monitor will not be used for an extended period.
3. Package Contents
Verify that all items are present in your package:
- SANSUI 24-inch Monitor
- Power Adaptor
- HDMI Cable (1.5m)
- Quick Start Guide
- User Manual (this document)
- Warranty Card

Illustration of monitor and included accessories.
4. Setup
4.1 Assembling the Stand
- Carefully remove the monitor from its packaging, keeping the screen protected.
- Attach the stand base to the stand neck.
- Align the assembled stand with the mounting slot on the back of the monitor and push until it clicks into place. No screws or tools are typically needed for this quick installation.

Steps for quick stand installation.
4.2 Connecting the Monitor
Connect the monitor to your computer or other devices using the appropriate cables.
- Power Connection: Connect the power adapter to the DC input port on the monitor, then plug the adapter into a power outlet.
- HDMI Connection: Use the provided HDMI cable to connect the monitor's HDMI port to the HDMI output port on your computer.
- VGA Connection: Use a VGA cable (not included) to connect the monitor's VGA port to the VGA output port on your computer.
Note: This monitor does not include built-in speakers or a headphone jack. Audio must be managed through your connected device.

Connectivity ports: HDMI, VGA, and DC power input.
5. Operating Instructions
5.1 Power On/Off
Press the power button located on the back of the monitor to turn it on or off. The power indicator light will illuminate when the monitor is on.
5.2 Basic Controls (OSD Menu)
The On-Screen Display (OSD) menu allows you to adjust various monitor settings. Buttons for OSD navigation are typically located on the back or bottom of the monitor.
- Press a button to activate the OSD menu.
- Use the navigation buttons (up/down/left/right or joystick) to browse through menu options.
- Press the select/enter button to confirm a selection.
- Press the exit button to close the OSD menu.
5.3 Adjusting Display Settings
Within the OSD menu, you can customize settings such as:
- Brightness/Contrast: Adjust the overall luminance and difference between light and dark areas.
- Color Settings: Modify color temperature, hue, and saturation.
- Input Source: Manually select between HDMI and VGA inputs.
- Picture Modes: Select from predefined modes like Standard, Game, Movie, Photo, or Reading for optimized viewing experiences.
- Eye Care Features: Enable Low Blue Light and Flicker-Free settings to reduce eye strain during prolonged use.
- FreeSync: Enable or disable AMD FreeSync technology for smoother gameplay (requires compatible graphics card).

Monitor displaying various picture modes.

Visual comparison of display with and without Flicker-Free technology.
6. Maintenance
6.1 Cleaning the Monitor
- Always unplug the monitor from the power outlet before cleaning.
- Use a soft, lint-free cloth slightly dampened with water or a mild, non-abrasive screen cleaner.
- Do not spray cleaner directly onto the screen. Apply it to the cloth first.
- Avoid using harsh chemicals, abrasive pads, or solvents.
6.2 Storage
If storing the monitor for an extended period, disconnect all cables and store it in a cool, dry place, preferably in its original packaging to protect it from dust and physical damage.
7. Troubleshooting
Refer to the table below for common issues and their solutions.
| Problem | Possible Cause | Solution |
|---|---|---|
| No image on screen | Power cable disconnected; Video cable disconnected; Incorrect input source selected. | Ensure power and video cables are securely connected. Select the correct input source via the OSD menu. |
| Image is blurry or distorted | Incorrect resolution; Video cable issue. | Set the display resolution to 1920x1080. Check the video cable for damage or replace it. |
| Screen flickers | Refresh rate mismatch; External interference. | Ensure the refresh rate is set to 100Hz (or compatible). Enable Flicker-Free mode in OSD. Move away from other electronic devices. |
| Monitor does not turn on | No power. | Check if the power adapter is properly connected to the monitor and a working power outlet. |
8. Specifications
| Feature | Specification |
|---|---|
| Model Number | ES-24X5AL |
| Screen Size | 24 inches |
| Resolution | 1920 x 1080 (FHD) |
| Refresh Rate | Up to 100Hz |
| Aspect Ratio | 16:9 |
| Viewing Angle | 178° (Horizontal/Vertical) |
| Brightness | 250 nits |
| Contrast Ratio | 4000:1 |
| Connectivity | 1x HDMI 1.4, 1x VGA |
| VESA Compatibility | 75 x 75mm |
| Tilt Adjustment | -5° to 22° |
| Product Dimensions (W x D x H) | 21.3 x 8.3 x 15.6 inches (with stand) |
| Item Weight | 10.09 pounds |
9. Warranty and Support
SANSUI provides the following support for your monitor:
- Warranty: A 30-day money-back guarantee and free replacement warranty from the order date.
- Technical Support: Lifetime technical support is available.
For further assistance, please refer to the official User Manual (PDF) or visit the SANSUI Store.

SANSUI support information.


