Introduction
The EvoFox Elite X Wireless Gamepad is designed to provide a superior gaming experience on PC with its advanced features, including dual vibration motors, programmable macro buttons, and low-latency wireless connectivity. This manual provides detailed instructions for setting up, operating, maintaining, and troubleshooting your gamepad to ensure optimal performance.
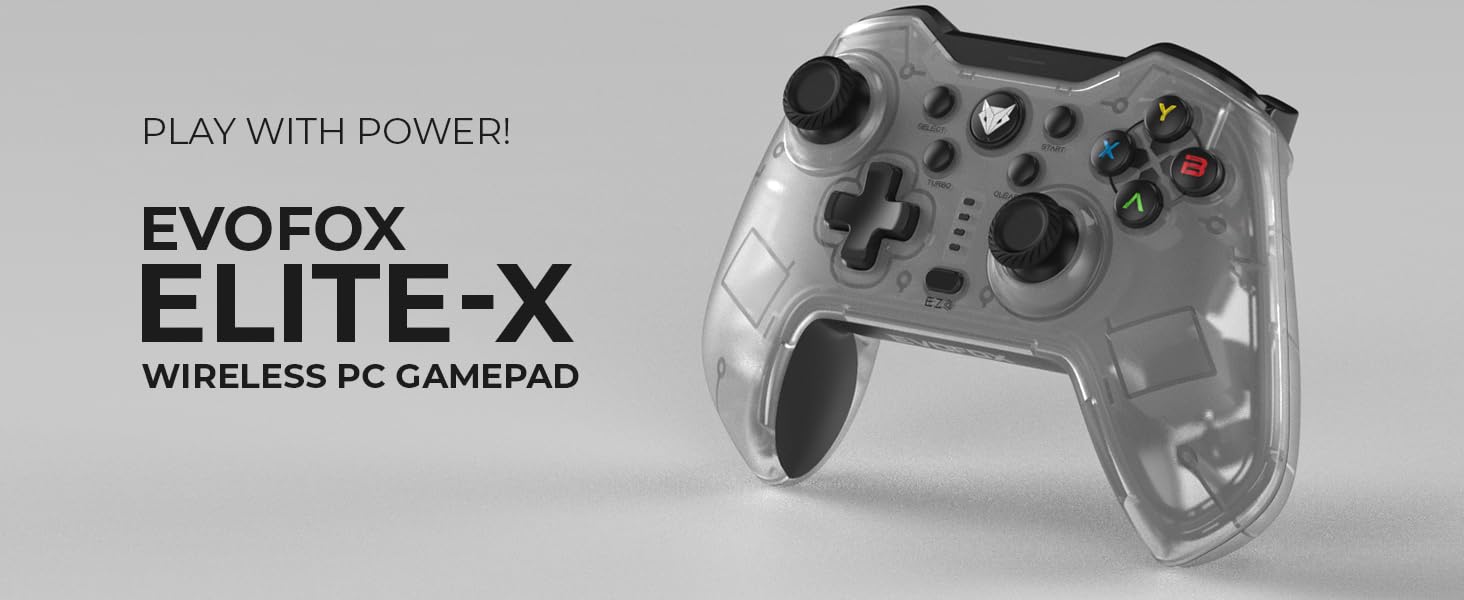
Image: The EvoFox Elite X Wireless PC Gamepad, showcasing its sleek design and branding.
Package Contents
Please verify that all items are present in the package:
- EvoFox Elite X Wireless Gamepad
- Charging Cable
- USB Dongle
- User Manual (this document)
Setup Guide
1. Connecting the USB Dongle
The EvoFox Elite X Gamepad utilizes a 2.4GHz wireless USB dongle for connectivity. This ensures a stable and low-latency connection to your PC.
- Locate the USB dongle included in your package.
- Insert the USB dongle into an available USB port on your PC.
- Your PC should automatically detect and install the necessary drivers. This may take a few moments.
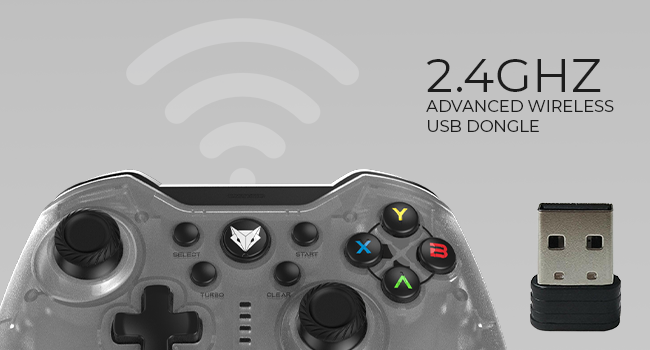
Image: The 2.4GHz advanced wireless USB dongle, essential for connecting the gamepad to your PC.
2. Initial Power On and Pairing
Once the USB dongle is connected, power on your gamepad. The gamepad should automatically pair with the dongle. If pairing does not occur automatically, refer to the troubleshooting section.
3. Charging the Gamepad
Before first use, it is recommended to fully charge the gamepad. The gamepad features a Type-C charging port.
- Connect the provided charging cable to the Type-C port on the gamepad.
- Connect the other end of the charging cable to a USB power source (e.g., PC USB port, USB wall adapter).
- The charging indicator lights on the gamepad will show the charging status. Refer to the gamepad's LED indicators for specific charging behavior.
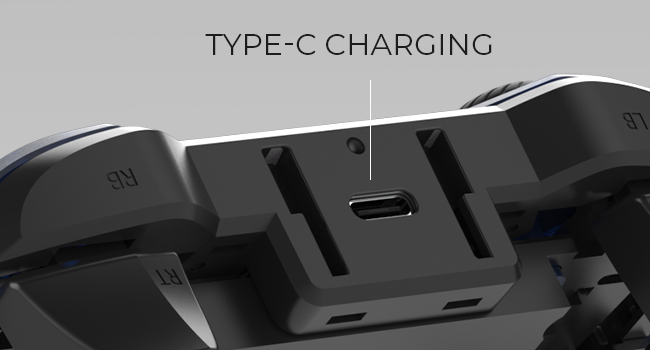
Image: Close-up view of the Type-C charging port located on the top of the gamepad.
A full charge provides up to 8 hours of gaming time.
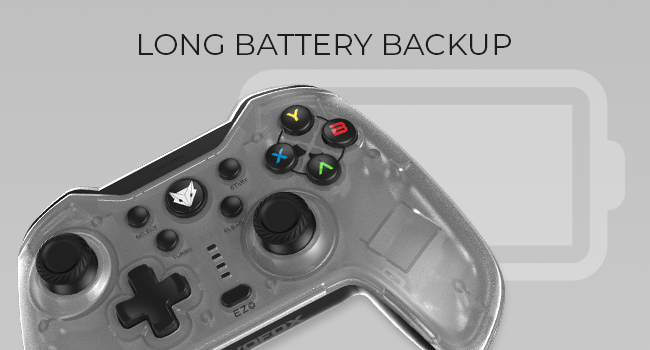
Image: Illustration indicating the long battery backup capability of the gamepad.
Operating Instructions
Gamepad Layout and Controls

Image: Front view of the EvoFox Elite X Gamepad, showing all buttons, joysticks, and the D-pad.
- Analog Joysticks: Two high-precision analog joysticks for 360-degree movement and camera control.
- D-Pad: Directional pad for precise directional input.
- Action Buttons (A, B, X, Y): Standard gaming action buttons.
- Shoulder Buttons (LB, RB) & Triggers (LT, RT): Located on the top of the gamepad for various in-game actions. The triggers are analog for pressure-sensitive input.
- Select/Back Button: Typically used for menu navigation or specific game functions.
- Start Button: Typically used for pausing games or accessing in-game menus.
- Home/EvoFox Button: Central button, often used to access system menus or return to the home screen.
- Turbo Button: Activates turbo mode for rapid button presses.
- Clear Button: Used in conjunction with other buttons for specific functions, such as clearing macro settings.
- EZ Click Macro Buttons (M1, M2): Two programmable back buttons for custom macros.
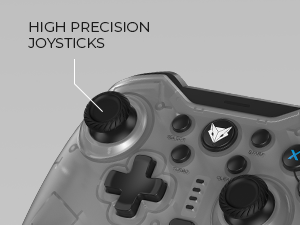
Image: Close-up of the high-precision joysticks on the gamepad.
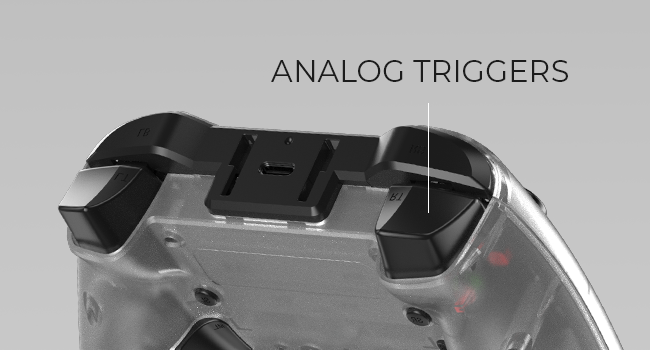
Image: View of the analog triggers on the top rear of the gamepad.
Macro Functions (EZ On-the-Fly Macro)
The gamepad features two programmable EZ Click Macro Buttons (M1 and M2) on the back, allowing you to program complex sequences of commands for quick execution.

Image: Rear view of the gamepad highlighting the two EZ Click programmable buttons.
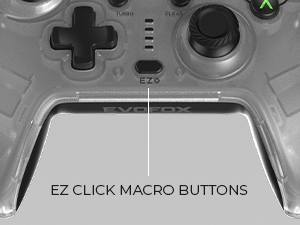
Image: Close-up showing the location of the EZ Click Macro Buttons.
To Program a Macro:
- Press and hold the EZ button.
- While holding EZ, press the Macro Button (M1 or M2) you wish to program. The indicator light will flash, indicating recording mode.
- Perform the sequence of button presses you want to record.
- Press the Macro Button (M1 or M2) again to save the macro. The indicator light will stop flashing.
To Use a Macro: Simply press the programmed Macro Button (M1 or M2) during gameplay to execute the recorded sequence.
To Clear a Macro: Press and hold the EZ button, then press the Clear button, and then the Macro Button (M1 or M2) you wish to clear.
Turbo Settings
The Turbo function allows a button to repeat its input multiple times per second, providing a rapid-fire effect.
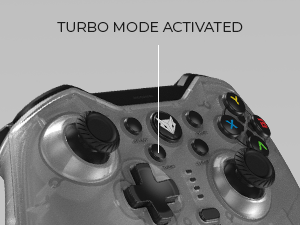
Image: Close-up showing the Turbo button and its indicator.
To Activate Turbo:
- Press and hold the Turbo button.
- While holding Turbo, press the action button (e.g., A, B, X, Y, LB, RB, LT, RT) you wish to apply turbo to.
- Release both buttons. The selected button will now have turbo activated.
To Deactivate Turbo: Repeat the same steps. Press and hold Turbo, then press the button with turbo activated. Release both buttons.
Vibration Feedback
The gamepad features dual vibration motors for immersive haptic feedback. You can adjust the vibration intensity.

Image: Diagram illustrating the adjustable vibration levels on the gamepad's back.
To Adjust Vibration:
Specific instructions for adjusting vibration levels are typically found in the full product manual or through a combination of buttons. Please refer to the included quick start guide or the manufacturer's website for precise button combinations to cycle through High, Medium, Low, and No Vibration settings.
Maintenance
Cleaning
- Always disconnect the gamepad from any power source before cleaning.
- Use a soft, dry cloth to wipe down the surface of the gamepad.
- For stubborn dirt, slightly dampen the cloth with water or a mild, non-abrasive cleaner. Avoid excessive moisture.
- Do not use harsh chemicals, solvents, or abrasive materials, as these can damage the gamepad's finish and internal components.
Storage
- Store the gamepad in a cool, dry place away from direct sunlight and extreme temperatures.
- Avoid placing heavy objects on the gamepad to prevent damage.
- If storing for an extended period, ensure the gamepad is fully charged before storage and recharge it every few months to maintain battery health.
Troubleshooting
| Problem | Possible Cause | Solution |
|---|---|---|
| Gamepad not connecting to PC. | USB dongle not properly inserted or drivers not installed. Gamepad battery low. | Ensure USB dongle is fully inserted into a working USB port. Try a different USB port. Allow PC to install drivers. Charge the gamepad fully. |
| Buttons or joysticks unresponsive. | Connection issue. Software conflict. | Reconnect the gamepad by unplugging and re-inserting the USB dongle. Restart your PC. Test the gamepad in a different game or application. |
| Vibration not working. | Vibration setting is off. Game does not support vibration. | Check gamepad settings to ensure vibration is enabled (refer to "Adjustable Vibration Levels" section). Verify that the game you are playing supports vibration feedback. |
| Macro not recording/playing correctly. | Incorrect programming steps. | Review the "Macro Functions" section and ensure you are following the programming steps precisely. Try clearing and re-recording the macro. |
| Short battery life. | Battery not fully charged. Aging battery. | Ensure the gamepad is fully charged before use. If the issue persists after a full charge, the battery may be nearing the end of its lifespan. |
Specifications
| Feature | Detail |
|---|---|
| Model Number | 577 |
| Connectivity | 2.4GHz Wireless (USB Dongle) |
| Compatibility | PC (Windows X-Input) |
| Vibration | Dual Vibration Motors, Adjustable Levels |
| Macro Buttons | 2 Programmable EZ Click Back Buttons |
| Turbo Function | Yes |
| Battery Type | Lithium Ion (included) |
| Battery Life | Up to 8 hours |
| Charging Port | Type-C |
| Product Dimensions | 15.5 x 11 x 7 cm |
| Item Weight | 220 g |
| Release Date | 27 July 2023 |
Warranty and Support
Warranty Information
The EvoFox Elite X Wireless Gamepad comes with a 1 Year Manufacturing Warranty. This warranty covers defects in materials and workmanship under normal use.
Please retain your proof of purchase for warranty claims.
Customer Support
For any assistance, technical support, or warranty claims, please contact EvoFox customer support:
- Contact Method: Please Call or Email our customer support. (Specific contact details like phone number or email address are not provided in the input, so a generic instruction is given).
- Manufacturer: Allied Electronics & Magnetics Private Limited
- Address: C-64/4, Okhla Phase - 2, New Delhi - 110020
For further information or updates, you may visit the official EvoFox store on Amazon: EvoFox Store


