
Midea MY-CS8001WP
Midea 8L 20-in-1 Multifunctional Electric Pressure Cooker
Model: MY-CS8001WP
Your comprehensive guide to safe and efficient cooking.
1. Important Safety Information
Please read all instructions carefully before using your Midea Electric Pressure Cooker. Failure to follow these safety guidelines may result in property damage, personal injury, or death.
- Electrical Safety: Ensure the voltage matches your power supply. Do not immerse the appliance, cord, or plug in water or other liquids. Unplug when not in use and before cleaning.
- Pressure Safety: Never force the lid open. Ensure the pressure has been fully released before attempting to open. Do not touch hot surfaces; use handles or oven mitts.
- Lid and Sealing: Always ensure the lid is properly secured and the sealing ring is correctly installed before operating. The failsafe switch prevents operation if the lid is not locked.
- Filling Limits: Do not fill the inner pot above the MAX fill line. For foods that expand, do not fill above the 1/2 mark.
- Steam Release: Keep hands and face clear of the steam release valve when releasing pressure.
- Children and Pets: Keep the appliance out of reach of children and pets. Close supervision is necessary when the appliance is used near children.
2. Product Overview
The Midea 8L 20-in-1 Multifunctional Electric Pressure Cooker is designed for versatile and convenient cooking. Familiarize yourself with its components:

Overall View: The main unit features a stainless steel exterior with a black lid and control panel.

Dimensions and Display: The cooker measures approximately 33.78 x 36.9 x 35.5 cm. It features a clear 4-digit LED display for time and program indication.

8L Capacity: The large 8-liter capacity aluminum inner pot is suitable for preparing family-sized meals.

Failsafe Switch: Located on the lid, this safety mechanism ensures that the function keys are blocked if the lid is not properly secured.

Inner Pot: The cooker includes a durable 1.5mm thick, two-sided painted aluminum inner pot for even heat distribution.

Pressure Indicator: The display shows the cooking status and pressure level, ensuring precise cooking control.
Control Panel Features:
- LED Display: Shows cooking time, pressure, and selected program.
- Stop Button: Cancels current program or turns off the cooker.
- Start Button: Initiates the selected cooking program.
- Delay Timer: Sets a delayed start time for cooking.
- Time Cook: Allows manual adjustment of cooking time.
- +/- Buttons: Adjusts cooking time or delay time.
- Preset Menu Buttons: Dedicated buttons for 20 different cooking programs, including Keep Warm, Slow Cook, Soup/Stew, Rice/Risotto, Fish/Steam, Steak/Meat, Chicken, Vegetable Steam, Beans/Lentils, Sear/Sauté, Cake, and Hot Cereal/Oatmeal.
3. Setup and First Use
Unpacking:
- Remove all packaging materials and accessories.
- Inspect the cooker for any damage. Do not use if damaged.
Initial Cleaning:
- Wash the inner pot, sealing ring, and lid (underside) with warm, soapy water. Rinse thoroughly and dry completely.
- Wipe the exterior of the cooker body with a damp cloth. Never immerse the main unit in water.
Before First Use:
- Place the cooker on a stable, level, heat-resistant surface away from walls and cabinets.
- Ensure the sealing ring is properly seated around the lid's rim.
- Perform a water test: Add 3 cups of water to the inner pot. Close and lock the lid. Select the 'Steam' function and set for 5 minutes. Allow pressure to build and then naturally release. This helps to clean and test the cooker's sealing.
4. Operating Instructions
Basic Operation:
- Add Ingredients: Place the inner pot into the cooker base. Add your ingredients and liquid according to your recipe. Ensure liquid is at least 1 cup for pressure cooking.
- Secure Lid: Place the lid on the cooker, aligning the arrow on the lid with the arrow on the cooker body. Rotate the lid clockwise until it locks into place. Ensure the steam release valve is in the 'Sealing' position.
- Select Program: Plug in the cooker. The LED display will light up. Press the desired preset menu button (e.g., 'Rice/Risotto', 'Chicken', 'Soup/Stew'). The default cooking time for that program will appear on the display.
- Adjust Time (Optional): If needed, use the '+' or '-' buttons to adjust the cooking time.
- Start Cooking: Press the 'Start' button. The cooker will begin preheating and building pressure. The display will show 'On' or a similar indicator during this phase. Once pressure is reached, the timer will begin counting down.
- Pressure Release: Once cooking is complete, the cooker will beep and automatically switch to 'Keep Warm' mode. You can choose between:
- Natural Release: Allow the pressure to dissipate naturally. This is recommended for foamy foods or large cuts of meat. The float valve will drop when pressure is released.
- Quick Release: Carefully turn the steam release valve to the 'Venting' position. Steam will rapidly escape. Keep hands and face away from the steam. Only use for recipes that specify quick release.
- Open Lid: Once the float valve has dropped, indicating all pressure is released, rotate the lid counter-clockwise and lift it away from you to avoid residual steam.
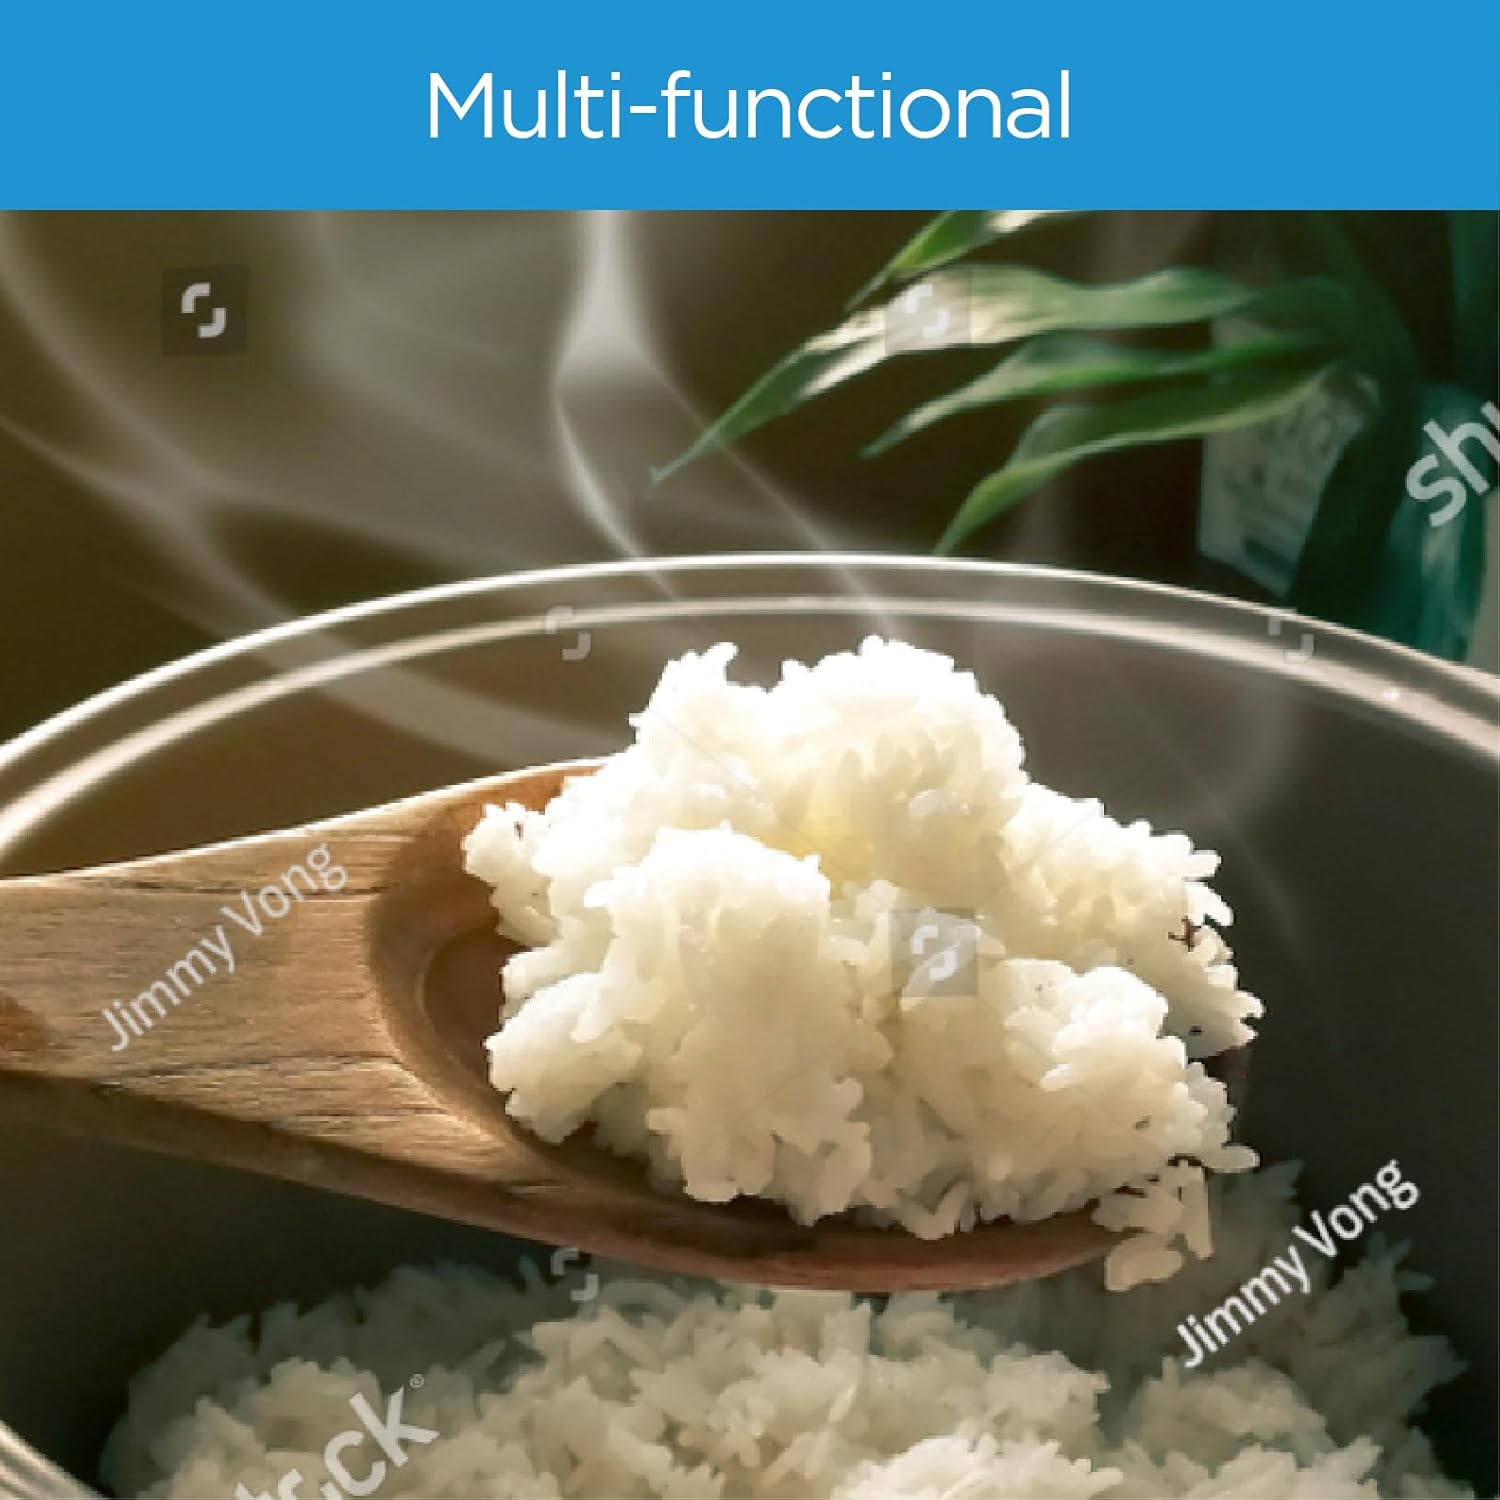
Multi-functional Cooking: The cooker handles various tasks, from perfectly cooked rice to complex stews.
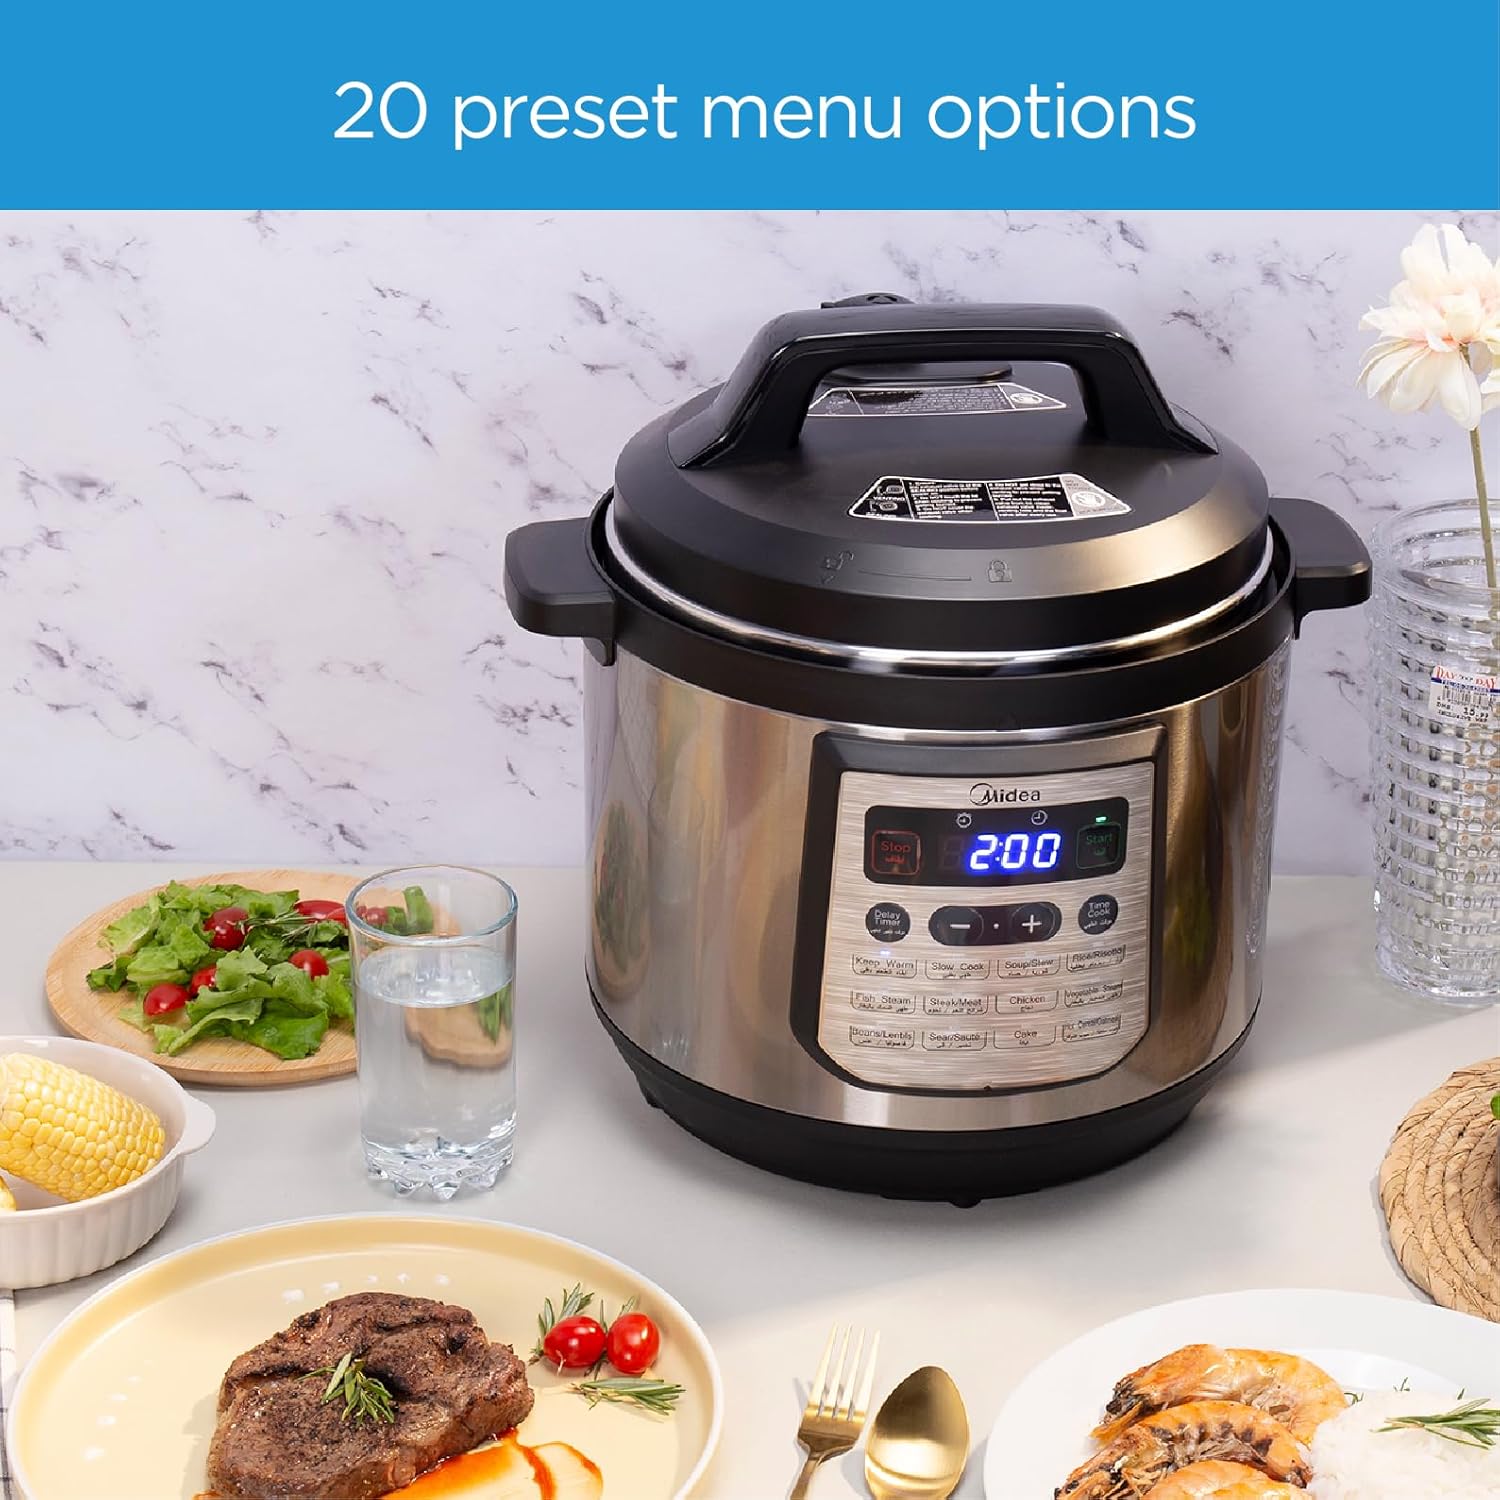
20 Preset Menus: Easily select from a wide range of pre-programmed cooking options for different dishes.
Using Delay Timer:
- After selecting a cooking program and adjusting time (if desired), press the 'Delay Timer' button.
- Use the '+' or '-' buttons to set the desired delay time (e.g., 2 hours).
- Press 'Start'. The display will count down the delay time, and then the cooking program will automatically begin.
Keep Warm Function:
The cooker automatically enters 'Keep Warm' mode after most cooking programs are complete. This function maintains food at a serving temperature. To manually activate 'Keep Warm', press the 'Keep Warm' button.
5. Maintenance and Cleaning
Regular cleaning ensures optimal performance and extends the life of your pressure cooker.
- Always Unplug: Before cleaning, always unplug the cooker and allow it to cool completely.
- Inner Pot: The aluminum inner pot is dishwasher safe, or can be washed by hand with warm, soapy water. Avoid abrasive cleaners or scouring pads.
- Lid: Remove the sealing ring and wash it with warm, soapy water. Clean the lid, including the steam release valve and float valve, ensuring no food particles are lodged. The sealing ring should be reinserted correctly after cleaning.
- Cooker Base: Wipe the exterior of the cooker base with a damp cloth. Never immerse the base in water or rinse it under running water.
- Storage: Store the cooker in a dry place. You may place the lid upside down on the inner pot to prevent odors and allow air circulation.
6. Troubleshooting
If you encounter issues, refer to the following common problems and solutions:
| Problem | Possible Cause | Solution |
|---|---|---|
| Lid will not close or lock. | Inner pot not correctly placed; sealing ring dislodged; failsafe switch engaged. | Ensure inner pot is centered. Check sealing ring position. Ensure no obstructions. |
| Pressure not building. | Lid not sealed properly; steam release valve in 'Venting' position; insufficient liquid. | Check lid seal. Turn steam release valve to 'Sealing'. Add at least 1 cup of liquid. |
| Food is undercooked. | Insufficient cooking time; not enough liquid; power interruption. | Increase cooking time. Ensure adequate liquid. Check power connection. |
| Cooker suddenly stopped working. | Overheating; electrical issue; internal component failure. | Unplug and let cool. Check power outlet. If problem persists, contact customer support. |
If the issue persists after attempting these solutions, please contact Midea customer support.
7. Specifications
| Feature | Detail |
|---|---|
| Brand | Midea |
| Model Number | MY-CS8001WP |
| Color | Silver |
| Product Dimensions | 33.78 x 36.9 x 35.5 cm |
| Capacity | 8 Liters |
| Material | Aluminium (Inner Pot) |
| Item Weight | 7.2 Kilograms |
| Special Features | Keep Warm Setting, Locking Lid, 20 Preset Menus, LED Display |
8. Warranty and Support
Your Midea Electric Pressure Cooker is covered by a manufacturer's warranty. Please refer to the warranty card included with your purchase for specific terms and conditions.
For technical assistance, troubleshooting beyond this manual, or warranty claims, please contact Midea customer support through their official website or the contact information provided in your product packaging.
Related documentsMY-CS8001WP

Ask a question about this manual
Ask about setup, troubleshooting, compatibility, parts, safety, or missing instructions. Manuals+ will review the question and use this page’s manual context to help answer it.