Introduction
This manual provides detailed instructions for the installation, operation, and maintenance of your Srliya Programmable Electric Heating Thermostat. Please read this manual thoroughly before installation and use to ensure proper function and safety. This thermostat is designed to control electric heating systems, offering precise temperature regulation and programmable scheduling for enhanced comfort and energy efficiency.
Product Overview
Key Features
- Programmable Schedule: Supports a 7-day programmable schedule with 6 distinct time periods per day for optimized energy use.
- Precise Temperature Control: Maintains room temperature within ±0.5℃ of the set point.
- Dual Sensor Capability: Features options for internal and external temperature sensors.
- Data Memory: Retains settings and data even after power loss.
- Anti-freeze Function: Automatically activates heating if the temperature drops below a set threshold to prevent freezing.
- Large LCD Display: Clear, backlit LCD screen for easy readability in various lighting conditions.
- Durable Construction: Made from flame-resistant PC + ABS material for safety and reliability.
- Versatile Control: Compatible with various electric heating systems, including electric ball valves, electric heating films, and carbon crystal heaters.
Components Included
- Srliya Thermostat Unit
- Mounting Screws (2)
- External Temperature Sensor Cable
- English User Manual (this document)

Image: The Srliya thermostat unit shown alongside its external temperature sensor cable and two mounting screws, illustrating the complete package contents.
Specifications
| Feature | Detail |
|---|---|
| Brand | Srliya |
| Model Number | Srliyaokay7vxmph |
| Color | White |
| Working Voltage | 200-240VAC, 50/60HZ |
| Load Current | 16A (for Electric Heating) |
| Temperature Control Accuracy | ±0.5℃ |
| Setting Temperature Range | 5℃-35℃ |
| Material | PC + ABS (Flame-resistant) |
| Connectivity Technology | Wi-Fi |
| Controller Type | Push-button |
| Special Features | Easy to Install, Adjustable |
| Product Uses | Temperature Control for Electric Heating |
| Temperature Control Type | Digital |
| Power Source | Electric Cable |
Note: While the product title may mention 'Zwave', the detailed specifications confirm that this thermostat utilizes Wi-Fi for connectivity.
Setup and Installation
Safety Precautions
- Always disconnect power to the heating system at the main circuit breaker before beginning installation.
- Installation should only be performed by a qualified electrician or competent person.
- Ensure all wiring complies with local electrical codes and regulations.
- Do not install the thermostat in direct sunlight, near heat sources, or in areas with poor air circulation.
Mounting the Thermostat
The thermostat is designed for standard wall-box mounting. Carefully separate the front panel from the back plate. Secure the back plate to the wall box using the provided mounting screws. Ensure the back plate is level before tightening.
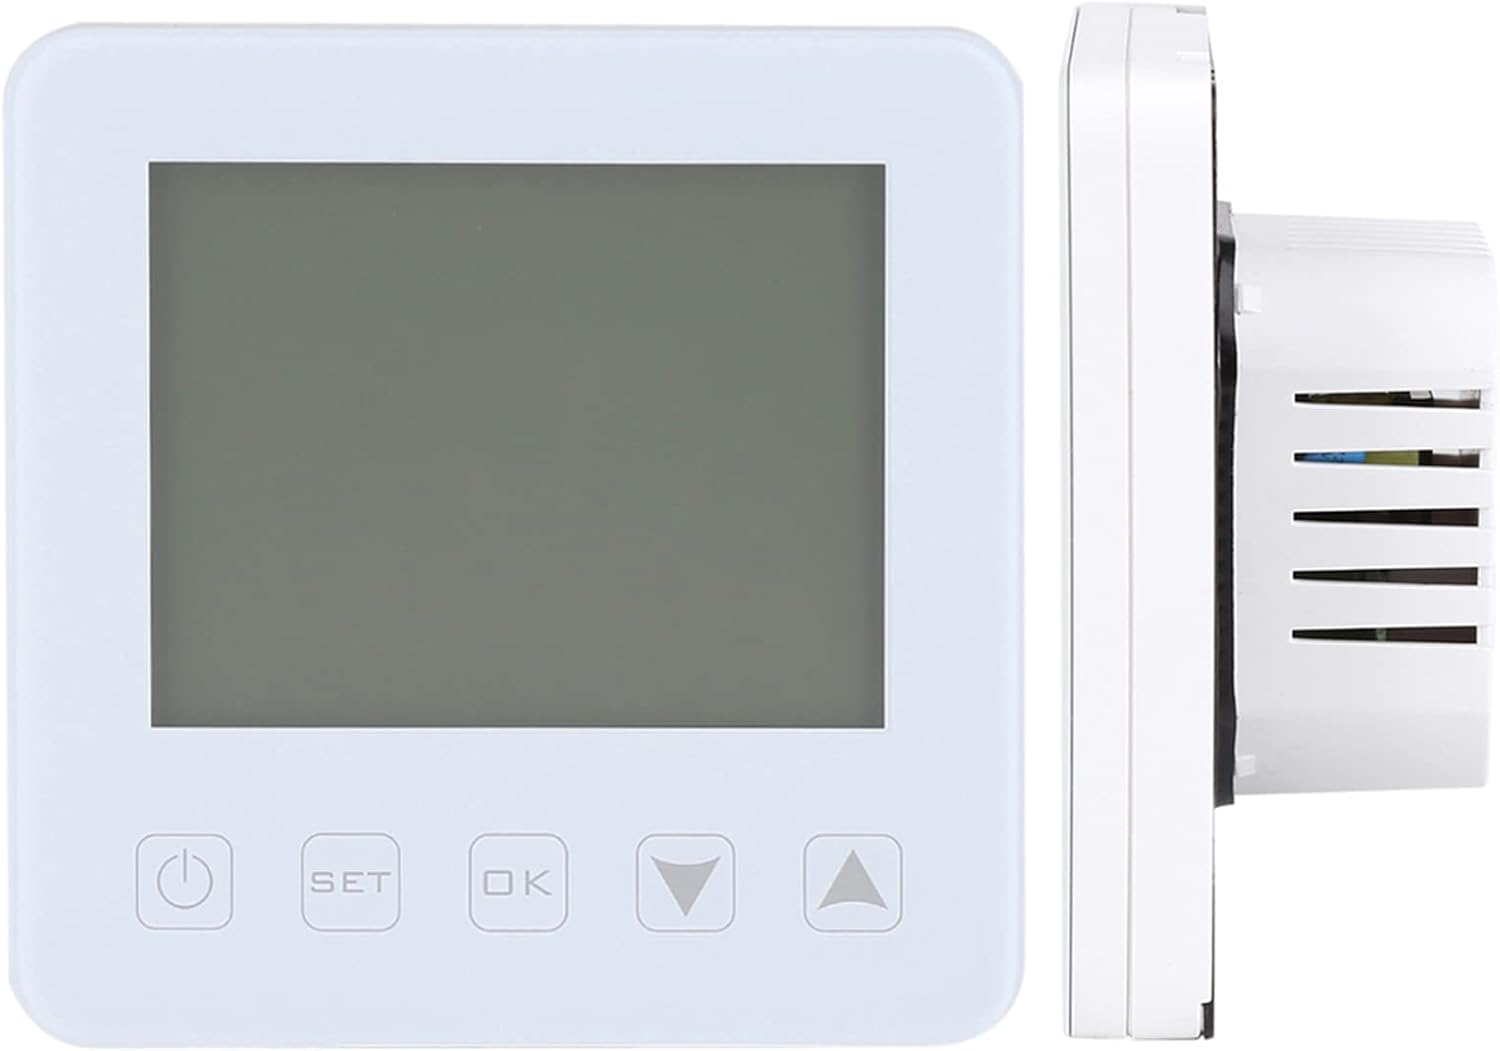
Image: Side profile of the Srliya thermostat, illustrating its compact depth suitable for flush wall installation.
Wiring Diagram
Connect the electrical wires to the appropriate terminals on the thermostat's back plate. Refer to the diagrams below for typical wiring configurations. Ensure all connections are secure.

Image: Rear view of an older model Srliya thermostat, displaying wiring terminals for power (N, L) and load connections (1, 2, 3, 4), along with the NTC external sensor connection (5, 6). Rated AC230V 50/60Hz, Imax 16A.

Image: Rear view of a newer model Srliya thermostat, showing a slightly different layout for wiring terminals. Connections for power (N, L) and load (1, 2) are visible, along with the NTC external sensor connection (5, 6). Rated AC230V 50/60Hz, Imax 16A.
General Wiring Guide:
- Connect the Live (L) wire from your power supply to the 'L' terminal.
- Connect the Neutral (N) wire from your power supply to the 'N' terminal.
- Connect the heating load wires to terminals '1' and '2' (or '1', '2', '3', '4' depending on the model and load type).
- If using an external temperature sensor, connect its wires to terminals '5' and '6'.
After wiring, carefully reattach the front panel to the back plate.
Operating Instructions
Power On/Off
Press the Power button (⏻) located on the bottom left of the thermostat to turn the device on or off.
Understanding the Display

Image: The Srliya thermostat display showing a room temperature of 27.5℃, a set temperature of 24℃, current time 13:22, and indicating "AUTO" mode. A graphical representation of the 24-hour schedule is also visible.
The LCD screen provides real-time information:
- ROOM: Displays the current ambient room temperature.
- SET: Shows the desired target temperature.
- CLOCK: Indicates the current time.
- AUTO/MANUAL: Shows the current operating mode.
- Schedule Bar: A graphical representation of the programmed heating periods throughout the day.
Setting the Time and Day
To set the current time and day, typically:
- Press and hold the SET button for a few seconds until the time display flashes.
- Use the Up (▲) and Down (▼) arrow buttons to adjust the hour, then press OK to confirm and move to minutes.
- Repeat for minutes and then for the day of the week.
- Press SET or wait for the display to stop flashing to save and exit.
Programming Schedule (6 Periods)
The thermostat allows you to set a personalized 7-day heating schedule with 6 distinct time periods each day. This feature helps in energy saving by heating only when needed.
- Press the SET button repeatedly until you enter the programming mode (often indicated by a flashing period number or day).
- Use the Up (▲) and Down (▼) arrow buttons to adjust the start time and desired temperature for each period.
- Press OK to confirm each setting and move to the next parameter (e.g., next period, next day).
- Continue until all 6 periods for all 7 days are set, or exit programming mode by pressing SET or waiting for a timeout.
Operating Modes
The thermostat typically offers the following operating modes:
- Auto Mode: The thermostat follows the programmed schedule. This is the recommended mode for energy efficiency.
- Manual Mode: The thermostat maintains a constant temperature set by the user, overriding the programmed schedule. To enter Manual Mode, press the SET button until "MANUAL" is displayed, then use the Up/Down arrows to set the desired temperature.
- Temporary Override: While in Auto Mode, pressing the Up (▲) or Down (▼) arrow buttons will temporarily adjust the temperature until the next scheduled period begins.

Image: A hand interacting with the Srliya thermostat, pressing the 'Up' arrow button to adjust settings on the illuminated LCD screen.
Temperature Calibration and Anti-freeze Function
- Temperature Calibration: If you find the thermostat's temperature reading to be inaccurate compared to another thermometer, you can calibrate it. Refer to the full English manual for specific steps to access and adjust the calibration setting.
- Anti-freeze Function: This feature is designed to protect your heating system and pipes from freezing. When activated, if the ambient temperature drops below a factory-set or user-defined threshold (e.g., 5℃), the thermostat will automatically turn on the heating until the temperature rises above the threshold.
Maintenance
- Cleaning: Clean the thermostat's screen and casing with a soft, dry cloth. Do not use abrasive cleaners, solvents, or chemical sprays, as these can damage the display or casing.
- Ventilation: Ensure that the thermostat's ventilation slots are not obstructed by dust or debris, as this can affect temperature sensing accuracy.
- No User-Serviceable Parts: The thermostat contains no user-serviceable parts. Do not attempt to open or repair the unit yourself. For any malfunctions, contact qualified service personnel.
Troubleshooting
Common Issues and Solutions
| Issue | Possible Cause | Solution |
|---|---|---|
| Thermostat not powering on | No power supply; incorrect wiring; circuit breaker tripped. | Check the main circuit breaker. Verify all wiring connections as per the installation instructions. Ensure the power button is pressed. |
| Heating not activating | Temperature setting too low; incorrect operating mode; wiring issue to heating load. | Increase the set temperature above the current room temperature. Switch to Auto or Manual mode. Check the load wiring connections. |
| Inaccurate temperature reading | Sensor obstruction; thermostat located near heat source/draft; need for calibration. | Ensure the internal/external sensor is clear and not obstructed. Relocate the thermostat if necessary. Use the temperature calibration function (refer to the full manual). |
| Connectivity issues (Wi-Fi) | Router issues; incorrect Wi-Fi settings; out of range. | Restart your Wi-Fi router. Reconfigure Wi-Fi settings on the thermostat (refer to the full manual for specific steps). Ensure the thermostat is within range of your Wi-Fi network. |
| Thermostat display is blank or dim | Power issue; backlight setting. | Check power supply. Some models have adjustable backlight settings; refer to the full manual to adjust. |
Warranty and Support
Specific warranty information for your Srliya Programmable Electric Heating Thermostat is typically provided with your purchase documentation. Please refer to these documents for details regarding warranty duration and coverage.
For technical support, troubleshooting assistance beyond this manual, or to make a warranty claim, please contact your retailer or the manufacturer, Srliya, directly. It is recommended to retain your proof of purchase (receipt or invoice) as it may be required for warranty services.