
Introduction
Thank you for choosing the Roxicosly Projection Alarm Clock. This manual provides detailed instructions for setting up, operating, and maintaining your new alarm clock. Please read this manual thoroughly before use to ensure optimal performance and longevity of your device.
Key Features
- Crystal Clear Projection: 350-degree adjustable projector with 5 dimmable levels. Optimal projection distance of 5 to 10 feet.
- Large Digital Display: 6.7-inch LED display showing time, date, day of week, indoor temperature (℃/℉ switchable), and humidity. 5 adjustable brightness levels for the main display.
- Dual Alarms: Independent alarm settings for weekdays, weekends, all 7 days, or one-time events. 7 adjustable volume levels, up to 116dB.
- Snooze Function: Provides an extra 9 minutes of sleep.
- Integrated Night Light: Soft ambient light with 2 brightness levels.
- Dual Charging Ports: Includes one USB-A and one Type-C port for simultaneous charging of two devices.
- Battery Backup: Requires 2 AAA batteries (not included) to retain settings during power outages.
- Time Format & DST: Supports 12/24-hour time format and Daylight Saving Time (DST) adjustment.
Setup
1. Power Connection
Connect the provided DC adapter and USB cable to the clock and a power outlet. The clock will power on and the display will illuminate.
2. Battery Backup Installation
For backup functionality, insert 2 AAA batteries (not included) into the battery compartment located on the bottom of the clock. This ensures that time, date, and alarm settings are preserved during a power outage.

Figure 1: The alarm clock supports two AAA batteries (not included) to maintain time, date, and alarm settings in the event of a power interruption.
3. Initial Time and Date Setting
- Press and hold the "TIME" button to enter time setting mode.
- Use the "+" or "-" buttons to adjust the hour, then press "TIME" to confirm.
- Repeat the process for minutes, year, month, and day. The day of the week will automatically adjust.
- Press "TIME" again to exit setting mode.
4. Projection Adjustment
The projector is located on the side of the clock. You can adjust it as follows:
- Rotation: Rotate the projector head up to 350 degrees to position the time display on your ceiling or wall.
- Focus: Turn the focus ring on the projector lens to achieve a clear image.
- Brightness: Press the "DIM" button on the projector module to cycle through 5 brightness levels for the projected time.
- Flip: If the projected image is upside down or reversed, press the "FLIP" button on the projector module to correct its orientation.

Figure 2: This image illustrates the adjustable projection features of the alarm clock, including 180-degree rotation, image flipping, optimal projection distance, focus ring, and five dimmable brightness levels for the projected time.
Video 1: This video illustrates how the Roxicosly Projection Alarm Clock displays the time on a ceiling or wall, showcasing the clarity and adjustability of the projection.
Operating Instructions
1. Setting Alarms
The clock features two independent alarms (AL1 and AL2).
- Press and hold the "AL1" or "AL2" button to enter alarm setting mode.
- Use the "+" or "-" buttons to adjust the alarm hour, then press the respective alarm button to confirm.
- Repeat for minutes.
- After setting the time, press the alarm button again to select the alarm mode: Everyday (Mon-Sun), Weekday (Mon-Fri), Weekend (Sat-Sun), or One-Time.
- Press the alarm button one more time to confirm and exit.
- To activate/deactivate an alarm, simply press the "AL1" or "AL2" button once. An alarm icon will appear/disappear on the display.
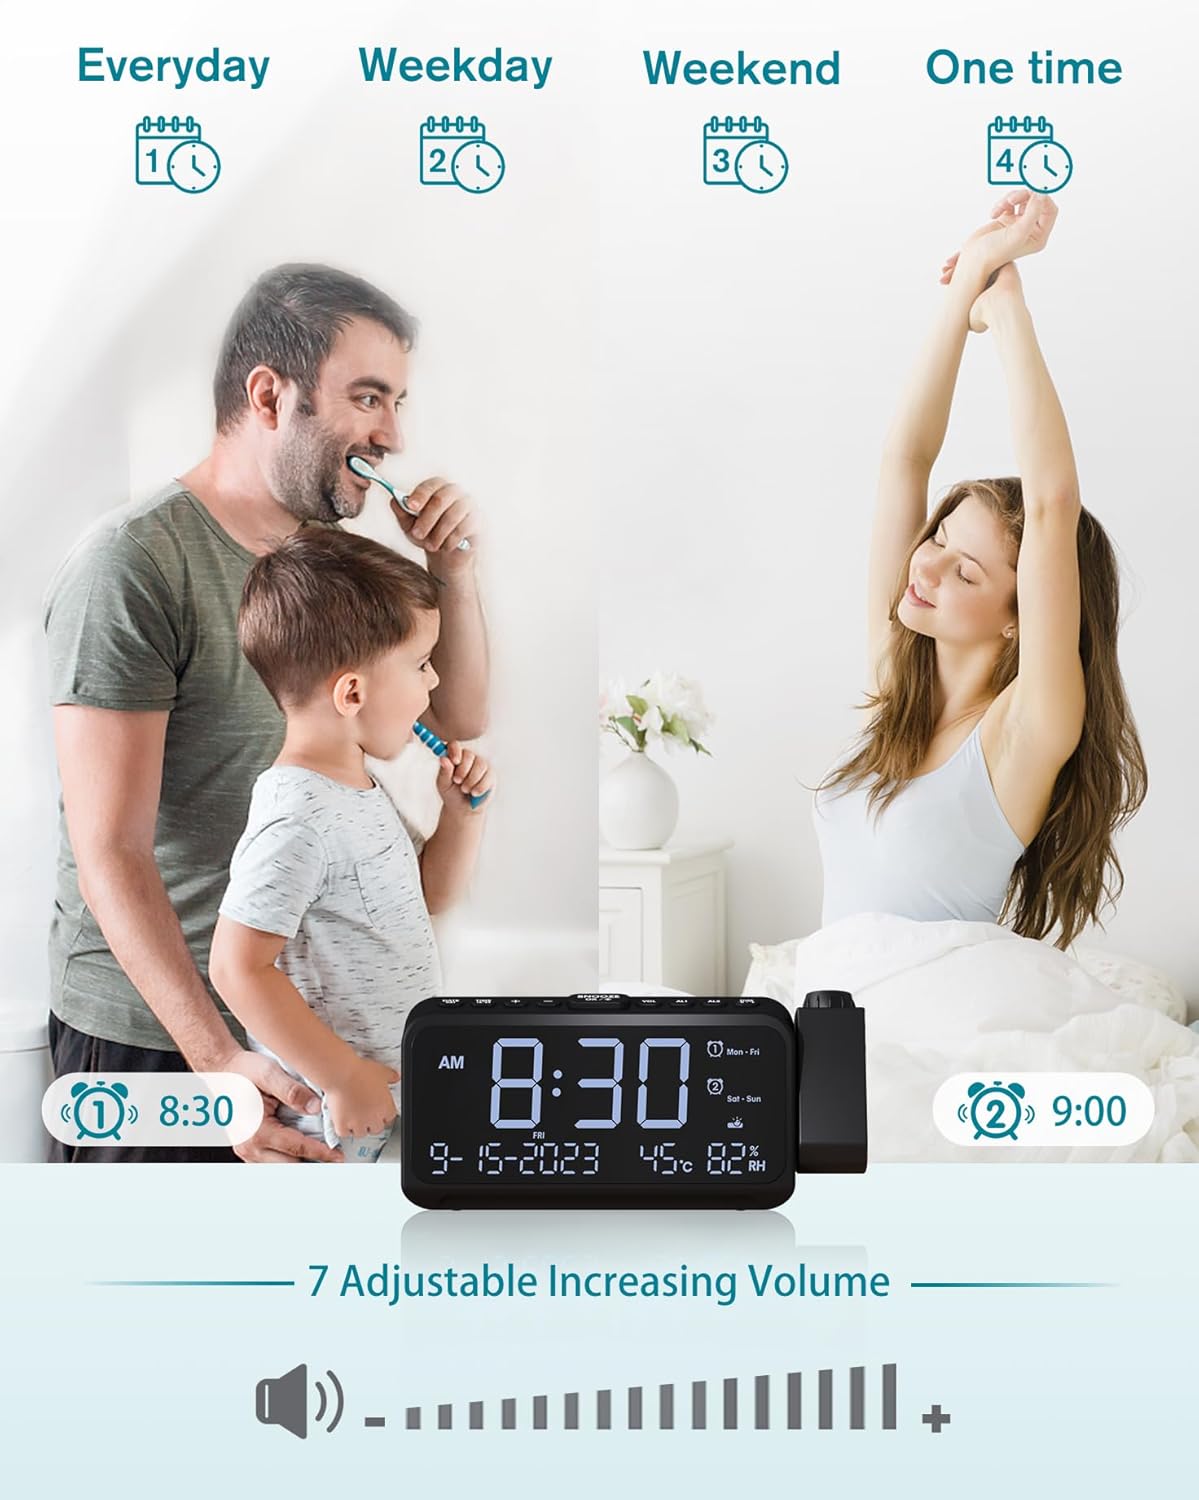
Figure 3: This image highlights the dual alarm functionality, allowing for separate settings for everyday, weekdays, weekends, or a single event. It also shows the seven adjustable volume levels for the alarm.
2. Alarm Volume Adjustment
Press the "VOL" button to cycle through 7 adjustable alarm volume levels.
3. Snooze Function
When the alarm sounds, press the large "SNOOZE OK/*" button on top of the clock to activate the 9-minute snooze function. The alarm will sound again after 9 minutes.

Figure 4: The clock features a convenient snooze function for an additional 9 minutes of sleep. It also includes a soft night light with two brightness levels, providing subtle illumination.
4. Display Brightness
Press the "SNOOZE OK/*" button (short press) to cycle through 5 brightness levels for the main LED display. This allows you to adjust the display to your preference, from very bright to completely off.

Figure 5: The large LED display offers five adjustable brightness levels, ensuring comfortable viewing in various lighting conditions, from bright daylight to complete darkness.
5. Night Light
The night light is integrated into the base of the clock. Press the "SNOOZE OK/*" button (long press) to turn the night light on/off and cycle through its 2 brightness levels.
6. 12/24 Hour Time Format
Press the "TIME 12/24" button to switch between 12-hour and 24-hour time formats.
7. Daylight Saving Time (DST)
Press and hold the "DATE DST" button to activate or deactivate Daylight Saving Time. When activated, the time will advance by one hour, and a DST indicator will appear on the display.
8. Temperature Unit (℃/℉)
Press the "DIM ℃/℉" button on the projector module to switch the temperature display between Celsius and Fahrenheit.
9. Charging Devices
Use the USB-A and Type-C ports on the back of the clock to charge your electronic devices. Each port provides 5V 1A output.

Figure 6: Equipped with both a USB-A and a Type-C charging port, the alarm clock allows users to charge up to two electronic devices concurrently.
Maintenance
- Clean the clock's surface with a soft, dry cloth. Do not use abrasive cleaners or solvents.
- Keep the projector lens clean for optimal clarity. Use a soft, lint-free cloth.
- Avoid exposing the clock to extreme temperatures, direct sunlight, or high humidity.
- If not using the battery backup, ensure the clock remains connected to power to maintain settings.
Troubleshooting
| Problem | Possible Cause | Solution |
|---|---|---|
| Display is blank | No power connection. | Ensure the power adapter is securely plugged into the clock and a working outlet. |
| Projection is blurry | Projector not in focus. | Adjust the focus ring on the projector lens until the image is clear. |
| Projection is upside down/reversed | Incorrect projection orientation. | Press the "FLIP" button on the projector module to correct the orientation. |
| Alarm does not sound | Alarm is not activated or volume is too low. | Press "AL1" or "AL2" to activate the alarm (icon should appear). Adjust volume using the "VOL" button. |
| Settings lost after power outage | No battery backup or batteries are dead. | Install 2 new AAA batteries for backup. |
Specifications
- Brand: Roxicosly
- Model: CR1024
- Display Type: Digital LED
- Product Dimensions: 7.87"W x 3.4"H
- Item Weight: 11.7 ounces
- Power Source: Corded Electric (DC Adapter & USB Cable included)
- Battery Backup: 2 AAA batteries (not included)
- Charging Ports: 1x USB-A (5V 1A), 1x Type-C (5V 1A)
- Alarm Volume: 7 levels, up to 116dB
- Projection Distance: Optimal 5-10 feet
- Material: Plastic
Warranty
For information regarding the product warranty, please refer to the warranty card included with your purchase or contact Roxicosly customer support directly. Keep your purchase receipt as proof of purchase.
Support
If you encounter any issues or have questions about your Roxicosly Projection Alarm Clock that are not covered in this manual, please contact our customer support team. Contact details can typically be found on the product packaging or on the official Roxicosly website.
